Introduction
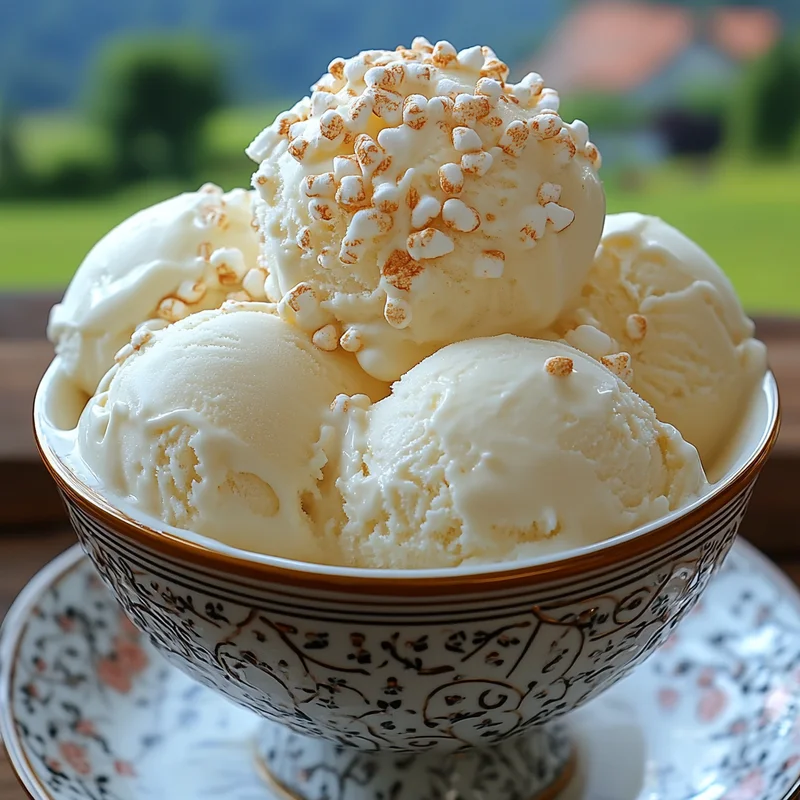
Hey sweet friends! Do you ever just get a craving for something utterly creamy, delightfully sweet, and maybe just a little bit nostalgic? Something that reminds you of campfire s’mores or hot cocoa on a snowy day, but in a totally cool, refreshing way? Well, let me tell you, this Marshmallow Ice Cream recipe is exactly that kind of magic. It’s so simple, so quick, and requires ZERO fancy equipment (that’s right, no ice cream maker needed!). You seriously won’t believe how easy it is to whip up a batch of this dreamy, fluffy goodness right in your own kitchen. It tastes like a cloud of sweet marshmallow bliss, and trust me, one spoonful and you’ll be hooked!
Why You’ll Love This Recipe
- Fast: Seriously, you can have this mixed and in the freezer in under 15 minutes. The hardest part is waiting for it to freeze!
- Easy: If you can whip cream, you can make this ice cream. It’s that foolproof.
- Giftable: Pour it into cute little containers, add a ribbon, and you’ve got the sweetest homemade gift for neighbors or friends.
- Crowd-Pleasing: Who doesn’t love marshmallows and ice cream? This flavor is a guaranteed hit at any gathering.

Ingredients
You only need three simple things for this frosty treat. Keep it simple, keep it delicious!
- 2 cups heavy cream: This is the base of our ice cream, providing that luscious, creamy texture. Make sure it’s nice and cold!
- 14 oz sweetened condensed milk: This sweet stuff is the real MVP of no-churn ice cream. It adds sweetness and prevents ice crystals, making it super smooth without churning. One standard can is usually 14 or 15 ounces, either works great!
- 7 oz marshmallow fluff: That sticky, sweet, glorious marshmallow cream! This is where the marshmallow magic happens. A 7-ounce jar is perfect for this recipe.
How to Make It
Alright, let’s get mixing! It’s basically two steps, plus freezing time. Easy peasy!
- First things first, grab a large mixing bowl (a cold bowl helps the cream whip up better, if you have time pop it in the freezer for a few minutes!) and pour in your cold heavy cream.
- Using an electric mixer (handheld or stand mixer), whip the heavy cream on medium-high speed until stiff peaks form. What does that mean? When you lift the beaters, the cream should stand straight up and hold its shape firmly. Don’t walk away during this step, it can go from perfect to over-whipped pretty quickly!
- Once you’ve got those beautiful stiff peaks, gently pour in the sweetened condensed milk.
- Now, switch to a spatula. Fold the condensed milk into the whipped cream carefully until it’s just combined. You want to keep as much air in that whipped cream as possible, so be gentle!
- Time for the marshmallow fluff! Dollop the marshmallow fluff over the mixture.
- Using your spatula again, gently swirl the marshmallow fluff through the base. Don’t mix it in completely unless you want a uniform marshmallow flavor. Swirling creates those lovely ribbons of marshmallow goodness throughout the ice cream, which I personally love!
- Pour the mixture into a freezer-safe container. An airtight container works best to prevent freezer burn. A standard loaf pan also works great, just cover it tightly with plastic wrap and then foil.
- Smooth the top if you like, maybe add a few extra swirls with your spatula.
- Cover the container tightly and pop it in the freezer.
- Freeze for at least 6-8 hours, or until it’s firm enough to scoop. Overnight is even better!
- Scoop, serve, and enjoy your homemade marshmallow dream!
Substitutions & Additions
This base is fantastic on its own, but it’s also a perfect canvas for getting creative! Here are a few ideas:
- Vanilla Extract: Add a teaspoon of good quality vanilla extract with the condensed milk for an extra layer of classic flavor.
- Chocolate Chips: Fold in a cup of mini chocolate chips or chopped chocolate after swirling the marshmallow fluff for a chocolate chip marshmallow dream.
- Graham Cracker Crumbs: Mix in some graham cracker crumbs (maybe about 1/2 cup) to get that s’mores vibe going.
- Salt: A tiny pinch of sea salt can actually enhance the sweetness and marshmallow flavor.
- Extracts: Try a tiny bit of almond extract or even a hint of maple extract for a different twist.
Tips for Success
Making this ice cream is super simple, but here are a couple of pointers to make sure it turns out perfect every time:
- Use Cold Cream: Seriously, start with very cold heavy cream. It whips up better and faster. A cold bowl helps too!
- Don’t Over-Whip: Stop whipping the cream as soon as stiff peaks form. If you keep going, you could end up with butter!
- Fold Gently: When incorporating the condensed milk and swirling the fluff, be gentle. You worked hard to whip that air into the cream, and that air is what keeps the ice cream light and scoopable without churning.
- Swirl, Don’t Mix: If you want those distinct ribbons of marshmallow, just swirl the fluff lightly. Don’t beat it in.
- Cover Tightly: Air is the enemy of frozen desserts. Make sure your container is sealed well to prevent freezer burn.
How to Store It
Once your ice cream is frozen, keep it stored in that airtight container in the freezer. It should stay wonderfully scoopable and delicious for about 2-3 weeks. If it lasts that long, that is! Mine usually disappears much faster than that.
FAQs
Got questions? I’ve got (quick) answers!
Q: Do I need an ice cream maker for this recipe?
A: Nope! That’s the beauty of it. This is a “no-churn” recipe.
Q: Why does it work without churning?
A: The combination of the whipped heavy cream and the sweetened condensed milk creates a stable, creamy base that freezes without forming large ice crystals, giving you that smooth ice cream texture.
Q: Can I use low-fat milk or half-and-half instead of heavy cream?
A: Unfortunately, no. You need the high fat content of heavy cream to whip up properly and create the right texture for this no-churn method.
Q: My ice cream is a little hard to scoop. What can I do?
A: Let it sit out on the counter for 5-10 minutes before scooping. This will allow it to soften just enough.
Dreamy 3-Ingredient No-Churn Marshmallow Ice Cream

A simple, quick, and easy no-churn ice cream recipe requiring only three ingredients: heavy cream, sweetened condensed milk, and marshmallow fluff. It whips up in under 15 minutes and freezes into a creamy, dreamy dessert reminiscent of marshmallows.
- Large mixing bowl
- Electric mixer
- Spatula
- Freezer-safe container
Main Ingredients
- 2 cups heavy cream (nice and cold)
- 14 oz sweetened condensed milk (One standard can is usually 14 or 15 ounces, either works great)
- 7 oz marshmallow fluff (A 7-ounce jar is perfect for this recipe)
- First things first, grab a large mixing bowl and pour in your cold heavy cream.
- Using an electric mixer, whip the heavy cream on medium-high speed until stiff peaks form. When you lift the beaters, the cream should stand straight up and hold its shape firmly. Don’t walk away during this step, it can go from perfect to over-whipped pretty quickly!
- Once you’ve got those beautiful stiff peaks, gently pour in the sweetened condensed milk.
- Now, switch to a spatula. Fold the condensed milk into the whipped cream carefully until it’s just combined. You want to keep as much air in that whipped cream as possible, so be gentle!
- Time for the marshmallow fluff! Dollop the marshmallow fluff over the mixture.
- Using your spatula again, gently swirl the marshmallow fluff through the base. Don’t mix it in completely unless you want a uniform marshmallow flavor. Swirling creates those lovely ribbons of marshmallow goodness throughout the ice cream, which I personally love!
- Pour the mixture into a freezer-safe container. An airtight container works best to prevent freezer burn. A standard loaf pan also works great, just cover it tightly with plastic wrap and then foil.
- Smooth the top if you like, maybe add a few extra swirls with your spatula.
- Cover the container tightly and pop it in the freezer.
- Freeze for at least 6-8 hours, or until it’s firm enough to scoop. Overnight is even better!
- Scoop, serve, and enjoy your homemade marshmallow dream!
Use very cold heavy cream for best whipping results. Do not over-whip the cream (stop as soon as stiff peaks form). Fold gently when incorporating the condensed milk and swirling the fluff to keep air in the mixture. Swirl the fluff lightly if you want distinct ribbons. Cover the container tightly to prevent freezer burn. Store in an airtight container in the freezer for about 2-3 weeks. If it’s hard to scoop, let it sit out for 5-10 minutes.