
Introduction
Hey there, spooky season enthusiasts and sweet treat lovers! Remember those days when Halloween treats felt like pure magic? Well, get ready to conjure up some kitchen magic of your own because I’ve got a recipe that’s ridiculously simple, incredibly fun, and absolutely perfect for your next ghoulish gathering (or just a Tuesday night craving!). This 3-ingredient Vampire Fudge is so easy, you’ll barely need to lift a finger – leaving more time for costume planning and scary movie marathons. It’s quick, it’s colorful, and it’s guaranteed to disappear faster than a vampire bat at sunrise!
Why You’ll Love This Recipe
- Fast: Seriously, we’re talking minutes of prep!
- Easy: You only need three ingredients and zero fancy skills.
- Giftable: Package it up in cute boxes for spooky party favors or hostess gifts.
- Crowd-pleasing: Kids and adults alike will get a kick out of this festive, tasty fudge.
Ingredients
- 16 oz Cream Cheese Frosting: Grab a tub from the store – the ready-made stuff works perfectly here! It gives our fudge a lovely creamy texture.
- 1 Cup Black Candy Melts: These are key for that deep, dark “vampire” color and they melt beautifully.
- 1 Cup Red Candy Melts: For that classic bloody swirl! Candy melts help the fudge set up nicely and hold their vibrant color.
How to Make It
Alright, let’s make some spooky fudge! Get ready for the easiest process ever.
- First things first, line an 8×8 inch or 9×5 inch pan with parchment paper, leaving some overhang on the sides. This is your best friend for getting the fudge out later!
- Grab your black candy melts. Put them in a microwave-safe bowl and microwave them in 30-second intervals, stirring well after each interval, until they are completely melted and smooth. Be careful not to overheat them!
- Now, add the entire tub of cream cheese frosting to the bowl with the melted black candy melts. Stir, stir, stir until the frosting and the melted candy are completely combined and you have a smooth, black mixture.
- Pour this black fudge mixture into your prepared pan and spread it out evenly with a spatula.
- Time for the red! Place the red candy melts in a separate microwave-safe bowl. Just like you did with the black, microwave in 30-second intervals, stirring in between, until fully melted and smooth.
- Once the red melts are smooth, use a spoon to dollop or drizzle the melted red candy over the black fudge layer in the pan. Don’t be afraid to get creative with your patterns!
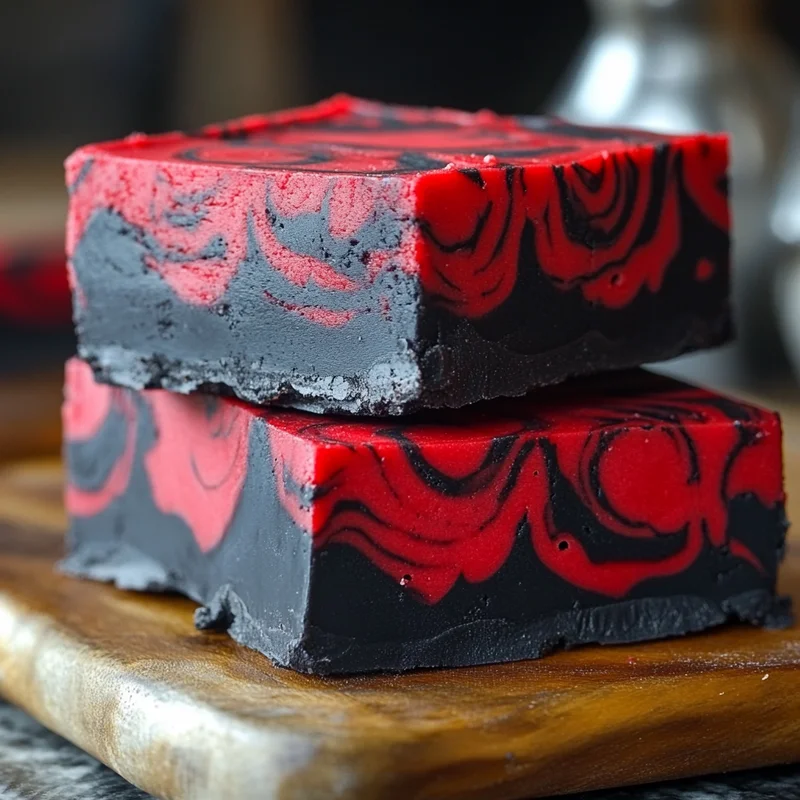
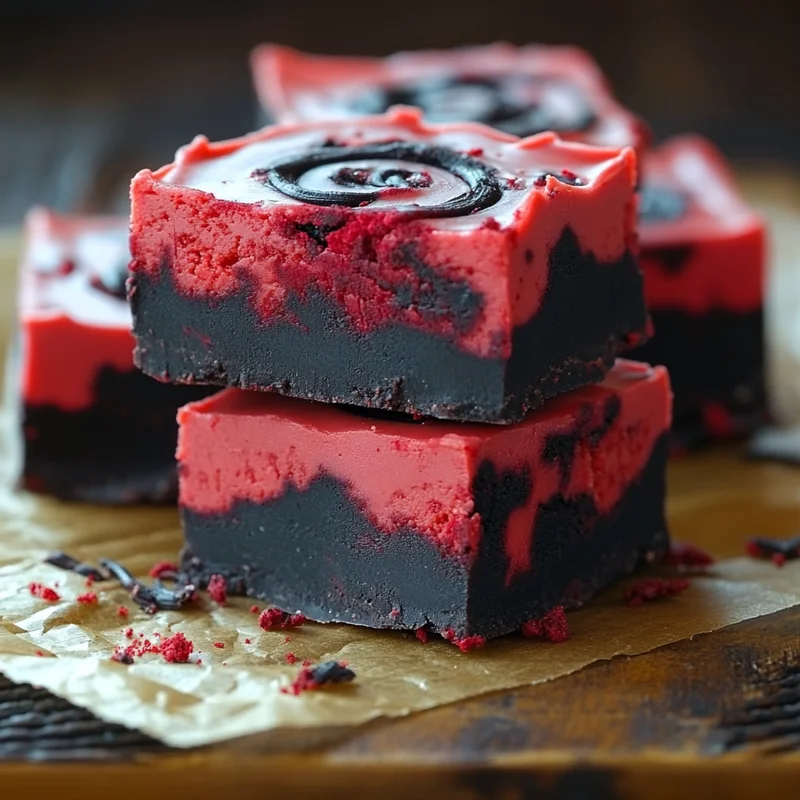
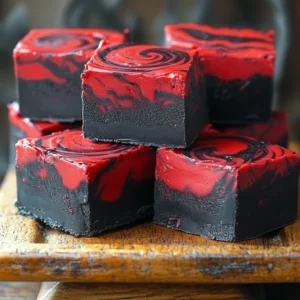
- Using a toothpick or a knife, gently swirl the red into the black layer. Don’t over-swirl, or you’ll lose the distinct colors. Just a few passes are perfect to create that spooky, marbled effect.
- Pop the pan into the refrigerator for at least 2-3 hours, or until the fudge is completely set and firm.
- Once set, use the parchment paper overhang to lift the fudge out of the pan. Place it on a cutting board and cut it into small squares using a sharp knife. For extra clean cuts, you can run your knife under hot water and dry it before slicing.
- And there you have it – spooky, delicious Vampire Fudge ready to sink your teeth into!
Substitutions & Additions
- Candy Melts: While candy melts are best for color and setting, you could try using white chocolate chips mixed with black and red food coloring, but be aware that regular chocolate might not set as firmly and specific candy coloring is needed (regular food coloring can seize chocolate).
- Different Colors: Want frankenstein green or ghost white fudge? Swap the black and red melts for other colors!
- Extracts: Stir in a teaspoon of vanilla extract, almond extract, or even a hint of peppermint extract into the fudge mixture before chilling for extra flavor.
- Mix-ins: Swirl in some spooky sprinkles, mini chocolate chips, or chopped cookies before chilling.
Tips for Success
- Don’t Overheat: Be gentle when melting the candy melts. Overheating can make them seize up and become unusable. Low power and short intervals are your friends!
- Stir Well: Make sure the frosting and melted candy melts are fully combined for a smooth texture.
- Parchment Paper Power: Don’t skip lining the pan! It makes removing and cutting the fudge so much easier.
- Clean Cuts: A warm, dry knife gives you the prettiest squares.
How to Store It
This Vampire Fudge is best stored in an airtight container. You can keep it at room temperature for a day or two, but for longer storage (up to a week), I recommend keeping it in the refrigerator, especially if your home is warm. The cream cheese frosting base means it stays nice and creamy, but chilling helps it keep its shape perfectly.
FAQs
Can I use chocolate chips instead of candy melts?
Candy melts are recommended because they contain ingredients that help them melt smoothly and set firmly without needing extra shortening or oil, and they hold color better. Using regular chocolate chips might result in a softer fudge that doesn’t set as well, and coloring chocolate requires special oil-based candy colors.
Why did my candy melts seize?
Candy melts seize (become thick and clumpy) if they are overheated or if they come into contact with even a tiny amount of water. Always melt them gently in short intervals, stirring in between, and make sure your bowls and spatulas are completely dry.
How long does it take to set?
In the refrigerator, this fudge should be fully set and ready to cut in about 2-3 hours.
How long does Vampire Fudge keep?
Stored in an airtight container in the refrigerator, it should stay fresh and delicious for up to a week.
Spooky Easy 3-Ingredient Vampire Fudge
Equipment
- Pan 8x8 inch or 9x5 inch
- Parchment paper
- Microwave-safe bowls
- Spatula
- Spoon
- Toothpick or knife For swirling
- Cutting board
- Sharp knife For cutting fudge
- Airtight container For storage
Ingredients
Ingredients
- 16 oz Cream Cheese Frosting Tub from the store
- 1 Cup Black Candy Melts
- 1 Cup Red Candy Melts
Instructions
- First things first, line an 8x8 inch or 9x5 inch pan with parchment paper, leaving some overhang on the sides. This is your best friend for getting the fudge out later!
- Grab your black candy melts. Put them in a microwave-safe bowl and microwave them in 30-second intervals, stirring well after each interval, until they are completely melted and smooth. Be careful not to overheat them!
- Now, add the entire tub of cream cheese frosting to the bowl with the melted black candy melts. Stir, stir, stir until the frosting and the melted candy are completely combined and you have a smooth, black mixture.
- Pour this black fudge mixture into your prepared pan and spread it out evenly with a spatula.
- Time for the red! Place the red candy melts in a separate microwave-safe bowl. Just like you did with the black, microwave in 30-second intervals, stirring in between, until fully melted and smooth.
- Once the red melts are smooth, use a spoon to dollop or drizzle the melted red candy over the black fudge layer in the pan. Don't be afraid to get creative with your patterns!
- Using a toothpick or a knife, gently swirl the red into the black layer. Don't over-swirl, or you'll lose the distinct colors. Just a few passes are perfect to create that spooky, marbled effect.
- Pop the pan into the refrigerator for at least 2-3 hours, or until the fudge is completely set and firm.
- Once set, use the parchment paper overhang to lift the fudge out of the pan. Place it on a cutting board and cut it into small squares using a sharp knife. For extra clean cuts, you can run your knife under hot water and dry it before slicing.
- And there you have it – spooky, delicious Vampire Fudge ready to sink your teeth into!
Notes
- Candy Melts: Candy melts are recommended for best results. Using white chocolate chips requires adding color and may result in a softer fudge.
- Different Colors: Swap black and red melts for other colors.
- Extracts: Stir in vanilla, almond, or peppermint extract for extra flavor.
- Mix-ins: Swirl in spooky sprinkles, mini chocolate chips, or chopped cookies. Tips for Success:
- Don't Overheat: Melt candy melts gently in short intervals.
- Stir Well: Ensure frosting and melted candy melts are fully combined.
- Parchment Paper: Don't skip lining the pan.
- Clean Cuts: Use a warm, dry knife. Storage:
- Store in an airtight container. Can be kept at room temperature for a day or two, but refrigeration (up to a week) is recommended for longer storage, especially in warm homes. Chilling helps it keep its shape.