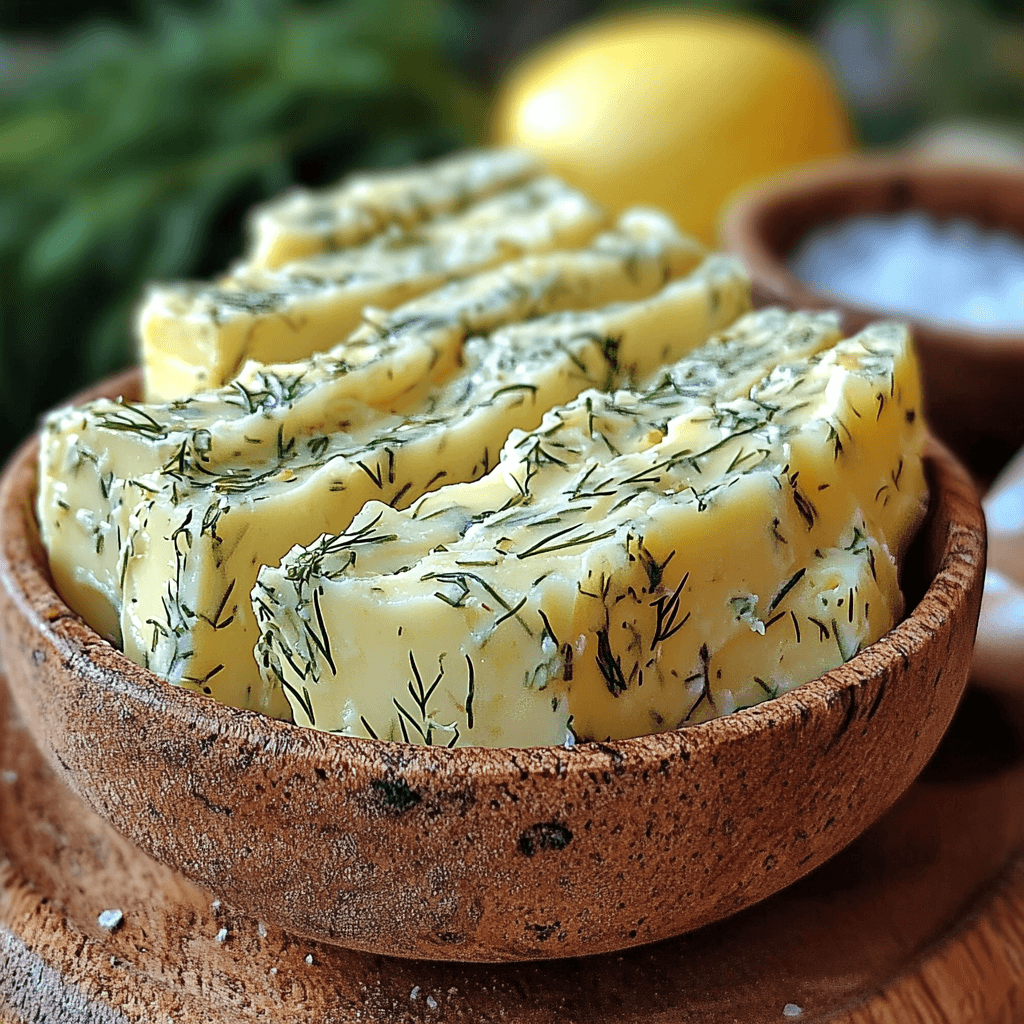
Why You’ll Love This Garlic-Dill Butter for Sandwiches — Aromatic and Delicious! 🧄🌿🧈
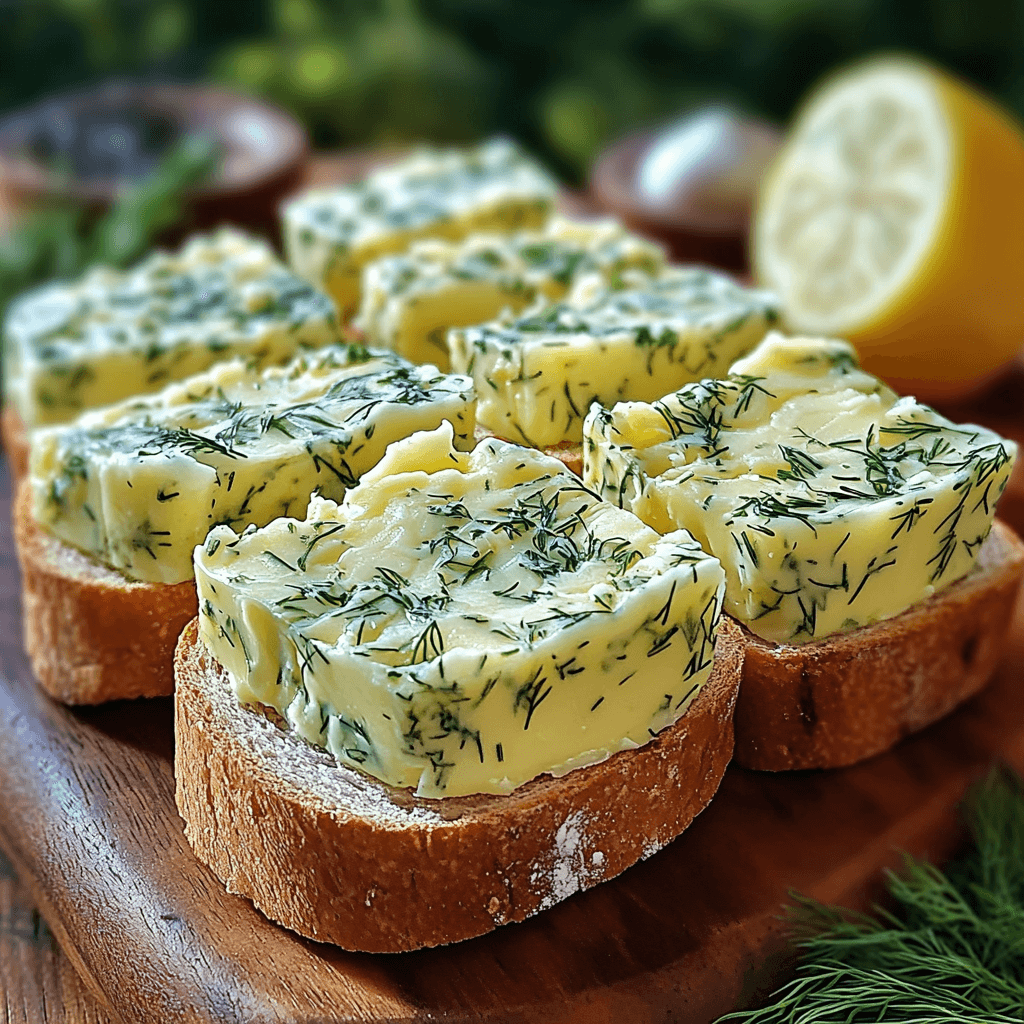
Hey there, fellow food lovers! Are you ready to elevate your sandwich game? This Garlic-Dill Butter is going to become your new best friend. Seriously, prepare to be amazed by the burst of fresh, herbaceous flavor in every bite. Imagine that incredible combination of garlicky punch, bright dill notes, and a whisper of lemon – all melting beautifully into soft, creamy butter. It’s the perfect spread for everything from crusty bread to delicate croissants.
What makes this recipe so special? It’s unbelievably simple, coming together in minutes. It’s also incredibly versatile. You can use it on practically any sandwich you crave! Think turkey and Swiss, roast beef, or even a simple tomato and cucumber sandwich. The subtly tangy lemon juice cuts through the richness of the butter, preventing it from being overwhelmingly heavy. The texture? Smooth, luscious, and utterly irresistible. This recipe is not just about taste; it’s about creating a quick, satisfying, and delightful experience, transforming an ordinary sandwich into something truly extraordinary. The bright, fresh flavors are perfect for a light lunch, a picnic in the park, or even a sophisticated appetizer. It’s a taste of summer sunshine, no matter the season!
What You’ll Need
This recipe uses simple, fresh ingredients that you probably already have in your kitchen. Let’s gather our ingredients:
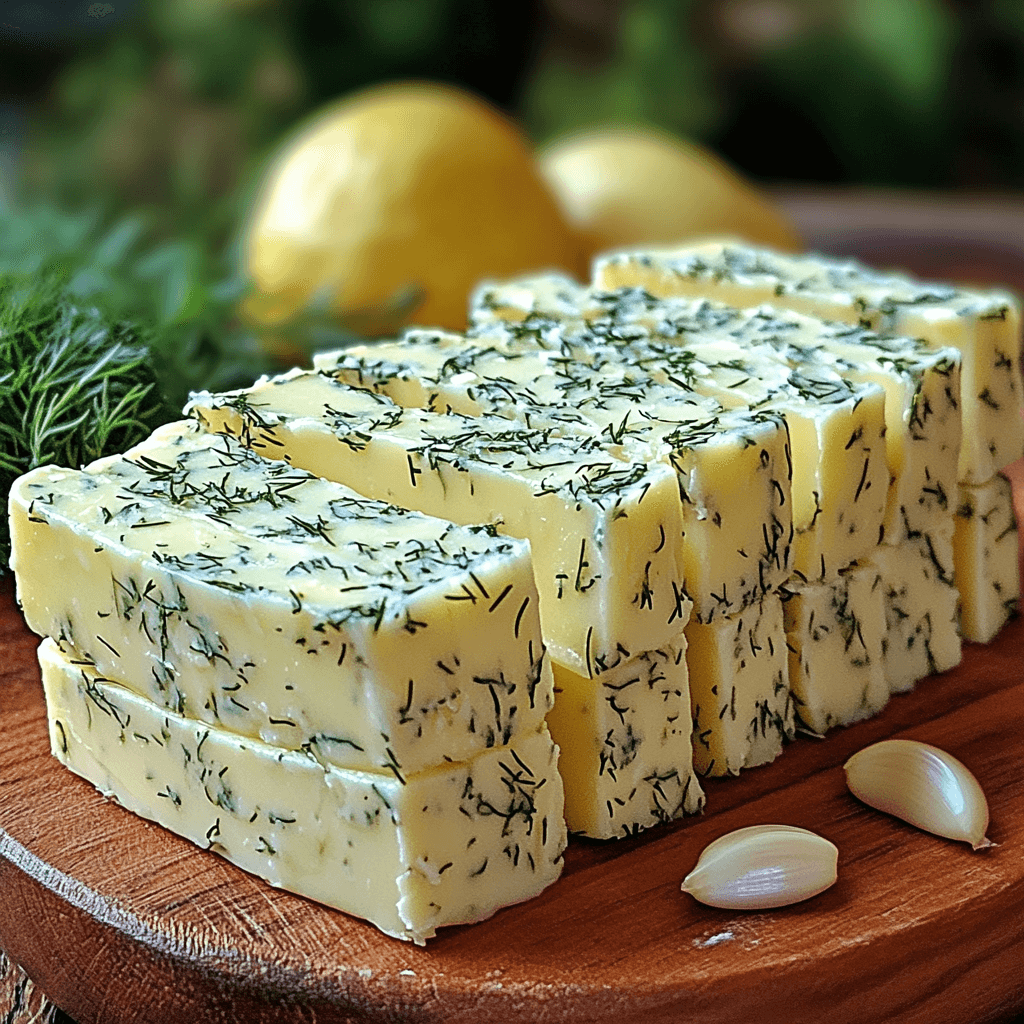
- Unsalted Butter (100g/7 tbsp): The base of our delicious spread. Unsalted butter allows you to control the salt level perfectly.
- Fresh Dill (1 bunch): The star of the show! Fresh dill provides that bright, herbaceous flavor that makes this butter so unique. Look for vibrant green sprigs with a fresh, clean aroma.
- Garlic (1 clove): A single clove of garlic adds a subtle yet impactful garlicky kick. Don’t be shy; the fresh garlic complements the dill beautifully.
- Lemon Juice (6 drops): Just a few drops of fresh lemon juice brighten the flavors and add a subtle zing. It’s the secret ingredient that takes this butter from good to extraordinary.
- Salt (to taste): Sea salt or kosher salt are great options. Adjust the salt according to your preference and the saltiness of your butter.
Step-by-Step Instructions
Making this Garlic-Dill Butter is easier than you think. Let’s get started!
- Prep the Ingredients: First, wash the dill thoroughly under cold water. Gently pat it dry with a paper towel. This ensures that your butter doesn’t get watery. Mince the garlic clove finely using a garlic press or the side of a knife.
- Soften the Butter: Take the butter out of the refrigerator about 30 minutes before you start to allow it to soften slightly. This makes it much easier to mix.
- Combine the Ingredients: In a medium-sized bowl, combine the softened butter, minced garlic, and finely chopped dill. If your dill has thicker stems, you might want to finely chop them, or discard them altogether. Remember, the goal is to create a smooth, well-incorporated mixture.
- Add the Lemon Juice and Salt: Add the lemon juice and salt. Start with a small amount of salt and taste as you go. Remember, you can always add more salt, but you can’t take it away!
- Mix Thoroughly: Using a fork or spatula, gently mix all the ingredients until they are evenly combined. Be careful not to overmix, as this could make the butter too oily.
- Taste and Adjust: Taste a small amount of the butter to ensure the seasoning is to your liking. Add more salt, dill, or lemon juice as needed.
- Serve or Store: Your Garlic-Dill Butter is ready to be used! Spread it generously on your favorite bread, crackers, or vegetables. Alternatively, you can store it for later use (see storing instructions below).
Tip: For an even more intense flavor, let the butter sit at room temperature for at least 30 minutes before using to allow the flavors to meld.
Tips for Success
To achieve the best results with this recipe, here are a few helpful tips:
- Use Fresh Ingredients: Fresh dill and garlic make all the difference. The fresher the ingredients, the brighter and more vibrant the flavor will be.
- Don’t Overmix: Overmixing can cause the butter to separate. Gently fold the ingredients together until just combined.
- Taste as You Go: Taste the butter at each stage to adjust the seasoning to your liking. Everyone’s palate is different!
- Soften the Butter Properly: Make sure your butter is soft enough to mix easily, but not melted. Room temperature is perfect.
- Proper Storage: Store your garlic-dill butter correctly to maintain its freshness and prevent spoilage.
Variations to Try
Feeling adventurous? Here are some fun variations to experiment with:
- Spicy Garlic-Dill Butter: Add a pinch of red pepper flakes for a touch of heat.
- Chive and Garlic Butter: Substitute chives for dill for a slightly different flavor profile.
- Herb-Infused Butter: Add other fresh herbs like parsley or thyme along with the dill.
- Garlic-Dill Butter with Lemon Zest: Add some lemon zest for an extra burst of citrus flavor.
- Vegan Garlic-Dill Butter: Use a vegan butter substitute for a plant-based version.
Storing and Reheating
To keep your Garlic-Dill Butter fresh and flavorful, store it in an airtight container in the refrigerator for up to a week. For longer storage, you can freeze it in an airtight container or freezer bag for up to three months. To reheat, let it sit at room temperature until it softens, or gently microwave it in short bursts until it reaches your desired consistency. Avoid overheating, as this can separate the butter and affect its texture.
Frequently Asked Questions
Here are some frequently asked questions about this recipe:
- Q: Can I use dried dill instead of fresh? A: While you can use dried dill, the flavor won’t be as bright and intense as with fresh dill. If using dried dill, use about 1 teaspoon for every tablespoon of fresh dill.
- Q: How long does the Garlic-Dill Butter keep? A: Stored properly in an airtight container in the refrigerator, it will keep for up to one week. Frozen, it will last up to three months.
- Q: Can I make this ahead of time? A: Absolutely! In fact, making it ahead of time allows the flavors to meld beautifully. Just store it properly.
- Q: What kind of bread is best for this butter? A: This butter pairs perfectly with crusty bread, croissants, bagels, or even toasted slices of sourdough. Get creative!
- Q: Can I adjust the amount of garlic? A: Yes! Feel free to adjust the amount of garlic to your preference. If you love garlic, add another clove!
The Final Word
This Garlic-Dill Butter recipe is a game-changer for sandwich lovers. It’s quick, easy, incredibly flavorful, and incredibly versatile. The fresh, herbaceous notes dance beautifully with the creamy butter and garlicky punch, creating a taste sensation that will leave you wanting more. So, grab your ingredients, whip up a batch, and prepare to experience sandwich perfection! Don’t forget to leave a comment below and let me know what you think. And if you love this recipe, give it a rating – I’d love to hear from you!

Garlic-Dill Butter for Sandwiches — Aromatic and Delicious! 🧄🌿🧈
Ingredients
- – 100 g 7 tbsp unsalted butter 🧈
- – 1 bunch of dill 🌿
- – 1 clove of garlic 🧄
- – 6 drops of lemon juice 🍋
- – Salt to taste 🧂
Instructions
- In a medium bowl, combine the softened butter, chopped dill, minced garlic, and lemon juice.
- Add salt and gently mix all ingredients together until well combined. Use a fork or a spatula to thoroughly incorporate everything.
- Taste and adjust seasoning as needed. You may want to add a pinch more salt or a few more drops of lemon juice depending on your preference.
- Transfer the garlic-dill butter to a small bowl or container.
- Cover the bowl or container and refrigerate for at least 30 minutes to allow the flavors to meld. This step is optional but recommended.
- Once chilled, the butter will be firmer and easier to spread.
- Serve on your favorite bread, bagels, crackers, or use as a spread for grilled vegetables or fish.