
Hey there, cheese lovers! Are you ready to embark on a culinary adventure that will leave you utterly amazed? Get ready to make your own mozzarella cheese – right in your own kitchen! This recipe isn’t just easy; it’s incredibly rewarding. You’ll experience the pure joy of transforming simple ingredients into a creamy, stretchy, unbelievably delicious cheese that’s miles better than anything you can buy in the store. Forget those bland, mass-produced mozzarella slices. This homemade version boasts a fresh, milky taste and a wonderfully satisfying texture that will melt your heart (and your pasta!). The process is surprisingly straightforward, making it perfect for beginner cheesemakers and experienced cooks alike. Imagine the pride of serving a dish featuring *your* homemade mozzarella – the compliments will be endless. This recipe brings a delightful sense of accomplishment and the warm, comforting feeling of creating something truly special from scratch. Trust me; the taste, the texture, the sheer satisfaction – it’s an experience you won’t want to miss!
What You’ll Need
This recipe requires only a few simple ingredients, most of which you likely already have in your pantry!
- ½ gallon raw or pasteurized whole milk (not ultra-pasteurized): The fat content in whole milk is crucial for achieving that creamy mozzarella texture. Ultra-pasteurization alters the milk proteins, making cheesemaking difficult.
- 7 tablespoons white distilled vinegar: This acts as the acid that helps separate the curds from the whey, a vital step in cheesemaking.
- ⅛ to ¼ teaspoon cheese salt, kosher salt, or flaky sea salt (optional): Salt enhances the flavor and helps control moisture content. Start with the smaller amount and add more to taste.
- Large saucepan: You’ll need a pot large enough to hold the milk comfortably without overflowing.
- Fine-mesh sieve or cheesecloth: This will be used to separate the curds from the whey.
- Ice bath: A bowl filled with ice water to quickly cool the curds.
- Thermometer: A candy or instant-read thermometer is crucial for accurately monitoring the milk temperature.
Step-by-Step Instructions
Let’s get started on making your very own mozzarella!
1. **Heat the milk:** Gently heat the milk in a large saucepan over medium-low heat. Stir occasionally to prevent scorching. You want to reach a temperature of approximately 190-200°F (88-93°C). Use your thermometer to monitor the temperature precisely. Don’t rush this step; slow and steady wins the race!
2. **Add the vinegar:** Once the milk reaches the target temperature, remove it from the heat. Slowly pour in the white distilled vinegar, stirring gently but continuously. You’ll notice the milk immediately begin to curdle and separate into curds and whey.
3. **Let it sit:** Allow the mixture to sit undisturbed for about 5-7 minutes. This allows the curds to firm up.
4. **Drain the whey:** Line a fine-mesh sieve or cheesecloth over a bowl. Carefully pour the curds and whey mixture into the sieve. Let it drain for about 10-15 minutes, until the whey is mostly separated.
5. **Ice bath (optional but recommended):** Transfer the curds to an ice bath for a few minutes to cool them down and firm them further. This step helps prevent the cheese from becoming overly stringy.
6. **Stretch and knead the curds:** Once the curds are cool, gently gather them together. Begin to stretch and knead them by hand. This process will work out excess whey and create the stretchy texture characteristic of mozzarella. Keep kneading until the curds become smooth and slightly elastic. You can do this on a clean, lightly oiled surface.
7. **Add salt (optional):** If using, gently incorporate the salt into the curds while kneading.
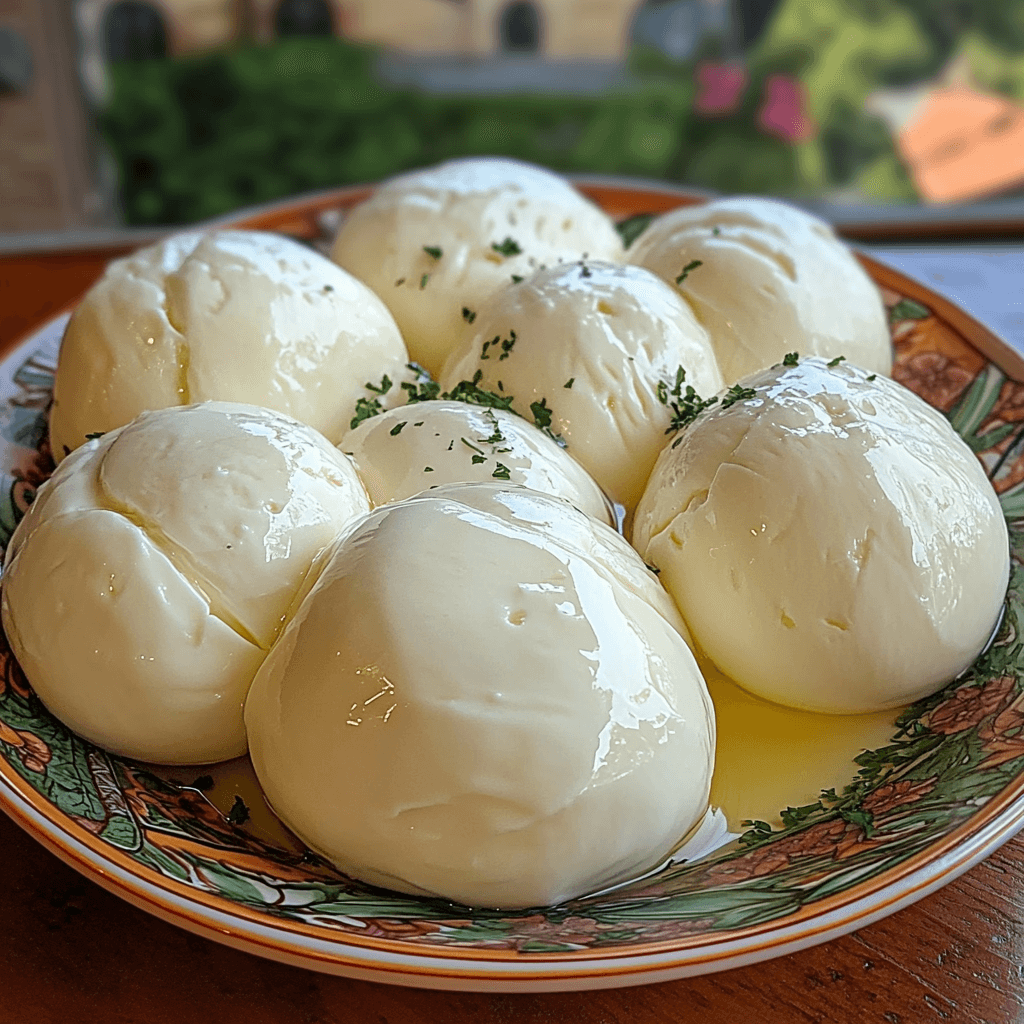
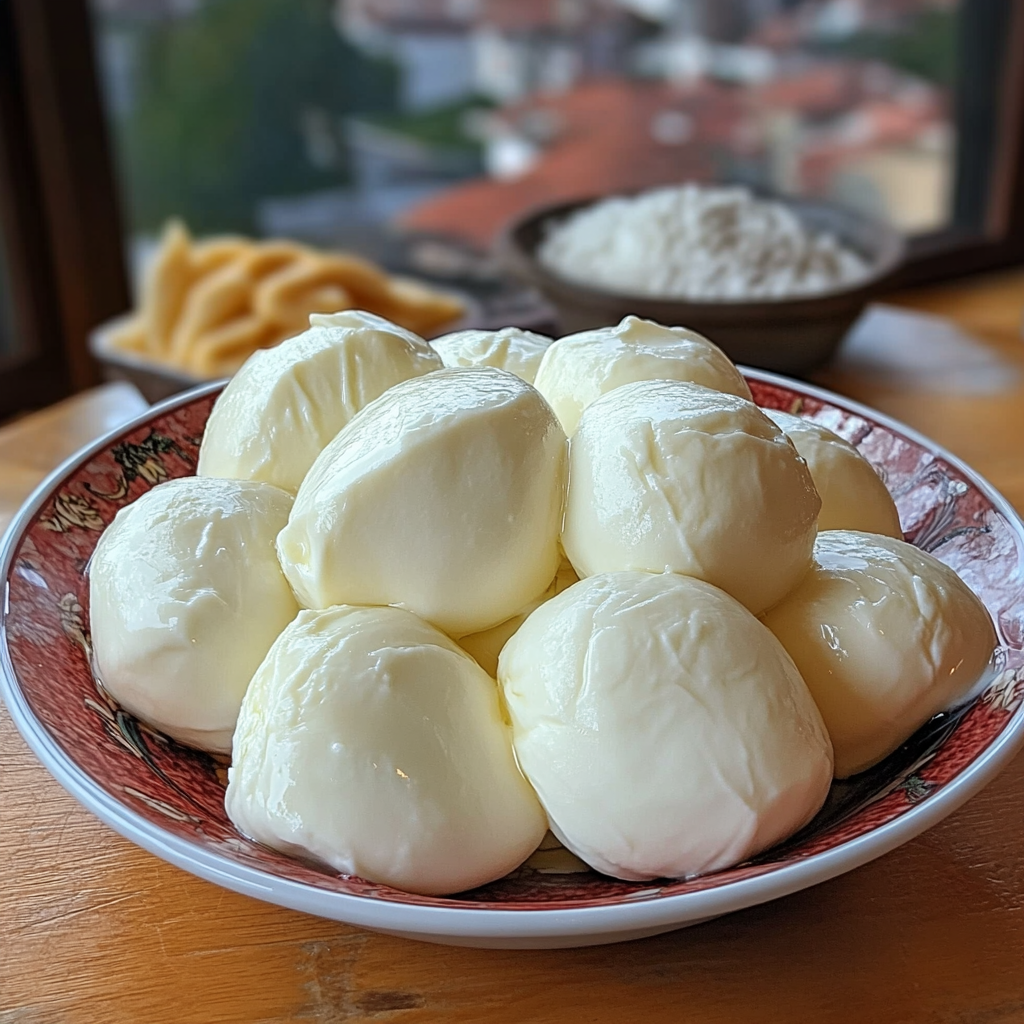
8. **Shape the mozzarella:** Shape the mozzarella into balls, logs, or any shape you prefer.
9. **Enjoy immediately or store:** Your fresh mozzarella is ready to enjoy! Serve it immediately with fresh tomatoes, basil, and olive oil, or use it in your favorite recipes.
Tips for Success
- Use fresh, high-quality milk: The quality of your milk directly impacts the final product. Avoid ultra-pasteurized milk, as it lacks the proteins needed for proper curdling.
- Monitor the temperature carefully: Accurate temperature control is essential for successful cheesemaking. A thermometer is a must-have tool.
- Be gentle with the curds: Avoid vigorous stirring or handling, as this can damage the curds and affect the texture of the cheese.
- Don’t over-knead the cheese: While kneading is important, over-kneading can result in a tough, rubbery texture. Aim for a smooth, slightly elastic consistency.
Variations to Try
Want to experiment? Here are some variations:
- Herbed Mozzarella: Add fresh herbs like basil, oregano, or thyme to the curds during kneading.
- Spicy Mozzarella: Incorporate a pinch of red pepper flakes for a spicy kick.
- Garlic Mozzarella: Add minced garlic to the curds for a flavorful twist.
Storing and Reheating
Store your homemade mozzarella in a container submerged in water or whey in the refrigerator. This helps keep it moist and prevents it from drying out. It will keep for about 3-5 days this way. You can also freeze mozzarella, but the texture might slightly alter upon thawing. To reheat, gently warm it in a skillet or microwave, being careful not to overheat it.
Frequently Asked Questions
- Can I use a different type of vinegar? While white distilled vinegar is recommended for its neutral flavor, you can experiment with other types of vinegar. However, be aware that the flavor might be slightly different.
- What if my curds don’t form properly? This could be due to using ultra-pasteurized milk or not reaching the correct temperature. Ensure you are using whole milk and carefully monitor the temperature.
- How long does homemade mozzarella last? Stored properly in water or whey in the refrigerator, homemade mozzarella will last for about 3-5 days.
- Can I make this cheese vegan? Unfortunately, this recipe isn’t easily adaptable to a vegan version as it relies on milk proteins for curdling. However, there are many excellent vegan mozzarella recipes available online.
The Final Word
Making your own mozzarella cheese is a truly rewarding experience. The taste is unbeatable, and the satisfaction of creating something so delicious from scratch is unparalleled. This recipe is simple, straightforward, and yields incredible results. So grab your ingredients, follow these steps, and prepare to be amazed by the creamy, stretchy perfection of your homemade mozzarella. Don’t forget to leave a comment below and let me know how it turned out! And if you love this recipe, please give it a rating – your feedback helps others discover this culinary gem too!

Homemade Mozzarella Cheese 🧀🔥
Equipment
- Large saucepan For heating the milk
- Thermometer To monitor milk temperature
- Slotted spoon For removing curds
- Cheesecloth For draining whey
Ingredients
Dairy
- 0.5 gallon Raw or pasteurized whole milk (not ultra-pasteurized)
Acid & Seasoning
- 7 tablespoons White distilled vinegar
- 0.125 teaspoon Cheese salt, kosher salt, or flaky sea salt Optional
Instructions
- Heat the milk in a large saucepan over medium heat to 190-200°F (88-93°C), stirring occasionally.
- Remove from heat and slowly add the vinegar, stirring gently.
- Let the mixture sit undisturbed for 5-10 minutes until curds separate from the whey.
- Line a colander with cheesecloth and carefully pour the curds and whey into it.
- Let the curds drain for at least 30 minutes, or until most of the whey has drained.
- Gently gather the curds and shape them into a ball or desired form.
- Submerge the mozzarella in cold water for at least 30 minutes to firm up.
- Serve immediately or store in the refrigerator for later use.