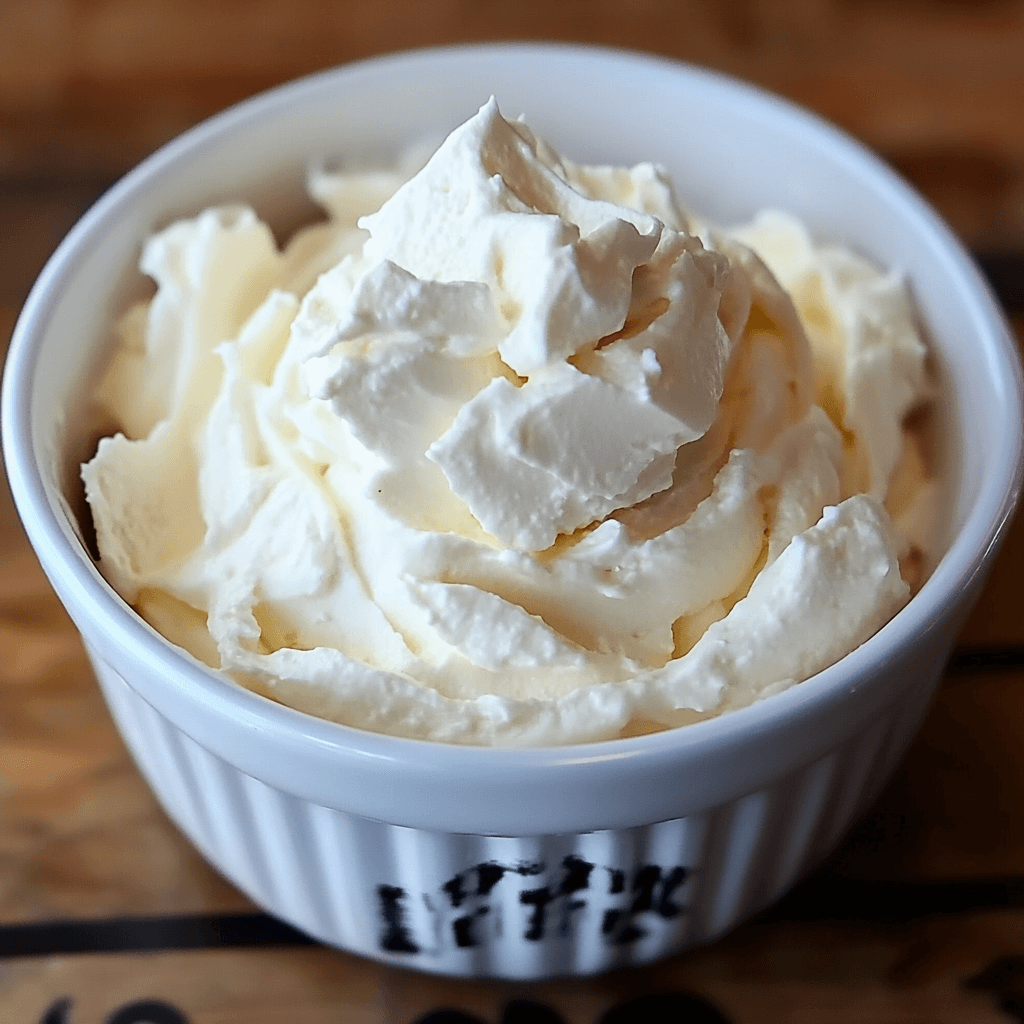
Hey there, fellow food lovers! Are you ready to embark on a culinary adventure that’s as simple as it is rewarding? Today, we’re making homemade cream cheese – and I promise, it’s easier than you think! Forget those store-bought tubs filled with stabilizers and preservatives; this recipe uses just three simple ingredients to create a luscious, tangy, and incredibly satisfying spread. The taste? Prepare to be blown away. It’s creamy, rich, and boasts a delightful tang that’s perfectly balanced. The texture? Think smooth, spreadable perfection, ideal for everything from bagels and toast to cheesecakes and dips. But the best part? This recipe is ridiculously quick. You’ll have creamy, homemade deliciousness in under an hour. I’m telling you, the sense of accomplishment is almost as good as the taste itself. It’s the perfect project for a cozy afternoon, and the results are guaranteed to impress your family and friends (or just yourself!). So grab your apron, let’s get started!
What You’ll Need
This recipe relies on the magic of simple ingredients, showcasing their natural flavors beautifully. You likely already have most of these in your pantry!
4 cups fresh whole milk: The foundation of our creamy dream. Whole milk’s higher fat content gives us that luxuriously rich texture. Don’t substitute with skim or 2%; the results won’t be the same.
2 tablespoons white vinegar: This is the secret ingredient that triggers the magic of curdling, transforming the milk into cream cheese. You can also use lemon juice, but vinegar yields a slightly more tangy result.
1/4 teaspoon salt: Just a pinch to enhance the flavor and balance the tanginess of the vinegar. Sea salt or kosher salt both work perfectly.
Step-by-Step Instructions
Let’s create some creamy magic! This recipe is incredibly straightforward, but paying attention to a few details will yield the best results.
1. Heat the milk: In a medium-sized saucepan, gently heat the milk over medium-low heat. Stir occasionally to prevent scorching. You want it warm, not boiling – aim for around 180°F (82°C). A thermometer is helpful here, but you can also test it by dipping a clean finger into the milk; it should feel comfortably warm, not hot.
2. Add the vinegar: Once the milk is warm, remove it from the heat. Slowly pour in the vinegar, stirring gently and continuously. You’ll immediately see the milk begin to separate, forming curds and whey. This is exactly what we want!
3. Let it sit: Cover the saucepan and let the mixture sit undisturbed for at least 10 minutes. This allows the curds to fully separate and firm up. The longer you let it sit (up to 30 minutes), the firmer your cream cheese will be.
4. Drain the whey: Line a fine-mesh sieve with a cheesecloth or several layers of clean kitchen towels. Place the sieve over a bowl and carefully pour the milk mixture into it. Let it drain for at least 30 minutes. The whey will drip through, leaving behind the cream cheese. The longer you drain, the thicker and drier your cream cheese will be.
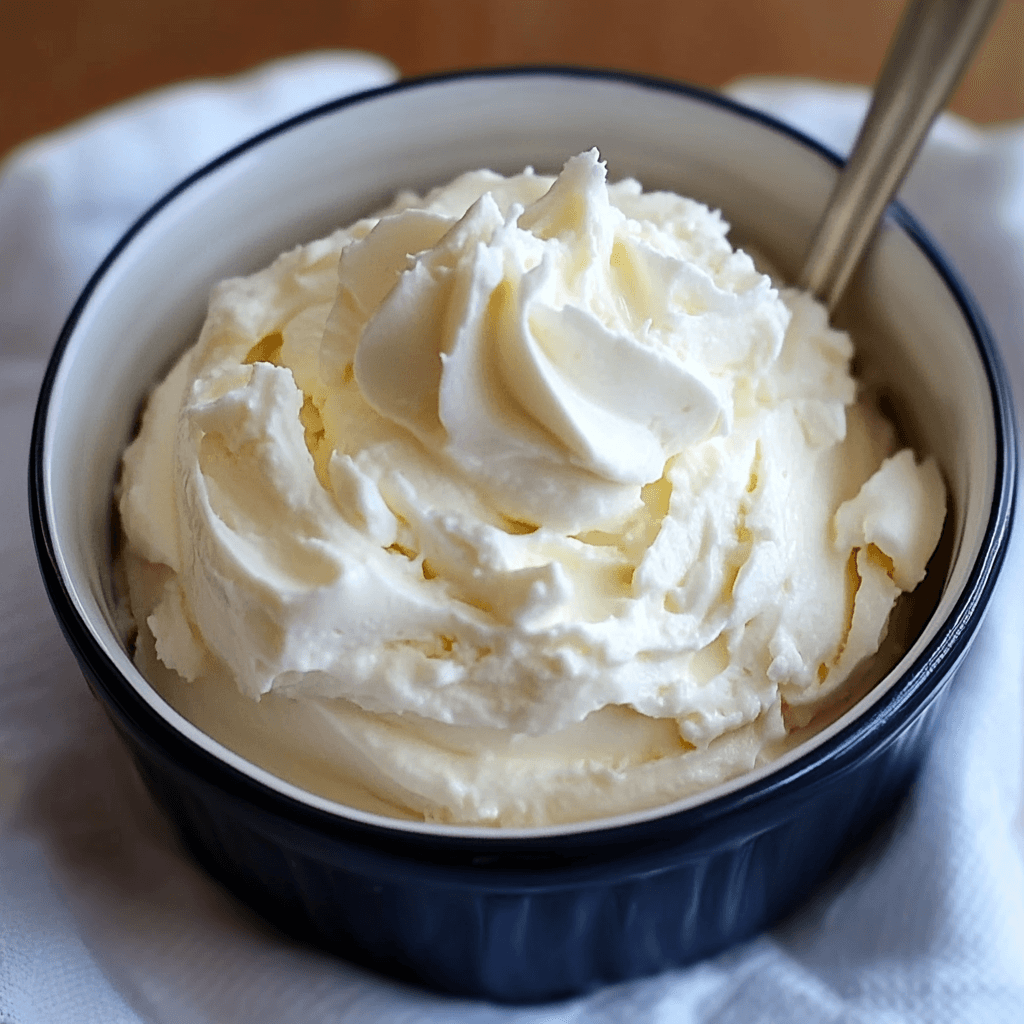
5. Season and mix: Once most of the whey has drained, transfer the curds to a bowl. Add the salt and gently mix until it’s evenly distributed. If you want a smoother cream cheese, you can use a food processor for a few pulses – but be careful not to over-process.
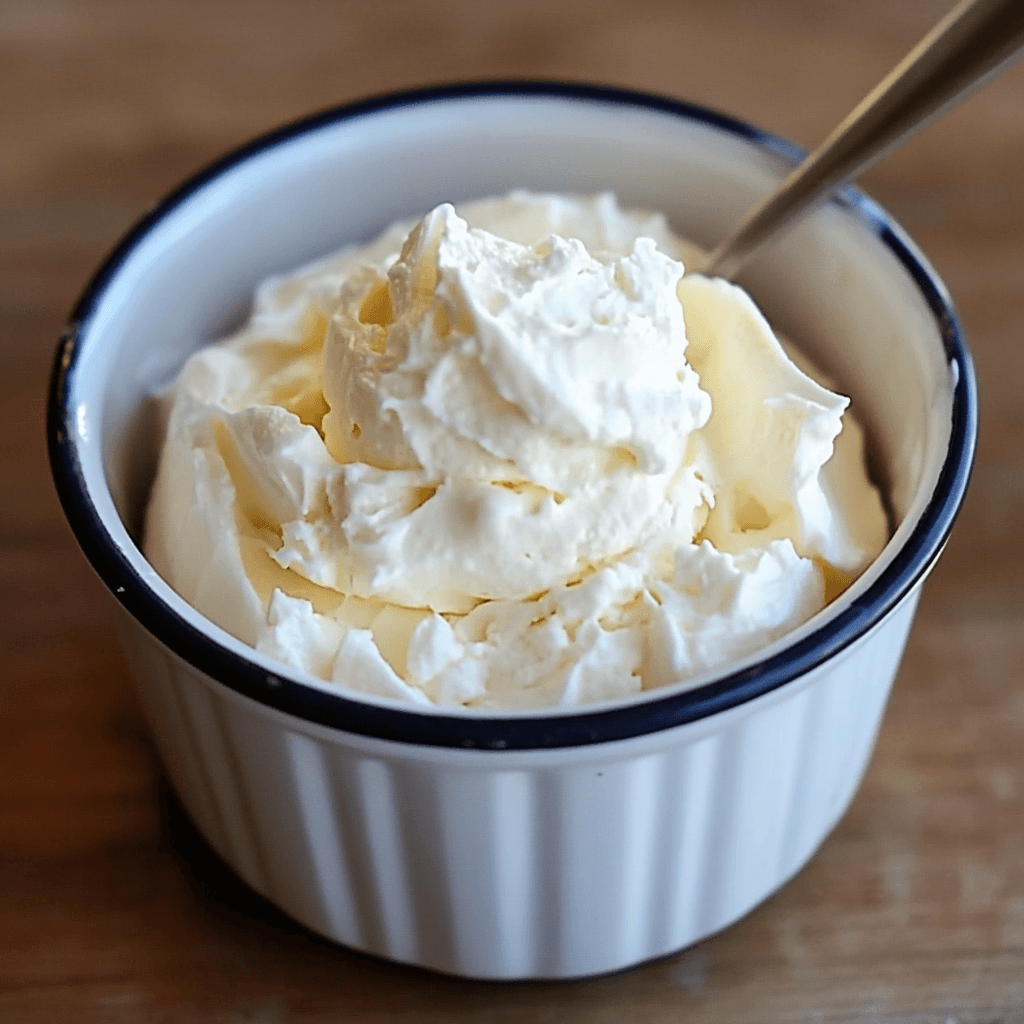
6. Chill and enjoy: Transfer the cream cheese to an airtight container and refrigerate for at least 2 hours to allow it to firm up completely. This step intensifies the flavors and improves the consistency. Now you’re ready to enjoy your homemade cream cheese!
Tips for Success
Don’t overheat the milk: Boiling the milk will result in a grainy texture. Gentle heating is key.
Patience is a virtue: Allowing the mixture to sit and drain properly is crucial for achieving the desired consistency.
Experiment with draining time: Adjust the draining time to achieve your preferred cream cheese texture – longer draining equals firmer cheese.
Use a thermometer: For best results, use a thermometer to ensure your milk reaches the ideal temperature.
Variations to Try
Once you master the basic recipe, get creative!
Herbed Cream Cheese: Add fresh herbs like chives, dill, or basil to the cream cheese before chilling.
Spicy Cream Cheese: Stir in a pinch of cayenne pepper or a few drops of your favorite hot sauce for a spicy kick.
Garlic Cream Cheese: Add a clove of minced garlic for a savory twist.
Sweet Cream Cheese: Incorporate a touch of honey or maple syrup for a sweeter spread.
Storing and Reheating
Your homemade cream cheese will keep in the refrigerator for up to a week in an airtight container. For longer storage, you can freeze it for up to 3 months. To reheat, simply let it come to room temperature or gently microwave it in short bursts, stirring frequently, to avoid overheating and losing its creamy texture.
Frequently Asked Questions
Can I use different types of vinegar? While white vinegar works best, apple cider vinegar can be substituted, but it might impart a slightly different flavor.
What if my cream cheese is too watery? If your cream cheese is too thin, you likely haven’t drained it long enough. Try draining it for a longer period or using a thicker cheesecloth.
Can I make a larger batch? Yes! Simply multiply the ingredients proportionally to make a larger quantity.
How do I get a smoother cream cheese? For a super smooth consistency, use a food processor to briefly blend the drained curds after adding salt.
Can I use this cream cheese for baking? Absolutely! It’s perfect for cheesecakes, frostings, and other baked goods.
The Final Word
Making your own cream cheese is incredibly rewarding – and so much tastier than anything you’ll find in the store! It’s quick, easy, and allows you to control the ingredients and tailor the flavor to your exact preferences. So ditch the store-bought stuff and give this recipe a try. You won’t regret it! Let me know in the comments how yours turned out, and don’t forget to rate the recipe if you enjoyed it. Happy cooking!