
Introduction
Oh, onion dip! Does the mere mention of it bring back memories of your grandma’s house, the smell of a backyard barbecue, or that one unforgettable potluck? I know it does for me! This recipe for the Best Onion Dip is so simple, yet it packs a punch of flavor that will have everyone asking for the secret. It’s the kind of dip that disappears faster than you can say “pass the chips!” Get ready to impress your friends and family with minimal effort.
Why You’ll Love This Recipe
- Fast: Seriously, this comes together in a flash, perfect for last-minute gatherings.
- Easy: No fancy techniques here, just simple steps anyone can follow.
- Giftable: While it’s best enjoyed fresh, a small batch can be a lovely homemade gift for a neighbor.
- Crowd-pleasing: From game nights to holiday parties, this dip is always a hit!
Ingredients
Gathering your ingredients is the easiest part of this recipe. You likely have most of them in your pantry right now!
- 1 medium-to-large sweet onion: Think Walla Walla or Vidalia – they’re naturally sweet and caramelize beautifully. We’ll need about 2 ½ cups when finely chopped.
- 3 tablespoons salted butter: This is where the magic starts, giving our onions that lovely richness.
- ¼ teaspoon fine sea salt: Just enough to enhance all those wonderful onion flavors.
- ⅛ teaspoon fresh ground black pepper: A little pepper adds a subtle warmth.
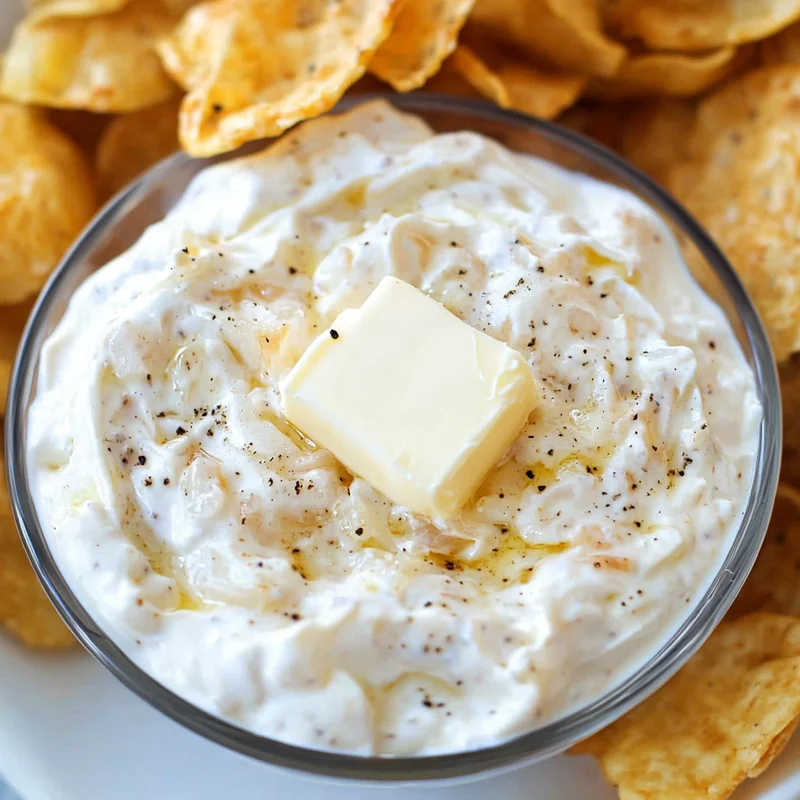
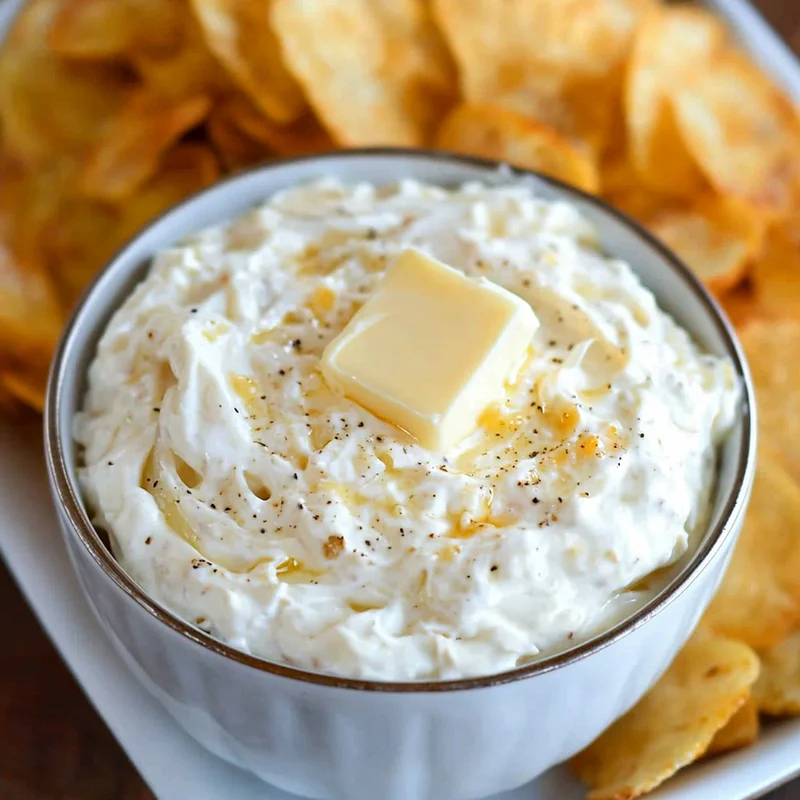
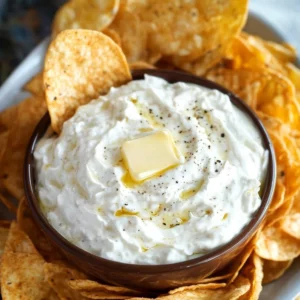
- 1 pint (16 oz or 2 cups) sour cream: The creamy, tangy base that brings it all together.
How to Make It
Let’s get this delicious dip made! It’s so straightforward, you’ll feel like a kitchen pro.
- First things first, get your sweet onion finely chopped. The smaller you chop it, the more evenly it will cook and distribute through the dip.
- Melt the salted butter in a skillet over medium heat. It should be shimmering, not smoking!
- Add your chopped onion to the skillet. Now, let them cook, stirring occasionally. You want them to soften and start turning a beautiful, light golden brown – that’s caramelization, my friends! This usually takes about 15-20 minutes. Patience here is key for flavor!
- Once your onions are looking lovely and soft, stir in the fine sea salt and fresh ground black pepper. Give it a good mix.
- This is important for the best texture: remove the skillet from the heat and let that delicious onion mixture cool for about 5-10 minutes. We don’t want to shock the sour cream!
- In a medium bowl, combine the cooled onion mixture with your pint of sour cream.
- Stir everything together until it’s wonderfully combined and you have a beautiful, creamy dip.
- Now for the final, crucial step: cover the bowl and pop it in the refrigerator for at least 30 minutes. This chilling time allows all those amazing flavors to meld together, making the dip even more delicious. Trust me, it’s worth the wait!
Substitutions & Additions
This recipe is fantastic as is, but you know me, I love to play around! Here are a few ideas:
- Onion Variety: While sweet onions are my favorite here, you can try a yellow onion if that’s what you have on hand, just be mindful of its slightly sharper flavor.
- Creamy Base Swap: For a lighter dip, you can try using plain Greek yogurt instead of sour cream. The texture might be a little thicker, so you might want to stir in a tablespoon of milk if needed.
- A Little Zest: A pinch of garlic powder or a tiny dash of Worcestershire sauce can add another layer of savory depth.
- Fresh Herbs: Stir in some finely chopped fresh chives or parsley just before serving for a pop of color and freshness.
Tips for Success
Want to make sure your dip is absolutely perfect every time? Here are a few pointers from my kitchen to yours:
- Chop Them Fine: The finer you chop your onions, the better they will meld into the dip. A food processor can help if you want to save time, but be careful not to over-process them into a paste.
- Don’t Rush the Caramelization: Cooking the onions slowly and allowing them to caramelize is the secret to unlocking their sweetness and depth of flavor.
- Cooling is Key: Letting the onion mixture cool slightly before adding it to the sour cream prevents the sour cream from becoming watery or separating.
- Prep Ahead: This dip actually tastes even better the next day! So feel free to make it a day in advance for parties. The flavors really deepen overnight.
How to Store It
Leftover onion dip? Lucky you! It’s best stored in an airtight container in the refrigerator. It will stay delicious for about 3-4 days. I love having a little bit left to sneak a spoonful the next day with some crackers!
FAQs
Can I use dehydrated onion soup mix instead?
While many onion dips use dehydrated soup mix, this recipe focuses on the fresh, sweet flavor of real caramelized onions. The taste is wonderfully different and, in my opinion, much more satisfying!
How long should I chill the dip?
At least 30 minutes is recommended to allow the flavors to meld. However, for the absolute best flavor, chilling it for a few hours or even overnight makes a noticeable difference!
What should I serve with this dip?
This dip is fantastic with almost anything! Potato chips (especially ridged ones!), tortilla chips, fresh vegetable crudités like carrots, celery, and bell peppers, or even toasted baguette slices are perfect.
Can I make this dip ahead of time?
Absolutely! In fact, making it ahead of time is highly recommended. The flavors develop and deepen beautifully when it has a chance to chill in the refrigerator for a few hours or even overnight.
The Best Onion Dip
Equipment
- Skillet for caramelizing onions
- Medium bowl for mixing the dip
- Food processor optional, for chopping onions
Ingredients
Main ingredients
- 1 medium-to-large sweet onion Walla Walla or Vidalia recommended, about 2 ½ cups when finely chopped
- 3 tablespoons salted butter
- 0.25 teaspoon fine sea salt
- 0.125 teaspoon fresh ground black pepper
- 1 pint (16 oz or 2 cups) sour cream
Instructions
- First things first, get your sweet onion finely chopped. The smaller you chop it, the more evenly it will cook and distribute through the dip.1 medium-to-large sweet onion
- Melt the salted butter in a skillet over medium heat. It should be shimmering, not smoking!1 medium-to-large sweet onion
- Add your chopped onion to the skillet. Now, let them cook, stirring occasionally. You want them to soften and start turning a beautiful, light golden brown – that's caramelization, my friends! This usually takes about 15-20 minutes. Patience here is key for flavor!1 medium-to-large sweet onion
- Once your onions are looking lovely and soft, stir in the fine sea salt and fresh ground black pepper. Give it a good mix.1 medium-to-large sweet onion
- This is important for the best texture: remove the skillet from the heat and let that delicious onion mixture cool for about 5-10 minutes. We don't want to shock the sour cream!
- In a medium bowl, combine the cooled onion mixture with your pint of sour cream.1 medium-to-large sweet onion
- Stir everything together until it's wonderfully combined and you have a beautiful, creamy dip.
- Now for the final, crucial step: cover the bowl and pop it in the refrigerator for at least 30 minutes. This chilling time allows all those amazing flavors to meld together, making the dip even more delicious. Trust me, it’s worth the wait!