Why You’ll Love This Bimini Bread 🍞🌴
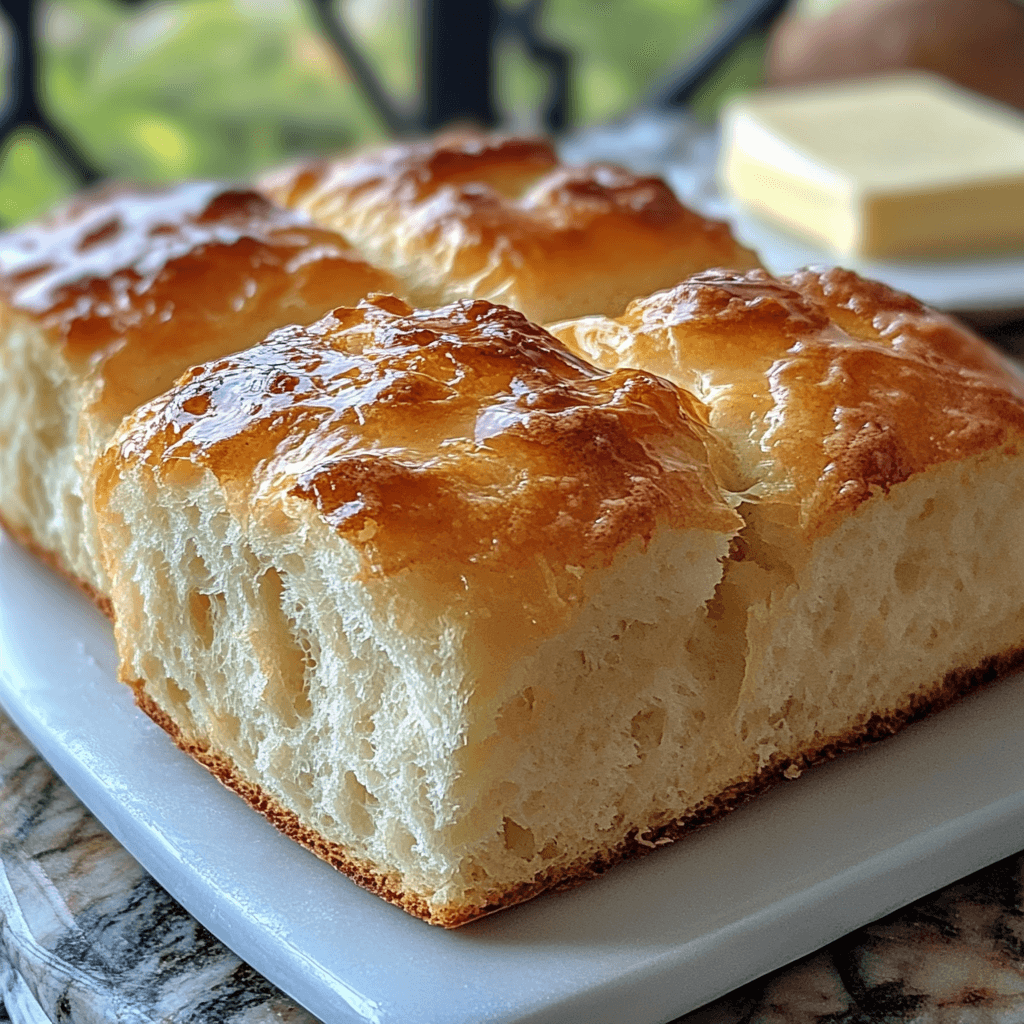
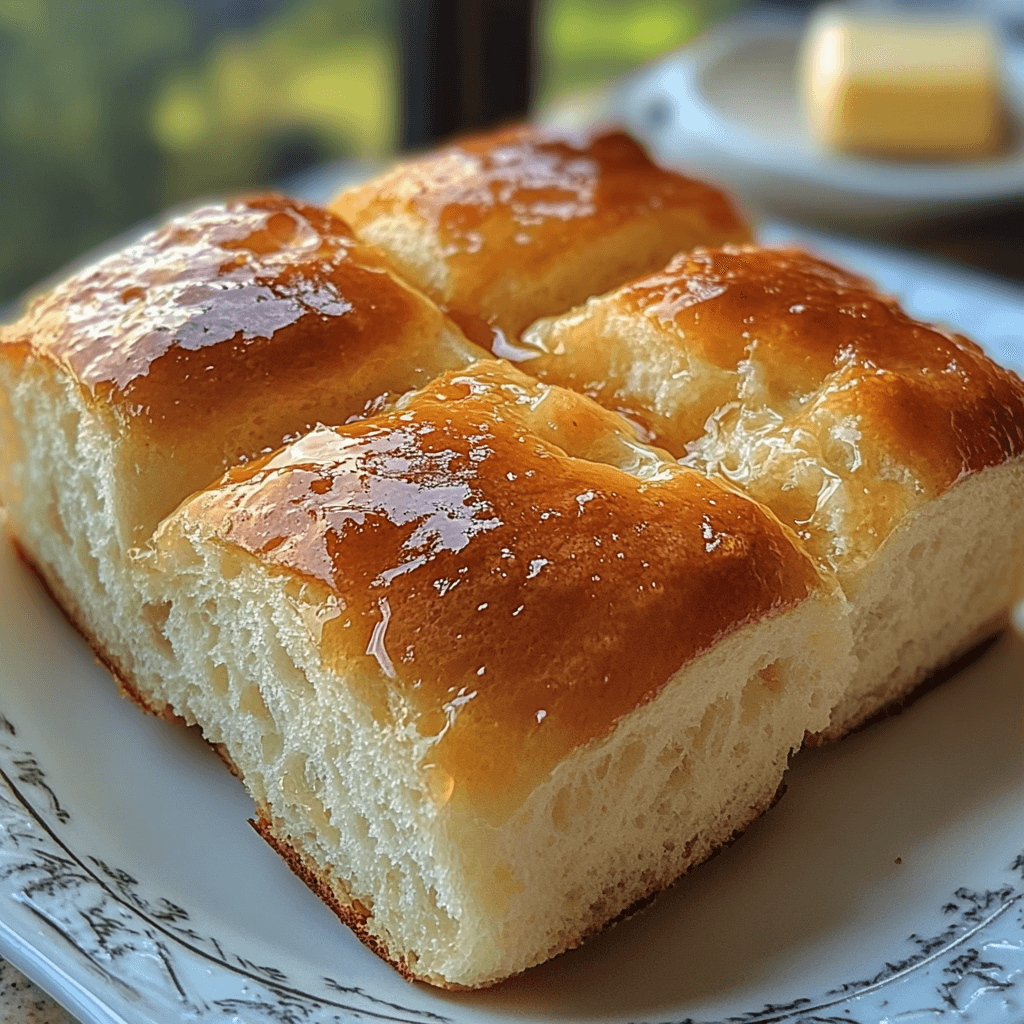
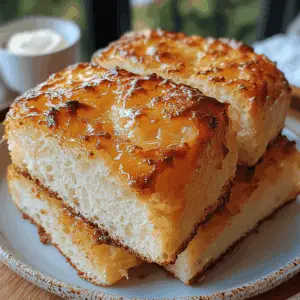
Hey there, fellow bread lovers! Are you ready to transport your taste buds to the sun-kissed shores of Bimini with this incredibly easy and unbelievably delicious Bimini bread recipe? This isn’t your average loaf; it’s a symphony of textures and flavors that will leave you wanting more. Imagine sinking your teeth into a soft, slightly sweet, and wonderfully moist bread, its subtle coconut notes dancing on your tongue. The golden-brown crust, glistening with a luscious honey-butter glaze, adds a touch of irresistible decadence.
What makes this Bimini bread so special? It’s the perfect blend of simple ingredients that come together to create something truly extraordinary. The warm coconut milk infuses the bread with a delicate tropical aroma and a hint of sweetness, complemented beautifully by the honey glaze. The addition of vegetable oil keeps the bread incredibly soft and tender, while the touch of salt balances out the sweetness perfectly. It’s the kind of bread that’s perfect for breakfast, brunch, a casual afternoon snack, or even a sophisticated dessert paired with a cup of coffee or tea. And the best part? It’s surprisingly quick and easy to make!

This recipe evokes a feeling of warmth, relaxation, and island vibes. It’s the kind of bread that makes you want to kick back, relax, and enjoy the simple pleasures in life. Whether you’re a seasoned baker or a complete beginner, this recipe is incredibly forgiving and almost impossible to mess up. So grab your apron, gather your ingredients, and let’s get baking! You’ll be amazed at how easy it is to create this little slice of paradise in your own kitchen. Prepare to be delighted by the taste, texture, and overall delightful experience of this Bimini bread. You won’t regret it!
What You’ll Need
This Bimini bread recipe uses simple, readily available ingredients. Let’s take a closer look at what you’ll need to create this culinary masterpiece:
- Active Dry Yeast (1 packet): This is the leavening agent that gives your bread its airy texture. Make sure your yeast is fresh for best results.
- Warm Coconut Milk (1 cup): This adds a unique tropical flavor and moisture to the bread. Use full-fat coconut milk for the richest flavor.
- Whole Milk or Coconut Milk (¼ cup): Adding a bit of extra liquid helps achieve the perfect consistency. Either whole milk or more coconut milk will work beautifully.
- Sugar (⅓ cup): Provides sweetness and feeds the yeast for optimal rising.
- Vegetable Oil (½ cup): Adds moisture and tenderness to the crumb. Don’t substitute with butter or shortening for this recipe.
- Salt (1 teaspoon): Enhances the flavors and balances the sweetness.
- Large Eggs (3), lightly beaten: Bind the ingredients together and add richness.
- All-Purpose Flour (about 5 cups): The structure of your bread. You may need slightly more or less depending on your flour.
- Honey (3 tablespoons): Adds a touch of sweetness to the dough itself, enhancing the overall flavor profile.
- Honey (5 tablespoons) and Salted Butter (1 stick): These are for the irresistible honey-butter glaze that elevates this bread to a whole new level of deliciousness.
Step-by-Step Instructions
Let’s bake some Bimini Bread! This recipe is easier than you think. Follow these simple steps for perfectly golden, moist and delicious bread:
- Activate the Yeast: In a large bowl, combine the warm coconut milk and 1 teaspoon of the sugar. Sprinkle the yeast over the mixture and let it stand for about 5-10 minutes until foamy. This ensures your yeast is alive and ready to work its magic!
- Combine Wet Ingredients: Once the yeast is foamy, add the remaining sugar, vegetable oil, salt, and beaten eggs. Whisk until well combined. Tip: Make sure your coconut milk is warm, not hot, to avoid killing the yeast.
- Add the Dry Ingredients: Gradually add the flour, one cup at a time, mixing with a wooden spoon or a spatula until a soft dough forms. Tip: Don’t add all the flour at once; the amount needed can vary depending on the humidity and type of flour.
- Knead the Dough: Turn the dough out onto a lightly floured surface and knead for about 5-7 minutes until smooth and elastic. Tip: If the dough is too sticky, add a little more flour, a tablespoon at a time. If it’s too dry, add a teaspoon of water at a time.
- First Rise: Place the dough in a lightly oiled bowl, turning to coat. Cover with plastic wrap and let rise in a warm place for about 1-1.5 hours, or until doubled in size. Tip: A warm oven (turned off) is a great place for your dough to rise.
- Shape the Loaf: Punch down the dough to release the air. Shape it into a loaf and place it in a greased 9×5 inch loaf pan.
- Second Rise: Cover the loaf pan with plastic wrap and let rise for another 30-45 minutes, or until almost doubled in size.
- Bake: Preheat your oven to 350°F (175°C). Bake the bread for 30-35 minutes, or until golden brown and a toothpick inserted into the center comes out clean. Tip: Keep an eye on your bread; ovens vary, and it might need a few extra minutes or less.
- Make the Glaze: While the bread is baking, prepare the glaze. In a small saucepan, combine the honey and butter over low heat. Stir until the butter is melted and the mixture is smooth.
- Glaze and Cool: Once the bread is out of the oven, immediately brush the warm glaze generously over the top. Let the bread cool completely in the pan before slicing and serving.
Tips for Success
Baking bread can seem daunting, but with a few simple tips, you can achieve perfect results every time. Here’s how to avoid common mistakes and elevate your Bimini bread game:
- Use fresh yeast: Expired yeast won’t activate properly, resulting in a flat loaf.
- Don’t over-knead the dough: Over-kneading can lead to a tough bread. Aim for a smooth and elastic dough.
- Let the dough rise properly: Proper rising time is crucial for a light and airy texture.
- Use a good quality loaf pan: A well-greased loaf pan prevents sticking and ensures even baking.
- Check for doneness: Use a toothpick to test for doneness. If it comes out clean, your bread is ready.
Variations to Try
Feel free to experiment with this recipe! Here are a few delicious variations to try:
- Citrus Twist: Add the zest of one orange or lemon to the dough for a bright, refreshing flavor.
- Spiced Bimini Bread: Incorporate 1 teaspoon of cinnamon, ½ teaspoon of nutmeg, and a pinch of cloves into the dough for a warm, spiced bread.
- Nutty Delight: Add ½ cup of chopped nuts (walnuts, pecans, or macadamia nuts) to the dough for added texture and flavor.
- Raisin Bread: Add 1 cup of raisins to the dough for a classic twist.
Storing and Reheating
To keep your Bimini bread fresh and delicious, store it in an airtight container at room temperature for up to 3 days. For longer storage, you can freeze the bread. Simply wrap it tightly in plastic wrap and then foil, and freeze for up to 2 months. To reheat, thaw the bread overnight in the refrigerator and then reheat slices in a toaster oven or regular oven at 350°F (175°C) for a few minutes until warmed through. The honey glaze might need a quick reheat to bring back its delightful shine.
Frequently Asked Questions
Here are some common questions about Bimini Bread, with easy answers to help you out:
- Q: Can I substitute the coconut milk? A: While coconut milk gives the bread its unique flavor, you can substitute it with an equal amount of regular milk or even buttermilk for a slightly tangier taste. However, be mindful that the flavor profile will change.
- Q: How long does Bimini bread last? A: Stored properly in an airtight container at room temperature, your Bimini bread will stay fresh for up to 3 days. Frozen, it can last up to 2 months.
- Q: Can I make this bread in a different shaped pan? A: Yes, you can bake this bread in a round pan or even as individual rolls. Just adjust the baking time accordingly and check for doneness using the toothpick method.
- Q: My bread is dense, what went wrong? A: This can happen if your yeast was old or inactive, or if you didn’t let the dough rise sufficiently. Make sure to check your yeast and allow ample rising time.
- Q: Can I make a smaller batch? A: Yes, you can easily halve or even quarter this recipe, just remember to adjust your baking time accordingly. Check for doneness with a toothpick.
The Final Word
This Bimini bread recipe is a true winner – easy to make, incredibly delicious, and perfect for any occasion. The unique coconut flavor, the soft and tender texture, and that irresistible honey-butter glaze will transport you straight to a tropical paradise. So why wait? Try this recipe today and experience the joy of homemade bread at its finest. Don’t forget to share your baking experience with us in the comments below, and let us know how your Bimini bread turned out! Rate the recipe and let other bread lovers know about this amazing treat!
Bimini Bread 🍞🌴
Equipment
- Mixing bowls Large and medium sized bowls
- 9×13 inch baking pan Or similar sized loaf pan
Ingredients
Wet Ingredients
- 2.25 teaspoons active dry yeast (1 packet)
- 1 cup warm coconut milk
- 0.25 cup whole milk or ¼ cup more coconut milk
- 3 large eggs, lightly beaten
Dry Ingredients
- 0.33 cup sugar
- 0.5 cup vegetable oil
- 1 teaspoon salt
- 5 cups all-purpose flour approximately
- 3 tablespoons honey
Glaze
- 5 tablespoons honey
- 1 stick salted butter
Instructions
- In a large bowl, combine warm coconut milk, yeast, and 1 tablespoon of sugar. Let stand for 5-10 minutes until foamy.
- Add the remaining sugar, oil, salt, and eggs to the yeast mixture. Whisk until well combined.
- In a separate bowl, whisk together the flour and honey.
- Gradually add the dry ingredients to the wet ingredients, mixing until a soft dough forms. Knead for 5-7 minutes until smooth and elastic.
- Place the dough in a lightly oiled bowl, turning to coat. Cover and let rise in a warm place for 1-1.5 hours, or until doubled in size.
- Punch down the dough and shape it into a loaf. Place it in a greased 9×13 inch baking pan.
- Let rise for another 30 minutes.
- Bake at 350°F (175°C) for 30-35 minutes, or until golden brown. While the bread is baking, prepare the glaze by melting the butter and honey together.
- Once the bread is out of the oven, immediately brush the glaze over the top.