Why You’ll Love This Butterfinger Pie Recipe
Hey there, dessert lovers! Are you ready to dive headfirst into a creamy, crunchy, peanut buttery paradise? Then get ready, because this No-Bake Butterfinger Pie is about to become your new favorite obsession. Forget complicated recipes and hours spent in the kitchen; this pie is ridiculously easy to make, requiring minimal effort for maximum flavor impact. Imagine the taste: that smooth, dreamy cream cheese filling, swirled with rich peanut butter and a delightful crunch from the crushed Butterfingers. Every bite is a perfect symphony of textures and tastes that will leave you utterly satisfied. This recipe isn’t just about taste; it’s about the feeling. It’s the perfect treat for a cozy night in, a casual get-together, or even a special occasion. It’s simple enough for a weeknight dessert but impressive enough for a party. This pie evokes a feeling of pure indulgence and happy memories, the kind that lingers long after the last bite. Trust me, you’ll love the ease of preparation, the incredible taste, and the sheer joy of sharing this delightful creation with friends and family. You’ll be surprised how quickly this comes together, leaving you with more time to enjoy the sweet rewards of your labor!

What You’ll Need
This easy Butterfinger pie recipe relies on simple, readily available ingredients. You probably already have most of them in your pantry! Here’s a rundown:
- Cream cheese (8 oz): Make sure it’s softened to room temperature for easy mixing. This will ensure a smooth and creamy filling.
- Whipped topping (8 oz): This adds lightness and airiness to the filling, balancing the richness of the peanut butter and cream cheese. A classic whipped topping brand works perfectly.
- Powdered sugar (1 cup): This provides sweetness and helps to balance the other flavors. Use a fine powdered sugar for best results to avoid a grainy texture.
- Creamy peanut butter (1/2 cup): This adds that irresistible peanut butter flavor and creates a wonderful creamy texture. Use your favorite brand!
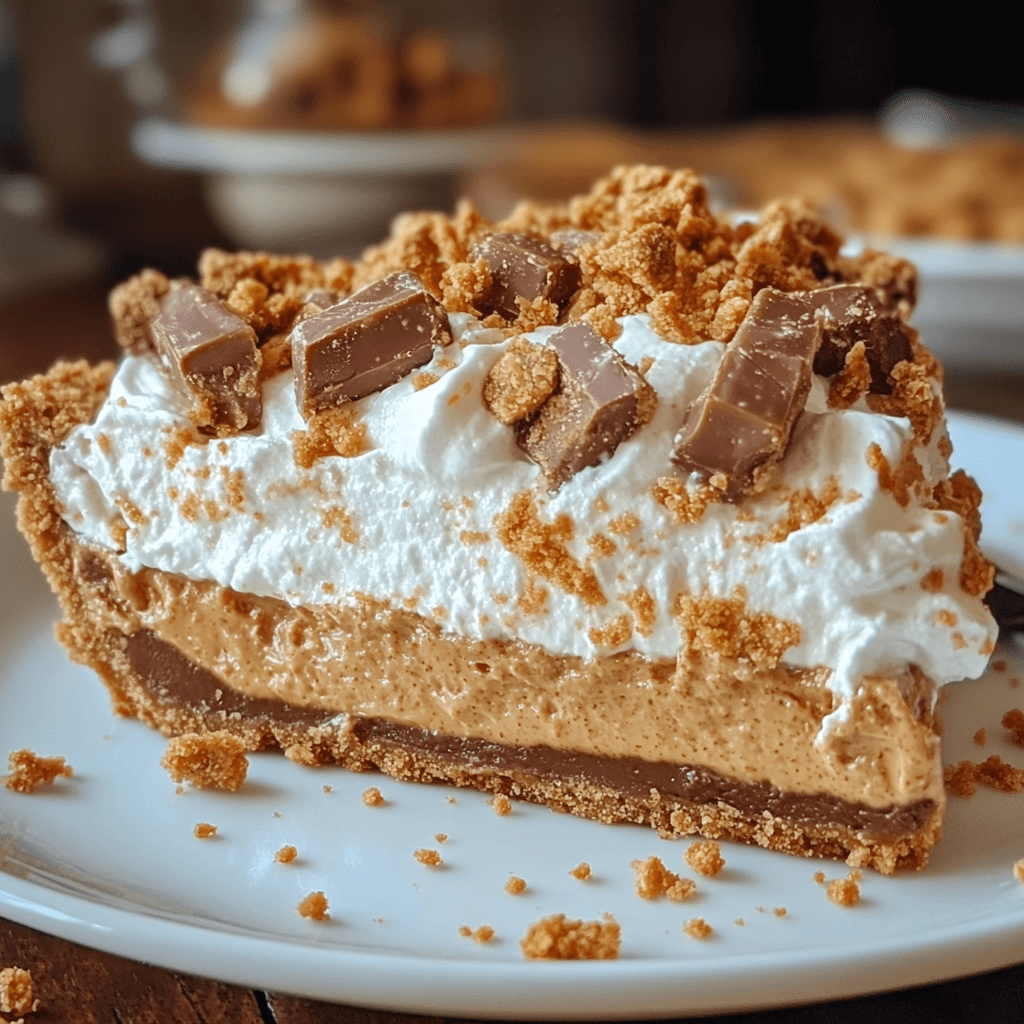
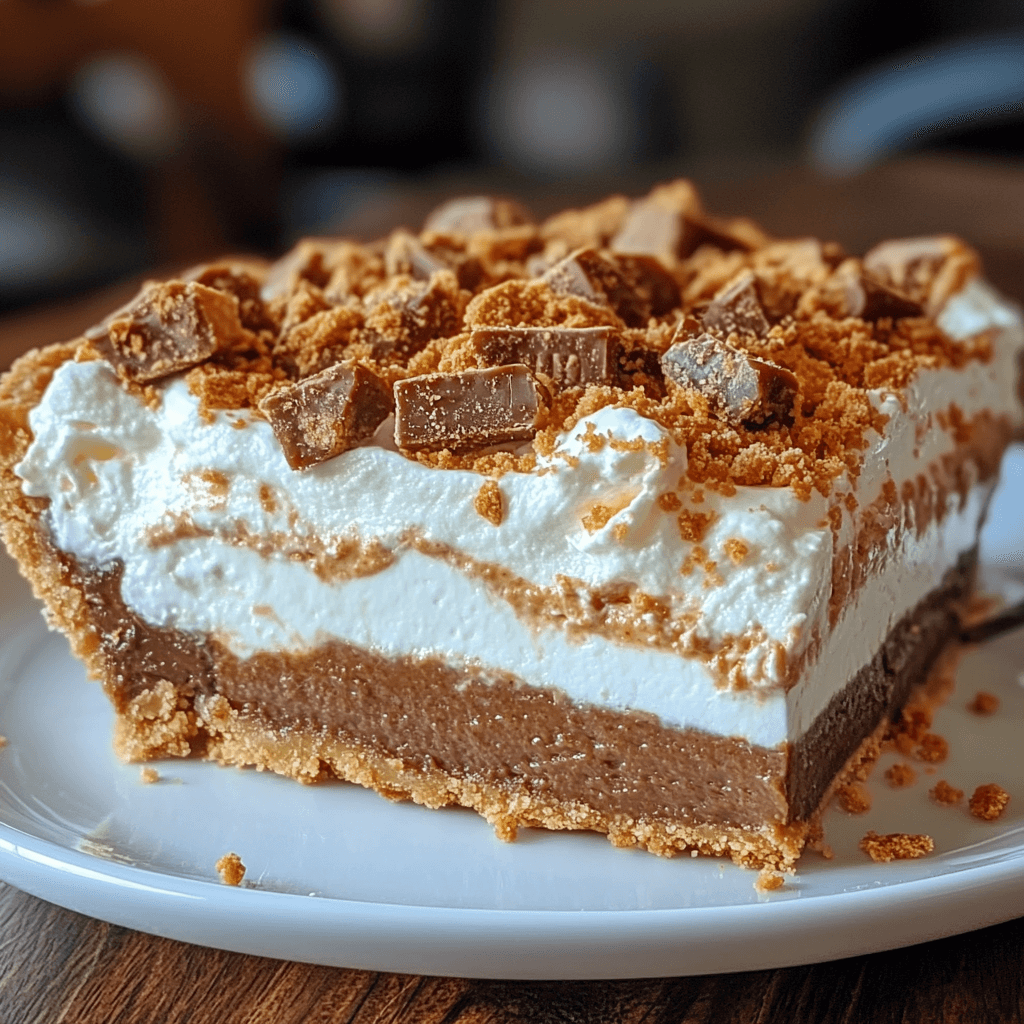
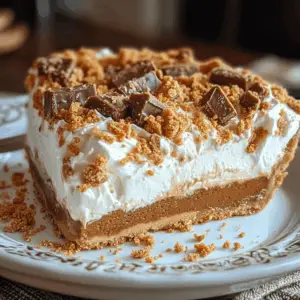
- Butterfinger candy bars (3): The star of the show! Crush these into various sizes for a delightful textural contrast. It’s fun to get the family involved in the crushing process!
- Pre-made graham cracker crust (1): This saves you a ton of time and effort. Choose your favorite brand or even make your own if you’re feeling ambitious!
- Vanilla extract (1/2 tsp): Just a touch of vanilla enhances all the other flavors and adds a warm, comforting note.
Step-by-Step Instructions
Let’s get baking (or rather, assembling!) this delicious Butterfinger pie. It’s easier than you think!
- Prepare the Butterfingers: Start by unwrapping your Butterfinger bars and crushing them into various sizes. Some larger pieces provide a nice textural contrast, while finer crumbs add to the overall consistency. You can use a food processor for a more uniform crush, or simply use a zip-top bag and a rolling pin for a more rustic feel.
- Beat the cream cheese: In a medium-sized bowl, beat the softened cream cheese until it’s smooth and creamy. An electric mixer makes this step a breeze. If your cream cheese is still a bit firm, let it sit at room temperature for a bit longer.
- Add the peanut butter and powdered sugar: Gradually add the powdered sugar and peanut butter to the softened cream cheese, mixing until everything is well combined and smooth. Be careful not to overmix.
- Incorporate the whipped topping: Gently fold in the whipped topping until it’s evenly distributed throughout the mixture. Again, be gentle to avoid deflating the whipped topping.
- Add the vanilla: Stir in the vanilla extract. This adds a nice touch of warmth and complements the other flavors beautifully.
- Combine with crushed Butterfingers: Gently fold in about two-thirds of the crushed Butterfingers. Reserve the remaining crumbs for topping.
- Assemble the pie: Pour the creamy filling into your pre-made graham cracker crust and spread it evenly. Sprinkle the remaining crushed Butterfingers on top.
- Chill and serve: Cover the pie and refrigerate for at least 2 hours, or preferably overnight, to allow the flavors to meld and the filling to set properly. This allows the flavors to fully develop and the pie to become nice and firm.
Tips for Success
To ensure your Butterfinger pie turns out perfectly, here are a few helpful tips:
Use softened cream cheese! This is crucial for a smooth and creamy filling. If you’re short on time, you can microwave your cream cheese for short intervals, checking frequently to avoid melting it.
Don’t overmix the filling! Overmixing can deflate the whipped topping, resulting in a less airy and fluffy texture. Gentle folding is key.
Chill thoroughly! Allowing the pie to chill for at least two hours ensures the filling sets properly and prevents it from being too soft or runny.
Get creative with the topping! Consider adding a drizzle of melted chocolate or a sprinkle of sea salt to enhance the flavor and presentation.
Variations to Try
This recipe is incredibly versatile! Here are a few fun variations to explore:
Chocolate Lovers’ Delight: Add 1/2 cup of melted semi-sweet chocolate chips to the filling for an extra chocolatey kick.
Salted Caramel Swirl: Drizzle some store-bought salted caramel sauce over the chilled pie for a sweet and salty contrast.
Peanut Butter Cup Extravaganza: Crush some peanut butter cups and mix them into the filling or use them as a topping.
Gluten-Free Option: Use a gluten-free graham cracker crust to make this pie suitable for those with gluten sensitivities.
Storing and Reheating
Store leftover pie, tightly covered, in the refrigerator for up to 3 days. The filling will maintain its creamy texture for this period. Freezing isn’t recommended as it can affect the texture of the whipped topping. If you need to serve the pie after it’s been chilled, simply let it sit at room temperature for about 15-20 minutes to soften slightly before serving.
Frequently Asked Questions
Q: Can I use a different type of candy bar? A: Absolutely! Experiment with other crunchy candy bars like Snickers, Milky Way, or even Heath bars for a unique twist.
Q: How long will the pie last? A: Stored properly in the refrigerator, this pie will last for up to 3 days. After that, the whipped topping may start to separate.
Q: Can I make this pie ahead of time? A: Yes! This pie is perfect for making ahead. In fact, the flavors will meld better if you chill it overnight.
Q: Is it possible to make this pie without a pre-made crust? A: Yes! You can certainly make your own graham cracker crust or even use a chocolate cookie crust for a different flavor profile.
Q: Can I add other toppings? A: Feel free to get creative! Chopped nuts, chocolate shavings, or even a sprinkle of sea salt would be delicious additions.
The Final Word
This No-Bake Butterfinger Pie is the ultimate easy-to-make, crowd-pleasing dessert. Its creamy, crunchy, and peanut buttery goodness is guaranteed to be a hit with everyone. The simplicity of the recipe doesn’t compromise on taste; in fact, it enhances it. The combination of textures and flavors creates a truly decadent experience. So, gather your ingredients, put on some music, and enjoy the fun of creating this delicious treat. Once you’ve made this pie, don’t forget to share your thoughts in the comments below. Let us know how it turned out and how you customized your own version! Give this recipe a try and let us know what you think! Happy baking!
Butterfinger Pie recipe
Equipment
- Mixing bowls At least two, one large and one medium
- Spatula For mixing and spreading
Ingredients
Crust & Filling
- 1 package cream cheese 8 oz, softened
- 1 container whipped topping 8 oz
- 1 cup powdered sugar
- 0.5 cup creamy peanut butter
- 0.5 tsp vanilla extract
Topping
- 3 Butterfinger candy bars crushed
- 1 pre-made graham cracker crust
Instructions
- In a large bowl, beat the softened cream cheese until smooth.
- Add the powdered sugar and peanut butter; beat until well combined.
- Stir in the whipped topping and vanilla extract until just mixed.
- Crush the Butterfinger candy bars into small pieces.
- Pour the cream cheese mixture into the graham cracker crust.
- Sprinkle the crushed Butterfingers evenly over the filling.
- Refrigerate for at least 2 hours to allow the pie to set.
- Serve chilled and enjoy!