
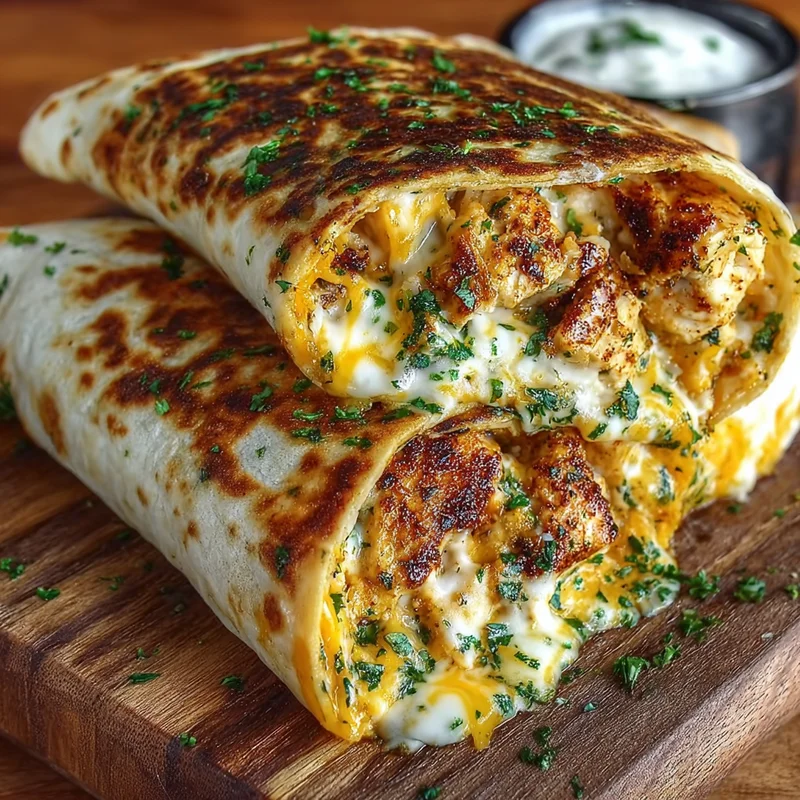
Introduction
Do you ever get that craving for something warm, cheesy, and utterly satisfying after a long day? I know I do! It’s like a little hug in food form. And when that craving hits, I’ve got just the recipe that never fails to hit the spot: these Ooey-Gooey Cheesy Garlic Chicken Wraps. Seriously, they’re so simple, so quick, and just so darn delicious, you’ll be making them again and again. They’re perfect for a busy weeknight, a casual get-together, or even as a fun lunch treat. Let’s get cooking!
Why You’ll Love This Recipe
- Fast: Ready in under 30 minutes, perfect for when you’re short on time.
- Easy: Simple steps that even beginner cooks can master.
- Giftable: Imagine these wrapped up for a friend who needs a little pick-me-up! (Though they’re so good, you might want to keep them all for yourself!)
- Crowd-pleasing: Kids and adults alike go crazy for these cheesy delights.
Ingredients
Gathering your ingredients is the first step to culinary success, and for these wraps, it’s a breeze!
- 2 cups cooked, diced chicken breast: This is your flavor base! Rotisserie chicken works like a charm here for maximum convenience.
- 4 cloves garlic, minced: Garlic is pure magic, isn’t it? The aroma alone is enough to make your kitchen feel like home.
- 1 tablespoon olive oil: Just enough to get our garlic perfectly fragrant.
- 1 cup shredded mozzarella cheese: For that irresistible stretch and melt!
- 1 cup shredded cheddar cheese: Adds a sharp, savory kick. The combo is pure cheesy bliss.
- 4 medium flour tortillas: Your trusty vessels for all this goodness.
- 1 tablespoon butter: To get that beautiful golden-brown crisp on the outside.
- 1 tablespoon chopped parsley (optional): A little pop of color and freshness, but totally delicious without it too!
- Salt and black pepper, to taste: The finishing touches that bring all the flavors together.
How to Make It
Alright, let’s get our hands a little saucy (or cheesy, in this case!). This is where the magic happens.
- Get your garlic going: Grab a skillet and heat your olive oil over medium heat. Toss in your minced garlic and give it a quick sauté. You want it to smell amazing and fragrant, but not browned – about 1 minute should do the trick.
- Chicken party in the pan: Now, add your cooked, diced chicken to the skillet. Stir it around to get coated in that yummy garlic-infused oil. Let it heat through for about 2-3 minutes.
- Cheese, please! This is where things get seriously exciting. Stir in both your shredded mozzarella and cheddar cheeses. Keep stirring occasionally until all that cheese is wonderfully melted and bubbly, coating every piece of chicken.
- Season to perfection: Taste your cheesy chicken mixture and add salt and black pepper as needed. A little goes a long way to make those flavors sing.
- Warm those tortillas: While your filling is getting all cozy, warm your flour tortillas according to the package instructions. A quick warm-up makes them pliable and easy to roll.
- Fill ‘em up: Spoon that glorious cheesy chicken mixture evenly onto the center of each warmed tortilla. Don’t overfill, or rolling might get a little messy (though still delicious!).
- Roll ‘em tight: Fold in the sides of each tortilla, like you’re tucking them in for a nap, and then roll them up as tightly as you can. This helps keep all that gooey goodness inside.
- Get that crisp: Melt the butter in that same skillet you used earlier over medium heat.
- Sear to golden perfection: Place your rolled-up wraps seam-side down in the skillet. Cook them for about 2-3 minutes per side, or until they’re beautifully golden brown and you can see that cheese oozing out (the best part!).
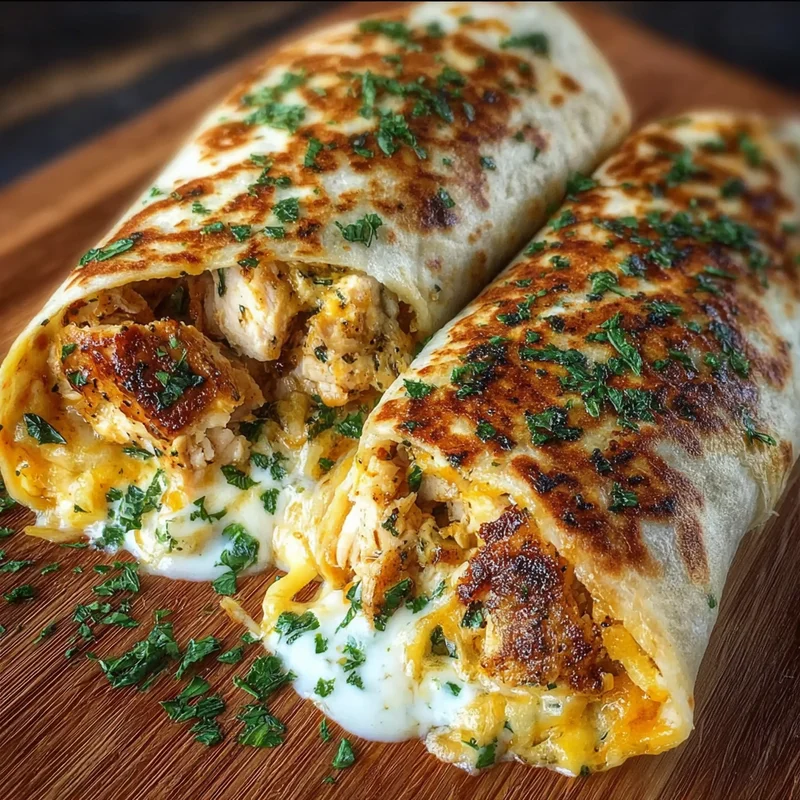
- Garnish and serve: If you’re using parsley, sprinkle it over the top for a fresh finish. Serve these beauties up immediately and watch them disappear!
Substitutions & Additions
The beauty of this recipe is its flexibility! Feel free to play around and make it your own.
- Chicken: Leftover turkey or even some seasoned ground beef would work in a pinch!
- Cheese: Monterey Jack, Pepper Jack (for a little heat!), or a Colby blend are fantastic swaps.
- Veggies: Sautéed onions, bell peppers, or even some spinach stirred in with the chicken before adding the cheese can add extra flavor and nutrition.
- Spice: A pinch of red pepper flakes in the skillet with the garlic will give these wraps a nice kick.
- Sauce: A dollop of ranch dressing or a drizzle of hot sauce inside the tortilla before adding the filling is divine!
Tips for Success
A few little secrets to ensure your wraps are the star of the show!
- Don’t overcrowd the skillet: When you’re searing the wraps, give them a little space in the pan so they can get nice and crispy. You might need to do this in batches.
- Use pre-cooked chicken: This is truly the biggest time-saver! Rotisserie chicken or even leftover baked chicken makes this recipe a weeknight savior.
- Warm tortillas are key: Cold tortillas are prone to tearing. A quick zap in the microwave or on a dry skillet makes them wonderfully pliable.
- Prep ahead: You can cook and dice your chicken and mince your garlic a day in advance. Just store them separately in the fridge. Then, when dinner time rolls around, it’s just a matter of minutes!
How to Store It
These wraps are best enjoyed fresh, but if you happen to have any leftovers (which is rare in my house!), here’s how to store them.
Once completely cooled, wrap the wraps tightly in plastic wrap or place them in an airtight container. They’ll keep in the refrigerator for up to 2 days. To reheat, you can gently warm them in a skillet over low heat until heated through, or pop them in a toaster oven for a few minutes. Microwaving can make them a bit soft, but they’ll still be delicious!
FAQs
Got a question? We’ve got answers!
Can I make these vegetarian?
Absolutely! You can swap the chicken for a can of drained and rinsed black beans or chickpeas, or even some sautéed mushrooms and onions. Just follow the same cheese-melting steps!
Are these spicy?
As written, they’re not spicy at all. If you like a little heat, I recommend adding a pinch of red pepper flakes with the garlic or using a Pepper Jack cheese blend.
Can I freeze these?
It’s best not to freeze these once they’ve been cooked. The texture of the tortilla and the melted cheese can change quite a bit after thawing. They are so quick to make, though, that it’s easy to whip up a fresh batch!

Ooey-Gooey Cheesy Garlic Chicken Wraps
Equipment
- Skillet
Ingredients
Main ingredients
- 2 cups cooked, diced chicken breast rotisserie chicken recommended
- 4 cloves garlic minced
- 1 tablespoon olive oil
- 1 cup shredded mozzarella cheese
- 1 cup shredded cheddar cheese
- 4 medium flour tortillas
- 1 tablespoon butter
- 1 tablespoon chopped parsley optional
- salt and black pepper to taste
Instructions
- Heat olive oil in a skillet over medium heat. Sauté minced garlic for about 1 minute until fragrant, but not browned.
- Add cooked, diced chicken to the skillet and stir to coat. Heat through for 2-3 minutes.
- Stir in mozzarella and cheddar cheeses. Cook, stirring occasionally, until cheese is melted and bubbly.
- Season the cheesy chicken mixture with salt and black pepper to taste.
- Warm the flour tortillas according to package instructions.
- Spoon the cheesy chicken mixture onto the center of each warmed tortilla.
- Fold in the sides of each tortilla and roll them up tightly.
- Melt butter in the same skillet over medium heat.
- Place rolled wraps seam-side down in the skillet. Cook for 2-3 minutes per side, until golden brown and cheese is oozing.
- Garnish with parsley if using, and serve immediately.