Introduction
Oh, friend, gather ’round! There’s nothing quite like the smell of cinnamon and apples baking in your oven, is there? It just wraps you up in a warm hug and takes you right back to simpler times. Maybe it’s a memory of your grandma’s kitchen, or maybe it’s just the pure comfort of a classic dessert. Whatever it is, this Cinnamon Apple Cobbler is here to deliver that cozy feeling right into your home.
And guess what? It’s SO much easier than you might think! We’re talking simple ingredients you probably have on hand, minimal fuss, and a result that tastes like you spent hours slaving away. It’s perfect for a chilly evening, a Sunday dinner, or just because you deserve a little sweet treat. Trust me, once you make this, it’ll become a family favorite!
Why You’ll Love This Recipe
- Fast: Quick prep means you can get this in the oven without spending all afternoon in the kitchen.
- Easy: No fancy techniques or complicated steps here – perfect for beginners!
- Giftable: Whip up a batch in a pretty dish and you’ve got the perfect hostess gift or neighbor treat.
- Crowd-Pleasing: Who can resist warm, bubbly apples topped with a soft, sweet biscuit-like topping? Add a scoop of ice cream, and you’re a legend!

Ingredients
Here’s what you’ll need to whip up this magic. Simple, wholesome goodness!
- 6 cups sliced or cubed apples (about 6 medium apples) – Use a mix of sweet and tart for best flavor! Honeycrisp, Fuji, Gala, or good old Granny Smith work beautifully.
- 1/2 cup granulated sugar (for the filling) – Just enough sweetness to bring out the apple flavor.
- 1/4 cup all-purpose flour (for the filling) – This helps thicken up that lovely apple juice so it becomes a delicious sauce.
- 1 teaspoon ground cinnamon (for the filling) – The heart of the cozy flavor!
- 1/4 teaspoon ground nutmeg (optional, for the filling) – Adds an extra layer of warmth, especially nice in the fall.
- 1 tablespoon lemon juice (optional, for the filling) – A little splash brightens everything up and keeps the apples from browning while you prep.
- 1 cup all-purpose flour (for the topping) – The base for our lovely cobbler crust.
- 1/4 cup granulated sugar (for the topping) – For sweetness in the topping.
- 1/4 cup packed light brown sugar (for the topping) – Adds moisture and that lovely caramel-y note to the topping. Make sure it’s packed!
- 1 1/2 teaspoons baking powder (for the topping) – This gives our topping that nice, fluffy lift.
- 1/4 teaspoon salt (for the topping) – A little salt balances the sweetness beautifully.
- 6 tablespoons cold unsalted butter, cut into small pieces (for the topping) – Make sure it’s COLD! This is key for creating those lovely pockets of tenderness in the topping.
- 1/2 cup milk or heavy cream (for the topping) – Either works! Milk makes a slightly lighter topping, cream makes it richer.
How to Make It
Alright, let’s get cooking! Don’t worry, we’ll go through it step by step.
- First things first, get your oven ready. Preheat it to 375°F (190°C). While it’s heating up, grab your 9×13 inch baking dish (or one about that size) and have it standing by.
- Now, let’s get those apples ready! In a big bowl, toss your sliced or cubed apples with the 1/2 cup granulated sugar, 1/4 cup flour, cinnamon, and the nutmeg and lemon juice if you’re using them. Give everything a good stir until all the apple pieces are nicely coated. They should look sparkly and inviting!
- Pour this delicious apple mixture into your prepared baking dish. Spread them out into a nice even layer.
- Time for the topping! In a separate medium bowl, whisk together the 1 cup flour, 1/4 cup granulated sugar, brown sugar, baking powder, and salt. Just a quick whisk to mix the dry ingredients.
- Now for the butter. Add those cold, small pieces of butter to the dry ingredients. Use a pastry blender or your clean fingertips to cut the butter into the flour mixture. Work it in until it looks like coarse crumbs, maybe with a few pea-sized pieces still there. This is where that cold butter works its magic!
- Pour in the milk or cream. Stir gently until everything is just combined. Don’t overmix! A few lumps are totally fine. You’re looking for a soft dough or a thick batter.
- Spoon or dollop the topping mixture evenly over the apple filling in the baking dish. It doesn’t have to be perfect! Just get it spread out so it covers most of the apples.
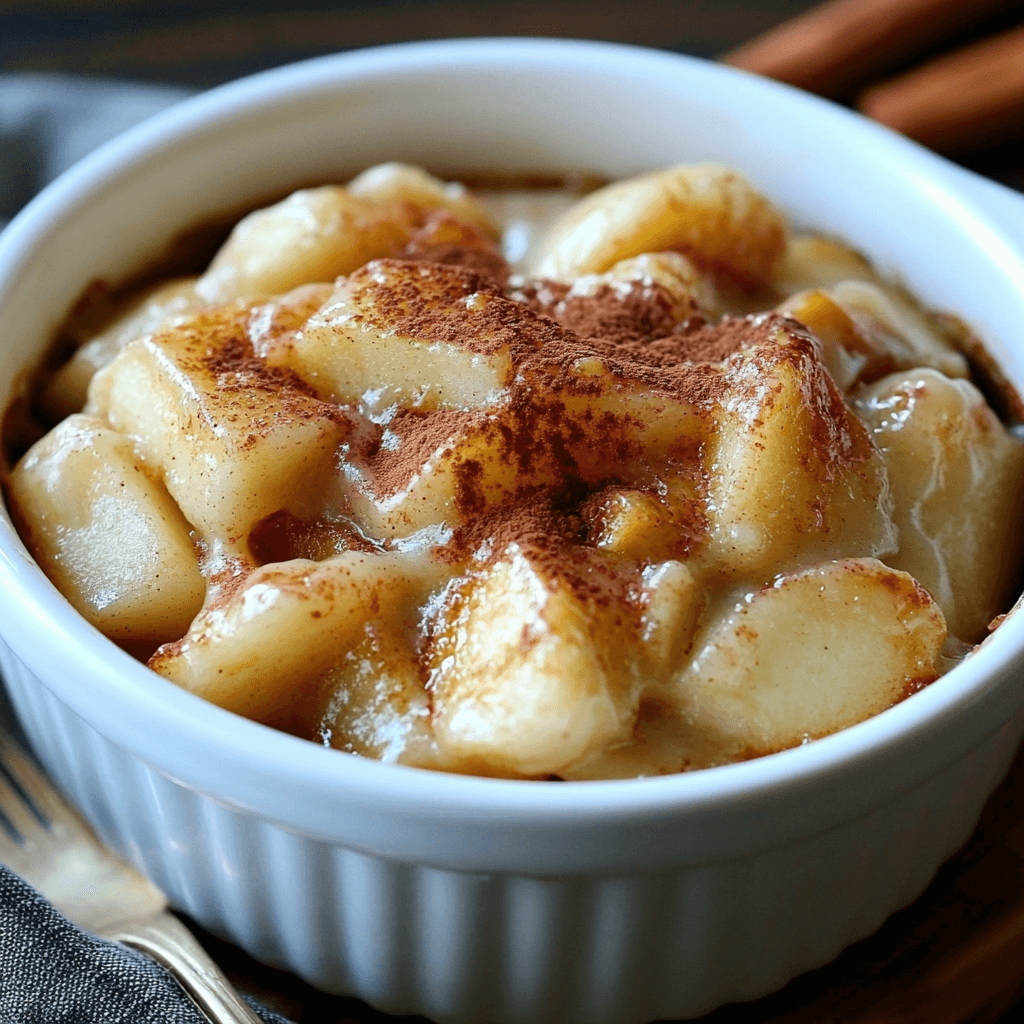
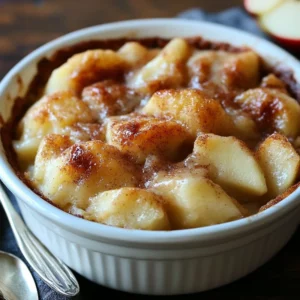
- Pop the dish into your preheated oven. Bake for 35-45 minutes. You’ll know it’s done when the apple filling is visibly bubbling up around the edges and the topping is beautifully golden brown and cooked through.
- Once it’s out of the oven, let it stand for 10-15 minutes before you dig in. This lets the filling thicken up slightly and saves you from burning your tongue on molten apple lava (learned that the hard way!).
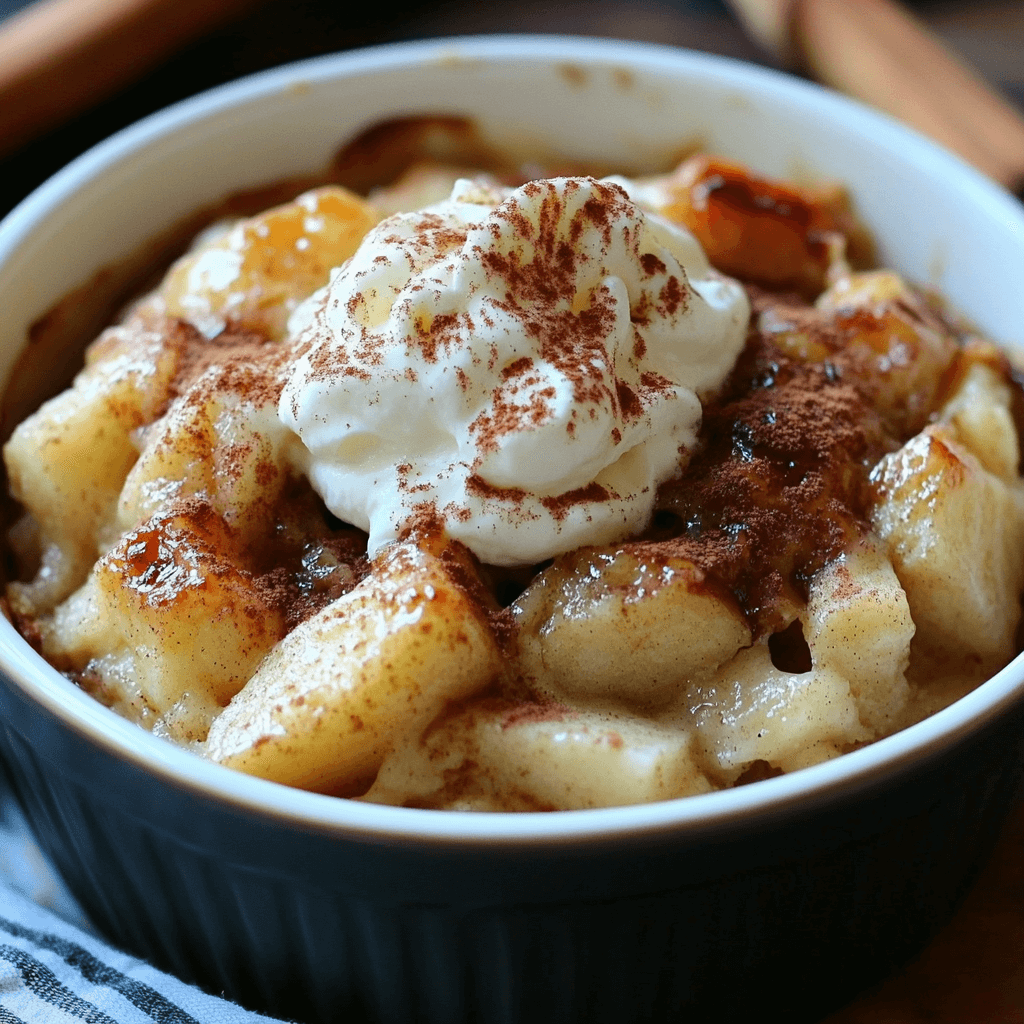
Serve warm, maybe with a scoop of vanilla ice cream or a dollop of whipped cream. Pure heaven!
Substitutions & Additions
Want to mix things up? Here are some ideas:
- Different Fruit: Peaches, berries (strawberries, blueberries, raspberries), cherries, or a mix of fruits work wonderfully in place of or with the apples. You might need to adjust the sugar depending on the sweetness of the fruit.
- Spice It Up: Add a pinch of ground ginger, cardamom, or a touch of apple pie spice to the filling.
- Add Some Crunch: Stir 1/4 cup of chopped nuts (like pecans or walnuts) or some rolled oats into the topping mixture before adding the liquid.
- Flavor Boost: Add a teaspoon of vanilla extract to the milk/cream for the topping.
- Richer Topping: Use buttermilk instead of milk/cream for a tangy twist, or sour cream for extra richness.
Tips for Success
Even though this is easy, a few little pointers can make it absolutely perfect!
- Choose the Right Apples: A mix of sweet and tart baking apples gives the best flavor complexity. Avoid apples that turn to mush when baked (like Red Delicious).
- Slice Evenly: Try to slice your apples into roughly the same thickness so they cook at the same rate. About 1/4 to 1/2 inch thick is usually good.
- Cold Butter is Key: Seriously! Don’t use softened butter. Cold butter cut into the dry ingredients creates little pockets that melt as it bakes, resulting in a tender topping with lovely texture.
- Don’t Overmix the Topping: Just stir until the dry ingredients are just moistened. Overmixing can develop the gluten and make the topping tough.
- Keep an Eye on It: Ovens vary, so start checking around the 35-minute mark. Look for that bubbly filling and golden topping. If the topping browns too quickly, you can loosely tent it with foil.
- Let it Rest: The 10-15 minute resting period isn’t just to save your tongue – it allows the hot apple juices to thicken slightly, so your cobbler isn’t too runny when you scoop it.
How to Store It
Got leftovers? (Lucky you!)
Let the cobbler cool completely at room temperature. Cover it tightly with plastic wrap or foil, or transfer to an airtight container. It will keep in the refrigerator for 3-4 days. You can reheat individual portions in the microwave or reheat the whole dish loosely covered with foil in a 350°F (175°C) oven until warmed through.
FAQs
- Can I use frozen apples?
- Yes, but you may need to thaw them first and drain off excess liquid. You might also need to add a little extra flour (maybe another tablespoon) to the filling mixture to account for the extra moisture.
- Why is my topping tough?
- This is usually due to overmixing the topping dough once the liquid is added, or using butter that wasn’t cold enough. Make sure you just stir until the dry ingredients are just combined.
- What are the best apples for apple cobbler?
- A mix is ideal! Try combining a tart apple like Granny Smith with sweeter, firmer apples like Honeycrisp, Fuji, or Gala. These hold their shape well and give great flavor.
- Can I make the filling ahead of time?
- You can mix the apple filling ingredients a few hours ahead of time and keep them covered in the fridge. I recommend making the topping fresh just before baking for the best texture.
Our Favorite Cozy Cinnamon Apple Cobbler Recipe
Equipment
- Baking dish 9×13 inch or similar
- Large bowl
- Medium bowl
- Whisk
- pastry blender optional
- foil optional, for tenting
Ingredients
Apple Filling
- 6 cups sliced or cubed apples about 6 medium apples; Use a mix of sweet and tart for best flavor!
- 0.5 cup granulated sugar for the filling
- 0.25 cup all-purpose flour for the filling
- 1 teaspoon ground cinnamon for the filling
- 0.25 teaspoon ground nutmeg optional, for the filling
- 1 tablespoon lemon juice optional, for the filling
Cobbler Topping
- 1 cup all-purpose flour for the topping
- 0.25 cup granulated sugar for the topping
- 0.25 cup packed light brown sugar for the topping
- 1.5 teaspoons baking powder for the topping
- 0.25 teaspoon salt for the topping
- 6 tablespoons cold unsalted butter cut into small pieces, for the topping
- 0.5 cup milk or heavy cream for the topping
Instructions
- First things first, get your oven ready. Preheat it to 375°F (190°C). While it’s heating up, grab your 9×13 inch baking dish (or one about that size) and have it standing by.
- Now, let’s get those apples ready! In a big bowl, toss your sliced or cubed apples with the 1/2 cup granulated sugar, 1/4 cup flour, cinnamon, and the nutmeg and lemon juice if you’re using them. Give everything a good stir until all the apple pieces are nicely coated. They should look sparkly and inviting!
- Pour this delicious apple mixture into your prepared baking dish. Spread them out into a nice even layer.
- Time for the topping! In a separate medium bowl, whisk together the 1 cup flour, 1/4 cup granulated sugar, brown sugar, baking powder, and salt. Just a quick whisk to mix the dry ingredients.
- Now for the butter. Add those cold, small pieces of butter to the dry ingredients. Use a pastry blender or your clean fingertips to cut the butter into the flour mixture. Work it in until it looks like coarse crumbs, maybe with a few pea-sized pieces still there. This is where that cold butter works its magic!
- Pour in the milk or cream. Stir gently until everything is just combined. Don’t overmix! A few lumps are totally fine. You’re looking for a soft dough or a thick batter.
- Spoon or dollop the topping mixture evenly over the apple filling in the baking dish. It doesn’t have to be perfect! Just get it spread out so it covers most of the apples.
- Pop the dish into your preheated oven. Bake for 35-45 minutes. You’ll know it’s done when the apple filling is visibly bubbling up around the edges and the topping is beautifully golden brown and cooked through.
- Once it’s out of the oven, let it stand for 10-15 minutes before you dig in. This lets the filling thicken up slightly and saves you from burning your tongue on molten apple lava (learned that hard way!).