
Why You’ll Love This Condensed Milk Cheesecake Bars Recipe
Cheesecake lovers, rejoice! If you’ve ever wanted to enjoy the silky-smooth, decadent texture of cheesecake without the hassle of traditional baking methods, these condensed milk cheesecake bars are exactly what you need. Easy to make, no-bake, and bursting with creamy, sweet goodness, they’re perfect for any occasion—whether it’s a special celebration or just a treat to satisfy your dessert cravings.

With a buttery, crumbly crust that serves as the perfect base and a rich, velvety cheesecake filling made with sweetened condensed milk, these cheesecake bars are guaranteed to become a favorite in your dessert rotation. The balance of tangy cream cheese, the sweetness of condensed milk, and the slight zing from sour cream (optional) makes each bite an unforgettable experience. What’s even better is the simplicity of the recipe; no need for a springform pan or complicated techniques. These bars come together quickly and easily, leaving you with minimal cleanup and maximum satisfaction.
Whether you’re a seasoned baker or someone looking for a quick dessert that impresses, this recipe is a keeper. Let’s dive into the details so you can start baking!
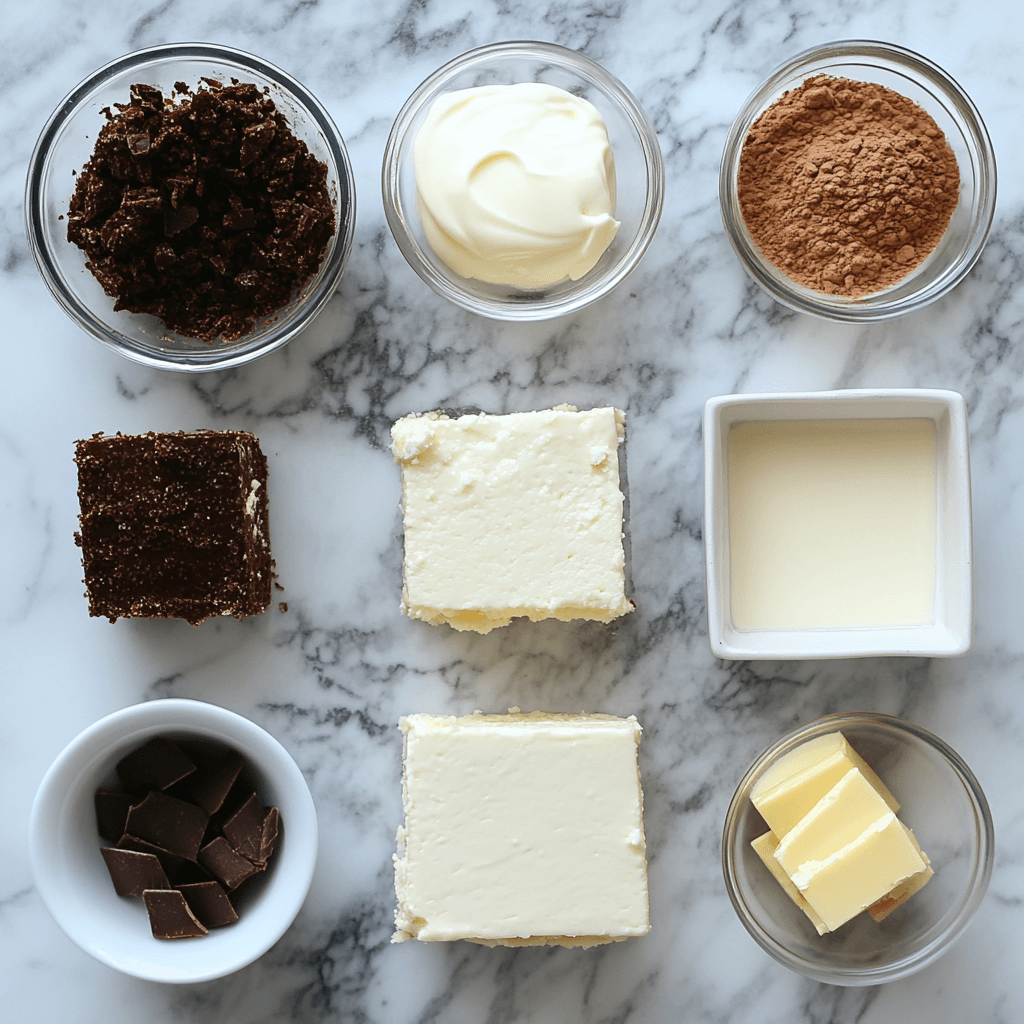
What You’ll Need
For the Crust:
- 1 ½ cups (150g) digestive biscuits or graham cracker crumbs
- ½ cup (115g) unsalted butter, melted
- 2 tablespoons sugar (optional, for added sweetness)
For the Cheesecake Filling:
- 16 oz (450g) cream cheese, softened
- 1 cup (240ml) sweetened condensed milk
- ½ cup (120ml) sour cream
- 3 large eggs
- 1 teaspoon vanilla extract
- 2 tablespoons lemon juice (optional, for added flavor)
Step-by-Step Instructions
Step 1: Prepare the Crust
Start by preparing the crust. In a medium-sized bowl, combine the digestive biscuits (or graham crackers) and sugar (if using). Stir in the melted butter until everything is evenly coated. The mixture should resemble wet sand. Press this crumb mixture firmly into the bottom of a greased 9×9-inch baking pan (or similar-sized dish) to create an even layer. Use the back of a spoon or your fingers to press it down tightly.
Once the crust is evenly distributed, place the pan in the refrigerator to set for at least 15-20 minutes. This will help it firm up before you add the cheesecake filling.
Step 2: Prepare the Cheesecake Filling
While the crust is chilling, it’s time to prepare the cheesecake filling. In a large mixing bowl, beat the softened cream cheese with a hand mixer or stand mixer until smooth and creamy. Scrape down the sides of the bowl as needed to ensure everything is well incorporated.
Add the sweetened condensed milk and continue to beat until smooth. The condensed milk gives the cheesecake a luscious sweetness, eliminating the need for extra sugar in the filling. Mix in the sour cream, vanilla extract, and lemon juice (if you’re using it). The lemon juice adds a refreshing tang to balance the richness of the cream cheese and condensed milk.
Finally, add the eggs, one at a time, mixing well after each addition. Be careful not to overmix at this stage to avoid incorporating too much air into the batter. You want a smooth and creamy consistency.
Step 3: Bake the Cheesecake Bars
Preheat your oven to 325°F (163°C). Once the crust has chilled and the filling is ready, pour the cheesecake mixture over the set crust. Spread the filling evenly with a spatula.
Bake in the preheated oven for 30-35 minutes or until the center of the cheesecake is set but still slightly jiggles when gently shaken. You don’t want the filling to be overly firm, as the texture should be creamy and velvety.
Once baked, remove the pan from the oven and allow it to cool at room temperature for about an hour. Afterward, transfer it to the refrigerator and let it chill for at least 3-4 hours or overnight for best results. This chilling time allows the flavors to meld and the cheesecake to firm up to the perfect texture.
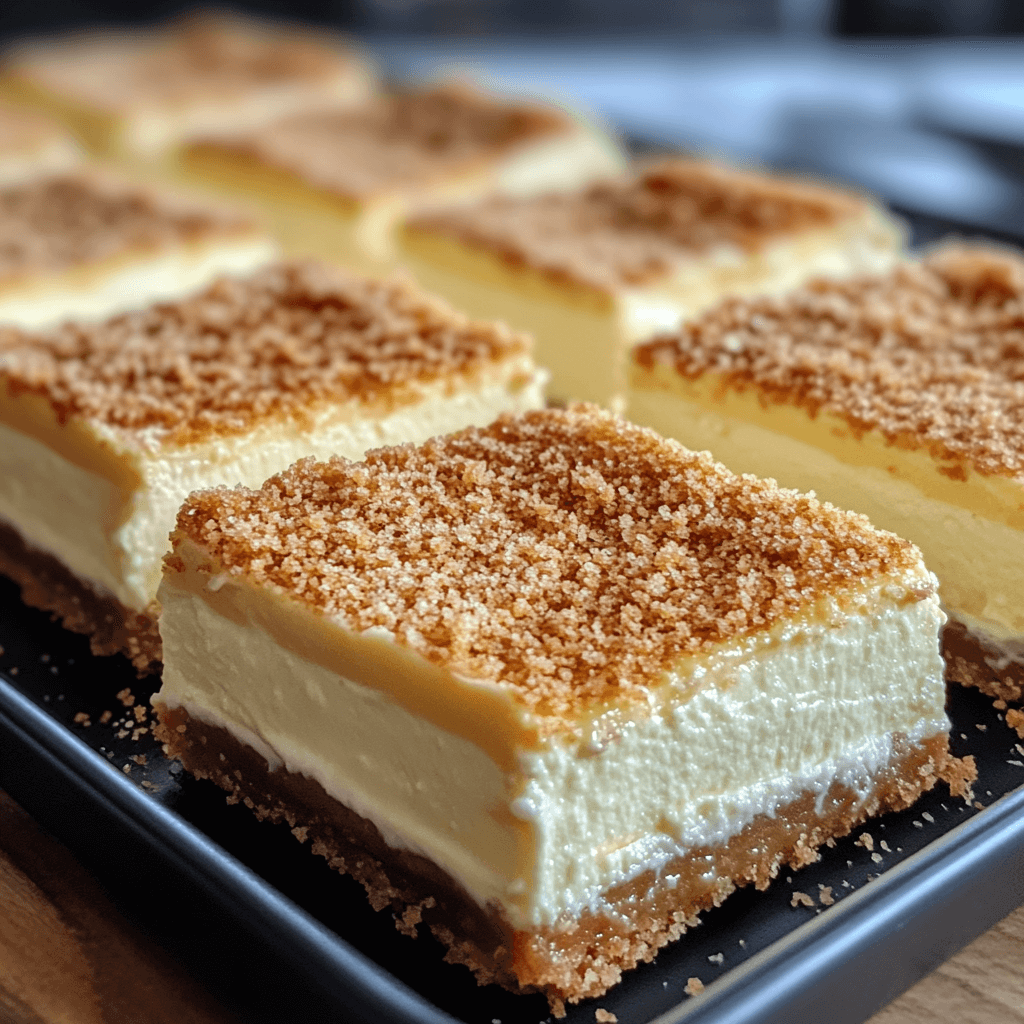
Step 4: Slice and Serve
Once the cheesecake bars have set in the fridge, slice them into squares or rectangles, depending on your preference. If you like, you can garnish them with fresh fruit, a drizzle of chocolate syrup, or a dusting of powdered sugar. These cheesecake bars are the perfect balance of sweet and tangy with a rich, creamy texture.
Serve them chilled, and enjoy the delight in every bite!
Tips for Success
- Use Room Temperature Cream Cheese: Ensure that your cream cheese is softened to room temperature. This prevents lumps in the batter and ensures a smooth filling. Cold cream cheese will be difficult to incorporate properly.
- Press the Crust Firmly: When preparing the crust, make sure to press it down well. This will help it stay intact when you cut into the cheesecake bars. The crust should have a solid foundation to hold up the creamy filling.
- Don’t Overmix the Eggs: When adding the eggs to the filling, be sure to mix gently. Overmixing can result in a denser texture and possibly cracks on top of your cheesecake bars.
- Chill Properly: The key to achieving the perfect texture is the chilling time. Let the cheesecake bars cool completely at room temperature before transferring them to the fridge. If you skip this step, they may not set properly.
- Use Fresh Ingredients: For the best taste, use high-quality ingredients, such as fresh cream cheese and a good brand of sweetened condensed milk. These ingredients are the backbone of the cheesecake’s flavor.
Variations to Try
While this condensed milk cheesecake bars recipe is already delicious, you can mix it up and get creative with these variations:
- Fruit Toppings: Fresh berries, such as strawberries, raspberries, or blueberries, make a perfect topping for cheesecake bars. You could also try mango slices or kiwi for an exotic touch.
- Chocolate Drizzle: For a more indulgent treat, drizzle melted chocolate (dark, milk, or white) over the top of the cheesecake bars. You could even add a sprinkle of crushed nuts like almonds or hazelnuts for added texture.
- Crust Variations: While digestive biscuits or graham crackers work wonderfully, you can experiment with other crusts like crushed Oreos, vanilla wafers, or even a nut-based crust using ground almonds or pecans.
- Add a Layer of Jam: Swirl in your favorite fruit jam or jelly (like raspberry or strawberry) into the cheesecake filling before baking for a fruity twist.
- Lemon or Lime Zest: For a brighter, citrusy flavor, add lemon or lime zest to the filling for an extra zing.
Storing and Reheating
These cheesecake bars are best enjoyed chilled and can be stored in the refrigerator for up to 5 days. Keep them in an airtight container to maintain their freshness. If you want to make them ahead of time, these bars can also be frozen for up to 3 months. Just be sure to wrap them tightly in plastic wrap and foil before placing them in a freezer-safe container. To thaw, simply leave them in the refrigerator overnight.
Reheating isn’t necessary for these cheesecake bars, as they taste best served chilled. However, if you prefer them at room temperature, let them sit for about 15-20 minutes before serving.
Frequently Asked Questions
Can I make these cheesecake bars without eggs? Yes! You can omit the eggs if you prefer a no-bake version or if you’re vegan. Substitute the eggs with a vegan egg replacement like aquafaba (chickpea water), or use a non-dairy, egg-free custard base.
Can I use light cream cheese or reduced-fat ingredients? Yes, you can use light cream cheese or reduced-fat versions of the other ingredients. Keep in mind that these substitutions may slightly alter the flavor and texture, but the cheesecake will still be delicious.
Can I double the recipe? Absolutely! If you need more bars, you can double the ingredients and bake them in a larger pan. Just adjust the baking time slightly and make sure the cheesecake is fully set before removing it from the oven.
Why does my cheesecake have cracks? Cracks can form if the cheesecake is overbaked or if it cools too quickly. To prevent cracks, avoid overmixing the filling, bake at a lower temperature, and allow the cheesecake to cool gradually in the oven before transferring it to the refrigerator.
The Final Word
These condensed milk cheesecake bars are the perfect treat to satisfy your sweet tooth with minimal effort. They’re creamy, smooth, and incredibly indulgent, making them ideal for any occasion. Whether you’re serving them at a family gathering, a holiday party, or simply enjoying them at home, they’ll surely become a crowd favorite. With easy-to-follow instructions, endless possibilities for customization, and simple ingredients, you can create these delightful bars in no time!
Enjoy your cheesecake bars with a cup of coffee, or serve them as a sweet end to a hearty meal. No matter how you enjoy them, you’ll be going back for seconds!