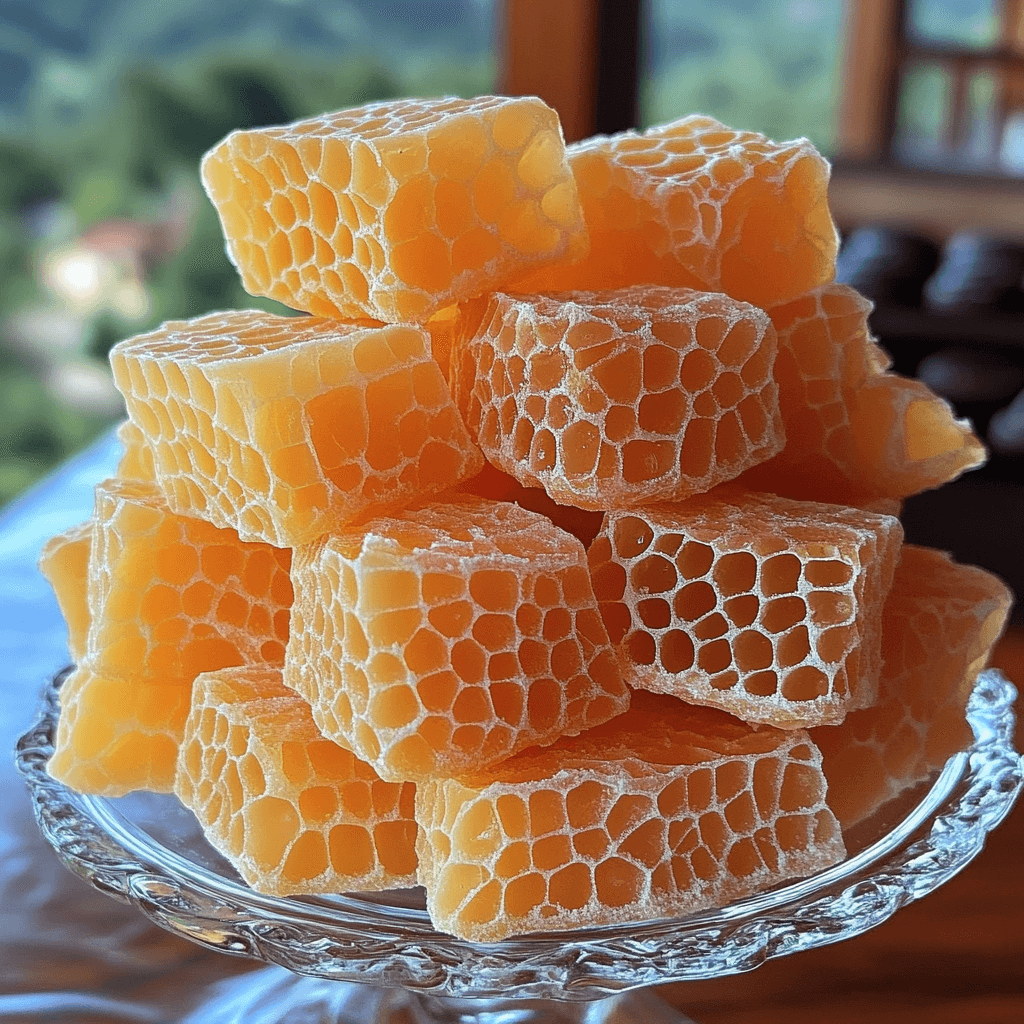
Why You’ll Love This Homemade Honeycomb Candy
Hey there, fellow candy lovers! Are you ready to embark on a sweet adventure? This homemade honeycomb candy recipe is about to become your new obsession. Why? Because it’s unbelievably easy, ridiculously delicious, and utterly addictive! Imagine that perfect crunch – a delightful shatter in your mouth, followed by the intoxicating sweetness of honey and the subtle tang of caramel. This isn’t your grandma’s honeycomb; it’s a modern masterpiece, ready to impress your friends and family (or just yourself!). You’ll be amazed at how quickly this comes together, and even more surprised at the professional-quality results you achieve. Trust me, the pure joy of making – and eating – this candy is well worth the minimal effort. The airy, bubbly texture is simply magical, and that first bite will leave you wanting more. This recipe creates the perfect mood – one of pure, unadulterated sugary bliss. So, grab your aprons, let’s get cooking, and prepare for some serious honeycomb happiness!

What You’ll Need
This recipe is wonderfully simple, requiring just a handful of everyday ingredients. Here’s what you’ll need to create your honeycomb magic:
- 1 cup white granulated sugar: The foundational sweetness of our honeycomb. It’s the backbone of the candy’s structure.
- 1 cup dark corn syrup: This isn’t just for flavor (though that rich caramel note is delightful!). It prevents the sugar from crystallizing, ensuring that wonderfully smooth, bubbly texture.
- 1 tablespoon white vinegar: This little bit of acid helps break down the sugar molecules, leading to a lighter, airier honeycomb. Don’t skip it!
- 1 tablespoon baking soda: The star of the show! The baking soda reacts with the sugar mixture, creating those magical air bubbles that give honeycomb its signature texture. Make sure it’s fresh for the best results.
- 10 ounces chocolate melting wafers (optional): Elevate your honeycomb to the next level by dipping the pieces in luscious, melted chocolate. Milk chocolate, dark chocolate, white chocolate – the choice is yours!
Step-by-Step Instructions
Let’s get this honeycomb party started! Follow these simple steps for perfectly bubbly, delicious candy:
- Prepare your baking sheet: Line a baking sheet with parchment paper. Lightly grease the parchment paper with butter or cooking spray to prevent sticking. This is crucial for easy removal of your honeycomb later.
- Combine the wet ingredients: In a medium saucepan, combine the sugar, corn syrup, and vinegar. Stir gently to ensure everything is well combined.
- Cook the mixture: Place the saucepan over medium heat. Do not stir the mixture once it starts to heat up. Cook, swirling the pan occasionally, until the sugar dissolves completely and the mixture reaches 300°F (150°C) on a candy thermometer. This is crucial for achieving the right texture.
- Remove from heat and add baking soda: Carefully remove the pan from the heat. Immediately stir in the baking soda. The mixture will bubble up dramatically – this is expected! Work quickly and carefully as it will be extremely hot.
- Pour and spread: Quickly pour the bubbly mixture onto the prepared baking sheet. Use a spatula to spread it evenly into a thin layer, about ¼ inch thick. The faster you work, the better the texture will be.
- Cool completely: Let the honeycomb cool completely and harden. This will take at least 30 minutes, and perhaps longer depending on your kitchen’s temperature and humidity. Don’t touch it until it’s completely cool and firm – otherwise, it will stick to your fingers and become a sticky mess!
- Break and enjoy (or dip!): Once completely cool and hard, break the honeycomb into irregular pieces. If desired, melt your chocolate wafers according to package instructions and dip the honeycomb pieces for an extra decadent treat.
Tip: A candy thermometer is your best friend in this recipe! It ensures the mixture reaches the perfect temperature for that signature honeycomb texture.
Tips for Success
Making honeycomb might seem daunting, but with a few helpful tips, you’ll achieve perfect results every time. First, use a heavy-bottomed saucepan to prevent scorching. Second, a candy thermometer is essential for accurate temperature control. Ensure your baking soda is fresh; old baking soda may not react as effectively. Don’t stir the mixture once it’s heating; swirling is fine, but constant stirring can cause crystallization. And finally, work quickly when adding the baking soda and pouring the mixture onto the baking sheet to maximize the bubbly effect.
Variations to Try
Ready to experiment? Try adding a pinch of sea salt to the sugar mixture for a sweet and salty contrast. For a festive twist, add a few drops of peppermint extract before adding the baking soda. Spice things up with a dash of cinnamon or cardamom. The possibilities are endless!
Storing and Reheating
Store your homemade honeycomb candy in an airtight container at room temperature for up to a week. For longer storage, you can freeze the honeycomb in an airtight container for up to 3 months. To reheat, simply let it sit at room temperature until it reaches the desired level of softness. Avoid reheating in the microwave, as this can result in a melty, less-than-ideal texture.
Frequently Asked Questions
Q: Can I substitute the dark corn syrup? A: While light corn syrup *might* work, it won’t give the same rich caramel flavor and might be more prone to crystallization. Dark corn syrup is highly recommended.
Q: How long does the honeycomb candy last? A: Stored properly in an airtight container at room temperature, your honeycomb will last for about a week. Freezing extends its shelf life to approximately 3 months.
Q: What if my honeycomb is too hard or too soft? A: If it’s too hard, it likely didn’t reach the proper temperature before adding the baking soda. If it’s too soft, it may not have cooled completely. Follow the temperature guidelines carefully and ensure the candy is completely cooled before handling.
Q: Can I make a smaller batch? A: Yes! This recipe can be easily halved or even quartered. Just remember to adjust your baking sheet size accordingly.
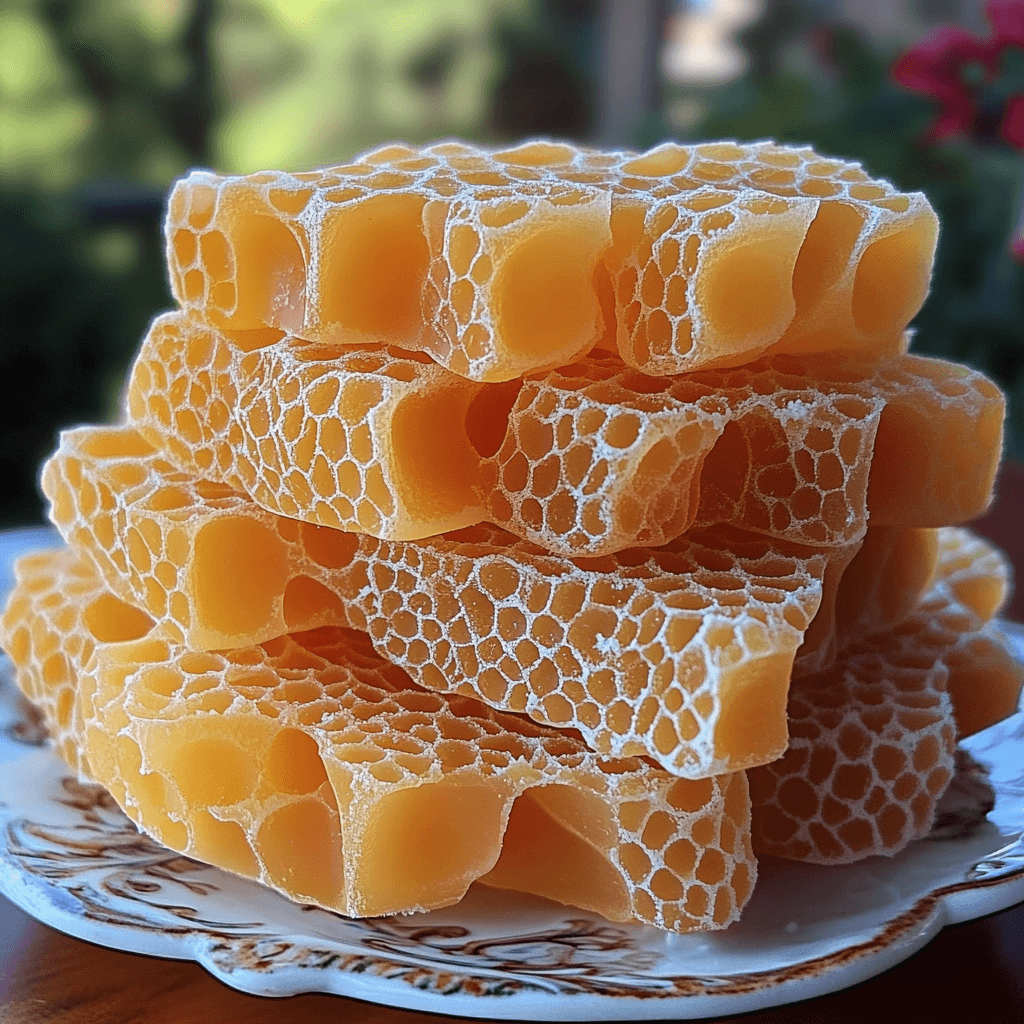
The Final Word
This delightfully crunchy homemade honeycomb candy recipe is a guaranteed crowd-pleaser. Its simple ingredients, easy instructions, and incredible taste make it a perfect treat for any occasion. The beautiful, bubbly texture and the irresistible sweetness will leave everyone wanting more. So, gather your ingredients, follow the steps, and prepare to be amazed by your own candy-making skills! Don’t forget to leave a comment and let me know how your honeycomb turned out! Happy baking!
Homemade Honeycomb Candy

This recipe only requires five simple ingredients, plus chocolate if you want to coat the pieces.
- 1 cup white sugar – The base of the candy.
- 1 cup dark corn syrup – Prevents crystallization and adds a rich caramel flavor.
- 1 tablespoon white vinegar – Helps break down sugar and create a lighter texture.
- 1 tablespoon baking soda – The key ingredient that makes the candy bubble and expand.
- 10 ounces chocolate melting wafers (optional – If you want to dip the honeycomb in chocolate.)
- Lightly grease a 9×13 inch baking pan with cooking spray or butter. Set aside.
- In a medium saucepan over medium heat, combine the sugar, corn syrup, vinegar, and salt (if using). Stir gently to combine.
- Clip a candy thermometer to the side of the pan, ensuring it doesn’t touch the bottom. Cook, without stirring, until the mixture reaches 300°F (150°C) – the hard-crack stage. This will take about 8-10 minutes. Watch carefully to prevent burning.
- Remove the pan from the heat. Immediately stir in the baking soda. The mixture will foam up dramatically. Work quickly!
- Pour the foamy mixture into the prepared pan and spread it evenly. Let it cool completely and harden undisturbed for at least 1-2 hours. Do not disturb.
- Once completely cool and hard, break the honeycomb into irregular pieces.
- (Optional) Melt the chocolate wafers according to package directions. Dip the honeycomb pieces into the melted chocolate, allowing excess to drip off. Place on parchment paper to set.
* Use a heavy-bottomed saucepan to prevent scorching.
* The hard-crack stage is crucial for the honeycomb’s texture. Use a candy thermometer for accurate results.
* Work quickly when adding the baking soda, as the mixture expands rapidly.
* If you don’t have dark corn syrup, light corn syrup can be substituted, but the flavor will be slightly different.
* For a more intense flavor, add a pinch of vanilla extract to the melted chocolate.