Why You’ll Love This Decadent Magic Cake
Hey there, fellow dessert lovers! Are you ready to bake something truly magical? This isn’t your average cake; this is a *Magic Cake*, and it lives up to its name. Prepare to be amazed by its impossibly creamy texture, the perfect balance of rich chocolate and subtle sweetness, and the surprisingly simple process that brings it all together. Trust me, you’ll be hearing oohs and aahs the moment you slice into it.
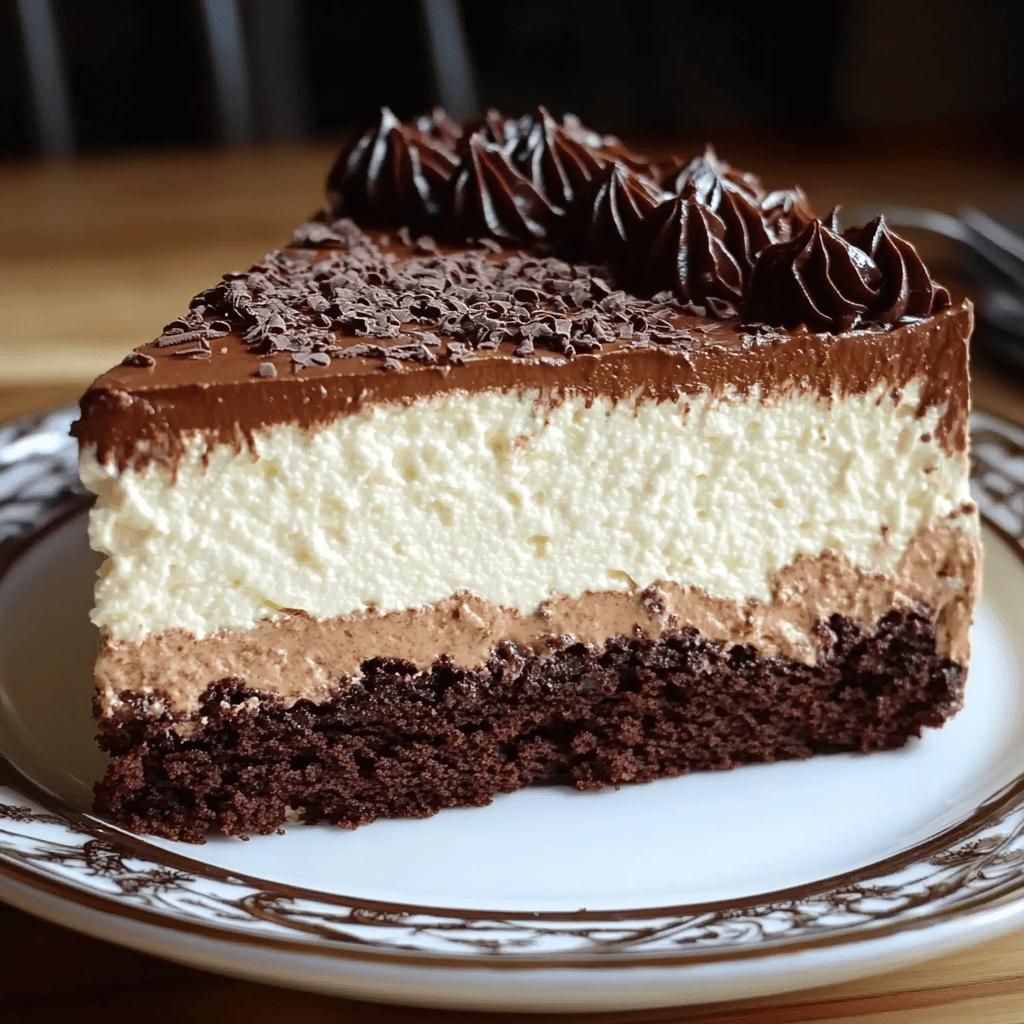
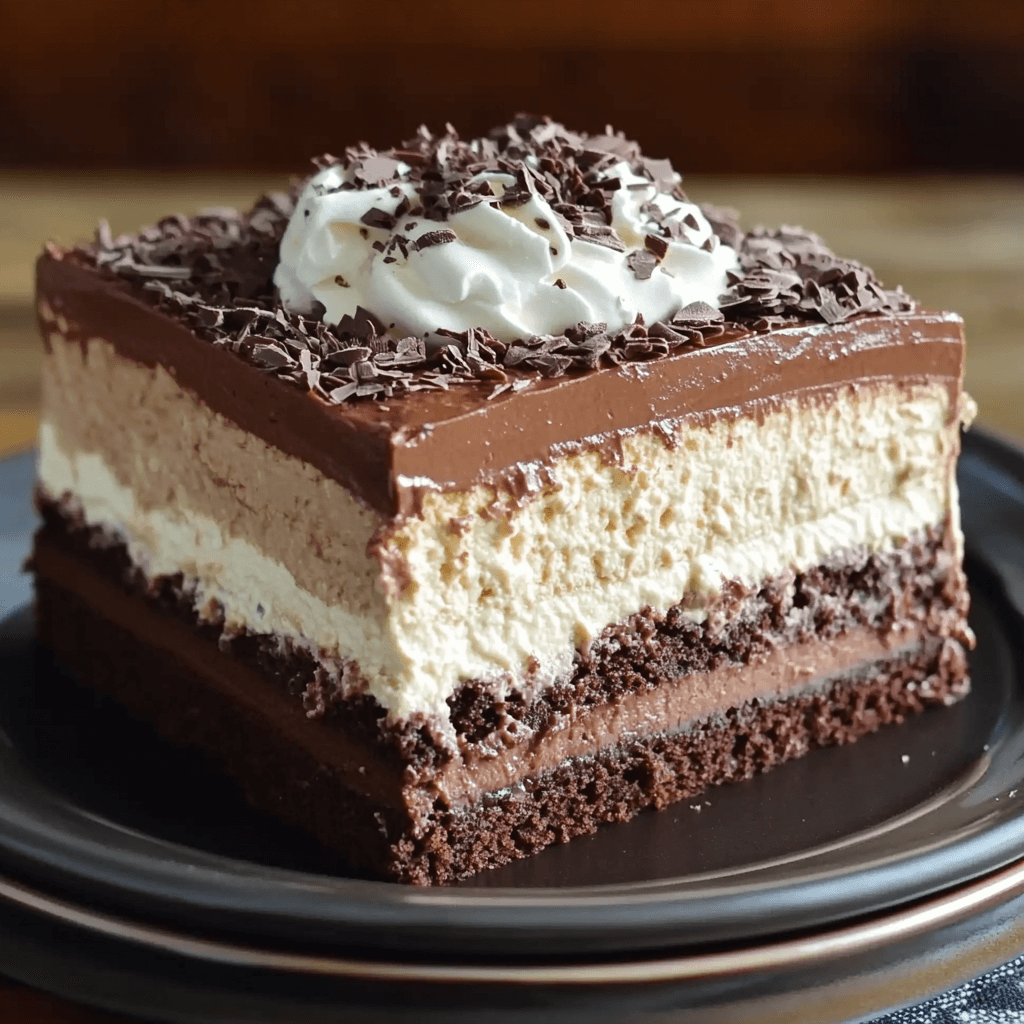
What makes this cake so special? It’s the effortless layering of textures and flavors that creates pure magic. The bottom layer is a moist, intensely chocolatey cake, thanks to the cake mix foundation. Then comes a luxuriously smooth, creamy ricotta layer that adds a delightful tang and richness, followed by a light and airy whipped topping that brings it all together in a heavenly symphony of tastes. The preparation is incredibly fast and easy – making it perfect for even the busiest weeknights.

It’s a crowd-pleaser that’s guaranteed to impress your friends and family, leaving them wondering what sorcery you’ve just performed in your kitchen. You’ll experience the joy of creating something beautiful and delicious in minimal time. The decadent magic cake is perfect for any occasion, bringing a touch of elegance and pure indulgence to your gatherings. So, let’s get baking and create some magic together!
What You’ll Need
This recipe relies on pantry staples and a few special ingredients to achieve its unique texture and flavor:
1 box (15.25 ounces) chocolate cake mix: The foundation of our magical creation. Choose your favorite brand!
Ingredients listed on the cake mix box: This usually includes water, oil, and eggs – check your specific box for details.
2 pounds ricotta cheese: This creamy cheese adds a delightful tang and incredible texture to the cake. Make sure it’s good quality for the best results.
4 large eggs: These bind the ingredients together and contribute to the cake’s moistness. Use fresh, high-quality eggs for optimal results.
3/4 cup granulated sugar: Sweetens the ricotta layer beautifully, balancing the richness of the chocolate.
1 teaspoon pure vanilla extract: Enhances the flavor profile and adds warmth. Always opt for pure vanilla for the best results.
1 box (3.9 ounces) instant chocolate pudding mix: This adds extra chocolatey goodness and helps create that incredible creamy texture.
1 1/2 cups cold milk: Essential for preparing the pudding mix and achieving the desired consistency. Use cold milk for the best results.
1 container (8 ounces) whipped topping: This provides a light and airy contrast to the rich layers beneath. You can use store-bought or homemade whipped cream.
Step-by-Step Instructions
Let’s create some magic! Follow these steps carefully for the best results:
1. Preheat and Prepare:** Preheat your oven to 350°F (175°C). Grease and flour a 9×13 inch baking pan. This will prevent sticking and ensure a clean release. A light coating of non-stick baking spray will also work wonders.
2. Prepare the Cake Mix:** In a large bowl, prepare the chocolate cake batter according to the instructions on the cake mix box. Usually, this involves adding water, oil, and eggs. Make sure to follow the directions precisely for the best result.
3. Make the Ricotta Mixture:** In a separate bowl, beat together the ricotta cheese, sugar, and vanilla extract until smooth and creamy. This will be the secret to our luscious mid-layer. A hand mixer makes this step super quick and easy!
4. Combine and Layer:** Gently fold about one-third of the ricotta mixture into the chocolate cake batter. This will help create a smoother transition between the layers. Be gentle to avoid overmixing.
5. Pour and Bake:** Pour half of the chocolate cake batter into the prepared pan. Then, pour the remaining ricotta mixture over the batter. Finally, spread the remaining chocolate cake batter over the ricotta layer. This is where the magic really begins!
6. Bake:** Bake for 50-60 minutes, or until a wooden skewer inserted into the center comes out clean. Keep a close eye on it after 50 minutes as ovens can vary. If the top is browning too quickly, you can loosely tent it with aluminum foil.
7. Cool and Top:** Let the cake cool completely in the pan before adding the whipped topping. This allows the layers to set properly and prevents the topping from melting.
8. Chill and Serve:** Once cooled, spread the whipped topping evenly over the cake. Refrigerate for at least 2 hours to allow the flavors to meld and the cake to set completely. This chilling step brings the flavors together beautifully.
Tips for Success
Room Temperature Ingredients:** For the best results, use room-temperature eggs and ricotta cheese. This will help them blend smoothly.
Don’t Overmix:** Overmixing the batter can lead to a tough cake. Gently fold the ingredients together until just combined.
Check for Doneness:** Start checking for doneness around 50 minutes. Every oven is different, so it’s crucial to use the toothpick test.
Cooling is Key:** Allowing the cake to cool completely before adding the whipped topping is essential to prevent melting.
Chill Time:** The minimum 2-hour chill time is important to allow the flavors to develop and the cake to set properly.
Variations to Try
Other Cake Mixes:** Feel free to experiment with different cake mixes, such as yellow cake or even spice cake, for a unique twist.
Add-ins:** Chocolate chips, chopped nuts, or even fresh berries can be incorporated into the batter for added flavor and texture.
Different Pudding:** Experiment with other instant pudding flavors like vanilla or butterscotch.
Cream Cheese Frosting:** Substitute the whipped topping with a cream cheese frosting for a richer, tangier dessert.
Gluten-Free:** Substitute the cake mix with a gluten-free chocolate cake mix for a delicious gluten-free version.
Storing and Reheating
Store leftover cake, tightly covered, in the refrigerator for up to 3 days. To maintain the best texture, avoid freezing this cake. The whipped topping will not freeze well. If you need to reheat a slice, gently warm it in the microwave for 10-15 seconds.
Frequently Asked Questions
Q: Can I use a different type of cheese instead of ricotta?
A: While ricotta provides the perfect creamy texture, you could try mascarpone cheese for a similar result, although the flavor profile will be slightly different.
Q: How long does the cake last?
A: This magic cake is best enjoyed within 3 days of baking when stored properly in the refrigerator.
Q: Can I make this cake ahead of time?
A: Yes, absolutely! In fact, chilling the cake for at least 2 hours enhances the flavors and sets the layers beautifully. You can prepare it a day ahead.
Q: What if my cake is overcooked?
A: If your cake is overcooked, it might be slightly dry. To remedy this, you can add a simple glaze or drizzle of chocolate syrup on top.
Q: Can I use a different size pan?
A: While the 9×13 inch pan is recommended, you could adjust baking time if using a different size pan. Check for doneness frequently with a toothpick.
The Final Word
This decadent magic cake is the ultimate crowd-pleaser, perfect for any occasion. Its unbelievably creamy texture, the perfect balance of flavors, and the surprisingly simple preparation make it a true winner. The beauty of this recipe is in its simplicity and the surprising result—a stunning cake that’s both impressive and delicious. So, gather your ingredients, put on your apron, and get ready to create some magic in your kitchen! Don’t forget to leave a comment below and let me know how your magic cake turns out. And if you love this recipe, give it a rating! Happy baking!

Magic Cake
Equipment
- 9×13 inch baking pan A standard baking pan is needed.
Ingredients
Cake Batter Ingredients
- 1 box chocolate cake mix (15.25 ounces) plus ingredients listed on the box
- 2 pounds ricotta cheese
- 4 large eggs
Additional Ingredients
- 0.75 cup granulated sugar
- 1 teaspoon pure vanilla extract
- 1 box instant chocolate pudding mix (3.9 ounces)
- 1.5 cups cold milk
- 1 container whipped topping (8 ounces)
Instructions
- Preheat oven to 350°F (175°C). Grease and flour a 9×13 inch baking pan.
- In a large bowl, combine the cake mix, ricotta cheese, eggs, sugar, and vanilla extract. Mix until well combined.
- In a separate bowl, whisk together the instant chocolate pudding mix and cold milk until smooth.
- Gently fold the pudding mixture into the cake batter until just combined. Do not overmix.
- Pour the batter into the prepared baking pan and spread evenly.
- Bake for 45-50 minutes, or until a toothpick inserted into the center comes out clean.
- Let the cake cool completely before topping with whipped topping.
- Refrigerate for at least 2 hours before serving to allow flavors to meld and the cake to set.