Why You’ll Love This Butterfinger Caramel Crunch Mini Pies
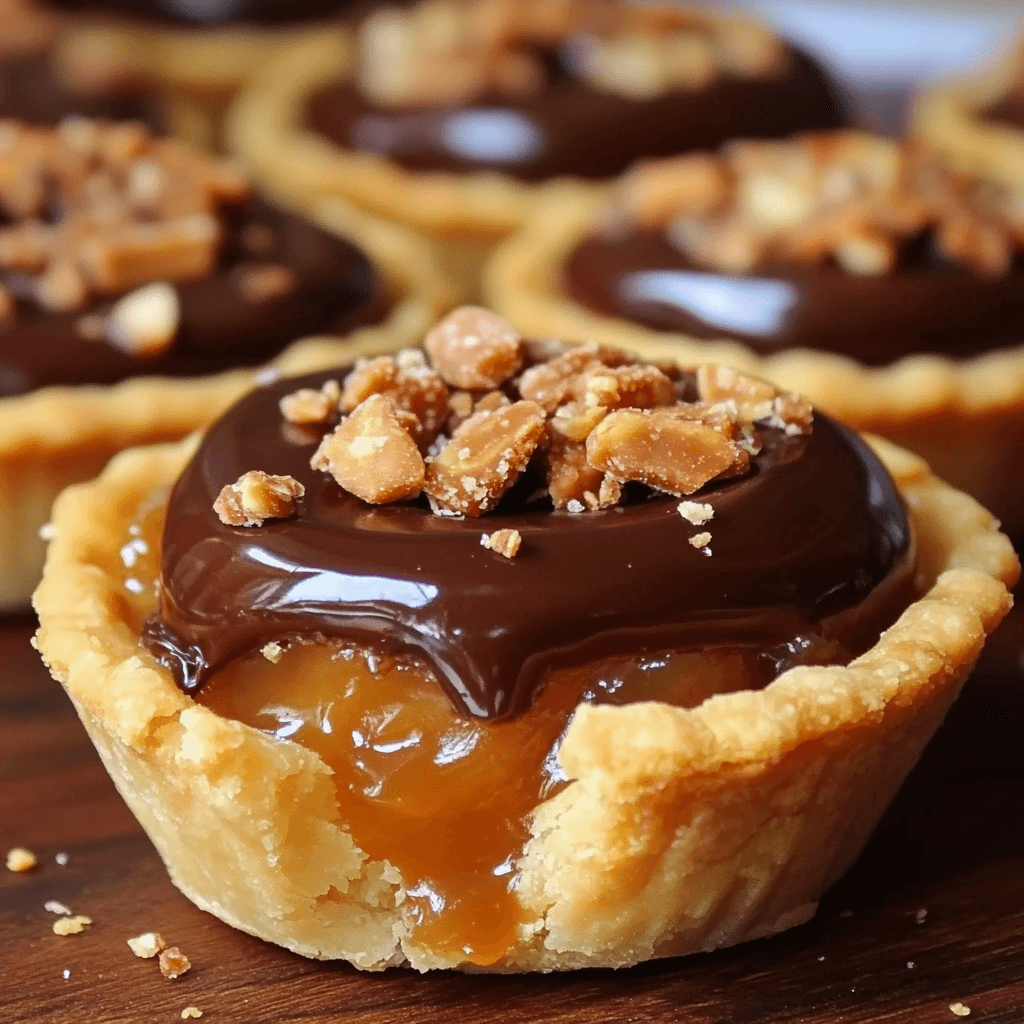
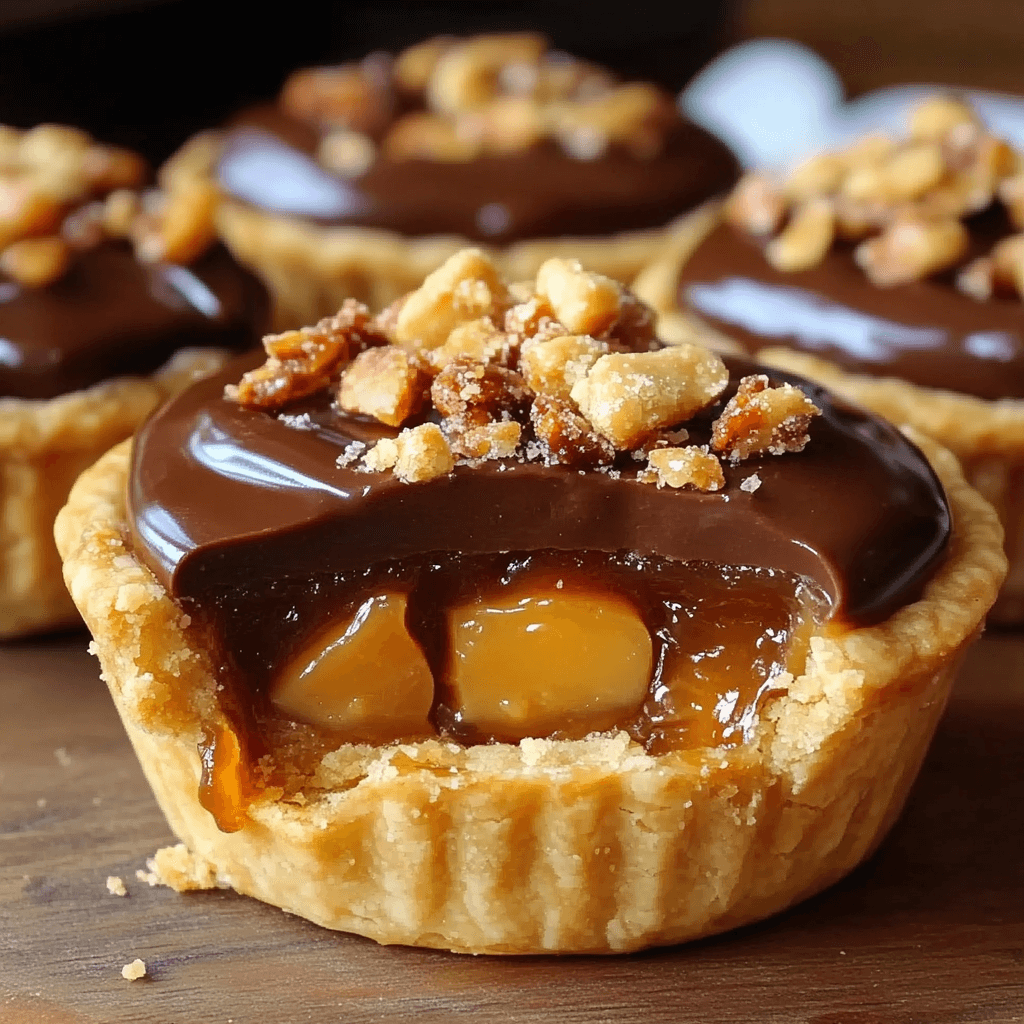
Hey there, dessert lovers! Are you ready for a seriously addictive treat that’s surprisingly easy to make? These No-Bake Butterfinger Caramel Crunch Mini Pies are about to become your new obsession. Imagine this: a perfectly crisp Butterfinger crust, layered with creamy caramel, and topped with a mountain of crunchy peanuts. Each bite is a symphony of textures and flavors – sweet, salty, crunchy, creamy – it’s the ultimate flavor party in your mouth!
What makes these mini pies so special? For starters, they’re no-bake! That means no oven time, no messy clean-up, and practically zero effort. Perfect for a weeknight treat or a fun weekend baking project (if you can call it “baking”!). They’re also incredibly customizable. Want to add a sprinkle of sea salt for an extra salty kick? Go for it! Craving a different kind of candy bar? Let’s experiment! The possibilities are endless.
These little pies are perfect for any occasion. They’re ideal for potlucks, parties, or simply satisfying a sudden craving for something sweet and incredibly delicious. They’re also great for individual servings, meaning no messy cutting and everyone gets their own perfect little piece of heaven. Trust me; these mini pies will bring a smile to anyone’s face – and maybe even a little happy dance! Prepare to be amazed by how incredibly satisfying these simple little pies are!

What You’ll Need
Here’s what you’ll need to whip up a batch of these irresistible mini pies. Don’t worry, it’s a pretty straightforward list!
- Butterfinger Candy Bars (12 full-size bars): The star of the show! Provides that signature crunchy, chocolatey base.
- Graham Cracker Crumbs (1 ½ cups): Adds extra texture and helps bind the crust together.
- Salted Butter (½ cup, melted): Melted butter is key for creating a wonderfully moist and delicious crust.
- Caramel Sauce (1 (14-ounce) can): Creamy and sweet caramel is essential for that perfect caramel layer.
- Chopped Peanuts (1 cup): Adds a delightful crunch and salty counterpoint to the sweetness. You can use either salted or unsalted peanuts, depending on your preference.
- Mini phyllo cups or store-bought tart shells: These provide the perfect structure for your mini pies.
Step-by-Step Instructions
Let’s get baking (or rather, assembling!) these mini masterpieces! Follow these simple steps and you’ll be enjoying your delicious pies in no time.
- Prepare the Crust: First, coarsely crush the Butterfinger bars in a food processor or by placing them in a zip-top bag and crushing them with a rolling pin. Aim for a mixture of large and small pieces for optimal texture. Tip: For an even crispier crust, you can toast the crushed Butterfingers lightly in a pan over low heat for a few minutes.
- Combine Dry Ingredients: In a medium bowl, combine the crushed Butterfingers and graham cracker crumbs.
- Add Butter: Pour the melted butter over the dry ingredients and mix thoroughly until everything is evenly moistened. Tip: Use your hands to ensure all the crumbs are coated in butter. This will help the crust stick together nicely.
- Assemble the Pies: Press the Butterfinger mixture firmly into the bottom of each mini phyllo cup or tart shell. Create an even layer. Tip: Use a spoon or the bottom of a glass to create a smooth and even crust.
- Add Caramel: Spoon a generous layer of caramel sauce over each Butterfinger crust.
- Top with Peanuts: Sprinkle the chopped peanuts generously over the caramel layer.
- Chill (Optional): For best results, let the pies chill in the refrigerator for at least 30 minutes to allow the caramel to set. This step isn’t strictly necessary, but it does make the pies easier to handle and creates a more delightful textural contrast.
- Serve and Enjoy: Once chilled (or not!), serve and enjoy your decadent Butterfinger Caramel Crunch Mini Pies!
Tips for Success
To ensure your mini pies turn out perfectly, here are a few helpful tips:
Don’t over-crush the Butterfingers. You want some larger pieces for added texture. If you crush them too finely, the crust will be too compact. Use a variety of sizes for the best results! Ensure the bottom of your mini tart shells or phyllo cups are completely covered by the Butterfinger mixture to avoid a soggy bottom. If you’re using phyllo cups, they might be a bit fragile, so handle them gently. And finally, remember to let them chill if possible – the chilled caramel is simply exquisite!
Variations to Try
Feeling adventurous? Here are a few ways to put your own spin on these delicious mini pies:
Chocolate Lovers’ Version: Drizzle melted dark chocolate over the peanuts for an extra chocolatey indulgence. Salted Caramel Upgrade: Use a high-quality salted caramel sauce for an even more sophisticated flavor. Nutty Variations: Experiment with different nuts like pecans or walnuts instead of peanuts. Decadent Drizzle: Add a caramel drizzle on top before serving for an extra touch of sweetness. Gluten-Free Option: Use gluten-free graham cracker crumbs.
Storing and Reheating
These mini pies are best enjoyed fresh, but leftovers can be stored in an airtight container in the refrigerator for up to 3 days. To reheat, let them come to room temperature, or gently microwave for a few seconds until warmed through. Freezing isn’t recommended as the crust and caramel may lose some of their texture.
Frequently Asked Questions
Q: Can I use another type of candy bar? A: Absolutely! Experiment with other crunchy candy bars like Snickers or Twix, but keep in mind the flavor profile will change.
Q: How long do the mini pies last? A: They’re best enjoyed fresh, but they’ll keep for up to 3 days in an airtight container in the refrigerator.
Q: Can I make these ahead of time? A: Yes! You can assemble the pies up to a day ahead of time and store them in the refrigerator until ready to serve.
Q: Are these mini pies gluten-free? A: Not as written, but you can easily make them gluten-free by substituting gluten-free graham cracker crumbs.
Q: What can I do if my caramel is too hard? A: Gently microwave the caramel sauce for a few seconds to soften it before spreading it over the crust. Alternatively, gently warm the caramel in a saucepan on low heat before use.
The Final Word
These No-Bake Butterfinger Caramel Crunch Mini Pies are the perfect combination of sweet, salty, crunchy, and creamy. Their no-bake nature makes them incredibly easy to make, perfect for a quick dessert or a fun baking project. The customizable nature allows you to tailor them to your preferences, and they’re always a crowd-pleaser! So, what are you waiting for? Give this recipe a try and let me know what you think in the comments below. Don’t forget to rate the recipe and share your delicious creations! Happy baking (or rather, assembling!)

Butterfinger Caramel Crunch Mini Pies
Equipment
- Mini muffin tin 12-cup tin
- Mixing bowls Several, for different ingredients
Ingredients
Crust
- 1 cup Graham cracker crumbs
- 1 /4 cup melted butter
- 2 tablespoons Sugar
Filling
- 1 cup Caramel candies, unwrapped
- 1 /4 cup heavy cream
- 1 cup Crushed Butterfinger bars
- 1 tablespoon Butter To grease the muffin tin
Instructions
- Preheat oven to 350°F (175°C). Grease a 12-cup mini muffin tin with butter (ing_7).
- Combine graham cracker crumbs (ing_1), melted butter (ing_2), and sugar (ing_3) in a bowl. Mix until well combined.
- Press the crumb mixture into the bottom of each mini muffin cup.
- In a separate bowl, combine caramel candies (ing_4) and heavy cream (ing_5). Microwave in 30-second intervals, stirring until smooth and melted.
- Pour the caramel mixture evenly over the graham cracker crusts.
- Top each mini pie with crushed Butterfinger bars (ing_6).
- Bake for 20-25 minutes, or until the edges are lightly golden brown.
- Let cool completely before serving.