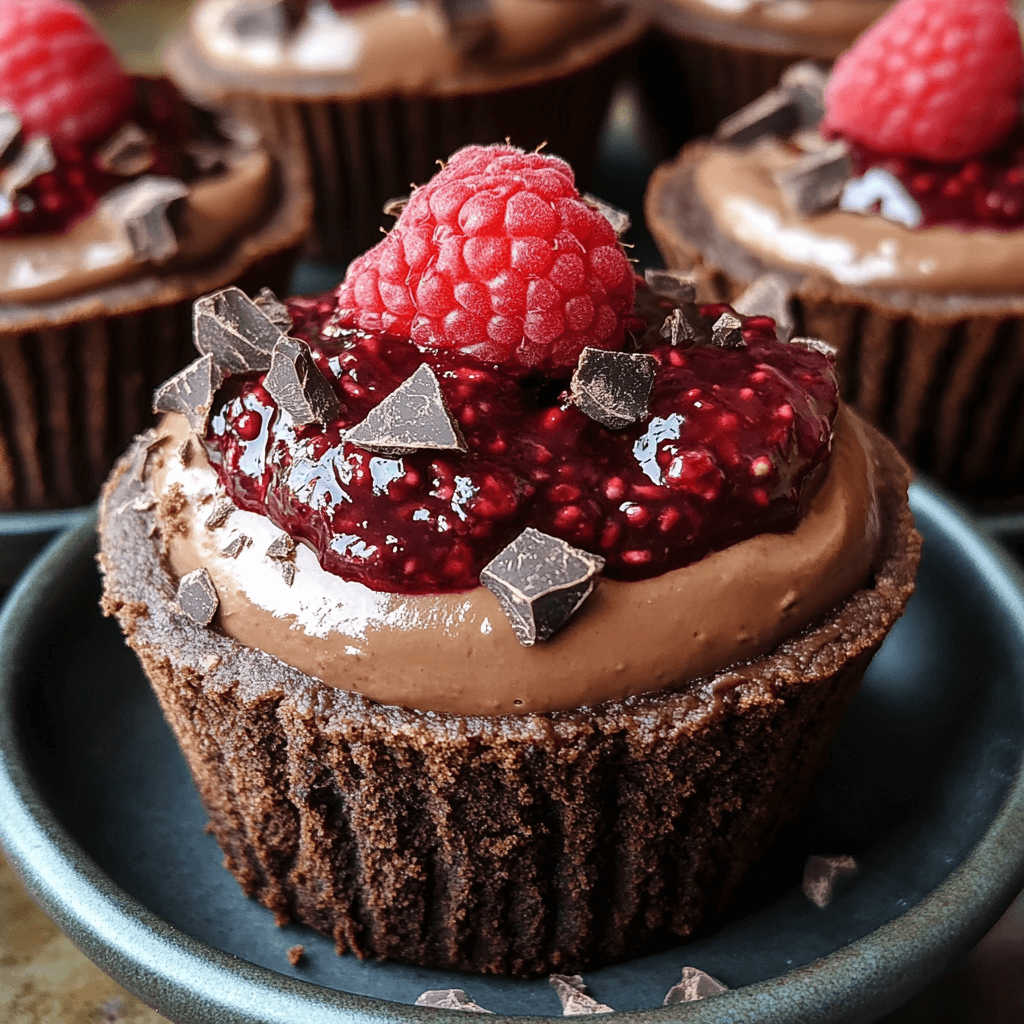
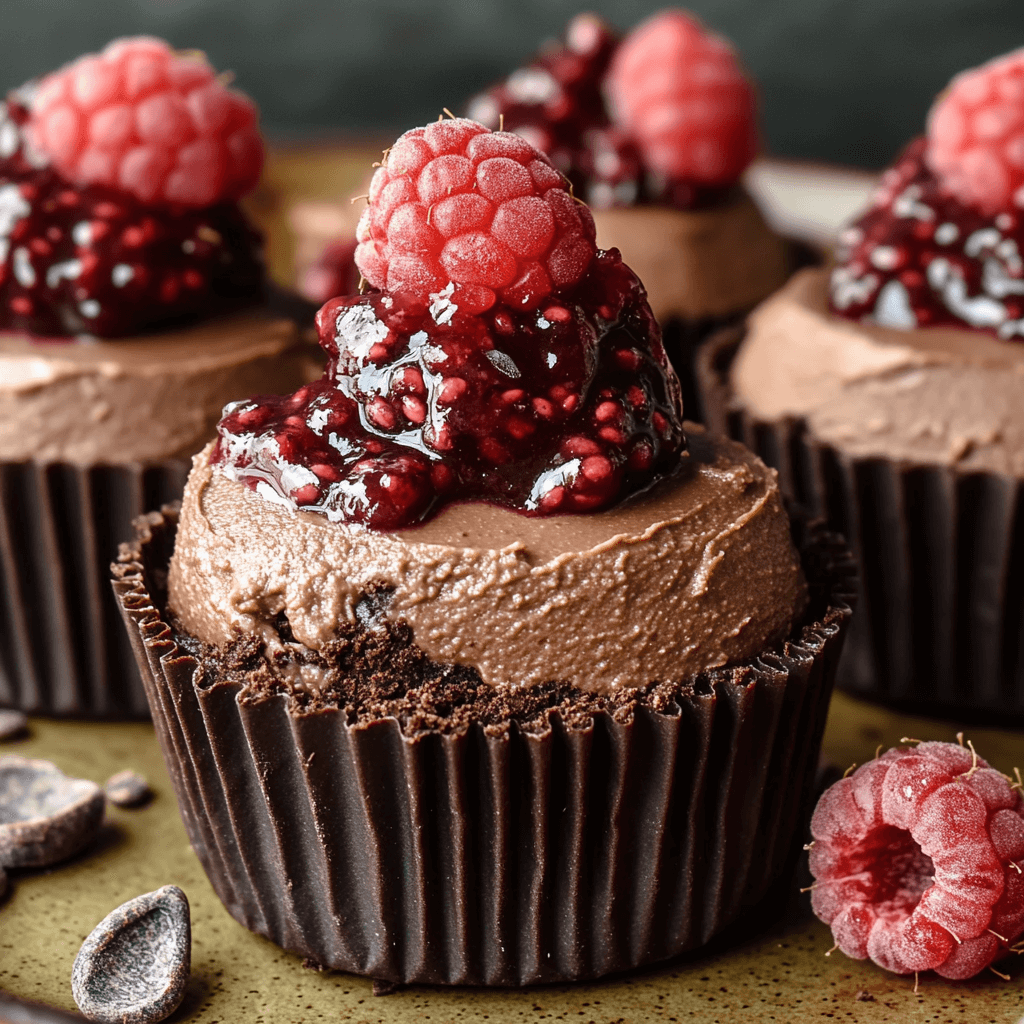
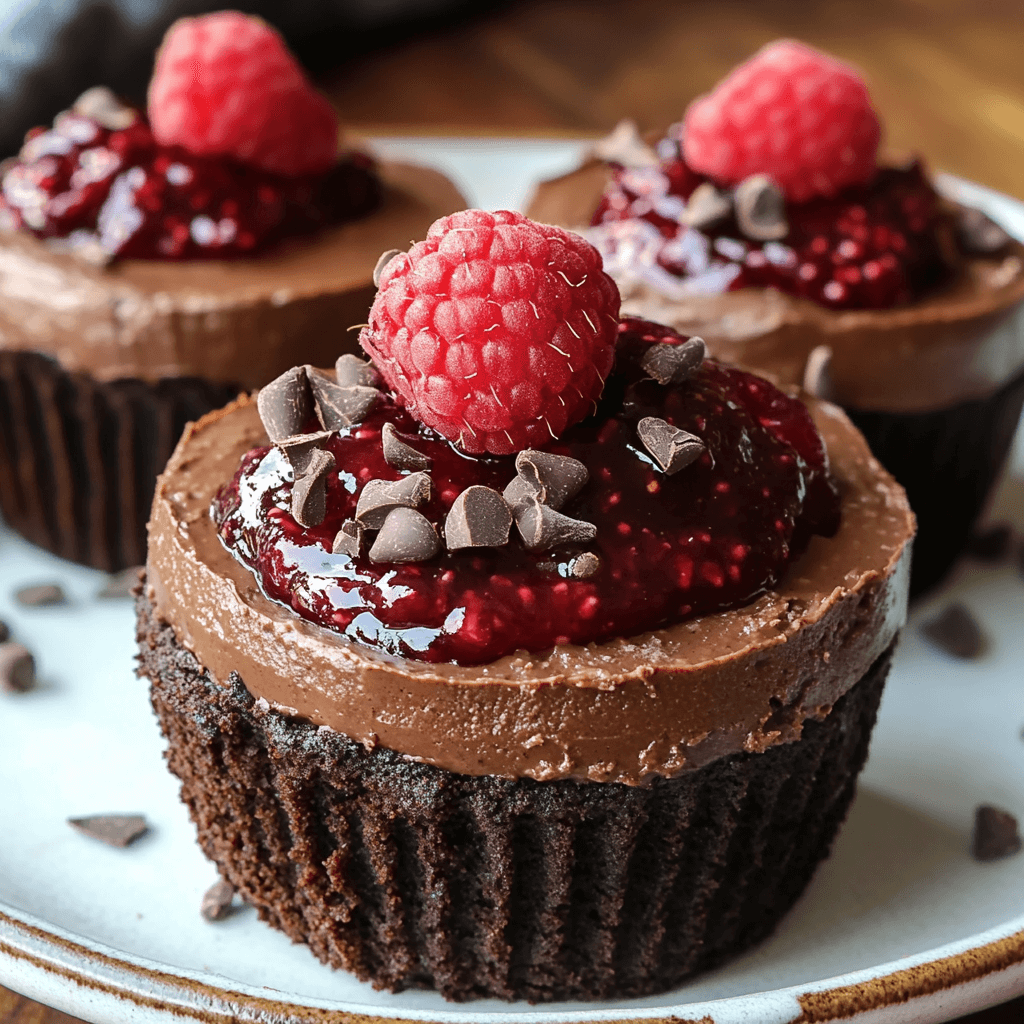
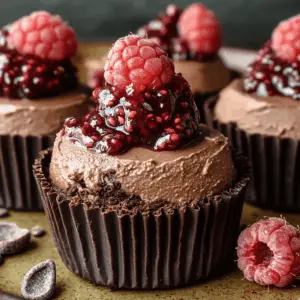
Why You’ll Love This Decadent No-Bake Raspberry Chocolate Mousse Cups
Hey there, dessert lovers! Are you craving something rich, decadent, and utterly irresistible, but also quick and easy to make? Then look no further! These No-Bake Raspberry Chocolate Mousse Cups are your new best friend. Imagine this: a luscious, velvety chocolate mousse, swirled with a tangy raspberry jam, all nestled in a delightful almond flour base. The taste? A symphony of textures and flavors that will leave you completely satisfied. The texture? Think smooth, creamy, and slightly crunchy – the perfect combination! And the best part? These beauties come together in a flash, requiring no oven time whatsoever. You’ll be enjoying these delightful treats in under an hour, without any complicated baking techniques or stressful oven monitoring.
These cups are not only delicious; they’re also naturally refined-sugar free, making them a guilt-free indulgence. The combination of rich dark chocolate, sweet raspberries, and a subtly nutty base creates a sophisticated dessert that’s perfect for any occasion, from a romantic dinner to a casual weekend treat. Whether you’re a seasoned baker or a complete beginner, you’ll find this recipe incredibly straightforward and satisfying to make. It’s the kind of dessert that feels both elegant and incredibly homey – a perfect mood-lifter for any day!
Prepare to be amazed by how simple it is to create such an impressive dessert. Your taste buds will thank you, your friends will be impressed, and you’ll wonder why you haven’t made these sooner! Get ready for a delightful experience; your taste buds are in for a treat!
What You’ll Need
This recipe uses simple, wholesome ingredients to create a truly special dessert. Let’s explore what you’ll need:
- Almond Flour: Provides a naturally sweet and nutty base for the cups, adding a lovely texture.
- Flax Meal: Acts as a binding agent, helping to hold the base together beautifully.
- Runny Almond Butter: Adds richness, moisture, and a delightful nutty flavor to the base.
- Medjool Dates (Pitted): These naturally sweet dates provide the perfect natural sweetness and binding properties for both the base and the mousse.
- Cocoa Powder: Unsweetened cocoa powder provides the rich, deep chocolate flavor we crave!
- Dairy-Free Milk (Unsweetened): Adds moisture and helps to create a smooth, creamy base.
- Vanilla Extract: Enhances the overall flavor profile, adding depth and warmth.
- Edward & Son’s Heavy Coconut Cream: The star ingredient for the luxuriously creamy chocolate mousse. Make sure it’s refrigerated overnight for best results.
- Frozen Raspberries: The perfect tart complement to the rich chocolate mousse, creating a delightful flavor contrast.
- Chia Seeds: These tiny seeds act as a natural thickener for the raspberry jam, creating a beautifully luscious consistency.
- Cinnamon: A touch of warmth and spice that elevates the raspberry jam to the next level.
Step-by-Step Instructions
Let’s get started on creating these dreamy no-bake raspberry chocolate mousse cups! Follow these simple steps and you’ll be enjoying your delicious creation in no time.
Step 1: Prepare the Base
In a food processor, combine the almond flour, flax meal, almond butter, pitted dates, cocoa powder, dairy-free milk, and vanilla extract. Process until a sticky, cohesive dough forms. Tip: If the mixture is too dry, add a tablespoon of dairy-free milk at a time until it comes together.
Step 2: Assemble the Cups
Divide the dough evenly among your chosen cups or ramekins. Press the dough firmly into the bottom of each cup to create an even base. Tip: Use a small glass or measuring cup to firmly press the base into the cup.
Step 3: Make the Chocolate Mousse
Open your can of Edward & Son’s heavy coconut cream (ensure it’s been refrigerated overnight). Scoop out only the thick, solidified cream from the top, leaving the watery liquid behind. Add this thick cream to your food processor along with the cocoa powder and pitted dates. Process until completely smooth and creamy. Tip: If you’re using a less powerful food processor, you may need to scrape down the sides a few times.
Step 4: Layer the Mousse
Spoon the chocolate mousse evenly over the almond flour base in each cup. Smooth the tops with a spoon or spatula. Tip: For a beautiful swirl effect, add half the mousse, then add a spoonful of raspberry jam (see next step), top with the remaining mousse, and gently swirl with a toothpick or knife.
Step 5: Prepare the Raspberry Jam
In a small saucepan, combine the frozen raspberries, water, chia seeds, and cinnamon. Bring to a gentle simmer over medium heat, stirring occasionally. Reduce heat to low and continue to simmer for about 10-15 minutes, or until the raspberries have broken down and the mixture has thickened. Tip: Taste and adjust sweetness if needed; you may add a little maple syrup or honey if you prefer a sweeter jam.
Step 6: Add the Raspberry Topping
Let the raspberry jam cool slightly, then spoon it over the chocolate mousse in each cup. You can create a simple swirl or just spread it evenly across. Refrigerate for at least 30 minutes to allow the mousse to set. Tip: Refrigerate for longer if you want a firmer mousse.
Tips for Success
For perfectly decadent mousse cups, here are a few extra tips:
- Chill the Coconut Cream: Refrigerating the coconut cream overnight is crucial for achieving that thick, creamy texture.
- Don’t Over-Process: Over-processing the base or mousse can result in a tough texture. Process just until smooth.
- Adjust Sweetness: The sweetness of the dates can vary. Taste the base and mousse and adjust with a touch of maple syrup or honey if needed.
- Use Fresh Raspberries (If Possible): While frozen raspberries are convenient, fresh raspberries will provide a more vibrant flavor and color for the jam.
- Patience is Key: Allow sufficient time for the mousse to set in the refrigerator. This step is important for maintaining the texture and presentation.
Variations to Try
Want to put your own spin on these delicious cups? Here are some variations to explore:
- Different Berries: Substitute the raspberries with other berries like blueberries, strawberries, or blackberries.
- Nut Butter Swap: Experiment with different nut butters like cashew butter or peanut butter in the base.
- Spiced Chocolate: Add a pinch of cayenne pepper or chili powder to the mousse for a spicy kick.
- Add-ins: Include chopped nuts, chocolate chips, or shredded coconut to the mousse for extra texture and flavor.
- Vegan Chocolate Chips: Consider adding vegan chocolate chips to the mousse for an extra chocolatey delight.
Storing and Reheating
These no-bake cups are best enjoyed fresh, but leftovers can be stored in the refrigerator for up to 3 days. For the best flavor and texture, store them in an airtight container to prevent them from drying out. You can also freeze these mousse cups for up to 2 months. To enjoy frozen cups, simply thaw them in the refrigerator overnight before serving. Reheating is not recommended, as it can negatively impact the texture of the mousse.
Frequently Asked Questions
Here are answers to some commonly asked questions about these delightful raspberry chocolate mousse cups:
Q: Can I use regular coconut milk instead of heavy coconut cream?
A: No, regular coconut milk will not work as well. The heavy cream provides the necessary richness and creaminess for the mousse. Regular coconut milk is too thin.
Q: Can I make these cups ahead of time?
A: Yes! The mousse cups are best made ahead of time to allow the mousse to set properly. Make them a day or two in advance and store them in the refrigerator.
Q: Are these cups gluten-free?
A: Yes, these cups are naturally gluten-free as long as you use gluten-free dairy-free milk and ensure that all other ingredients are certified gluten-free.
Q: How many servings does this recipe make?
A: This recipe makes approximately 6-8 servings, depending on the size of your cups or ramekins.
Q: What if my raspberry jam is too runny?
A: If your raspberry jam is too runny, simply simmer it for a few more minutes to allow it to thicken further. You can also add a teaspoon of chia seeds or arrowroot powder to help thicken it.
The Final Word
These Decadent No-Bake Raspberry Chocolate Mousse Cups are a true testament to the fact that delicious desserts don’t have to be complicated. With their effortless preparation, irresistible flavors, and impressive presentation, these cups are perfect for any occasion. The delightful combination of creamy chocolate mousse, tangy raspberry jam, and a subtly sweet and nutty base will leave you craving more! So go ahead, give this recipe a try, and prepare to be amazed. Don’t forget to leave a comment below and let me know what you think! And if you loved this recipe, give it a rating; I’d love to hear your feedback!
No Bake Raspberry Chocolate Mousse Cups
Ingredients
- ingredients for the base layer:
- 1 cup almond flour
- 1/3 cup flax meal
- 1/3 cup runny almond butter
- 1 cup medjool dates pitted
- 1/3 cup cocoa powder
- 1/3 cup dairy-free milk
- 1 tsp vanilla extract
- ingredients for the chocolate mousse:
- 1 can 13.5 oz edward and son’s heavy coconut cream
- 1/4 cup cocoa powder
- 5 large medjool dates pitted
- ingredients for raspberry jam topping:
- 10 ounces frozen raspberries
- 1 cup water
- 1 tbsp chia seeds
- 1/2 teaspoon cinnamon
Instructions
- **Make the base:** Combine almond flour, flax meal, almond butter, pitted dates, cocoa powder, dairy-free milk, and vanilla extract in a food processor. Process until a sticky dough forms.
- **Press into cups:** Divide the dough evenly among 6 small ramekins or cups. Press firmly into the bottom to create a crust. Place in the refrigerator while you make the mousse.
- **Make the raspberry jam:** Combine frozen raspberries, water, chia seeds, and cinnamon in a small saucepan over medium heat. Bring to a simmer, stirring occasionally, until the raspberries have broken down and the mixture has thickened (about 10-15 minutes). Remove from heat and let cool completely.
- **Make the chocolate mousse:** Scoop out the thick coconut cream from the top of the refrigerated can, leaving the watery liquid behind. Place the coconut cream in a food processor with cocoa powder and pitted dates. Process until smooth and creamy.
- **Assemble the cups:** Spoon the chocolate mousse evenly over the chilled crusts.
- **Top with raspberry jam:** Spread the cooled raspberry jam over the chocolate mousse.
- **Chill:** Refrigerate the mousse cups for at least 2 hours to allow the mousse to set.
- **Serve:** Garnish with extra raspberries or chocolate shavings (optional) before serving.