
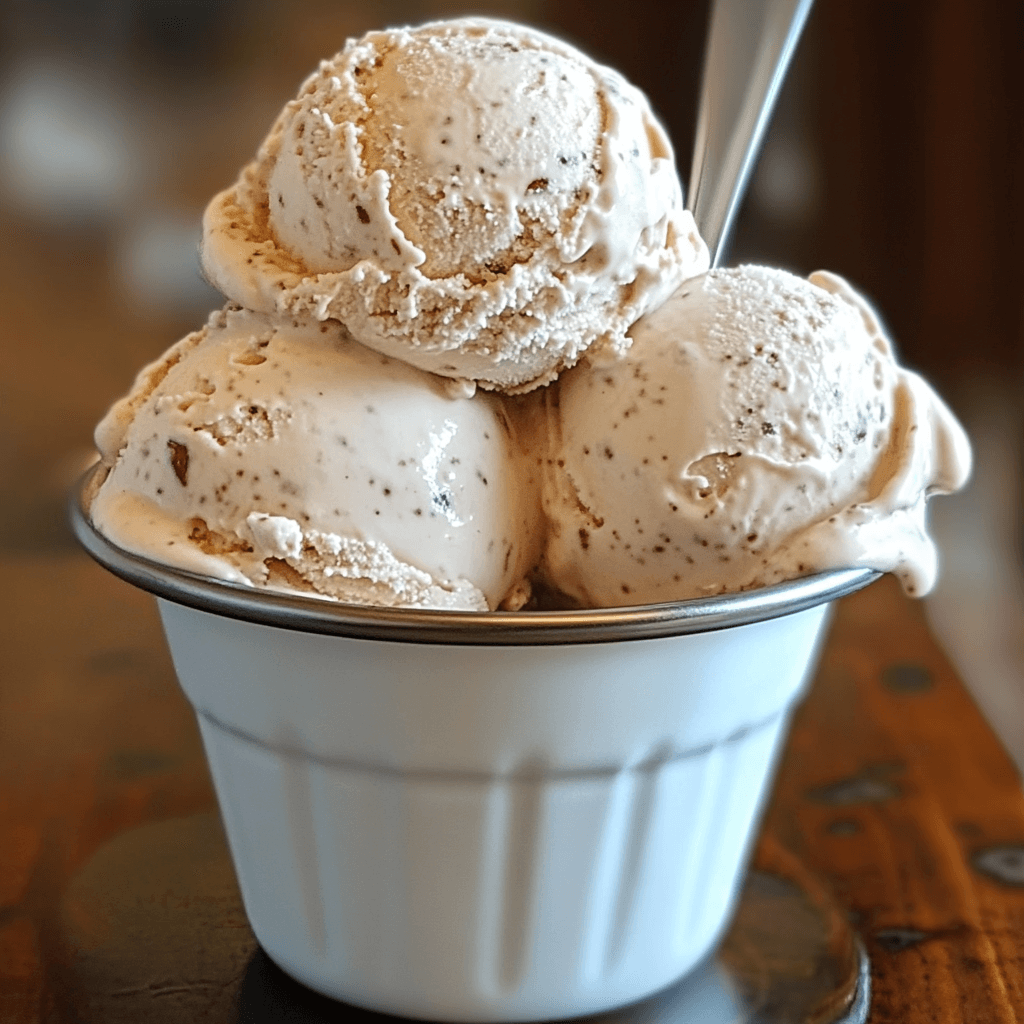
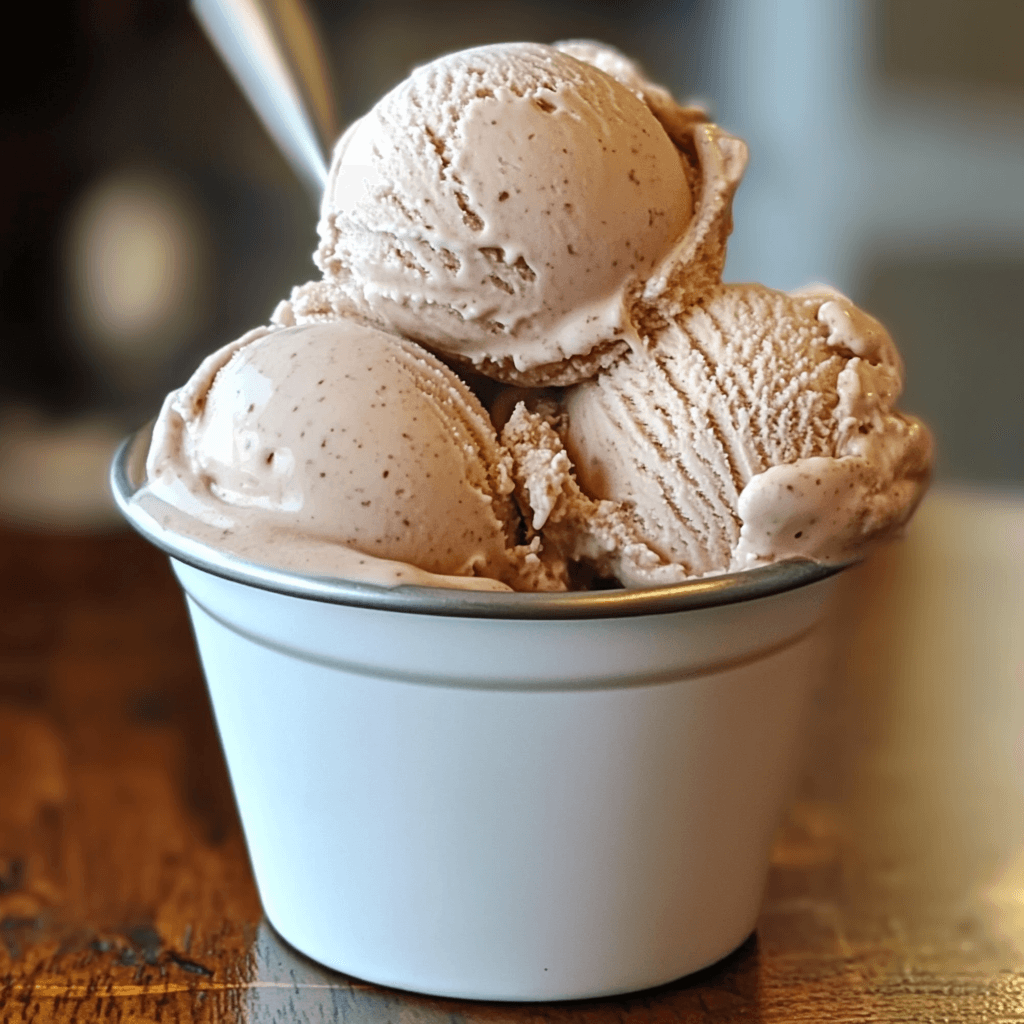
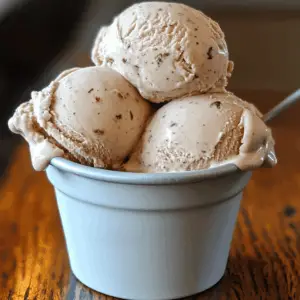
Why You’ll Love This Dr. Pepper Ice Cream
Hey there, ice cream lovers! Are you ready for a ridiculously easy, unbelievably delicious dessert that will blow your mind? Prepare to meet your new favorite treat: Dr. Pepper ice cream! This recipe uses just three simple ingredients, and trust me, the result is far more complex and delightful than you’d ever imagine. Forget complicated churning and fussy techniques; this recipe is your shortcut to creamy, dreamy ice cream perfection.
Imagine the smooth, cool texture melting on your tongue, the familiar Dr. Pepper fizz subtly transformed into a sweet, refreshing coolness. This ice cream offers a unique twist on a classic flavor, delivering a taste experience that’s both nostalgic and exciting. It’s the perfect ending to a summer barbecue, a comforting treat on a chilly evening, or just the little pick-me-up you need on a Tuesday. It’s so quick to make, you can whip up a batch in minutes, and trust me, your friends and family will be begging for more! You’ll impress everyone with minimal effort – that’s the magic of this recipe! The unique Dr. Pepper flavor profile adds a surprising depth, making this ice cream an unforgettable experience. Get ready to be amazed by how easy and delicious this recipe is!
What You’ll Need
This recipe is beautifully simple, requiring only a handful of ingredients, all easily found in your local grocery store. Here’s what you’ll need to create this incredible ice cream:
- 14 ounces sweetened condensed milk: This provides the creamy base and sweetness for your ice cream. Look for a well-known brand for consistent quality.
- 12 ounces Dr. Pepper: The star of the show! Use your favorite brand, chilled for best results. The chilled soda helps to keep the ice cream from being too icy.
- 2 cups heavy cream: This is essential for achieving that luxuriously smooth and rich texture we all crave in our ice cream. Make sure it’s cold and fresh for optimal results.
That’s it! Three ingredients and you’re on your way to ice cream heaven.
Step-by-Step Instructions
Let’s get started on creating this magical Dr. Pepper ice cream! It’s easier than you think.
1. Chill your ingredients: Before you begin, ensure your heavy cream and Dr. Pepper are well-chilled. This helps to prevent the ice cream from becoming too icy.
2. Combine ingredients: In a large bowl, whisk together the sweetened condensed milk and chilled Dr. Pepper until well combined. This step is key to ensuring a smooth and even texture in your final product. Don’t rush this step!
3. Add the heavy cream: Gently pour in the chilled heavy cream. Use a whisk to gently fold it into the mixture. Avoid overmixing at this stage; gentle folding ensures the cream incorporates smoothly without deflating. Aim for a smooth, homogenous mixture.
4. Freeze: Pour the mixture into a freezer-safe container with a lid. Ensure the container is airtight to prevent ice crystals from forming. Place the container in the freezer for at least 6 hours, or preferably overnight, to allow the ice cream to fully freeze.
5. Optional: Stir halfway: For an even smoother texture, consider stirring the mixture halfway through the freezing process. This helps to break up any forming ice crystals, resulting in a creamier consistency. However, it’s not essential!
6. Serve and enjoy: Once frozen solid, remove the ice cream from the freezer and let it sit at room temperature for about 10-15 minutes to soften slightly before scooping and serving. Enjoy your delicious homemade Dr. Pepper ice cream!
Tips for Success
To ensure your Dr. Pepper ice cream turns out perfectly, here are a few extra tips:
Use high-quality ingredients:** The better the ingredients, the better the ice cream! Opt for high-quality heavy cream and sweetened condensed milk for the best results.
Chill thoroughly:** Chilling your ingredients is crucial. This prevents the formation of ice crystals and ensures a smoother, creamier texture.
Don’t overmix:** Overmixing can incorporate too much air, resulting in a less dense and potentially icy ice cream. Gentle folding is key!
Allow time to freeze:** Don’t rush the freezing process. Allow at least 6 hours, or preferably overnight, for the ice cream to fully freeze and develop its creamy texture.
Variations to Try
Feeling adventurous? Here are a few exciting variations you can try with this recipe:
Add some spice:** A dash of cayenne pepper or a pinch of cinnamon can add an interesting kick to the traditional Dr. Pepper flavor profile.
Chocolate swirl:** Melt some semi-sweet chocolate and swirl it into the ice cream before freezing for a decadent twist.
Coffee-Dr. Pepper fusion:** Add a shot or two of strong brewed coffee to enhance the depth of flavor.
Boozy version (for adults only):** Add a shot of Dr. Pepper flavored liqueur or bourbon for a sophisticated adult treat.
These are just a few ideas to get you started; feel free to experiment with different flavor combinations to create your own signature Dr. Pepper ice cream.
Storing and Reheating
This delicious Dr. Pepper ice cream can be stored in an airtight container in your freezer for up to two weeks. However, for the best taste and texture, it’s recommended to consume it within a week.
To serve, simply remove the ice cream from the freezer and let it sit at room temperature for 10-15 minutes to soften before scooping. If you prefer a softer consistency, you can microwave it in short bursts for a few seconds at a time, stirring in between, until it reaches your desired softness. Do not overheat!
Frequently Asked Questions
Can I substitute the Dr. Pepper?** While Dr. Pepper creates a unique flavor, you can experiment with other sodas like cherry cola or root beer for a different taste profile. Keep in mind the flavor will significantly change.
What if my ice cream is too icy?** This is usually due to insufficient chilling of the ingredients or insufficient freezing time. Try chilling your ingredients more thoroughly next time, and allow the ice cream to freeze for a longer period.
Can I use a different type of cream?** Heavy cream is best for achieving that smooth and rich texture, but you can experiment with other types of cream, keeping in mind the texture may change slightly. Whipping cream might result in a slightly less dense texture.
How long does it last?** Stored properly in an airtight container, your Dr. Pepper ice cream should last for up to two weeks in the freezer.
The Final Word
This incredibly easy Dr. Pepper ice cream recipe is a guaranteed crowd-pleaser. Its unique flavor combination, silky-smooth texture, and simple preparation make it a perfect dessert for any occasion. So, gather your ingredients, follow the simple steps, and prepare to be amazed by this delightful treat. We hope you enjoy it as much as we do! Let us know in the comments how yours turned out, and don’t forget to rate the recipe!
Dr. Pepper Ice Cream
Equipment
- Ice cream maker A standard ice cream maker is required for this recipe.
Ingredients
Wet Ingredients
- 14 oz Sweetened condensed milk
- 12 oz Dr. Pepper Chilled
Dairy Ingredients
- 2 cups Heavy cream Cold
- 1 tsp Vanilla extract
- 1 pinch Salt
Instructions
- In a large bowl, whisk together the sweetened condensed milk, Dr. Pepper, heavy cream, vanilla extract, and salt until well combined.
- Pour the mixture into your ice cream maker and churn according to the manufacturer’s instructions.
- Once the ice cream is churned, it will have a soft-serve consistency.
- Transfer the ice cream to an airtight container.
- Freeze for at least 2-3 hours to allow the ice cream to harden completely.
- Before serving, let the ice cream sit at room temperature for about 10-15 minutes to soften slightly.
- Scoop and serve immediately. Enjoy!