Introduction
Oh, the smell of warm apples and cinnamon! It instantly takes me back to cozy kitchens, crisp autumn air, and the pure joy of homemade treats. And guess what? You can capture that magic right in your own kitchen with the absolute easiest Mini Apple Pies you’ll ever make. Seriously, these little gems are so simple, you’ll be whipping them up for any occasion – or just because you deserve a sweet little treat!
Why You’ll Love This Recipe
- Fast: From start to finish, these are incredibly quick to assemble.
- Easy: Minimal steps and simple ingredients mean even beginner bakers can shine.
- Giftable: Pack them up in a cute tin or box – they make the most charming edible gifts!
- Crowd-pleasing: Who can resist a bite-sized version of a classic? Everyone will be asking for the recipe!
Ingredients
Gathering your ingredients is the first step to pie perfection. Here’s what you’ll need:
- 2 cups chopped apples: Roughly chop them into about ¼ inch pieces. I like using a mix of sweet and tart apples for the best flavor – like Honeycrisp and Granny Smith. You’ll need about 2 large apples.
- 1 tablespoon granulated sugar: For a touch of sweetness.
- 1 tablespoon brown sugar: This adds a lovely caramel note that pairs beautifully with apples.
- ½ teaspoon apple pie spice: This is your secret weapon for that quintessential apple pie flavor! If you don’t have it, no worries – ½ teaspoon ground cinnamon and a tiny pinch of ground nutmeg work just as well.
- ½ teaspoon vanilla extract: Because, well, vanilla makes everything better!
- 1 large egg: This is for our super easy egg wash to give the crust a gorgeous golden sheen.
- 1 tablespoon water: To thin out the egg wash just a bit.
- 14 ounces refrigerated pie crust: This is the ultimate shortcut! Make sure it’s thawed if you’re using frozen. You’ll need one package.
- 2 tablespoons sanding sugar or turbinado sugar: This is optional, but it adds a delightful sparkle and a little crunch on top. It’s like edible glitter for your pies!
How to Make It
Alright, let’s get baking! This is where the fun really begins.
- Preheat your oven: Get it nice and toasty to 375°F (190°C).
- Mix up the apple filling: In a medium bowl, toss your chopped apples with the granulated sugar, brown sugar, apple pie spice (or cinnamon/nutmeg), and vanilla extract. Make sure every apple piece is coated in that delicious spice blend.
- Whip up the egg wash: In a small bowl, give the egg and water a good whisk until they’re well combined. This is what will give our pie crusts that beautiful golden-brown color.
- Prep your pie crusts: Unroll your refrigerated pie crust. Grab a biscuit cutter or a glass that’s just a little bit bigger than the cavities of your mini muffin tin. You’ll need to cut out 24 circles. Don’t worry if they’re not perfectly round – rustic charm is part of the appeal!
- Line your muffin tin: Gently press each pie crust circle into the cavities of a lightly greased mini muffin tin. You’re creating little shells for our yummy apple filling.
- Fill ’em up: Spoon the apple filling evenly into each of those pie crust shells. Don’t overfill them, but make sure each one gets a good amount of that spiced apple goodness.
- Brush on the shine: Use a pastry brush to lightly brush the edges of the pie crusts with your prepared egg wash. This is what makes them look so professional!
- Add some sparkle (optional): If you’re feeling fancy, sprinkle a little sanding sugar or turbinado sugar over the apple filling. It adds a lovely touch!
- Bake to perfection: Pop the tin into your preheated oven and bake for 15-20 minutes. You’re looking for the crust to be a beautiful golden brown and the apple filling to be nice and bubbly.
- Cool down: Let the mini apple pies cool in the tin for a few minutes. This helps them set up a bit. Then, carefully remove them from the tin. Be gentle – they’re hot!
Substitutions & Additions
The beauty of these mini pies is their versatility! Feel free to play around and make them your own:
- Apple varieties: As I mentioned, a mix of apples is great! Fuji, Gala, and Pink Lady also work wonderfully.
- Spices: If you love cinnamon, add a little extra! A tiny pinch of ground cloves or ginger can also add a nice warmth.
- Nuts: For a little crunch, stir in a tablespoon or two of chopped pecans or walnuts into the apple filling.
- Citrus Zest: A little bit of lemon or orange zest added to the apple filling can brighten up the flavors beautifully.
- Caramel Drizzle: After baking and cooling, a drizzle of caramel sauce over the top is pure decadence!
Tips for Success
A few little tricks can ensure your mini apple pies turn out perfectly every time:
- Don’t overwork the dough: When cutting out your circles, try to do it efficiently so the dough doesn’t get too warm and sticky.
- Grease your tin: Even if your muffin tin is non-stick, a light greasing ensures your mini pies release beautifully.
- Prep ahead: You can chop your apples and mix the filling a day in advance. Store them separately in airtight containers in the refrigerator.
- Watch for burning: Ovens can vary. If you notice the edges of your crust browning too quickly, you can loosely tent a piece of foil over the tin.
How to Store It
These are best enjoyed fresh, but if you happen to have any leftovers (which I highly doubt!), here’s how to store them:
- Let the mini apple pies cool completely before storing.
- Store them in an airtight container at room temperature for up to 2 days.
- For longer storage, you can refrigerate them for up to 4 days. Reheat gently in a low oven or toaster oven if you prefer them warm.
FAQs
- Can I make these ahead of time for a party?
- Yes! You can prepare the apple filling a day in advance. You can also cut out the pie crust circles. Assemble and bake them closer to when you want to serve them for the freshest results.
- What if I don’t have a mini muffin tin?
- You can adapt this recipe! You could try making one larger mini pie in a regular muffin tin, or even bake them freeform on a baking sheet, though they might be a little more delicate to handle.
- Can I freeze these?
- You can bake them, let them cool completely, and then freeze them in a single layer on a baking sheet until solid. Once frozen, transfer them to a freezer-safe container or bag for up to 2-3 months. Thaw at room temperature or reheat gently.
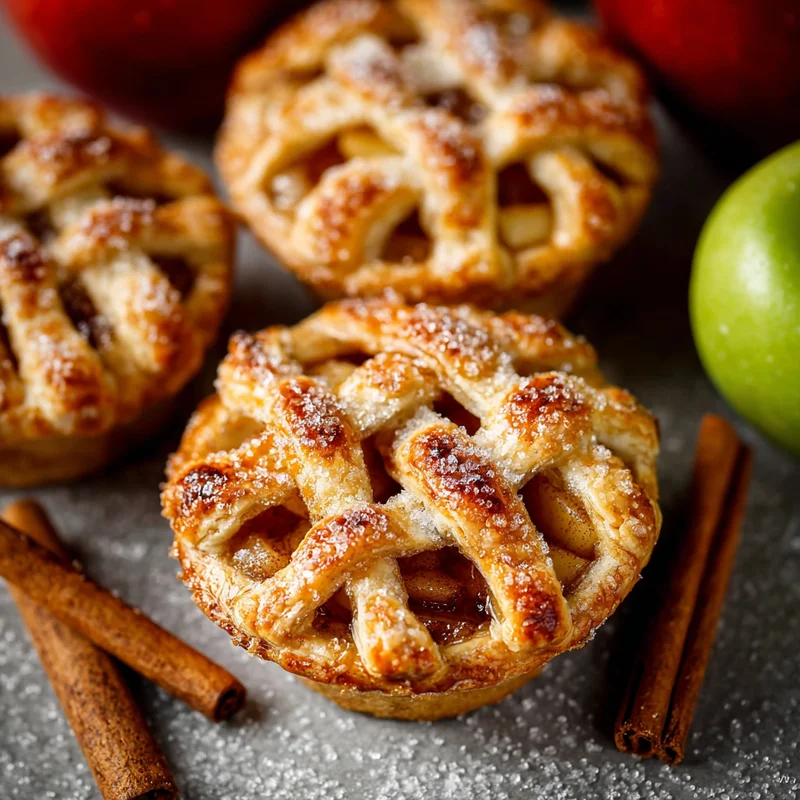
Mini Apple Pies

Capture the magic of homemade apple pie in these incredibly easy, bite-sized treats perfect for any occasion, from cozy fall evenings to holiday celebrations. They’re quick, simple, and wonderfully giftable.
- Mini muffin tin
- Biscuit cutter or glass
- Pastry brush
- Medium bowl
- Small bowl
Apple Filling
- 2 cups apples (Roughly chopped into about 1/4 inch pieces. A mix of sweet and tart apples is recommended.)
- 1 tablespoon granulated sugar
- 1 tablespoon brown sugar
- 0.5 teaspoon apple pie spice (Or 1/2 tsp ground cinnamon and a pinch of ground nutmeg.)
- 0.5 teaspoon vanilla extract
Egg Wash
- 1 large egg
- 1 tablespoon water
Crust & Topping
- 14 ounces refrigerated pie crust (Thawed if frozen. You’ll need one package.)
- 2 tablespoons sanding sugar or turbinado sugar (Optional, for sparkle and crunch.)
- Preheat your oven to 375°F (190°C).
- In a medium bowl, toss chopped apples with granulated sugar, brown sugar, apple pie spice (or cinnamon/nutmeg), and vanilla extract until evenly coated.
- In a small bowl, whisk together the egg and water for the egg wash.
- Unroll the pie crust. Use a biscuit cutter or glass to cut out 24 circles, slightly larger than the cavities of your mini muffin tin.
- Gently press each pie crust circle into the lightly greased cavities of the mini muffin tin to form shells.
- Spoon the apple filling evenly into each pie crust shell, being careful not to overfill.
- Lightly brush the edges of the pie crusts with the prepared egg wash.
- If desired, sprinkle sanding sugar or turbinado sugar over the apple filling.
- Bake for 15-20 minutes, or until the crust is golden brown and the filling is bubbly.
- Let the mini apple pies cool in the tin for a few minutes before carefully removing them.
These mini apple pies are best enjoyed fresh. For storage, let them cool completely and store in an airtight container at room temperature for up to 2 days, or refrigerate for up to 4 days. They can also be frozen after baking for up to 2-3 months.