
Introduction
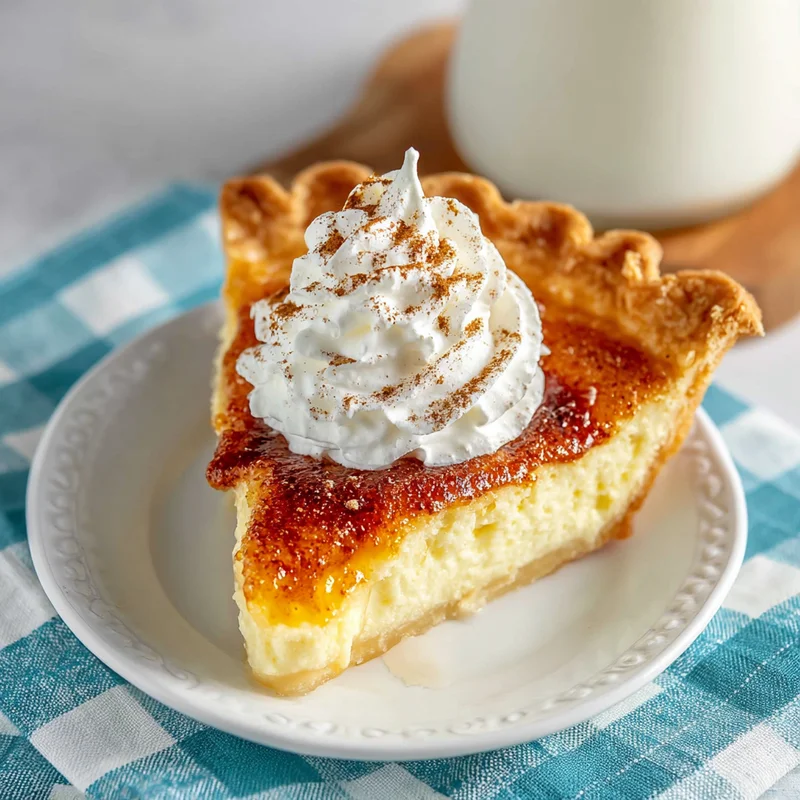
Oh, the sweet, comforting aroma of a freshly baked pie! Does anything bring you back to Grandma’s kitchen quite like a warm, tender buttermilk pie? This recipe is like a hug in dessert form. It’s so incredibly simple, you’ll wonder why you haven’t made it a thousand times before. Perfect for those moments when you need a little comfort, a little sweetness, and a lot of deliciousness without all the fuss. Get ready to whip up a pie that tastes like pure happiness!
Why You’ll Love This Recipe
- Fast: Seriously, this comes together in a flash.
- Easy: Minimal ingredients and straightforward steps mean anyone can make this.
- Giftable: Wrap it up for a neighbor, a friend, or a thank you – it’s always a welcome treat.
- Crowd-pleasing: This classic flavor is a guaranteed hit with everyone, young and old.
Ingredients
Gather ’round, my friends! Here’s what you’ll need to create this magic:
- 1 (9-inch) unbaked pie crust: You can use store-bought for ultimate ease, or your favorite homemade recipe. No need to pre-bake this one!
- ½ cup butter: Make sure it’s softened so it creams up beautifully.
- 3 large eggs: These are the backbone of our custard.
- 2 tablespoons all-purpose flour: Just a touch to help our filling set perfectly.
- 1 ½ cups granulated sugar: For that signature sweet, comforting flavor.
- ⅛ teaspoon ground cinnamon: A tiny whisper of spice to warm things up.
- ⅛ teaspoon salt: Balances out the sweetness and makes all the flavors pop.
- 1 ½ teaspoons vanilla extract: The star flavor that makes everything taste so good.
- 1 cup buttermilk: This is where the magic happens! It gives the pie its unique tang and tender texture.
- 1 tablespoon lemon juice: A little brightness to cut through the richness.
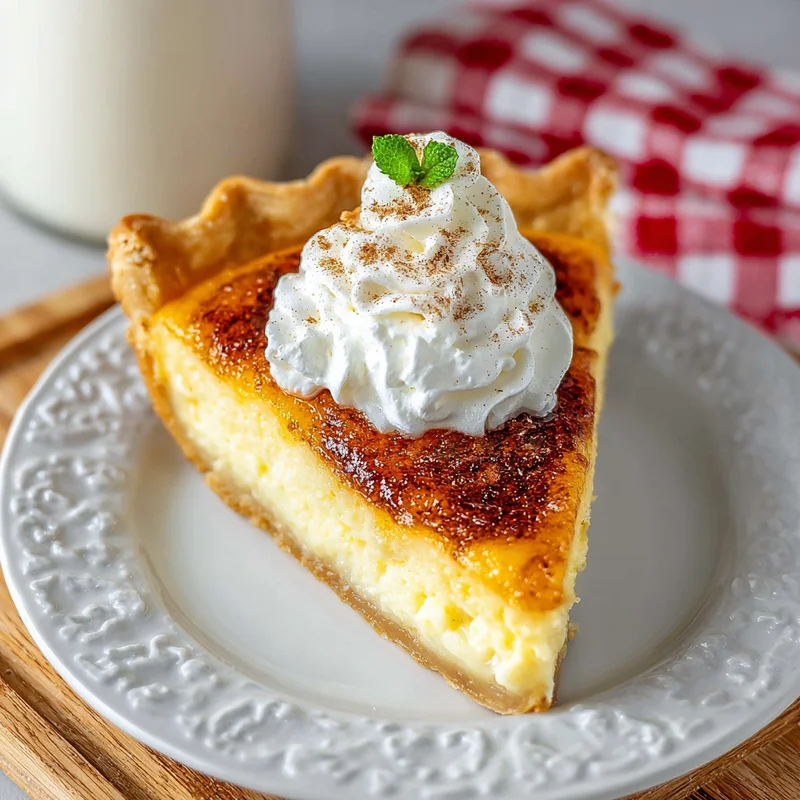
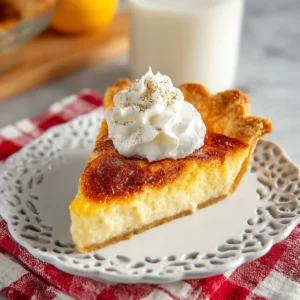
- Whipped cream, for serving: Because what’s a slice of buttermilk pie without a cloud of whipped cream?
How to Make It
Let’s get baking! This is going to be so much fun.
- Preheat your oven: Set that oven to 350°F (175°C). It’s like waking it up and telling it to get ready for something delicious.
- Cream the butter and sugar: In a big bowl, grab your electric mixer and cream together the softened butter and granulated sugar. Mix them until they’re light and fluffy – this is key to a smooth filling.
- Add the eggs and dry ingredients: Beat in the eggs, one at a time, making sure each one is fully incorporated. Then, gently stir in the flour, cinnamon, and salt.
- Introduce the liquids: Now, it’s time for the wet ingredients! Gradually add the buttermilk, vanilla extract, and lemon juice to the bowl. Mix everything until it’s beautifully combined and looks smooth. Don’t overmix; just get it all together.
- Fill your crust: Carefully pour that lovely filling into your unbaked pie crust. Make sure it’s spread out evenly.
- Time to bake: Pop that pie into your preheated oven and bake for 50 to 60 minutes. You’ll know it’s ready when the center is just set. How do you check? Gently shake the pie. If the center only jiggles a little bit, it’s perfect! We don’t want a super wobbly middle.
- Cool it down: This is the hardest part – waiting! Let the pie cool completely on a wire rack. This allows the filling to fully set up. Patience is a virtue, especially when pie is involved.
- Serve and enjoy: Once it’s cooled, slice it up and top each piece with a generous dollop of whipped cream. Pure bliss!
Substitutions & Additions
Feeling adventurous? I love to play around with recipes, and this one is so forgiving!
- Don’t have buttermilk? No problem! You can make a quick substitute by adding 1 tablespoon of white vinegar or lemon juice to 1 cup of milk. Let it sit for about 5 minutes, and you’ve got yourself a buttermilk stand-in!
- Spice it up! If you love a little more warmth, try adding a pinch of nutmeg or a tiny bit more cinnamon.
- Citrus zest: For an extra zing, add the zest of half a lemon or orange to the filling.
- A hint of almond: A ¼ teaspoon of almond extract alongside the vanilla can add a lovely nutty depth.
Tips for Success
A few little secrets from my kitchen to yours to ensure your buttermilk pie is absolutely perfect every time.
- Room temperature ingredients: Make sure your butter and eggs are at room temperature. This helps them blend together more smoothly for a better texture.
- Don’t overbake: The key to a perfectly set, not rubbery, custard is to take it out when the center is just set. It will continue to firm up as it cools.
- Prep ahead: You can make this pie the day before you plan to serve it. It actually tastes even better after the flavors have had a chance to meld overnight! Just store it covered on the counter.
- Cooling is crucial: Resist the urge to slice into a warm pie. Letting it cool completely is essential for the filling to set properly.
How to Store It
Got leftovers? Lucky you!
- Once the pie has cooled completely, you can store it loosely covered at room temperature for up to 2 days.
- If you live in a very warm climate or if it’s particularly humid, you might want to refrigerate it after the first day. It will keep well in the fridge for up to 4 days.
- When you’re ready to serve, just bring it back to room temperature or enjoy it chilled.
FAQs
Got questions? I’ve got answers!
Q: Why is my buttermilk pie filling runny?
A: This usually happens if it was underbaked or if you added too much liquid. Make sure to bake until the center is just set, with only a slight jiggle. Cooling is also essential for it to firm up!
Q: Can I use a graham cracker crust?
A: Absolutely! A graham cracker crust or even a pre-made cookie crust would be a delicious alternative to a traditional pastry crust. Just follow the same baking instructions.
Q: How do I know when the center is “just set”?
A: When you gently shake the pie, the center should only move a little, like a very gentle wobble. It shouldn’t be a full, liquidy jiggle. The edges will be fully set, and the center will appear slightly softer.
Nostalgic Buttermilk Pie
Equipment
- Electric mixer
- 9-inch pie plate unbaked pie crust
- Wire rack
Ingredients
For the Pie
- 1 unit unbaked pie crust 9-inch, store-bought or homemade
- 0.5 cup butter softened
- 3 large eggs
- 2 tablespoons all-purpose flour
- 1.5 cups granulated sugar
- 0.125 teaspoon ground cinnamon
- 0.125 teaspoon salt
- 1.5 teaspoons vanilla extract
- 1 cup buttermilk
- 1 tablespoon lemon juice
For Serving
- whipped cream for serving
Instructions
- Preheat your oven to 350°F (175°C).
- In a large bowl, cream together the softened butter and granulated sugar until light and fluffy.1 unit unbaked pie crust
- Beat in the eggs, one at a time, until fully incorporated. Gently stir in the flour, cinnamon, and salt.1 unit unbaked pie crust
- Gradually add the buttermilk, vanilla extract, and lemon juice. Mix until beautifully combined and smooth.1 unit unbaked pie crust
- Pour the filling into the unbaked pie crust and spread evenly.1 unit unbaked pie crust
- Bake for 50 to 60 minutes, or until the center is just set (it should only jiggle slightly).
- Let the pie cool completely on a wire rack.
- Slice and serve with whipped cream.1 unit unbaked pie crust