Rice Krispie Treats are a timeless classic, loved by people of all ages. They are simple to make, requiring only a few basic ingredients, yet they offer a deliciously sweet and chewy treat that everyone enjoys. But what makes these treats even more special? The Easter Egg Rice Krispie Treats recipe! These festive, pastel-colored creations are perfect for celebrating the Easter holiday, with their playful egg shape and vibrant colors. Whether you’re making them for a family gathering, a party, or just for fun, these treats are sure to be a hit. In this article, we will explore how to make Easter Egg Rice Krispie Treats, what ingredients you need, tips for success, and other fun variations to try.
Why You’ll Love This Easter Egg Rice Krispie Treats
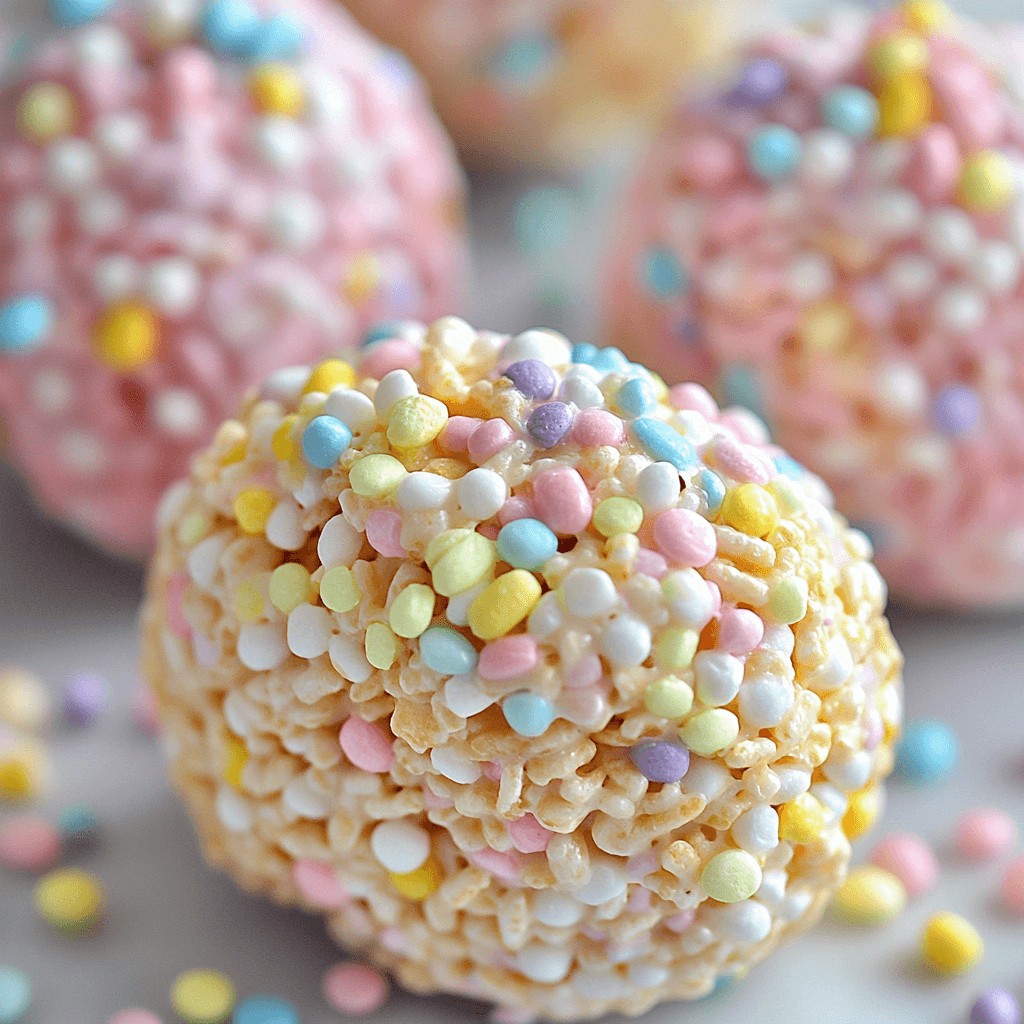
There are countless reasons why these Easter Egg Rice Krispie Treats will become your new favorite recipe for the holiday. First and foremost, they’re incredibly easy to make. With just a few ingredients and minimal effort, you can create a crowd-pleasing snack that will delight kids and adults alike. These treats are soft and chewy, with the perfect balance of sweetness, thanks to the marshmallows and buttery Rice Krispies.
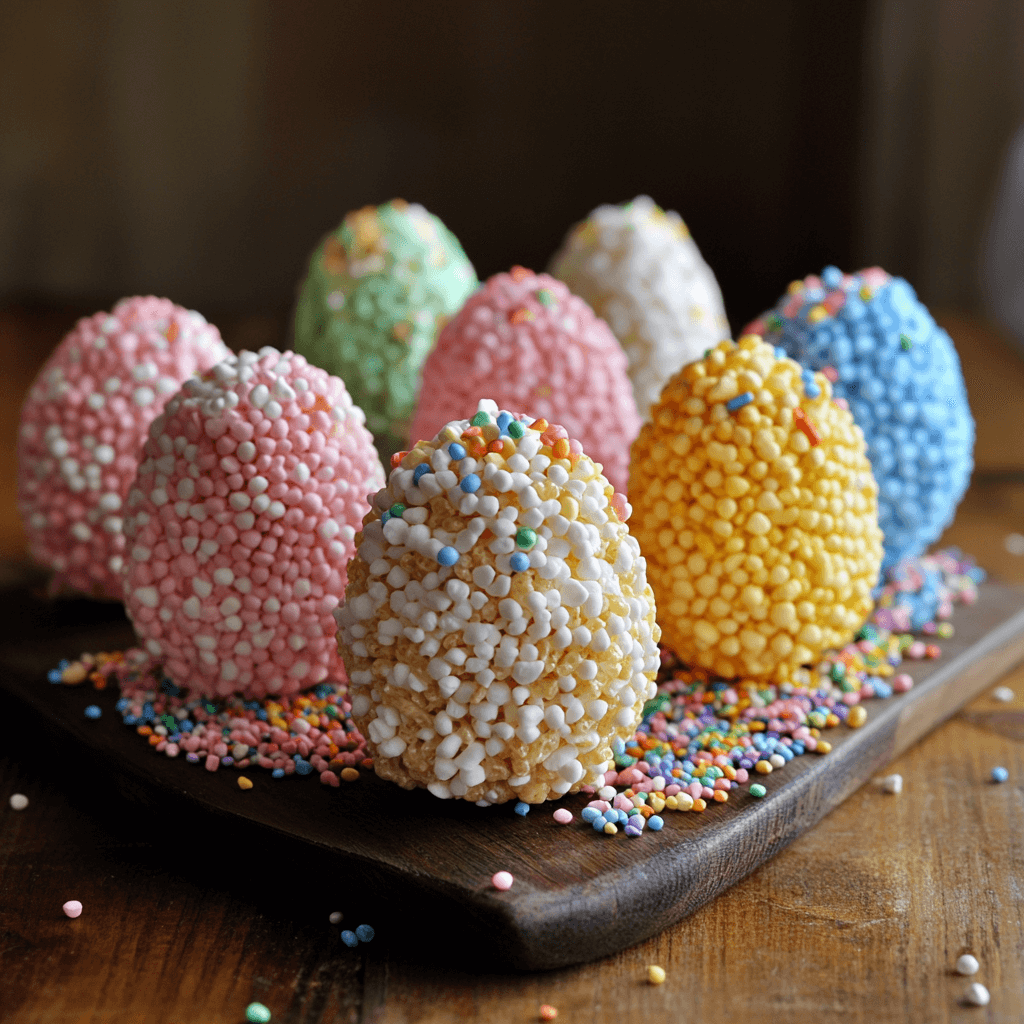
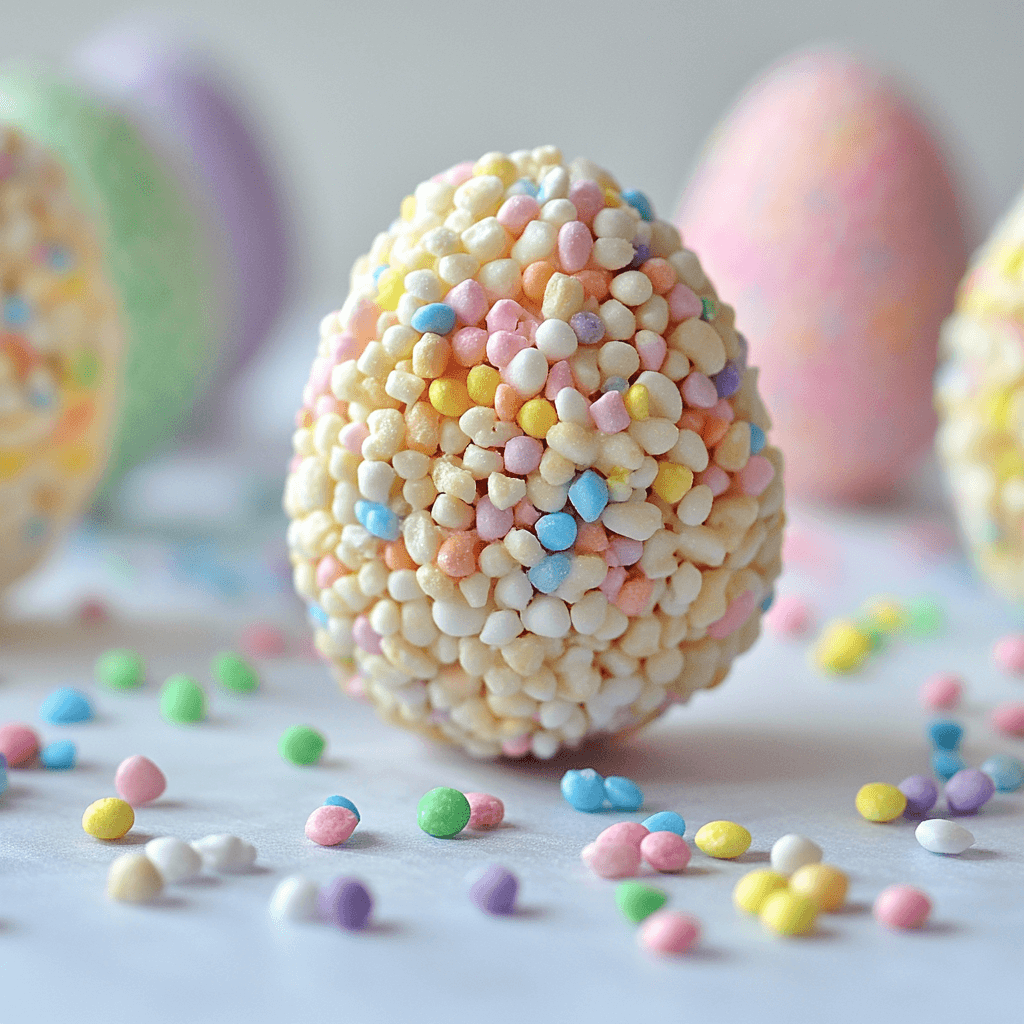
The magic happens when you shape the Rice Krispie mixture into colorful, egg-shaped forms, making them a festive addition to any Easter celebration. The pastel sprinkles add a touch of whimsy and charm, making these treats even more irresistible. Plus, they’re versatile! Whether you prefer to serve them as individual eggs or slice them into bars, these Rice Krispie treats can be customized to your liking. They also make great additions to an Easter egg hunt or party snack table. Overall, this recipe brings both fun and flavor to your Easter festivities.
So, if you’re looking for a simple yet delightful treat to share with family and friends this Easter, these Easter Egg Rice Krispie Treats are the perfect choice.
What You’ll Need
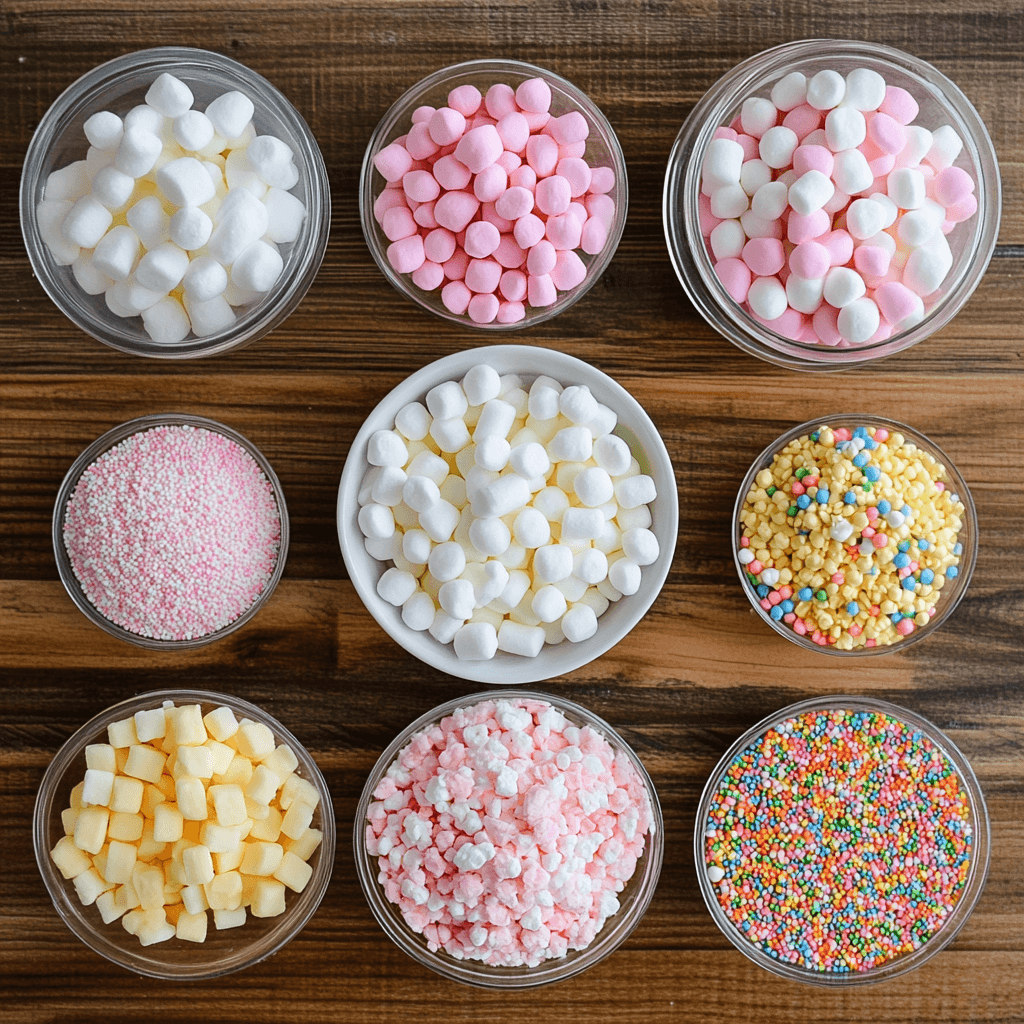
To make these Easter Egg Rice Krispie Treats, you only need a handful of ingredients. The ingredients are simple, but the result is anything but ordinary. Here’s what you’ll need:
- 3 tablespoons unsalted butter
- 1 package (10 oz) mini marshmallows
- 6 cups Rice Krispies cereal
- 1/2 cup pastel sprinkles (plus extra for decoration)
- Non-stick cooking spray (for shaping)
Ingredient Notes:
- Unsalted Butter: Using unsalted butter allows you to control the amount of salt in the recipe. If you prefer, you can also use salted butter, but keep in mind that it might alter the overall flavor slightly.
- Mini Marshmallows: Mini marshmallows melt more easily than the larger ones, ensuring your Rice Krispie treats are perfectly smooth and sticky. If you prefer, you could also use regular-sized marshmallows, but make sure to break them down before melting.
- Rice Krispies Cereal: This is the star of the show, providing the crispy texture that gives Rice Krispie treats their signature crunch. You could substitute with other crispy cereals, but Rice Krispies work best for this recipe.
- Pastel Sprinkles: These add a touch of color and make your treats look extra festive for Easter. You can use any combination of pastel colors or go with your favorite sprinkle shapes, like bunny or egg-shaped sprinkles.
- Non-stick Cooking Spray: This is key for preventing your hands from sticking to the mixture when shaping the treats. It also helps prevent the Rice Krispies from sticking to your molds.
Step-by-Step Instructions
Making Easter Egg Rice Krispie Treats is a simple and fun process. Here’s a detailed, step-by-step guide to help you along the way:
Step 1: Prepare Your Work Area
Before you begin, make sure your workspace is ready. Lightly grease a 9×13-inch baking pan with non-stick cooking spray, or line it with parchment paper for easy removal. You’ll also want to spray your hands with a little non-stick cooking spray to prevent the Rice Krispie mixture from sticking when shaping the eggs.
Step 2: Melt the Butter and Marshmallows
In a large saucepan, melt the unsalted butter over medium heat. Once the butter has fully melted, add the mini marshmallows. Stir the marshmallows continuously until they are completely melted and the mixture becomes smooth. This process typically takes 3-4 minutes.
Step 3: Mix in the Rice Krispies
Once the marshmallows have melted, remove the saucepan from the heat. Gradually add the Rice Krispies cereal into the marshmallow mixture, stirring gently until all the cereal is coated. Be sure not to crush the cereal as you mix.
Step 4: Add the Pastel Sprinkles
After the cereal is evenly coated, fold in the pastel sprinkles. Add about half of the sprinkles now, and reserve the rest for decorating the finished treats. Stir gently to evenly distribute the sprinkles throughout the mixture.
Step 5: Shape the Treats
Transfer the Rice Krispie mixture to your prepared baking pan. Use a spatula or your greased hands to press the mixture into an even layer in the pan. You don’t want it to be too compact, just enough so it holds together well. Allow it to cool for about 10-15 minutes.
Step 6: Shape the Treats into Eggs
Once the mixture has cooled slightly but is still soft enough to mold, use your hands to shape it into egg-like forms. This may be a bit messy, but the fun part is shaping them into perfect little eggs. Be sure to press the mixture tightly to hold the shape.
Step 7: Decorate the Eggs
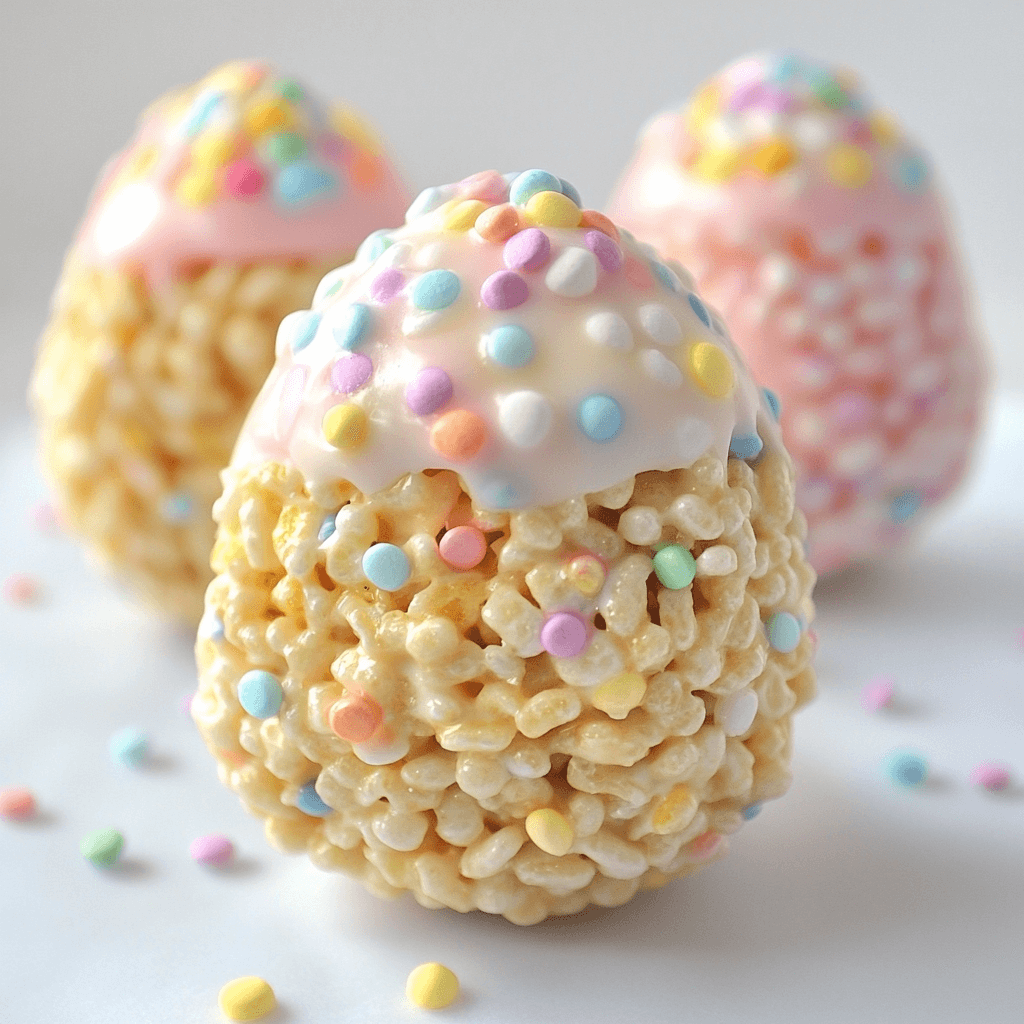
Once all your Easter egg Rice Krispie treats are shaped, sprinkle the remaining pastel sprinkles on top for an extra touch of color and decoration. Feel free to get creative here! You can also use additional candy or edible decorations if desired.
Step 8: Let Cool and Set
Allow the Rice Krispie treats to cool completely. This will ensure they hold their shape well. Once fully cooled, they are ready to serve and enjoy!
Tips for Success
- Don’t Overheat the Butter and Marshmallows: When melting the butter and marshmallows, be sure not to overcook the mixture. If it’s cooked too long, the marshmallows could become too firm, and the treats might be too hard. Remove the pan from the heat once everything has melted into a smooth, gooey mixture.
- Be Gentle When Stirring: When combining the cereal with the marshmallow mixture, stir gently. If you stir too vigorously, the Rice Krispies might break apart, leading to a less-than-ideal texture. You want them to stay crispy and intact.
- Use Non-stick Cooking Spray Liberally: Greasing your hands and utensils with non-stick spray will prevent the Rice Krispie mixture from sticking to you and make the shaping process much easier.
- Use Fresh Ingredients: Make sure your marshmallows and Rice Krispies are fresh for the best results. Stale marshmallows can lead to a less gooey texture, and old cereal may lack crunch.
Variations to Try
While these Easter Egg Rice Krispie Treats are already delicious as they are, there are several ways to switch things up and make them even more unique.
- Add Candy: To make these treats even more festive, you can add small pieces of candy, such as jelly beans, chocolate eggs, or mini candy-coated chocolates, either inside the mixture or as decoration on top.
- Chocolate Drizzle: After shaping the eggs, drizzle some melted chocolate (milk, dark, or white chocolate) on top of the treats for an added layer of sweetness and decoration. You could even dip the bottoms of the eggs in chocolate for an extra decadent touch.
- Peanut Butter Rice Krispies: For a twist on the traditional Rice Krispie treat, add 1/2 cup of peanut butter to the melted marshmallow mixture. The peanut butter adds a rich, nutty flavor that complements the sweetness of the marshmallows.
- Coconut Flakes: For a tropical variation, sprinkle shredded coconut on top of the treats before they set. The coconut adds both flavor and texture, making these treats even more special.
Storing and Reheating
These Easter Egg Rice Krispie Treats can be stored for several days, which makes them perfect for prepping ahead of time.
- Storing: Store the Rice Krispie treats in an airtight container at room temperature. They will stay fresh for up to 3-4 days. To keep them from sticking together, you can place a piece of wax paper between the layers of treats.
- Freezing: If you’d like to make them ahead of time, you can freeze the Rice Krispie treats. Place the shaped eggs in a single layer on a baking sheet and freeze for about 1 hour. Then, transfer them to a freezer-safe container and freeze for up to 1 month. To thaw, let them sit at room temperature for about 30 minutes.
- Reheating: Rice Krispie treats are best enjoyed fresh, but if they become too firm, you can pop them in the microwave for 10-15 seconds to soften them up. Just be careful not to overheat them, or they may become too gooey.
Frequently Asked Questions
1. Can I use regular-sized marshmallows instead of mini marshmallows?
Yes! You can use regular-sized marshmallows. Just be sure to cut them into smaller pieces to help them melt more easily.
2. Can I make these Rice Krispie treats ahead of time?
Yes, you can make these treats up to 2-3 days in advance. Just store them in an airtight container to keep them fresh.
3. What if I don’t have pastel sprinkles?
If you don’t have pastel sprinkles, you can use regular sprinkles or any other type of edible decoration you prefer. Colored sugar or edible glitter would be fun alternatives.
The Final Word
Easter Egg Rice Krispie Treats are a simple, fun, and festive way to celebrate the holiday. With just a few ingredients and some creativity, you can make these treats into a crowd-pleasing snack that everyone will love. Whether you’re making them for a family gathering, an Easter party, or just for a fun activity with the kids, these treats are sure to bring a smile to everyone’s face. So gather your ingredients, get in the kitchen, and start creating these delicious Easter-themed Rice Krispie treats today!