Cheesecake lovers, rejoice! If you’ve ever dreamt of making a rich, creamy, and velvety cheesecake that melts in your mouth without the hassle of complex techniques, then this Condensed Milk Cheesecake is the perfect dessert for you. Whether you’re a baking enthusiast or someone who’s just looking for an easy yet impressive dessert for a special occasion, this recipe has got you covered.
Why You’ll Love This Condensed Milk Cheesecake
There’s something irresistible about a cheesecake, and this version is no exception. The sweetened condensed milk adds a smooth, silky texture, while the graham cracker or digestive biscuit crust gives the perfect crunch. The combination of these ingredients creates a dessert that’s a total crowd-pleaser. Whether you’re hosting a family dinner, celebrating a birthday, or bringing something special to a potluck, this cheesecake will undoubtedly impress.
One of the best things about this cheesecake is its versatility. You can make it no-bake for a super easy option, or go the classic route and bake it for a traditional touch. Regardless of your choice, this cheesecake will turn out incredibly delicious and smooth.
With its subtle, sweet flavor and creamy texture, this cheesecake is also customizable. You can add different toppings like fruit, chocolate, or caramel to give it your unique flair. So, whether you’re a cheesecake connoisseur or a novice in the kitchen, this recipe is sure to become a favorite in your baking repertoire.

What You’ll Need
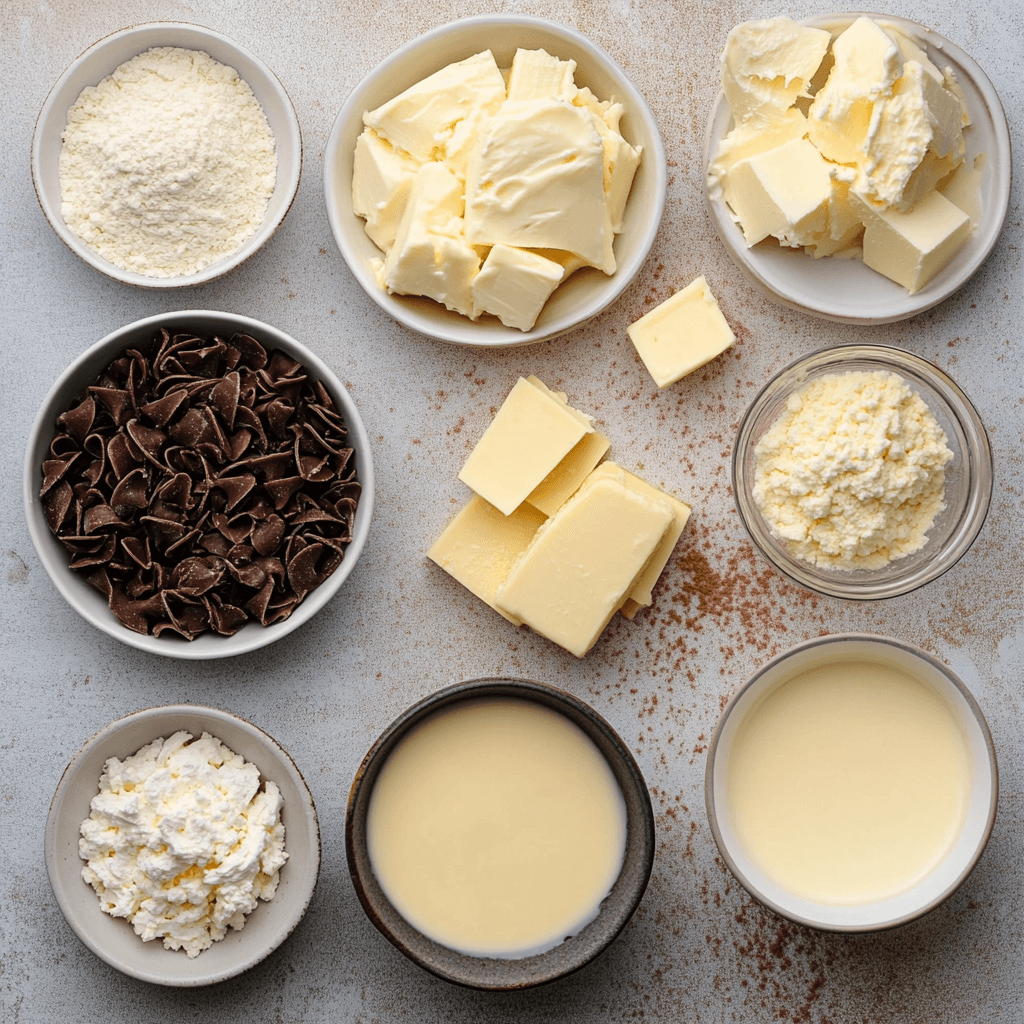
Before diving into the recipe, let’s take a look at the ingredients that make this cheesecake a delicious treat:
For the Crust:
- 1 1/2 cups (150g) digestive biscuits or graham cracker crumbs
- 1/2 cup (115g) unsalted butter, melted
- 2 tablespoons sugar (optional, depending on your preference)
For the Cheesecake Filling:
- 16 oz (450g) cream cheese, softened
- 1 cup (240ml) sweetened condensed milk
- 1/2 cup (120ml) sour cream
- 3 large eggs
- 1 teaspoon vanilla extract
- 2 tablespoons lemon juice (optional, for a touch of tanginess and freshness)
That’s all you need for this mouthwatering cheesecake. Each ingredient plays an important role in ensuring the perfect texture and flavor, from the richness of the cream cheese to the smoothness of the condensed milk.
Step-by-Step Instructions
Making this Condensed Milk Cheesecake is simple and straightforward. Follow these easy steps, and you’ll have a cheesecake that’s perfect for any occasion.
Step 1: Prepare the Crust
- Crush the biscuits or graham crackers: In a food processor, pulse the digestive biscuits or graham crackers into fine crumbs. If you don’t have a food processor, you can place the biscuits in a resealable plastic bag and crush them with a rolling pin.
- Mix with melted butter: In a medium-sized mixing bowl, combine the crushed biscuits or graham cracker crumbs with the melted butter. If you want a sweeter crust, add the sugar to the mixture and stir well. The texture should be like wet sand—moist enough to hold together when pressed.
- Press into the pan: Pour the crumb mixture into the base of a 9-inch (23 cm) springform pan or a pie dish. Press it down firmly to form an even, compact crust. Use the back of a spoon or the bottom of a glass to press the crumbs down evenly.
- Chill: Place the crust in the fridge for at least 30 minutes to allow it to set. This step is important, especially if you’re making a no-bake version, as it helps the crust hold its shape.
Step 2: Make the Cheesecake Filling
- Prepare the cream cheese: In a large mixing bowl, use an electric mixer to beat the softened cream cheese until it’s smooth and creamy. This step is key to preventing lumps in your filling, so make sure the cream cheese is softened before you start.
- Add the sweetened condensed milk: Gradually add the sweetened condensed milk to the cream cheese while continuing to beat. The sweetened condensed milk will provide the richness and sweetness that makes this cheesecake so indulgent.
- Incorporate the sour cream: Add the sour cream and mix until fully incorporated. This adds a subtle tang and contributes to the creamy texture of the filling.
- Add eggs and vanilla: Crack the eggs one at a time into the mixture, beating well after each addition. Add the vanilla extract and beat until the mixture is smooth and lump-free.
- Optional lemon juice: If you want a bit of extra flavor, add lemon juice to the filling. This will bring a bright and refreshing note to balance the sweetness of the cheesecake.
Step 3: Bake or Chill
For No-Bake Cheesecake:
- Pour the filling over the crust: Once your filling is smooth, pour it over the chilled crust, smoothing the top with a spatula.
- Chill in the fridge: Cover the cheesecake with plastic wrap and refrigerate for at least 4 hours, or preferably overnight, to allow the cheesecake to set properly.
For Baked Cheesecake:
- Preheat the oven: Preheat your oven to 325°F (160°C).
- Bake the cheesecake: Pour the cheesecake filling over the prepared crust and smooth the top. Place the pan in the oven and bake for 45-50 minutes, or until the center is set and slightly jiggly. The top may slightly crack, but that’s perfectly normal.
- Cool and refrigerate: Once baked, let the cheesecake cool to room temperature before refrigerating it for at least 4 hours, or overnight for best results.
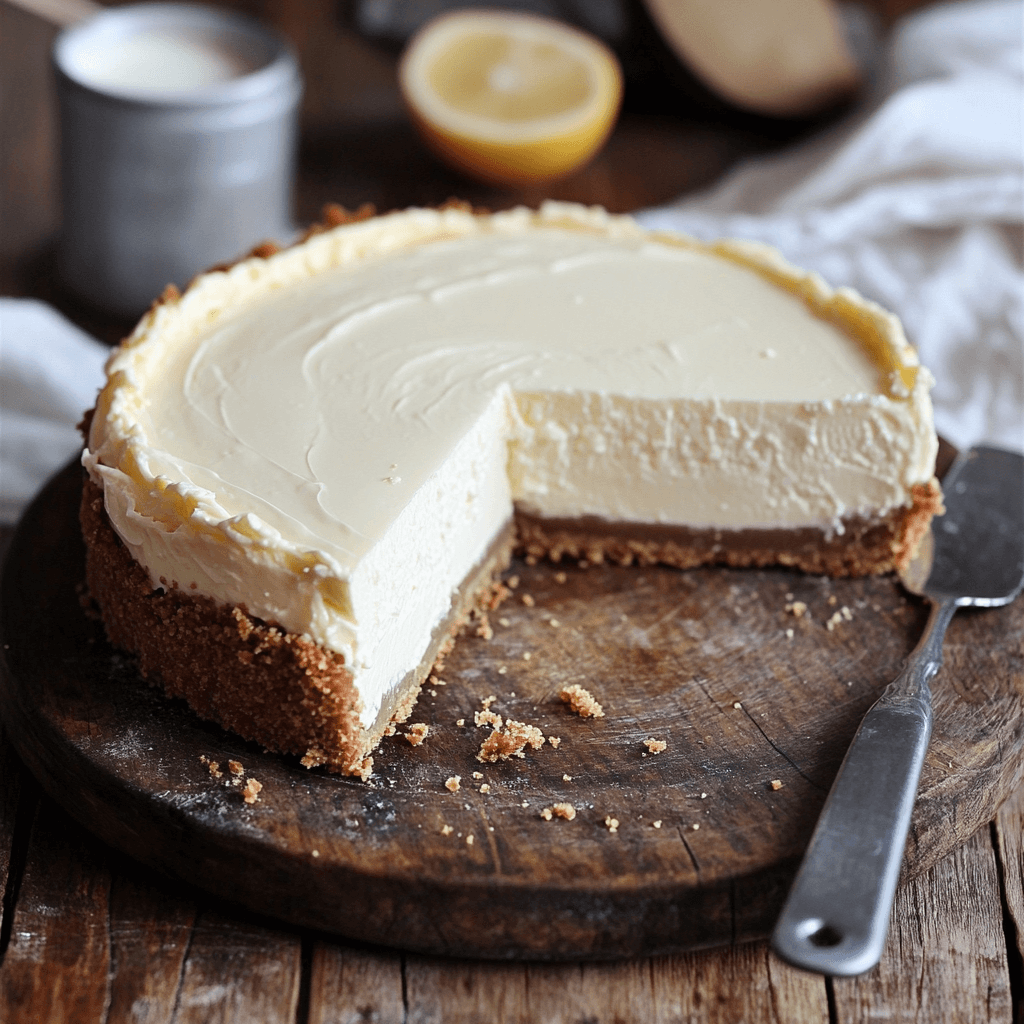
Step 4: Serve and Enjoy
Once your cheesecake has set and cooled, it’s ready to be served. You can garnish it with fruit, whipped cream, chocolate shavings, or even a drizzle of caramel sauce. Slice it carefully, and prepare for a creamy, dreamy bite.
Tips for Success
To ensure your Condensed Milk Cheesecake turns out perfect every time, here are a few helpful tips:
- Use room temperature cream cheese: Cold cream cheese can result in a lumpy filling. Always soften it before using, either by leaving it at room temperature for about 30 minutes or microwaving it in short bursts.
- Don’t overmix the filling: Once the eggs are added, avoid overmixing, as this can introduce too much air and lead to cracks during baking.
- Chill before serving: Whether baked or no-bake, giving the cheesecake enough time in the fridge helps it set properly and gives the flavors time to meld together.
- Make it ahead of time: Cheesecake tastes even better after a day or two in the fridge, so consider making it a day ahead of your event.
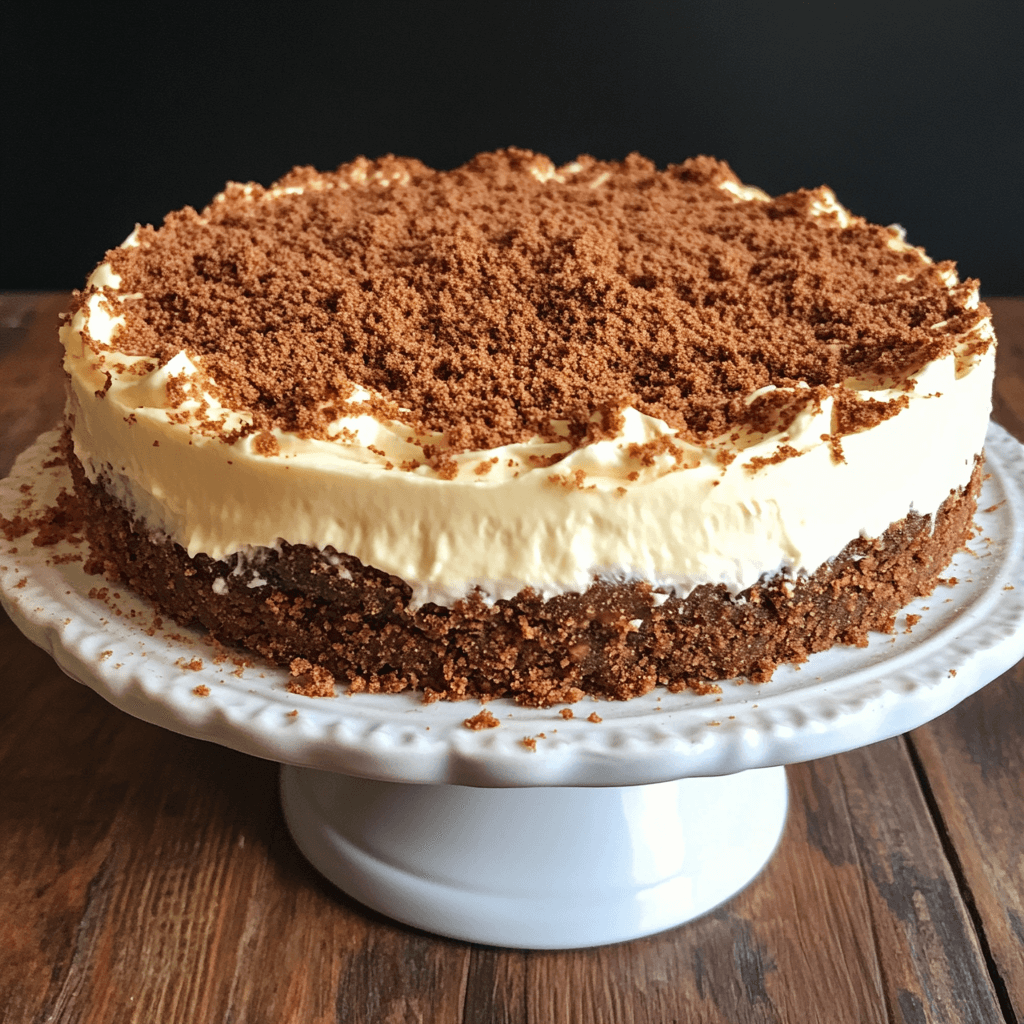
Variations to Try
While the classic version of this cheesecake is delicious on its own, there are plenty of ways to mix things up and create a personalized twist. Here are some fun variations:
- Fruit Toppings: Top your cheesecake with fresh fruit like strawberries, blueberries, raspberries, or even a mix of tropical fruits like mango and kiwi for a colorful and refreshing addition.
- Chocolate Ganache: Drizzle a rich chocolate ganache over the top of your cheesecake for a decadent touch. You can also fold in melted chocolate into the filling for a chocolate cheesecake variation.
- Caramel Swirl: Add a caramel swirl to your cheesecake by gently swirling warm caramel sauce into the filling before baking or chilling.
- Nutty Crust: Add chopped nuts (such as walnuts, pecans, or almonds) to the crust for an extra crunch and flavor. You can also sprinkle crushed nuts on top of the cheesecake as a garnish.
Storing and Reheating
If you have leftovers (though that’s unlikely!), here’s how to store and reheat your cheesecake:
Storing:
- Refrigerate: Store your cheesecake in an airtight container or cover it with plastic wrap. It will stay fresh for up to 5 days in the fridge.
- Freeze for longer storage: You can also freeze your cheesecake for up to 2-3 months. Wrap it tightly in plastic wrap and aluminum foil before freezing. Thaw overnight in the fridge before serving.
Reheating:
- If you made a baked cheesecake and want to enjoy it warm, reheat it in a low oven (200°F / 90°C) for about 10-15 minutes. Be careful not to overheat it, as it can affect the texture.
Frequently Asked Questions
Can I make this cheesecake without eggs?
Yes! You can try an eggless version by using a substitute like cornstarch or agar-agar. There are also eggless cheesecake recipes available, but keep in mind that the texture will differ slightly from the traditional version.
How can I make the crust gluten-free?
You can easily make a gluten-free crust by using gluten-free biscuits or crackers. Make sure the other ingredients, like butter and sugar, are also gluten-free.
Can I make this cheesecake dairy-free?
To make the cheesecake dairy-free, you can substitute the cream cheese with a dairy-free alternative and use coconut cream or almond milk for the sour cream. Check that the sweetened condensed milk is dairy-free, or use a plant-based version available at many stores.
The Final Word
This Condensed Milk Cheesecake is truly a showstopper! Whether you decide to bake it or make it no-bake, the result is the same—an incredibly creamy, sweet, and decadent dessert that’s sure to please everyone. With its buttery crust and smooth, luxurious filling, it’s perfect for any occasion, from casual family gatherings to special celebrations.
So, next time you’re in the mood for something indulgent, give this cheesecake a try. Your taste buds will thank you!