Introduction
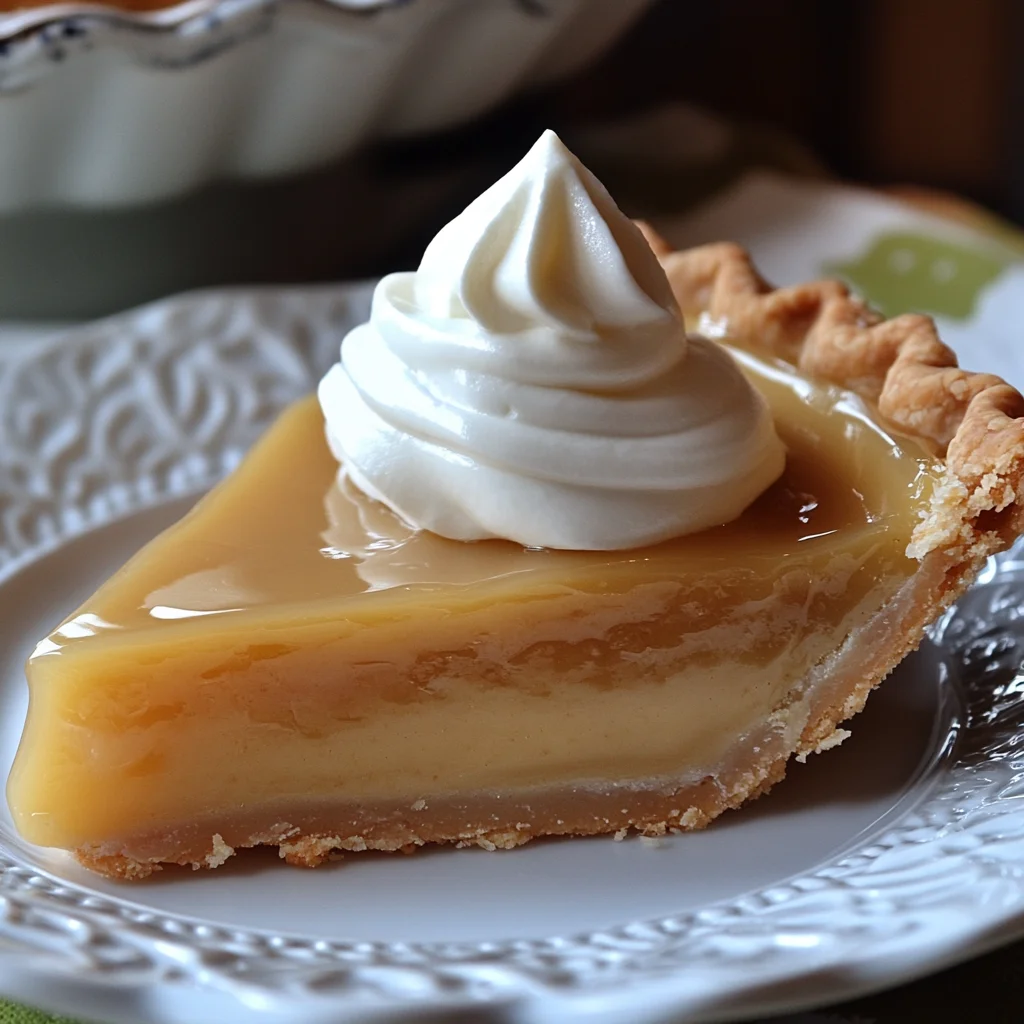
Oh, butterscotch pie. Doesn’t that just bring you right back? Maybe it reminds you of Sunday dinners at Grandma’s house, or perhaps a cozy afternoon treat on a rainy day. For me, it’s pure comfort in a slice. There’s something about that rich, creamy butterscotch filling in a flaky crust that just feels like a warm hug. Now, I know what you might be thinking – pie from scratch sounds complicated, right? Well, get ready to have your mind changed! This recipe for classic butterscotch pie is surprisingly simple, comes together faster than you’d expect, and tastes absolutely divine. It’s the kind of dessert that makes people close their eyes and sigh with happiness. Trust me, this is one recipe you’ll want in your go-to collection!
Why You’ll Love This Recipe
- Fast: The filling comes together in a flash!
- Easy: No fancy techniques needed, just simple stirring.
- Giftable: A homemade pie is always the perfect thoughtful gift.
- Crowd-pleasing: Who can resist creamy, dreamy butterscotch?
Ingredients
Ready to gather your goodies? Here’s what you’ll need to whip up this glorious butterscotch filling:
- 1 cup packed light brown sugar: This is where that signature butterscotch flavor comes from! Make sure it’s packed into the cup so you get the right amount of sweetness and moisture.
- 4 tablespoons cornstarch: Our trusty thickener. This helps the filling set up perfectly so you get nice, clean slices.
- 1/2 teaspoon salt: A little salt is crucial! It balances the sweetness and really brings out the rich flavors of the butterscotch. Don’t skip it!
- 2 cups milk: Whole milk will give you the creamiest, richest filling, but 2% or even skim will work in a pinch.
- 2 egg yolks, beaten: These add richness, color, and help with thickening. Make sure they’re well-beaten before adding them in.
- 1 tablespoon butter: A knob of butter stirred in at the end adds shine, richness, and that lovely smooth mouthfeel.
- 1 teaspoon vanilla extract: Vanilla enhances all those beautiful butterscotch notes. Use the best quality you have!
- 1 (9 inch) pie crust, baked: You can use a store-bought one to make this super fast (no judgment here!), or bake your favorite homemade crust. Just make sure it’s fully baked and cooled before you add the filling.

How to Make It
Alright, let’s make some magic! Follow these simple steps, and you’ll have a stunning butterscotch pie ready to chill.
Step 1: Whisk the Dry Ingredients. Grab a medium saucepan – one that’s non-reactive is best if you have it. In the saucepan, whisk together the brown sugar, cornstarch, and salt. This helps break up any clumps in the sugar and ensures the cornstarch is evenly distributed, preventing lumps later on.
Step 2: Add the Milk. Slowly pour in the milk, whisking constantly as you do. Keep whisking until the sugar and cornstarch are dissolved into the milk. This is important before you turn on the heat!
Step 3: Cook and Thicken. Place the saucepan over medium heat. Cook, stirring constantly with a whisk or wooden spoon. You need to stir to prevent the bottom from scorching and to help the mixture thicken evenly. Bring it to a gentle boil – you’ll see large bubbles slowly breaking on the surface – and cook for about 1 minute, still stirring. It will become quite thick.
Step 4: Temper the Egg Yolks. This is a key step to prevent scrambled eggs in your pie! Remove the saucepan from the heat. Take about 1/2 cup of the hot butterscotch mixture and slowly, slowly drizzle it into your beaten egg yolks while whisking the yolks vigorously. This warms the yolks up gradually. Now, pour the warmed egg yolk mixture back into the saucepan with the rest of the butterscotch filling. Whisk it all together until combined.
Step 5: Cook Again Briefly. Return the saucepan to medium heat. Cook, stirring constantly, for just about 1 minute more. Don’t let it boil again fully, but let it thicken a little further. This cooks the egg yolks. The filling should be glossy and smooth.
Step 6: Add Butter and Vanilla. Remove the saucepan from the heat. Stir in the butter and vanilla extract until the butter is completely melted and incorporated. Give it a final good whisk to ensure everything is smooth and combined.
Step 7: Pour into Crust. Pour the hot butterscotch filling into your cooled, pre-baked pie crust. Use a spoon or spatula to smooth the top.
Step 8: Chill! This is the hardest part – waiting! Cover the pie loosely with plastic wrap (you can press the plastic wrap directly onto the surface of the filling to prevent a skin from forming if you like, or just tent it) and refrigerate for at least 3-4 hours, or preferably until completely chilled and set. This lets the filling firm up properly.
Step 9: Serve. Once the pie is fully chilled, slice and serve! It’s absolutely wonderful on its own, or with a dollop of whipped cream.
Substitutions & Additions
Want to play around with this classic? Here are a few ideas:
- Milk Swap: For an extra rich pie, use half-and-half or even heavy cream instead of some of the milk. You might need to adjust the cornstarch slightly, but it will be incredibly luxurious!
- Crust Options: Don’t feel limited to a traditional pastry crust! A graham cracker crust or a shortbread crust would also be delicious with this butterscotch filling.
- Toppings: Oh, the toppings! Homemade whipped cream is a must for me. You could also add a sprinkle of toasted pecans or walnuts, some flaky sea salt, or even a drizzle of caramel or chocolate sauce.
- Make it a Cream Pie: Once the pie is fully chilled and set, pile it high with sweetened whipped cream before serving. Pure heaven!
Tips for Success
Even though this recipe is straightforward, a few little tips can ensure you get the best pie ever:
- Whisk Constantly: I cannot stress this enough! Keep whisking while the filling is on the heat to prevent lumps and sticking. Especially when adding the egg yolks back in.
- Don’t Skip Tempering: Adding the hot mixture slowly to the yolks prevents them from scrambling. Take your time with this step.
- Cook Enough, But Not Too Much: You need to bring it to a gentle boil to activate the cornstarch, but overcooking after the egg yolks are added can make it too stiff or even curdle slightly. Watch the clock and the consistency.
- Chill Completely: Patience is key! A well-chilled pie is firm and easy to slice. Rushing this step will result in a runny filling.
- Prep Ahead: You can easily make the filling a day ahead of time and store it in the fridge (press plastic wrap directly onto the surface). When you’re ready, give it a quick whisk to loosen it slightly, then pour it into your baked crust and chill.
How to Store It
Once your beautiful butterscotch pie is made, it needs to be stored properly.
Keep the finished pie covered loosely in the refrigerator. A pie keeper or plastic wrap works well. It will keep well in the fridge for 3-4 days. Because it contains milk and eggs, it shouldn’t be left out at room temperature for more than a couple of hours.
FAQs
Here are a couple of common questions I get about this recipe:
Q: Can I use dairy-free milk?
A: While I haven’t personally tested it extensively, some readers have reported success using almond milk or oat milk. The texture might be slightly different, but the flavor should still be lovely. Just make sure the milk you use is plain and unsweetened.
Q: Why is my filling lumpy?
A: Lumps usually happen if the cornstarch wasn’t whisked well with the sugar initially, or if the mixture wasn’t stirred constantly while cooking. Tempering the eggs properly is also key. Don’t worry, if you get a few lumps, you can sometimes press the finished filling through a fine-mesh sieve before pouring it into the crust for a smoother result!
Easy Classic Butterscotch Pie

This surprisingly simple recipe delivers a rich, creamy butterscotch filling in a flaky crust, bringing a taste of nostalgia and comfort in every slice. It’s fast, easy, and a guaranteed crowd-pleaser.
- Medium saucepan
- Whisk
- Wooden spoon
- pie crust
- Spoon
- Spatula
- Plastic wrap
- pie keeper
- Fine-mesh sieve
Hauptzutaten
- 1 cup packed light brown sugar (Make sure it’s packed into the cup.)
- 4 tablespoons cornstarch
- 0.5 teaspoon salt
- 2 cups milk (Whole milk recommended for creamiest filling, 2% or skim will work. Can substitute half-and-half or heavy cream for richness.)
- 2 egg yolks (beaten)
- 1 tablespoon butter
- 1 teaspoon vanilla extract
- 1 pie crust (9 inch, baked and cooled. Store-bought or homemade.)
- Whisk the Dry Ingredients. Grab a medium saucepan. In the saucepan, whisk together the brown sugar, cornstarch, and salt. This helps break up any clumps in the sugar and ensures the cornstarch is evenly distributed, preventing lumps later on.
- Add the Milk. Slowly pour in the milk, whisking constantly as you do. Keep whisking until the sugar and cornstarch are dissolved into the milk. This is important before you turn on the heat!
- Cook and Thicken. Place the saucepan over medium heat. Cook, stirring constantly with a whisk or wooden spoon. You need to stir to prevent the bottom from scorching and to help the mixture thicken evenly. Bring it to a gentle boil – you’ll see large bubbles slowly breaking on the surface – and cook for about 1 minute, still stirring. It will become quite thick.
- Temper the Egg Yolks. Remove the saucepan from the heat. Take about 1/2 cup of the hot butterscotch mixture and slowly, slowly drizzle it into your beaten egg yolks while whisking the yolks vigorously. This warms the yolks up gradually. Now, pour the warmed egg yolk mixture back into the saucepan with the rest of the butterscotch filling. Whisk it all together until combined.
- Cook Again Briefly. Return the saucepan to medium heat. Cook, stirring constantly, for just about 1 minute more. Don’t let it boil again fully, but let it thicken a little further. This cooks the egg yolks. The filling should be glossy and smooth.
- Add Butter and Vanilla. Remove the saucepan from the heat. Stir in the butter and vanilla extract until the butter is completely melted and incorporated. Give it a final good whisk to ensure everything is smooth and combined.
- Pour into Crust. Pour the hot butterscotch filling into your cooled, pre-baked pie crust. Use a spoon or spatula to smooth the top.
- Chill! This is the hardest part – waiting! Cover the pie loosely with plastic wrap (you can press the plastic wrap directly onto the surface of the filling to prevent a skin from forming if you like, or just tent it) and refrigerate for at least 3-4 hours, or preferably until completely chilled and set. This lets the filling firm up properly.
- Serve. Once the pie is fully chilled, slice and serve! It’s absolutely wonderful on its own, or with a dollop of whipped cream.
Whisk constantly while cooking to prevent lumps and sticking.
Don’t skip tempering the egg yolks; add hot mixture slowly while whisking vigorously.
Cook enough to activate cornstarch (gentle boil for 1 min), but don’t overcook after adding eggs.
Chill completely (at least 3-4 hours) for a firm pie.
The filling can be made a day ahead, stored in the fridge with plastic wrap pressed directly on the surface, then whisked and poured into the crust.
Store finished pie covered loosely in the refrigerator for 3-4 days. Do not leave at room temperature for more than a couple of hours.
Can try dairy-free milk like almond or oat milk (texture may vary).
If filling is lumpy, try pressing through a fine-mesh sieve before pouring into the crust.
Optional additions: whipped cream, toasted nuts (pecans, walnuts), flaky sea salt, caramel or chocolate sauce, use a graham cracker or shortbread crust.