Introduction
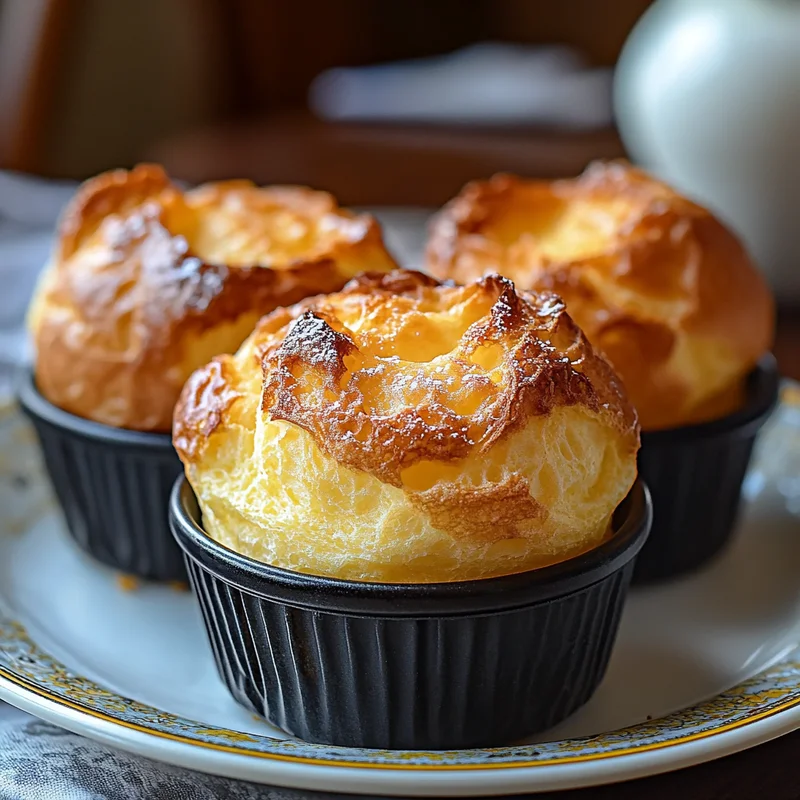
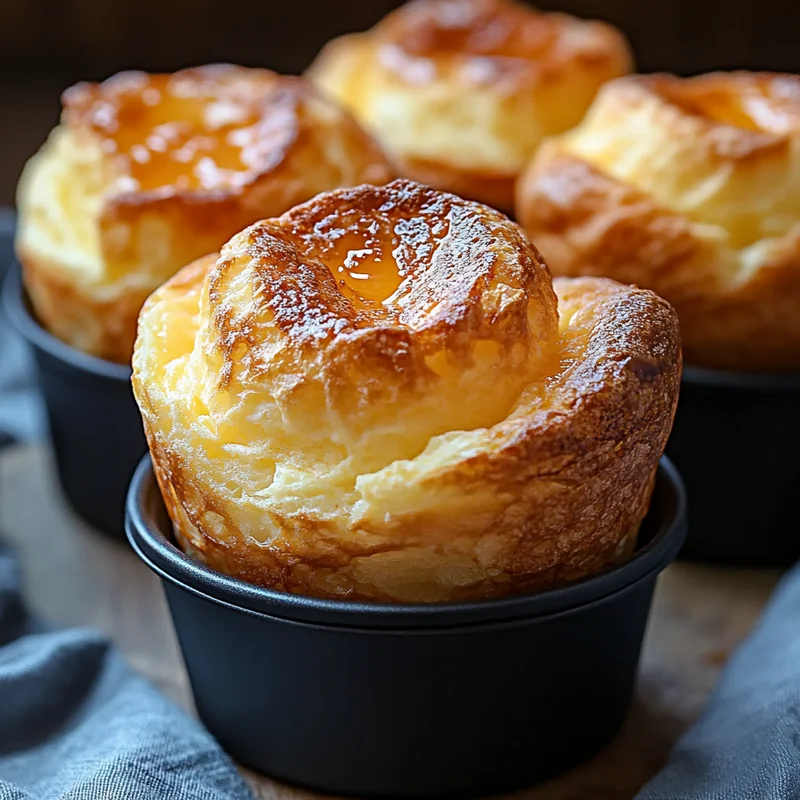
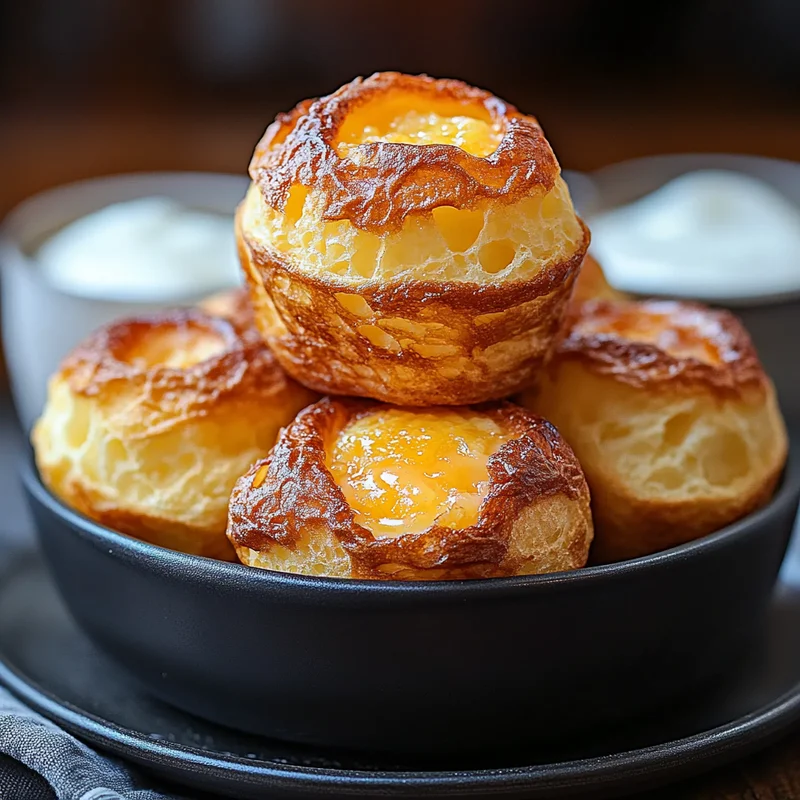
Oh, friends, let me tell you about popovers. There’s something just absolutely magical about watching these simple little batters puff up into glorious, golden, airy clouds in the oven. They feel fancy, right? Like something you’d only get at a special brunch spot or a cozy inn. But guess what? They are SO incredibly easy to make right in your own kitchen. Seriously. If you can whisk, you can make popovers. This recipe is the one I come back to again and again – it’s foolproof, incredibly quick, and delivers those classic, buttery, mile-high popovers every single time. Get ready to impress yourself (and anyone lucky enough to be around when these come out of the oven)!
Why You’ll Love This Recipe
Why are these popovers about to become your new best friend in the kitchen? Let me count the ways!
- Fast: From start to finish, you can have warm popovers ready to eat in under an hour.
- Easy: No complicated steps, no yeast, just simple mixing and baking.
- Giftable: While best warm, a fresh batch makes a delightful hostess gift (if you can bear to part with them!).
- Crowd-pleasing: Who doesn’t love a warm, buttery, puffy piece of bread? They disappear instantly!

Ingredients
You know what’s awesome about this recipe? You probably already have most of these ingredients hanging out in your kitchen right now! We’re keeping it simple and classic.
- 4 large Eggs: Make sure these are at room temperature! It really helps the batter emulsify properly and contributes to that perfect rise. Just set them out for about 30 minutes before you start, or pop them in a bowl of warm water for a few minutes.
- 1 1/2 cups All-purpose flour: Your standard pantry staple! No need for anything fancy here.
- 3/4 tsp Salt: Just enough to balance the richness and enhance the flavor. Don’t skip it!
- 3 tbsp Butter: Unsalted is great so you control the salt level, but salted works too – just reduce the added salt slightly. We’ll be melting this golden goodness.
- 1 1/2 cups Whole milk: Like the eggs, room temperature is your friend here! Whole milk gives the best structure and richness, but you can use 2% in a pinch.
How to Make It
Okay, ready? Let’s get these beauties baking! Follow along, and you’ll have perfect popovers before you know it.
First things first, let’s get the oven and your popover pan ready. This is a crucial step for that amazing puff! Preheat your oven to a hot 450°F (230°C). While it’s preheating, place your popover pan (or a 12-cup muffin tin – though a popover pan is truly best for height!) in the oven to heat up. Heating the pan helps the popovers immediately start to rise when the batter hits it.
Next, gently melt your 3 tablespoons of butter. You can do this in a small saucepan over low heat or carefully in the microwave.
While the butter is melting and the oven/pan are heating, grab a medium bowl. Whisk together the 4 room temperature eggs until they’re nice and smooth and a little frothy. In a separate, larger bowl, whisk together the 1 1/2 cups of flour and 3/4 teaspoon of salt.
Now, in your bowl with the eggs, whisk in the 1 1/2 cups of room temperature whole milk and the melted butter. Make sure the butter isn’t super hot when you add it, just warm and liquid.
Pour the wet ingredients (milk, eggs, butter) into the dry ingredients (flour, salt). This is where you need to be gentle. Whisk just until barely combined. A few small lumps are totally okay! Overmixing develops the gluten too much and can prevent that gorgeous rise we’re aiming for. Think “just combined, looks like a thin pancake batter.”
Carefully remove the hot popover pan from the oven using oven mitts. If you aren’t using a non-stick pan, you might give the cups a quick spray with non-stick cooking spray or a dab of butter just before filling, but the heat often prevents sticking anyway. Quickly and carefully pour the batter into the hot cavities, filling each one about two-thirds to three-fourths full.
Place the filled pan back into the hot 450°F oven. Bake for 20 minutes. DO NOT open the oven door during this time. Seriously, resist the urge! Peeking can make them deflate.
After 20 minutes, reduce the oven temperature to 350°F (175°C) and bake for another 10-15 minutes, or until the popovers are deeply golden brown and feel firm when you gently touch the top. The color is important for structural integrity – pale popovers tend to collapse.
Once they’re beautifully golden and puffed high, remove the pan from the oven. You can serve them immediately right from the pan, or gently loosen them with a knife and transfer them to a wire rack. The best way to enjoy them? Torn open with a pat of butter melting inside. Heaven!
Substitutions & Additions
While this classic recipe is perfect as is, feel free to get creative! Popovers are a fantastic canvas.
- Different Milk: You can use 2% or even skim milk, but whole milk really does yield the best texture and richest flavor. Non-dairy milks like almond or oat milk can work, but the rise might be slightly different.
- Herb & Cheese: Add 1/4 cup finely grated Parmesan cheese and 1-2 tablespoons of finely chopped fresh herbs (like chives, rosemary, or thyme) to the dry ingredients before combining with the wet. Savory popovers are amazing with soup or stews!
- Sweet Touch: Whisk in a tablespoon or two of sugar to the dry ingredients if you want a slightly sweeter popover for jam or honey. You could even add a tiny pinch of cinnamon.
- Gluten-Free Flour: I haven’t personally tested this with a gluten-free blend, but a good 1:1 blend might work. Results may vary in terms of rise and texture.

Tips for Success
Making perfect popovers is easy, but a few key things will make all the difference:
- Room Temperature Ingredients: I mentioned it before, but it’s worth repeating! Cold ingredients don’t emulsify as well and can affect the rise.
- Do NOT Overmix: Whisk just until the dry ingredients are incorporated into the wet. Lumps are fine! Overmixing develops gluten, making your popovers tough and potentially preventing them from rising as high.
- Hot Oven, Hot Pan: This is essential for that initial dramatic puff. Don’t skimp on the preheating time for both the oven AND the pan.
- Keep the Door CLOSED: I know it’s tempting to watch, but opening the oven door, especially during the initial high-heat bake, can cause them to deflate.
- Bake Until Golden: Don’t pull them out when they’re just pale and puffed. They need to be a good golden brown to hold their shape outside the oven.
How to Store It
Okay, confession time: popovers are absolutely best eaten fresh, right out of the oven, while they are still warm and glorious. Their light, airy structure is at its peak then.
If you happen to have any leftovers (a rare occurrence in my house!), you can store them at room temperature in a paper bag or loosely covered container for a day. To revive them, the best method is to pop them back in a preheated 350°F (175°C) oven for 5-10 minutes until they crisp up again. Microwaving will make them chewy, so avoid that if possible!
FAQs
Got questions? Let’s tackle a couple of common ones!
Why didn’t my popovers rise?
The most common culprits are cold ingredients, overmixing the batter, not preheating the oven and pan sufficiently, or opening the oven door too early during baking. Make sure your eggs and milk are at room temp, mix minimally, heat everything well, and keep that door shut!
Can I make the batter ahead of time?
You can mix the batter and let it rest in the fridge for an hour or two, or even overnight. Some people find this slightly improves the texture. Just give it a gentle whisk (don’t overmix!) before pouring into the hot pan. However, I often just whip it up right before baking with room temperature ingredients, and they turn out beautifully.
Do I need a special popover pan?
While a specific popover pan with deep, narrow cups encourages a taller, more dramatic rise, you can absolutely use a standard 12-cup muffin tin. They might spread a little more sideways and not get quite as tall, but they’ll still be delicious!

Classic Buttery Popovers
Equipment
- Popover pan or a 12-cup muffin tin
- Oven
- Small saucepan or microwave
- Medium bowl
- Large bowl
- Whisk
- Oven mitts
- Knife
- Wire rack
Ingredients
Hauptzutaten
- 4 large Eggs at room temperature
- 1.5 cup All-purpose flour
- 0.75 tsp Salt
- 3 tbsp Butter melted (unsalted or salted)
- 1.5 cup Whole milk at room temperature
Instructions
- Preheat your oven to a hot 450°F (230°C). While it's preheating, place your popover pan (or a 12-cup muffin tin) in the oven to heat up.
- Gently melt your 3 tablespoons of butter.
- Grab a medium bowl. Whisk together the 4 room temperature eggs until they're nice and smooth and a little frothy.
- In a separate, larger bowl, whisk together the 1 1/2 cups of flour and 3/4 teaspoon of salt.
- Now, in your bowl with the eggs, whisk in the 1 1/2 cups of room temperature whole milk and the melted butter. Make sure the butter isn't super hot when you add it, just warm and liquid.
- Pour the wet ingredients (milk, eggs, butter) into the dry ingredients (flour, salt). Whisk just until barely combined. A few small lumps are totally okay! Do not overmix.
- Carefully remove the hot popover pan from the oven using oven mitts. Quickly and carefully pour the batter into the hot cavities, filling each one about two-thirds to three-fourths full.
- Place the filled pan back into the hot 450°F oven. Bake for 20 minutes. DO NOT open the oven door during this time.
- After 20 minutes, reduce the oven temperature to 350°F (175°C) and bake for another 10-15 minutes, or until the popovers are deeply golden brown and feel firm when you gently touch the top.
- Once they're beautifully golden and puffed high, remove the pan from the oven. You can serve them immediately right from the pan, or gently loosen them with a knife and transfer them to a wire rack. Enjoy!
Notes
To store leftovers (rare!): Store at room temperature in a paper bag or loosely covered container for a day.
To revive: Reheat in a preheated 350°F (175°C) oven for 5-10 minutes until crisp.
Avoid microwaving as it makes them chewy.
Tips for Success:
- Room Temperature Ingredients: Essential for emulsification and rise.
- Do NOT Overmix: Whisk just until combined to avoid developing gluten.
- Hot Oven, Hot Pan: Crucial for the initial puff.
- Keep the Door CLOSED: Especially during the initial bake, to prevent deflating.
- Bake Until Golden: Necessary for structural integrity.

