Introduction
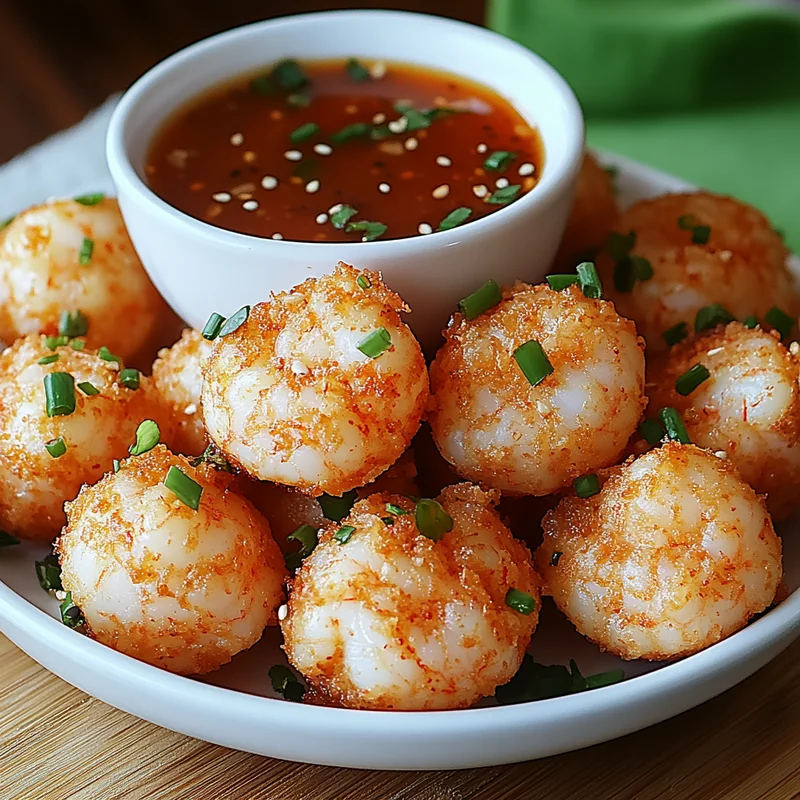
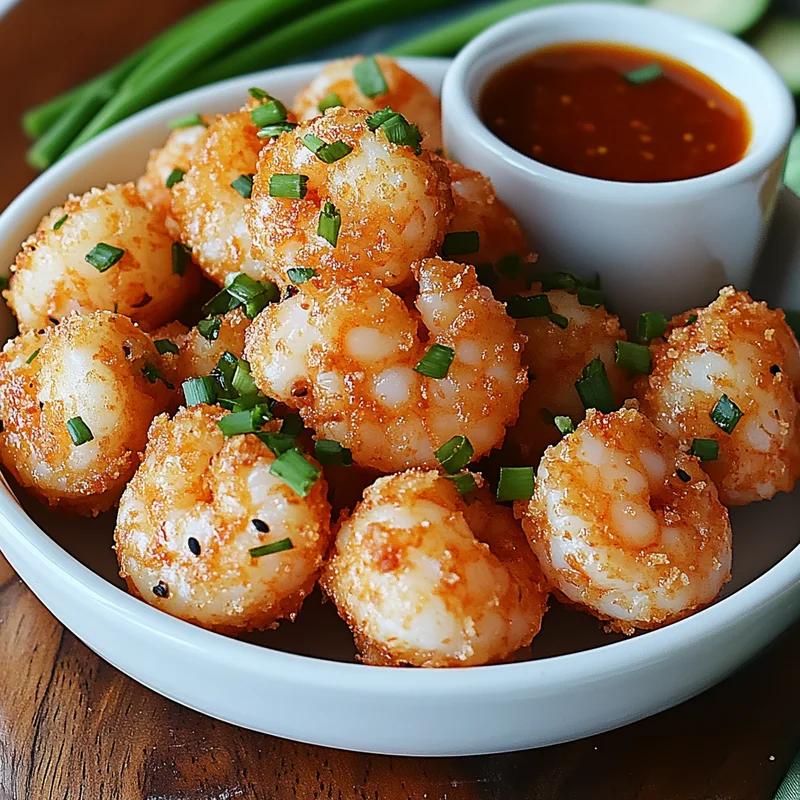
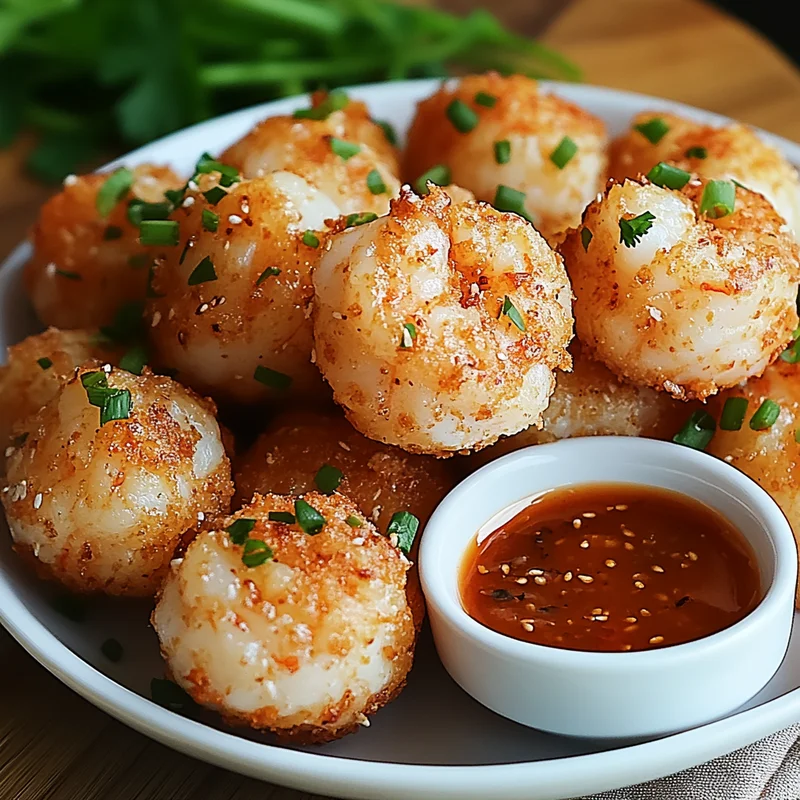
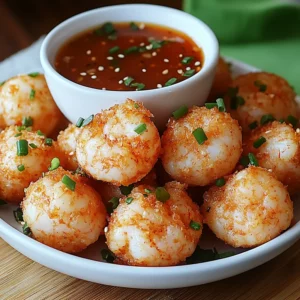
Hey there, friend! Remember those little bites that just disappear from the appetizer tray at parties? The ones that make everyone go “Ooh, what are these?!” Well, get ready, because you’re about to become the master of those bites! These Crispy Shrimp Balls are seriously simple to whip up, shockingly delicious, and guaranteed to be a total hit. They’re golden, crunchy on the outside, tender and flavorful on the inside, and pair perfectly with that sweet chili sauce everyone adores. Forget complicated recipes – this is your new go-to for everything from weeknight snacks to effortless entertaining. Trust me, once you make them, they’ll be a staple in your kitchen!
Why You’ll Love This Recipe
- Fast: Seriously, you can have these ready in under 30 minutes!
- Easy: No fancy techniques needed, just mix, roll, and fry (or bake!).
- Giftable: Package them up (cooked or frozen before cooking) for a thoughtful food gift.
- Crowd-pleasing: Kids and adults alike devour these.
Ingredients
Gathering your ingredients is the first step to deliciousness! Here’s what you’ll need:
- 1 lb Shrimp, raw: Fresh or frozen (thawed) works great. Make sure they’re peeled and deveined!
- 1/4 cup Cilantro: Adds a burst of fresh, herby flavor. If you’re not a cilantro fan, you can swap for parsley.
- 2 cloves Garlic: Because… garlic! Adds that essential aromatic punch.
- 1 tbsp Ginger, fresh: Don’t skip this! Fresh ginger gives a lovely warmth and zing that complements the shrimp beautifully.
- 1/4 cup Green onions: Both the white and green parts add a mild oniony flavor and color.
- 1 Egg: Our binding agent, helps hold everything together.
- 1 tbsp Soy sauce: Adds savory depth and seasoning.
- 1/2 tsp Black pepper: A little warmth and spice.
- 1 tbsp Cornstarch: Helps with binding and gives the balls a tender texture inside.
- 1/2 tsp Salt: Just enough to enhance the flavors.
- 1 tsp Sesame oil: A tiny drizzle adds a wonderful nutty, aromatic note.
- Vegetable oil: For frying! You’ll need enough to generously coat the bottom of your pan, about 1/2 to 1 inch deep.
- 1/2 cup Breadcrumbs: For that perfectly crispy exterior. Panko breadcrumbs give the best crunch!
How to Make It
Alright, let’s turn these simple ingredients into magic! It’s easier than you think.
- Prep the Shrimp Mixture: Pat your thawed shrimp dry with paper towels – this helps with texture! Roughly chop about half of the shrimp into small pieces. For the other half, you can either chop them very finely or pulse them a few times in a food processor (don’t over-process into a paste!). Combining finely chopped and slightly chunkier shrimp gives a great texture.
- Mince Aromatics: Finely mince your cilantro, garlic, ginger, and green onions. The smaller the pieces, the better they’ll integrate into the mixture.
- Combine Everything: In a medium bowl, add the chopped shrimp (both textures), minced cilantro, garlic, ginger, and green onions. Add the egg, soy sauce, black pepper, cornstarch, salt, and sesame oil. Gently mix everything together until just combined. Don’t overmix!
- Form the Balls: Grab a small spoonful of the mixture (about a tablespoon, or whatever size you like for bite-sized goodness) and gently roll it between your palms to form a ball. They don’t need to be perfectly round!
- Coat in Breadcrumbs: Place your breadcrumbs in a shallow dish. Roll each shrimp ball in the breadcrumbs, pressing gently so they’re fully coated. Set them aside on a plate or baking sheet.
- Heat the Oil: Pour about 1/2 to 1 inch of vegetable oil into a large skillet or pot. Heat the oil over medium heat until it reaches about 350°F (175°C). If you don’t have a thermometer, a good test is to drop a tiny pinch of breadcrumbs in – if they sizzle immediately, the oil is ready.
- Fry ‘Em Up: Carefully place the shrimp balls into the hot oil, making sure not to overcrowd the pan (fry in batches if needed). Fry for 3-4 minutes per side, or until they are golden brown and crispy all over, and the shrimp inside is cooked through (they’ll look pink and firm).
- Drain and Serve: Use a slotted spoon to transfer the crispy shrimp balls to a plate lined with paper towels to drain off any excess oil. Serve immediately with sweet chili sauce for dipping!
Substitutions & Additions
Want to play around a bit? Here are some ideas:
- Herbs: Not a cilantro person? Swap it for fresh parsley or even some finely chopped chives.
- Spice: Add a pinch of red pepper flakes to the shrimp mixture for a little heat.
- Different Sauce: While sweet chili is classic, these are also amazing with a soy-ginger dipping sauce, sriracha mayo, or even a creamy remoulade.
- Baking Option: Want to skip the frying? Place the coated balls on a greased baking sheet. Lightly spray the tops with cooking spray or brush with oil. Bake at 400°F (200°C) for 15-20 minutes, flipping halfway through, until golden and cooked through. They won’t be quite as crispy as fried, but still delicious!
- Gluten-Free: Use gluten-free soy sauce and gluten-free breadcrumbs.
Tips for Success
A few little pointers to make sure your shrimp balls turn out perfect every time:
- Don’t Overmix: Mix the shrimp mixture gently until just combined. Overmixing can result in tough shrimp balls.
- Chill the Mixture: If your mixture seems a bit soft or hard to handle, pop it in the fridge for 15-20 minutes before forming the balls. This helps firm it up.
- Consistent Size: Try to make the balls roughly the same size so they cook evenly.
- Don’t Crowd the Pan: Frying too many at once lowers the oil temperature and can make the balls greasy instead of crispy. Give them space!
- Prep Ahead: You can prepare the shrimp mixture and form the balls up to a day in advance. Store them covered in the fridge. Coat them in breadcrumbs just before frying. You can also form and coat them, then freeze them on a tray before transferring to a bag for later (fry directly from frozen, adding a couple minutes to the cooking time).
How to Store It
Got leftovers? Lucky you! Here’s how to keep them:
- Refrigerator: Store cooked and cooled shrimp balls in an airtight container in the fridge for up to 3-4 days.
- Freezer: Once fully cooled, you can freeze cooked shrimp balls in a single layer on a tray until solid, then transfer them to a freezer-safe bag or container for up to 2-3 months.
- Reheating: For best results and to regain crispiness, reheat cooked shrimp balls in a toaster oven or regular oven at 350°F (175°C) for about 10-15 minutes, or in an air fryer until heated through and crispy. You can also reheat gently in a skillet, but avoid the microwave if you want them crispy!
FAQs
Here are some quick answers to common questions:
Q: Can I bake these instead of frying?
A: Yes! See the “Substitutions & Additions” section above for baking instructions.
Q: What size shrimp should I use?
A: Medium to large shrimp (like 21/25 or 31/35 count per pound) work well. Just make sure it adds up to about a pound total.
Q: Can I make the mixture ahead of time?
A: Absolutely! You can make the shrimp mixture and form the balls up to a day in advance and store them in the fridge. Coat them in breadcrumbs right before you’re ready to cook.
Q: What if I don’t have fresh ginger?
A: You can substitute about 1 teaspoon of ground ginger, but fresh really does give the best flavor. Don’t skip it if you can help it!
Seriously Easy & Crispy Shrimp Balls with Sweet Chili Sauce
Equipment
- Medium bowl
- Shallow dish
- Large skillet or pot For frying
- Slotted spoon
- paper towels
- Food processor Optional, for finely chopping shrimp
- Baking Sheet For baking option
- Thermometer Optional, for checking oil temperature
Ingredients
Shrimp Balls
- 1 lb Shrimp raw, peeled and deveined, fresh or frozen (thawed)
- 0.25 cup Cilantro
- 2 Garlic cloves
- 1 tbsp Ginger fresh
- 0.25 cup Green onions both white and green parts
- 1 Egg
- 1 tbsp Soy sauce
- 0.5 tsp Black pepper
- 1 tbsp Cornstarch
- 0.5 tsp Salt
- 1 tsp Sesame oil
- 0.5 cup Breadcrumbs Panko recommended
- Vegetable oil Enough to generously coat the bottom of the pan, about 1/2 to 1 inch deep
- Sweet chili sauce For serving
Instructions
- Pat your thawed shrimp dry with paper towels. Roughly chop about half of the shrimp into small pieces. For the other half, either chop them very finely or pulse them a few times in a food processor (do not over-process into a paste!). Combining finely chopped and slightly chunkier shrimp gives a great texture.
- Finely mince your cilantro, garlic, ginger, and green onions. The smaller the pieces, the better they will integrate into the mixture.
- In a medium bowl, add the chopped shrimp (both textures), minced cilantro, garlic, ginger, and green onions. Add the egg, soy sauce, black pepper, cornstarch, salt, and sesame oil. Gently mix everything together until just combined. Do not overmix!
- Grab a small spoonful of the mixture (about a tablespoon, or whatever size you like for bite-sized goodness) and gently roll it between your palms to form a ball. They do not need to be perfectly round!
- Place your breadcrumbs in a shallow dish. Roll each shrimp ball in the breadcrumbs, pressing gently so they are fully coated. Set them aside on a plate or baking sheet.
- Pour about 1/2 to 1 inch of vegetable oil into a large skillet or pot. Heat the oil over medium heat until it reaches about 350°F (175°C). If you do not have a thermometer, a good test is to drop a tiny pinch of breadcrumbs in - if they sizzle immediately, the oil is ready.
- Carefully place the shrimp balls into the hot oil, making sure not to overcrowd the pan (fry in batches if needed). Fry for 3-4 minutes per side, or until they are golden brown and crispy all over, and the shrimp inside is cooked through (they will look pink and firm).
- Use a slotted spoon to transfer the crispy shrimp balls to a plate lined with paper towels to drain off any excess oil. Serve immediately with sweet chili sauce for dipping!