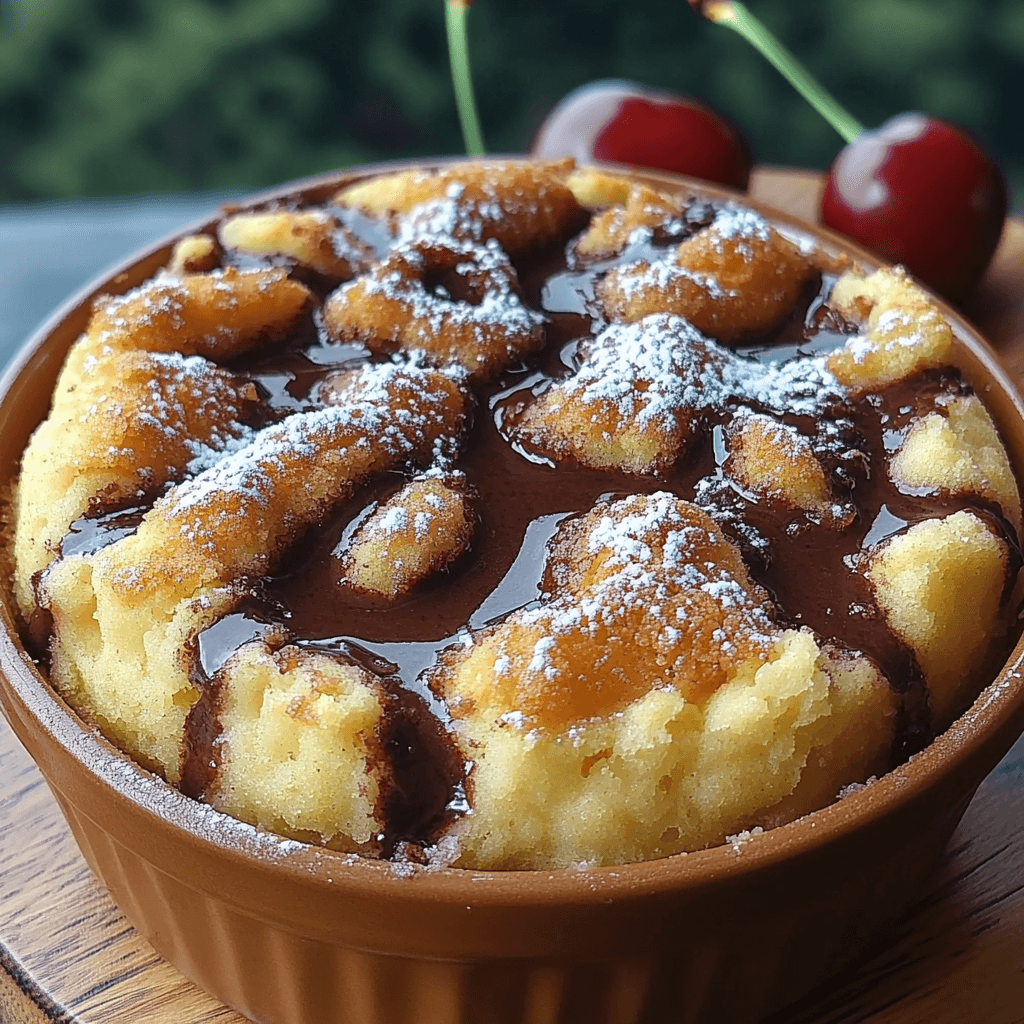
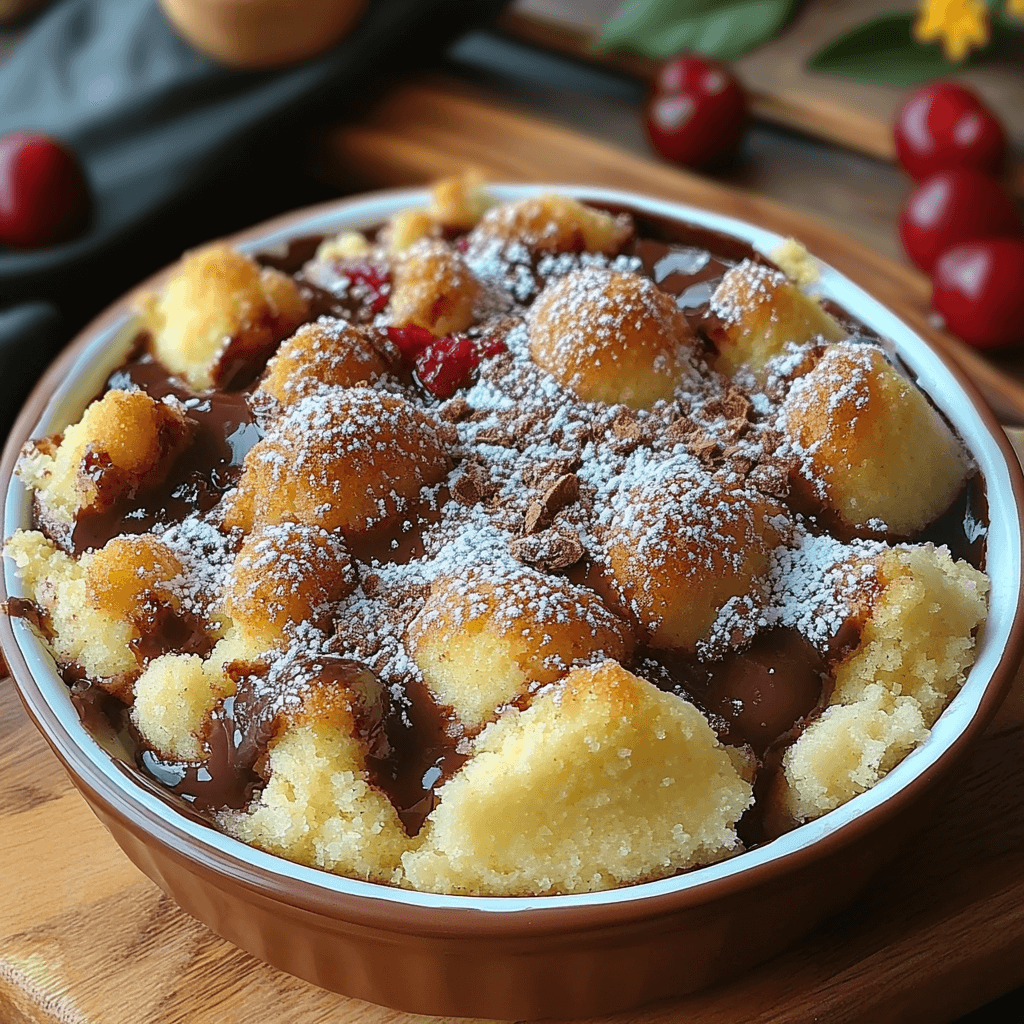
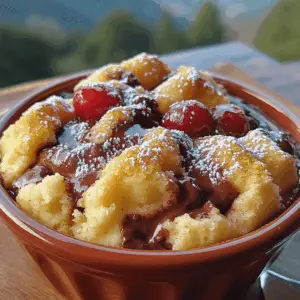
Why You’ll Love This Chocolate Cherry Magic Cobbler
Hey there, dessert lovers! Are you ready for a flavor explosion that’s as easy as it is delicious? Then get ready to meet your new obsession: this Chocolate Cherry Magic Cobbler! Imagine sinking your spoon into a warm, gooey, chocolatey cobbler, bursting with the sweet tartness of juicy cherries. It’s like a Black Forest cake, but in a wonderfully easy, cobbler-shaped package.
This recipe is designed for the busy home baker who still craves incredible results. No complicated techniques or fancy equipment needed – just simple ingredients and a little bit of love. The texture? Oh my goodness – you’ll experience a delightful contrast between the tender, slightly cakey top and the intensely fudgy, almost brownie-like bottom. The rich, dark chocolate perfectly complements the sweet cherries, creating a symphony of flavors that will dance on your tongue. It’s the perfect dessert to impress your family and friends without spending hours in the kitchen. Picture this: a cozy evening, a warm slice of this cobbler, and the sweet satisfaction of a perfectly executed dessert. This cobbler isn’t just a dessert; it’s an experience. It’s comfort food elevated to an art form. Are you ready to bake some magic?

What You’ll Need
This Chocolate Cherry Magic Cobbler uses simple, everyday ingredients, but the quality does matter!
- Unsalted Butter (1/2 cup, 1 stick): Provides richness and tenderness to the cobbler topping. Use good quality butter for the best flavor.
- All-Purpose Flour (1 cup): The foundation of our cobbler topping, providing structure and texture.
- Cocoa Powder (1/4 cup): Unsweetened cocoa powder is key here for that deep, intense chocolate flavor.
- Baking Powder (1 1/2 teaspoons): The leavening agent, giving the cobbler its lovely rise.
- Salt (1/4 teaspoon): A pinch of salt enhances the sweetness and balances the flavors.
- Granulated Sugar (1 cup): Sweetens the cobbler and helps to brown the topping beautifully.
- Buttermilk (1 cup): Adds moisture and tanginess, resulting in a tender crumb. If you don’t have buttermilk, you can make a substitute by adding 1 tablespoon of lemon juice or white vinegar to 1 cup of milk and letting it sit for 5 minutes.
- Vanilla Extract (1 tablespoon): Enhances the overall flavor profile, adding depth and warmth. Use pure vanilla extract for the best results.
- Cherry Pie Filling (21 oz can): The star of the show! A can of high-quality cherry pie filling saves you time and ensures a perfect, sweet and tart cherry base.
Step-by-Step Instructions
Let’s get baking! This recipe is surprisingly straightforward, even for novice bakers.
Step 1: Prepare the Oven and Pan
Preheat your oven to 350°F (175°C). Grease a 9×13 inch baking dish. This ensures your cobbler will come out easily and prevents sticking. You can also line it with parchment paper for extra insurance.
Step 2: Combine Dry Ingredients
In a large bowl, whisk together the all-purpose flour, cocoa powder, baking powder, and salt. Make sure there are no lumps. This step ensures even baking and prevents pockets of uncooked flour.
Step 3: Add Wet Ingredients
Add the melted butter, sugar, buttermilk, and vanilla extract to the dry ingredients. Whisk gently until just combined. Don’t overmix; a few lumps are okay. Overmixing can lead to a tough cobbler.
Step 4: Pour in the Cherry Filling
Pour the entire can of cherry pie filling evenly into the prepared baking dish. Spread it out to create an even layer.
Step 5: Pour Batter Over Filling
Carefully pour the batter over the cherry filling. Don’t worry about mixing the layers. The magic of this cobbler happens as it bakes.
Step 6: Bake the Cobbler
Bake for 35-40 minutes, or until a toothpick inserted into the center comes out with moist crumbs (it may have a few wet cherry bits attached, which is perfectly fine!). Keep an eye on it during the last 10 minutes; ovens vary, and you want to avoid overbaking.
Step 7: Cool and Serve
Let the cobbler cool slightly before slicing and serving. The warm, gooey center is irresistible! Serve warm with a scoop of vanilla ice cream or whipped cream for an extra decadent treat.
Tips for Success
- Don’t overmix the batter: Overmixing develops the gluten in the flour, resulting in a tough cobbler. Mix just until the ingredients are combined.
- Use room temperature buttermilk: This helps the batter to combine more smoothly and bake evenly.
- Check for doneness: The baking time can vary depending on your oven. Start checking for doneness around 30 minutes, using a toothpick.
- Let it cool slightly: Allowing the cobbler to cool for a few minutes before serving prevents a messy, runny dessert.
- Serve warm: This cobbler is best served warm, right out of the oven, for the best flavor and texture.
Variations to Try
This recipe is incredibly versatile. Get creative and experiment!
- Chocolate Chip Cherry Cobbler: Add 1/2 cup of semi-sweet chocolate chips to the batter for extra chocolatey goodness.
- Blueberry Chocolate Cobbler: Substitute the cherry pie filling with blueberry pie filling.
- Spiced Cherry Cobbler: Add 1/2 teaspoon of cinnamon and 1/4 teaspoon of nutmeg to the batter for a warm, spiced twist.
- Gluten-Free Cobbler: Substitute the all-purpose flour with a gluten-free blend. Make sure to use a blend designed for baking.
Storing and Reheating
Store leftover cobbler in an airtight container in the refrigerator for up to 3 days. To reheat, you can microwave individual portions or gently warm slices in a preheated oven at 350°F (175°C) for about 5-7 minutes. Freezing is also possible; wrap individual slices tightly in plastic wrap and then aluminum foil before freezing for up to 2 months. Thaw overnight in the refrigerator before reheating.
Frequently Asked Questions
Q: Can I use frozen cherries instead of canned pie filling?
A: Yes, you can! Just make sure to thaw the cherries completely and drain any excess liquid before adding them to the baking dish. You may need to add a tablespoon or two of cornstarch to help thicken the filling.
Q: How long does the cobbler last?
A: Stored properly in the refrigerator, the cobbler will last for up to 3 days. Frozen cobbler will keep for up to 2 months.
Q: Can I make this cobbler ahead of time?
A: You can assemble the cobbler ahead of time, but it’s best baked fresh. If you must assemble it ahead, keep it refrigerated until ready to bake, and you may need to add a few minutes to the baking time.
Q: Is it possible to make this recipe vegan?
A: You could try substituting the butter with a vegan butter alternative and the buttermilk with a plant-based milk alternative, and using a vegan egg replacement in the recipe. However, results may vary.
The Final Word
This Easy Decadent Chocolate Cherry Magic Cobbler is a true masterpiece of simplicity and flavor. The combination of rich, fudgy chocolate and sweet, tart cherries creates an unforgettable dessert experience. It’s quick to make, requires minimal ingredients, and delivers maximum deliciousness. So, what are you waiting for? Give this recipe a try, and let me know what you think in the comments below! Don’t forget to rate the recipe and share your photos on social media! Happy baking!
🍫 Chocolate Cherry Magic Cobbler 🍒✨
Ingredients
- * 1/2 cup 1 stick unsalted butter 🧈
- * 1 cup all-purpose flour 🌾
- * 1/4 cup unsweetened cocoa powder 🍫
- * 1 1/2 teaspoons baking powder ✨
- * 1/4 teaspoon salt 🧂
- * 1 cup granulated sugar 🍚
- * 1 cup buttermilk 🥛
- * 1 tablespoon vanilla extract 🍨
- * 21 oz can cherry pie filling 🍒
- * 1/4 cup chopped pecans or walnuts optional 🌰
- * 1 teaspoon almond extract optional
Instructions
- Preheat oven to 350°F (175°C). Grease and flour a 9×13 inch baking dish.
- In a medium bowl, whisk together the flour, cocoa powder, baking powder, and salt.
- In a separate bowl, cream together the softened butter and sugar until light and fluffy. Beat in the vanilla extract.
- Gradually add the dry ingredients to the wet ingredients, alternating with the buttermilk, beginning and ending with the dry ingredients. Mix until just combined; do not overmix.
- Pour the cherry pie filling into the prepared baking dish.
- Pour the batter evenly over the cherry filling. If using, sprinkle the chopped nuts over the top.
- Bake for 35-40 minutes, or until a wooden skewer inserted into the center comes out with moist crumbs.
- Let cool slightly before serving. Serve warm with a scoop of vanilla ice cream (optional).