
Introduction
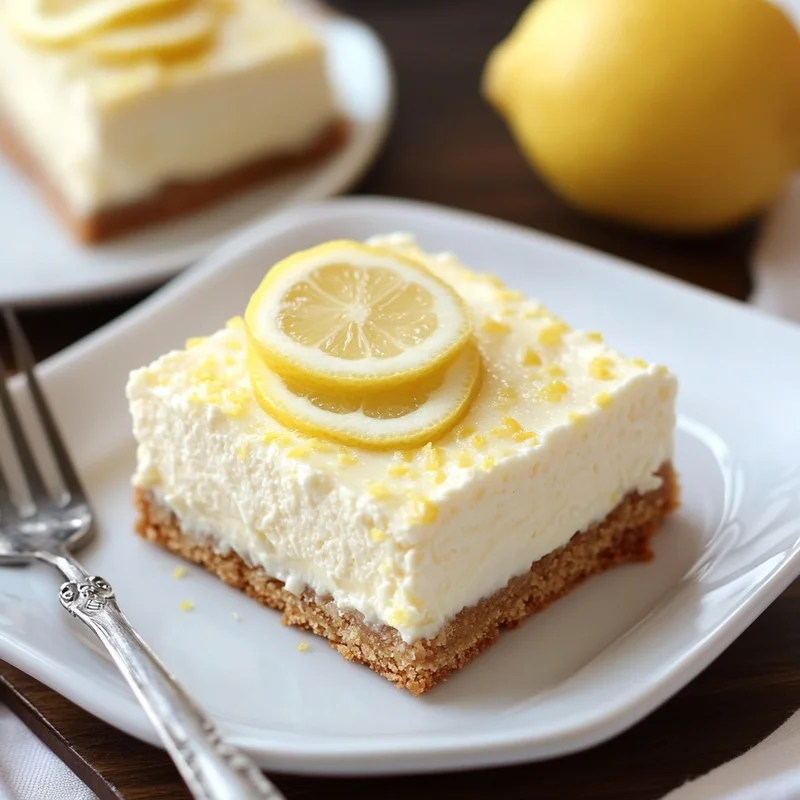
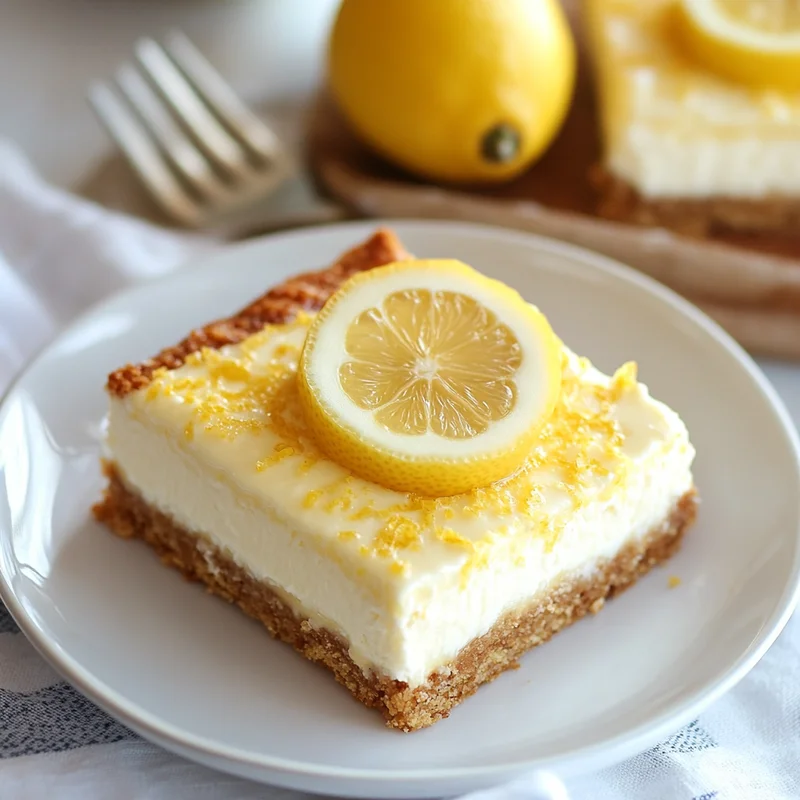
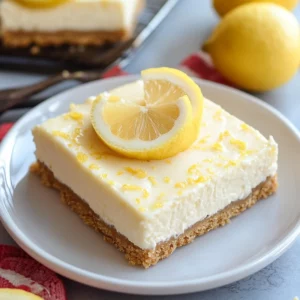
Hey there, sweet friends! Do you ever get a craving for something bright, creamy, and utterly delightful, but maybe don’t have the time (or energy!) for a full-blown cheesecake production? I know I do! That’s where these amazing Greek Yogurt Lemon Cheesecake Bars come in. They capture all the sunny, tangy flavor and smooth texture you love about lemon cheesecake, but they are so much easier. Plus, thanks to a little secret ingredient (hello, Greek yogurt!), they feel just a touch lighter. Get ready, because these bars are about to become your new favorite go-to dessert!
Why You’ll Love This Recipe
- Fast: Ready to bake in minutes, not hours!
- Easy: No fancy water baths or complicated steps here.
- Healthy-ish: Using Greek yogurt and lighter cream cheese gives them a nice nutritional boost compared to traditional cheesecake.
- Giftable: Cut them into squares, package them up, and make someone’s day!
- Crowd-Pleasing: Everyone loves the bright, fresh flavor of lemon and the creamy texture of cheesecake.
Ingredients
Here’s what you’ll need to whip up a batch of these lemony wonders. Most of these are probably already in your pantry or fridge!
- 6 whole graham crackers: The classic base! You can use honey, cinnamon, or even chocolate graham crackers for a twist.
- 2 tablespoons unsalted butter, melted: Just a little bit to bind the crust together into a perfect crumbly layer.
- 6 ounces 1/3 less fat cream cheese, softened: Using softened cream cheese is SO important for a smooth filling, trust me on this! The 1/3 less fat helps lighten things up a smidge.
- 6 ounces plain non-fat Greek yogurt: Our star healthy-ish ingredient! It adds incredible creaminess and that lovely tangy note that pairs perfectly with lemon. Make sure it’s plain!
- 1/3 cup granulated sugar: Just enough sweetness to balance the tart lemon.
- 1 egg + 1 egg white: Helps bind the filling and gives it that classic creamy texture.
- Pinch of salt: A tiny bit of salt helps enhance all those sweet and tangy flavors.
- 1 heaping tablespoon lemon zest: This is where so much of that vibrant lemon flavor lives! Use a microplane zester if you have one for the best results.
- 1/4 cup fresh lemon juice: Freshly squeezed really does make a difference here!
- 1 1/2 teaspoons vanilla extract: Vanilla is like a warm hug for all the other flavors.
- 2 tablespoons all purpose flour: Just a little flour helps stabilize the filling and prevents cracking.
How to Make It
Okay, let’s get baking! This is simple, I promise.
- First things first, let’s get your oven ready. Preheat your oven (you’ll want to check the recipe you’re using for the exact temperature, but usually it’s around 325-350°F for cheesecake). Then, prepare your baking pan. I usually line a square pan (like an 8×8 or 9×9 inch) with parchment paper, leaving some overhang on the sides. This makes lifting the finished bars out SO easy later on.
- Now, for the crust! Prepare the crust by crushing your graham crackers into fine crumbs. You can pop them in a food processor, or just put them in a Ziploc bag and smash them with a rolling pin (which can be quite therapeutic!). Mix these crumbs with your melted butter. Then, press the mixture firmly into the bottom of your prepared pan. Use the bottom of a glass or a flat measuring cup to get a nice, even layer.
- Time for the filling! Grab a large bowl and beat the softened cream cheese and sugar together. Make sure to beat it until it’s really smooth and there are no lumps. This is a key step for a creamy filling!
- Next, mix in the Greek yogurt, the whole egg, and the egg white. Beat this until everything is just well combined. Don’t overmix here; we don’t want to incorporate too much air.
- Now, let’s add the flavor! Stir in the salt, that beautiful lemon zest, the fresh lemon juice, the vanilla extract, and the all purpose flour. Stir gently until the batter is smooth and everything is fully incorporated. Give it a little taste test if you like (before adding the raw egg, of course!).
- Pour the cheesecake filling evenly over the prepared graham cracker crust in your pan. Give the pan a gentle tap on the counter to help level the top and get rid of any big air bubbles.
- Bake for the specified time (again, check your original recipe, but it’s often around 25-35 minutes) until the center is just set. The edges might look slightly firm, but the very center should still have a slight wobble when you gently shake the pan. This means it’s perfect and won’t overbake.
- This is the hardest part: patience! Let the bars cool completely in the pan on a wire rack. This takes time, maybe 1-2 hours. Once they are at room temperature, chill them in the refrigerator for at least 2-3 hours, or ideally, even longer (overnight is best!). Chilling is crucial for the bars to firm up properly and to get nice, clean cuts.
- Once fully chilled, use the parchment paper overhang to lift the entire cheesecake out of the pan. Place it on a cutting board and cut into bars using a sharp knife (wiping the knife with a hot, damp cloth between cuts helps keep them clean!).
Substitutions & Additions
Want to mix things up? Here are some ideas!
- Crust: Not a graham cracker fan? Try crushed vanilla wafers, shortbread cookies, or even gingersnaps for a different flavor profile.
- Citrus: Swap the lemon for lime zest and juice for a key lime vibe, or try orange for a sweeter, sunnier bar.
- Toppings: Top the finished bars with fresh berries (raspberries or blueberries are lovely!), a dollop of whipped cream, or an extra sprinkle of lemon zest before serving.
- Swirl: Reserve a tablespoon or two of berry jam (like raspberry or blueberry) and gently swirl it into the top of the filling with a knife before baking.
Tips for Success
A few pointers to make sure your bars turn out perfectly every time!
- Use room temperature ingredients: Make sure your cream cheese, yogurt, and eggs are all at room temperature before you start mixing. This is key for a smooth, lump-free batter.
- Don’t overmix: Once you add the eggs and flour, mix just until everything is combined. Overmixing can incorporate too much air, which can sometimes cause cracks in the top.
- Don’t overbake: A slightly wobbly center is your friend! The bars will continue to set as they cool and chill. Overbaking leads to a dry texture and can cause cracks.
- Chill time is non-negotiable: I know it’s hard to wait, but chilling is essential for the bars to firm up and slice cleanly. Don’t rush this step!
- Prep ahead: You can make the crust a day in advance and store it in the fridge. The finished bars are even better the day after they’re made, so they’re perfect for making ahead for parties or get-togethers.
How to Store It
These bars need to be stored in the refrigerator due to the dairy and egg content. Keep them in an airtight container or tightly wrapped in plastic wrap in the fridge for up to 4-5 days. They actually get even more flavorful as they sit!
FAQs
Can I use bottled lemon juice?
While fresh lemon juice is always recommended for the brightest flavor, you can use bottled if that’s all you have. Just make sure it’s 100% lemon juice.
Why did my cheesecake crack?
Cracks can happen for a few reasons: overmixing the batter (introducing too much air), overbaking, or cooling too quickly (a sudden change in temperature). Don’t worry though, a crack doesn’t affect the taste at all! You can easily cover it with a topping like whipped cream or berries.
Can I freeze these bars?
Yes! Once the bars are completely chilled and cut, you can wrap individual bars tightly in plastic wrap, then place them in a freezer-safe container or bag. They should keep in the freezer for up to 1-2 months. Thaw overnight in the refrigerator before serving.
Bright & Creamy Greek Yogurt Lemon Cheesecake Bars (So Easy!)
Equipment
- Baking pan like an 8x8 or 9x9 inch
- Parchment paper
- food processor OR Ziploc bag and rolling pin for crushing graham crackers
- Large bowl
- microplane zester optional, for lemon zest
- Wire rack
- Cutting board
- Sharp knife wiping with hot, damp cloth between cuts
Ingredients
Crust
- 6 whole graham crackers honey, cinnamon, or chocolate
- 2 tablespoons unsalted butter melted
Filling
- 6 ounces 1/3 less fat cream cheese softened
- 6 ounces plain non-fat Greek yogurt Make sure it's plain!
- 0.33 cup granulated sugar
- 1 egg
- 1 egg white
- 1 pinch salt
- 1 heaping tablespoon lemon zest Use a microplane zester if possible
- 0.25 cup fresh lemon juice
- 1.5 teaspoons vanilla extract
- 2 tablespoons all purpose flour
Instructions
- Preheat your oven (usually around 325-350°F). Prepare your baking pan by lining it with parchment paper, leaving overhang.
- Prepare the crust by crushing graham crackers into fine crumbs (using a food processor or bag/rolling pin). Mix crumbs with melted butter. Press firmly into the bottom of the prepared pan.
- In a large bowl, beat the softened cream cheese and sugar together until smooth and lump-free.
- Mix in the Greek yogurt, the whole egg, and the egg white. Beat until just well combined; do not overmix.
- Stir in the salt, lemon zest, fresh lemon juice, vanilla extract, and all purpose flour. Stir gently until smooth and fully incorporated.
- Pour the cheesecake filling evenly over the prepared graham cracker crust in your pan. Tap the pan gently on the counter.
- Bake for 25-35 minutes until the center is just set with a slight wobble.
- Cool completely in the pan on a wire rack (1-2 hours). Once at room temperature, chill in the refrigerator for at least 2-3 hours (ideally overnight).
- Once fully chilled, use the parchment paper overhang to lift the cheesecake out. Place on a cutting board and cut into bars using a sharp knife.