
Introduction
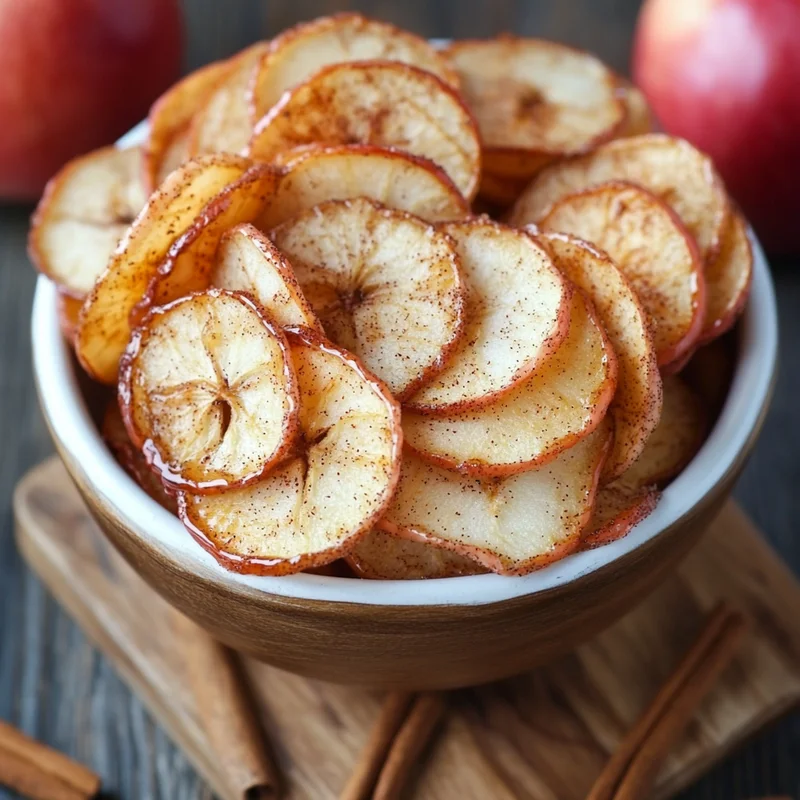
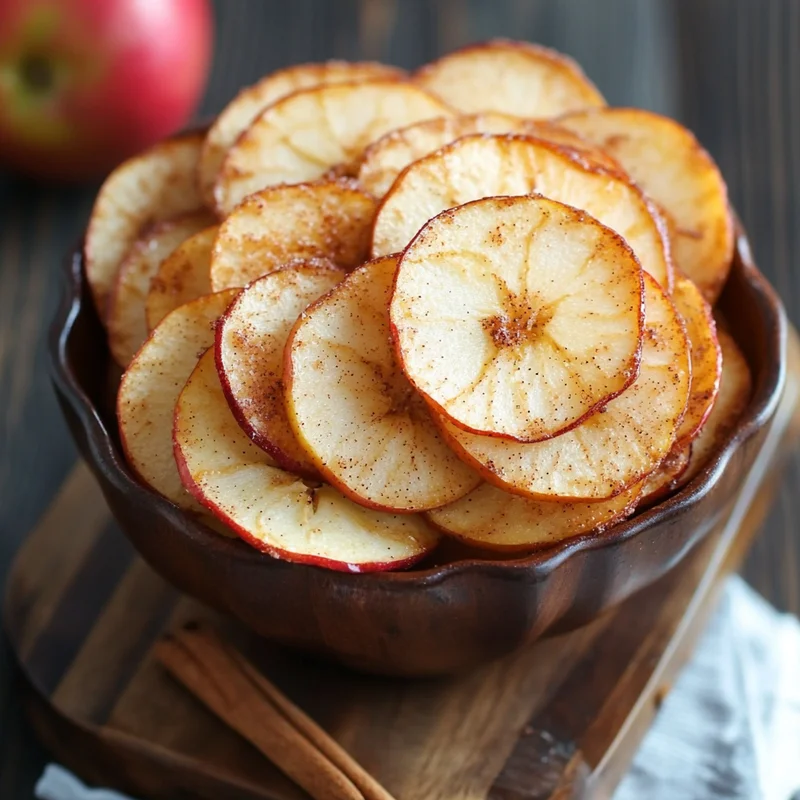
Oh, friend, close your eyes for a second and just imagine the smell. That warm, comforting aroma of cinnamon and apples gently baking in the oven. Isn’t it just the coziest thing? Making your home smell amazing is just one perk of these delightful homemade cinnamon apple chips. This recipe is so incredibly simple, uses just a few ingredients you probably already have, and turns humble apples into a surprisingly addictive, crispy snack. Forget those expensive store-bought versions loaded with extra stuff – we’re making the real deal right here. It’s a recipe that feels special but is truly effortless, perfect for a healthy treat any time you’re craving something sweet and crunchy.
Why You’ll Love This Recipe
Seriously, what’s not to love? Let me count the ways:
- Fast (ish!): While the baking takes a little time, the prep is lightning quick!
- Easy: If you can slice an apple, you can make these. No fancy skills needed!
- Giftable: Package these up in a cute jar or bag, and you’ve got a thoughtful, healthy homemade gift.
- Crowd-Pleasing: Kids and adults alike devour these! They disappear fast.
- Healthy: A fantastic, guilt-free alternative to processed snacks.
Ingredients
Gather your goodies! Here’s what you’ll need to make this magic happen:
- 4 McIntosh apples: These guys are classic for a reason! Their sweet-tart flavor and slightly softer texture when baked work beautifully here.
- 2 teaspoons ground cinnamon: The star spice! Make sure yours is fresh for the best flavor.
- 1 teaspoon granulated sugar (optional): A little pinch just enhances the sweetness, but honestly, if your apples are sweet, you can totally skip this for an even healthier snack!
- Cooking spray: Just a quick spritz to help prevent sticking. You could also use a tiny bit of melted coconut oil or butter.
How to Make It
Alright, let’s get baking! It’s super straightforward, I promise.
Step 1: Prep Your Oven and Pan
Preheat your oven to a low temperature, around 200-225°F (95-105°C). This low heat is key to drying the apples out without burning them. Line a large baking sheet (or two!) with parchment paper. This makes clean-up a breeze and prevents sticking.
Step 2: Slice Those Apples
Core your apples. Then, slice them as thinly as you possibly can – we’re talking about ⅛ to ¼ inch thick. Thinner slices will give you crispier chips! Be careful with your fingers here. A mandoline slicer works wonders for getting uniform, super-thin slices, but a sharp knife and a steady hand are perfectly fine too.
Step 3: Arrange on the Sheet
Lay your apple slices out on the prepared baking sheet in a single layer. Make sure they aren’t overlapping! We want that hot air to circulate all around each slice so they dry evenly.
Step 4: Season!
Lightly spritz the apple slices with cooking spray (or brush with a little melted oil). In a small bowl, mix together the ground cinnamon and the optional sugar. Sprinkle this mixture evenly over the apple slices.
Step 5: Bake Low and Slow
Pop the baking sheet into your preheated oven. Now comes the patient part! Bake for about 1 ½ to 2 ½ hours. The time will vary depending on how thick your slices are and your oven. You’re looking for the edges to start curling up and the slices to look dry and slightly translucent in the center. About halfway through, I like to gently flip the slices to ensure even drying.
Step 6: Cool Completely
Once they look dry and done, turn off the oven and crack the door open a little. Let the apple chips cool completely on the baking sheet. This is crucial! They will continue to crisp up as they cool. Don’t touch them until they are totally cool!
Substitutions & Additions
Feel free to get creative! This recipe is super forgiving.
- Apples: Not a McIntosh fan or can’t find them? Fuji, Gala, Honeycrisp, or even Granny Smith (for a tarter chip) work well too. Just know the flavor and sweetness will change slightly.
- Spices: Instead of just cinnamon, try a pinch of nutmeg, ground ginger, or even a dash of apple pie spice mix. Cardamom is lovely too!
- Sweetener: Skip the sugar if you prefer, or swap it for a tiny sprinkle of coconut sugar or a drizzle of maple syrup before baking (use sparingly!).
- Crunch: A sprinkle of chopped nuts (like pecans or walnuts) on the pan with the chips could add extra texture, though they might bake faster than the apples.
Tips for Success
A few little pointers to make sure your apple chips turn out perfect every time:
- Slice THIN: I can’t stress this enough! Thinner slices = crispier chips.
- Patience is Key: Don’t try to rush the baking process by increasing the temperature. Low and slow is the way to go for drying them out properly.
- Don’t Overcrowd: Give those apple slices their space on the baking sheet so air can circulate. Bake in batches if needed.
- Cool Completely: Seriously, resist the urge to snack right away! They get crispier as they cool.
How to Store It
Once completely cooled, store your homemade apple chips in an airtight container at room temperature. A jar, a Tupperware container, or a resealable bag all work great. Keep them sealed away from moisture, as humidity is their enemy! They should stay nice and crisp for about 1-2 weeks… if they last that long!
FAQs
Got questions? I’ve got answers!
Q: Why aren’t my apple chips crispy?
A: Most likely, your slices were too thick, they didn’t bake long enough, or they didn’t cool completely. Try baking a bit longer next time and ensure those slices are thin!
Q: Can I use a different type of apple?
A: Absolutely! While McIntosh work well, feel free to experiment with other firm apple varieties you love.
Q: Do I have to use the sugar?
A: Nope! The sugar is totally optional. If your apples are naturally sweet, you might not even miss it.
Q: How long do these chips last?
A: Stored in an airtight container at room temperature, they should stay good and crispy for 1 to 2 weeks.
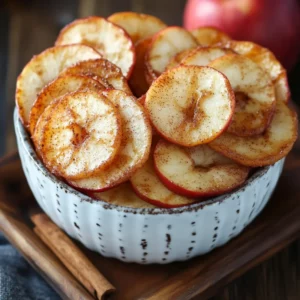
Easy Homemade Cinnamon Apple Chips
Equipment
- large baking sheet Or two!
- Parchment paper
- Small bowl
- Mandoline slicer Optional, for uniform slices
- Sharp knife Optional, if not using a mandoline
Ingredients
Hauptzutaten
- 4 McIntosh apples Other varieties like Fuji, Gala, Honeycrisp, or Granny Smith work too.
- 2 teaspoons Ground cinnamon Make sure yours is fresh for the best flavor.
- 1 teaspoon Granulated sugar Optional, enhances sweetness. Can skip for a healthier snack or substitute with coconut sugar or a tiny drizzle of maple syrup.
- Cooking spray Just a quick spritz to help prevent sticking. Could also use a tiny bit of melted coconut oil or butter.
Instructions
- Preheat your oven to a low temperature, around 200-225°F (95-105°C). Line a large baking sheet (or two!) with parchment paper.
- Core your apples. Then, slice them as thinly as you possibly can – about ⅛ to ¼ inch thick. Thinner slices will give you crispier chips! A mandoline slicer works wonders for getting uniform, super-thin slices, but a sharp knife and a steady hand are perfectly fine too.
- Lay your apple slices out on the prepared baking sheet in a single layer. Make sure they aren't overlapping! We want that hot air to circulate all around each slice so they dry evenly.
- Lightly spritz the apple slices with cooking spray (or brush with a little melted oil). In a small bowl, mix together the ground cinnamon and the optional sugar. Sprinkle this mixture evenly over the apple slices.
- Pop the baking sheet into your preheated oven. Bake for about 1 ½ to 2 ½ hours. The time will vary depending on how thick your slices are and your oven. You're looking for the edges to start curling up and the slices to look dry and slightly translucent in the center. About halfway through, gently flip the slices to ensure even drying.
- Once they look dry and done, turn off the oven and crack the door open a little. Let the apple chips cool completely on the baking sheet. This is crucial! They will continue to crisp up as they cool. Don't touch them until they are totally cool!
Notes
Tips for Success: Slice apples THIN for crispier chips. Use low and slow baking heat and be patient. Don't overcrowd the baking sheet; bake in batches if needed. ALWAYS cool completely for maximum crispiness.
How to Store It: Once completely cooled, store in an airtight container (jar, Tupperware, resealable bag) at room temperature. Keep sealed away from moisture. They should stay crispy for about 1-2 weeks.
FAQs: If chips aren't crispy, slices were likely too thick, didn't bake long enough, or didn't cool completely. Try baking longer and ensuring thin slices. Yes, you can use different apples. No, you don't have to use sugar. Chips last 1-2 weeks in an airtight container.