Introduction
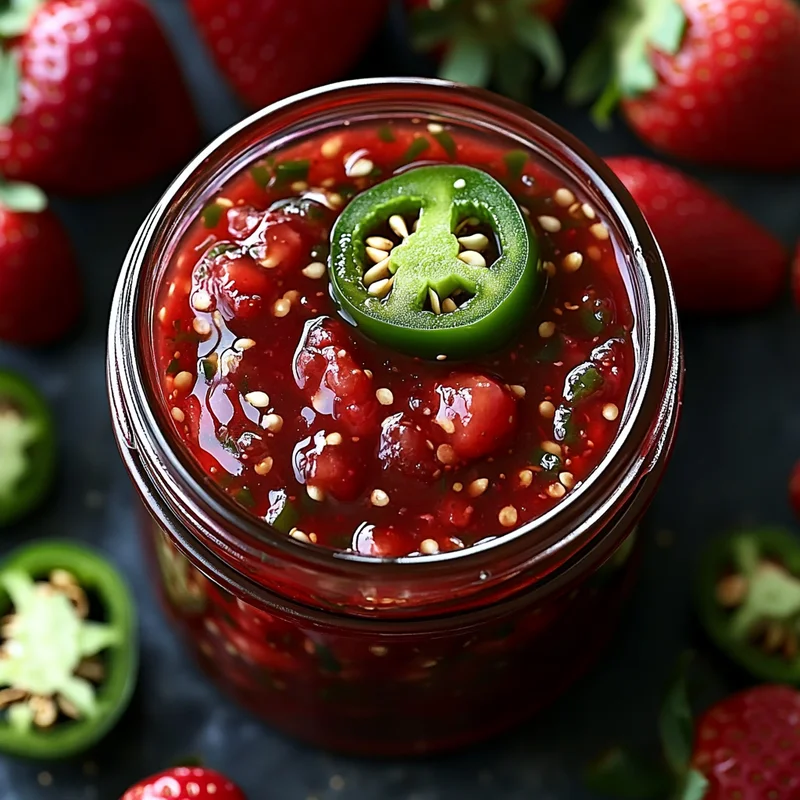
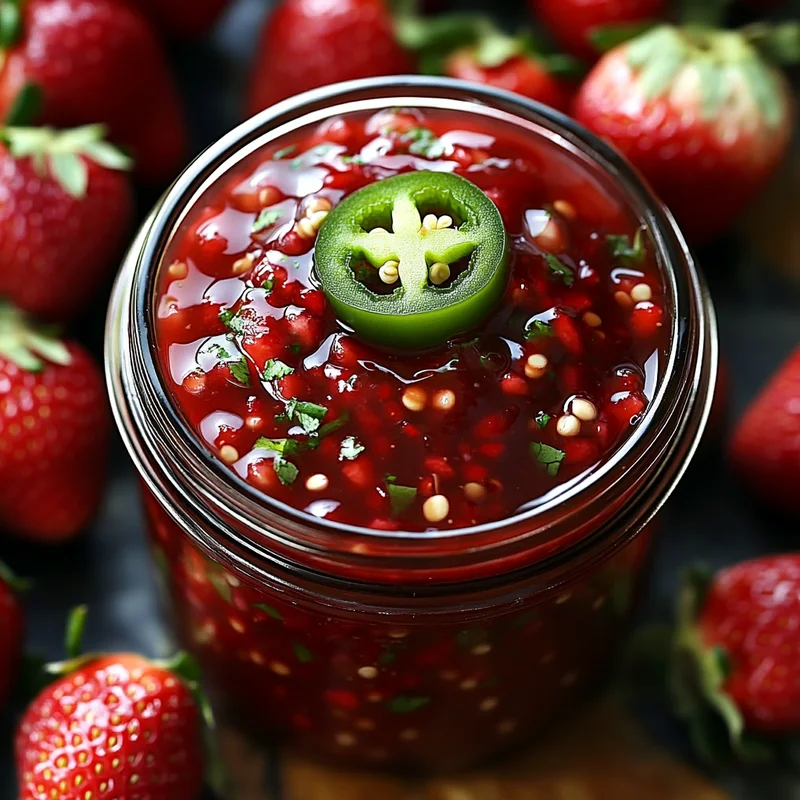
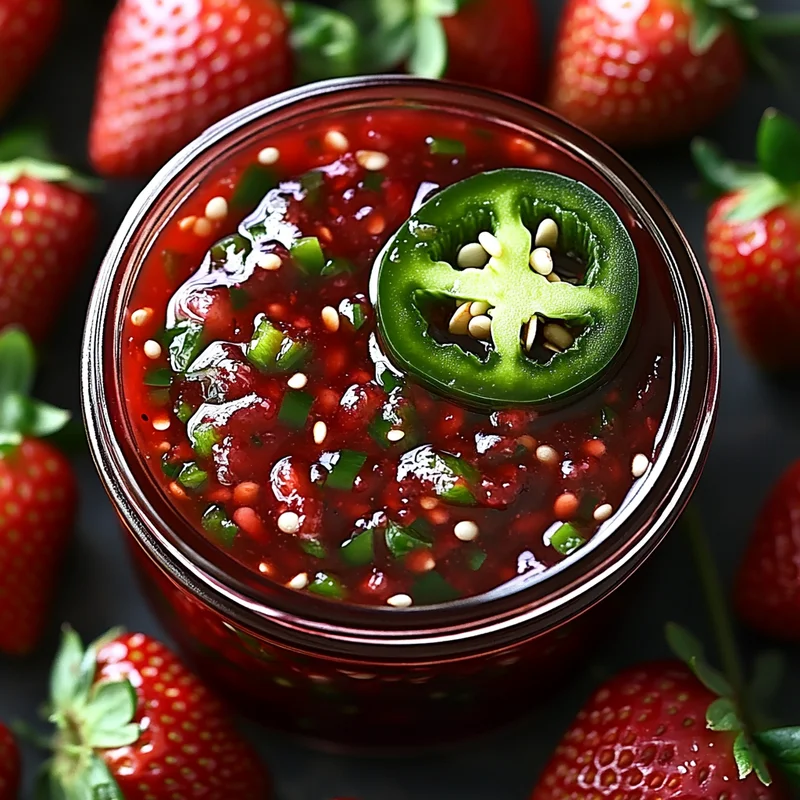
Hey there, friend! Let me tell you, some recipes just stop you in your tracks and make you say, “Wow!” This Homemade Jalapeño Strawberry Jam is one of those recipes. It might sound a little wild – sweet strawberries and spicy jalapeños? But trust me, the combination is absolutely magical. It’s the perfect balance of sweet and a gentle kick of heat that is completely addictive. Forget those boring jams; this one is vibrant, unexpected, and incredibly delicious. And the best part? It’s surprisingly easy to whip up right in your own kitchen!
I remember the first time I tasted this unique jam. I was skeptical, but one bite on a piece of warm toast, and I was hooked. It felt like sunshine with a little mischievous wink. Now, I make batches of this regularly, and it disappears fast! Get ready to impress everyone you know, because this jam is a game-changer.
Why You’ll Love This Recipe
- Fast: You can go from fresh fruit to finished jam in under an hour (plus cooling time!). Perfect for spontaneous kitchen projects.
- Easy: No fancy techniques here! If you can stir and boil, you can make this jam.
- Giftable: Pour this beautiful jam into a cute jar, tie a ribbon around it, and you have a thoughtful, handmade gift that everyone will adore.
- Crowd-pleasing: Even the pickiest eaters are usually intrigued by the sweet and spicy combo, and more often than not, they fall in love with it. It’s a guaranteed conversation starter!
Ingredients
Gather ’round! Here’s the simple lineup you’ll need for this sweet and spicy adventure:
- 2 cups fresh strawberries, hulled and chopped: Pick ripe, juicy ones! They provide the lovely sweetness and vibrant color.
- 1 to 2 fresh jalapeños, seeds removed and finely chopped: This is where the heat comes in! Removing the seeds is key to controlling the spice level. Use one for a mild kick, two for a bit more heat. Remember to wash your hands thoroughly after handling peppers!
- 3 cups granulated sugar: Yes, it seems like a lot, but sugar is essential for texture, preservation, and balancing the tartness and heat.
- 1/4 cup fresh lemon juice: Brightens the flavor and helps the pectin set properly. Fresh is best!
- 1 package (1.75 oz) fruit pectin: This is your jam’s best friend! Pectin is what makes the jam thicken and set beautifully.
- 1/2 cup water: Just a little liquid to get things going in the pot.
How to Make It
Alright, let’s get cooking! Follow these simple steps, and you’ll have amazing jam in no time.
- Get Your Jars Ready: If you’re planning on canning this jam for shelf stability, now’s the time to prepare your canning jars and lids. Wash them, sterilize them according to canning guidelines, and keep them warm. If you’re just making a small batch to keep in the fridge, clean jars will do, but make sure they’re sparkling clean!
- Combine Fruit & Peppers: Grab your biggest, heaviest pot – a Dutch oven works great! Add those lovely chopped strawberries and the finely chopped jalapeños.
- Add Liquids: Pour in the 1/2 cup of water and the 1/4 cup of fresh lemon juice.
- Stir in Pectin: Sprinkle the entire package of fruit pectin over the fruit mixture. Stir it all together until it’s well combined. Pectin needs to dissolve properly to work its magic.
- Bring to a Boil: Place the pot over high heat. Stir constantly as you bring the mixture up to a full, rolling boil. This means bubbles are breaking all over the surface, even when you’re stirring!
- Add the Sugar: Once you hit that rolling boil, pour in all 3 cups of granulated sugar. Keep stirring, stirring, stirring until every single sugar crystal is completely dissolved. The mixture will look glossy and thick.
- Boil Hard (The Magic Moment!): This is the critical step for setting! Bring the jam back up to a hard rolling boil – one that you cannot stir down. It will look like a vigorous, bubbly, lava-like surface.
- Boil for One Minute: Start your timer! Boil the jam at that hard rolling boil for exactly 1 minute, stirring constantly the entire time to prevent scorching. This ensures the pectin activates fully.
- Off the Heat & Skim: Carefully remove the pot from the heat. You might see a little bit of foamy stuff on top; this is normal! Gently skim it off with a spoon for a clearer, prettier jam. (Don’t worry if you miss a little, it won’t hurt anything).
- Jar the Jam: Now, ladle that gorgeous, hot jam into your prepared jars. Leave about 1/4 inch of space at the top (this is called headspace). Carefully wipe the rims of the jars with a clean, damp cloth – any jam residue can prevent a good seal if you’re canning. Center the lids on the jars and screw on the bands until they are “fingertip tight” – snug, but not overly tight.
- Process or Chill: If you’re canning, process the filled jars in a boiling water canner according to standard, tested canning procedures and adjust for your altitude. This creates a vacuum seal for long-term storage. If you’re not canning, simply let the jars cool completely on the counter. Once cool, store them in the refrigerator for immediate use.
And there you have it! Beautiful, delicious, homemade Jalapeño Strawberry Jam ready to enjoy.
Substitutions & Additions
Feeling creative? This recipe is super flexible! Here are a few ideas:
- Spice Level: Use more or fewer jalapeños depending on your preference. For a milder heat, you can even briefly blanch the chopped jalapeños in boiling water for a minute before adding them to the pot. Want more heat? Leave a few seeds in or swap a jalapeño for a hotter pepper like a serrano (handle with extra care!).
- Other Fruits: Try swapping half the strawberries for raspberries, blueberries, or even peaches for a different flavor profile.
- Add-ins: Stir in a teaspoon of vanilla extract after taking the pot off the heat for a lovely aromatic note. A pinch of ground ginger or cardamom could also be fun!
- Lime Zest: Adding the zest of one lime along with the juice can give it an extra burst of bright, citrusy flavor.
Tips for Success
Making jam is easy, but a few little tips can make sure yours turns out perfectly every time:
- Safety First with Peppers: Jalapeños contain oils that can irritate your skin and eyes. I highly recommend wearing disposable gloves when chopping them, especially if you’re doing more than one! Always wash your hands thoroughly afterwards, even if you wore gloves.
- Use a Big Pot: Jam bubbles up quite a bit as it boils. Using a large, heavy pot (like a 5 or 6-quart Dutch oven) prevents it from boiling over and also helps distribute heat evenly.
- Don’t Skimp on the Boil: That hard rolling boil for 1 minute after adding sugar is absolutely crucial for the jam to set. If your jam doesn’t set well, it’s often because it didn’t boil hard enough or long enough at this stage.
- Stir Constantly: Especially once the sugar is in and the jam is boiling hard, stir constantly to prevent the bottom from scorching. Jam heats up and thickens quickly!
- Prep Ahead: Chop all your fruit and peppers before you start cooking. Once the boiling begins, things move fast, so having everything measured and ready to go is key.
How to Store It
Once your jam is made, you have a couple of options for keeping it fresh:
- Refrigerator Storage: For jam you plan to use relatively quickly (within about 3-4 weeks), simply let the jars cool completely on the counter, then pop them in the refrigerator. They should last for several weeks stored this way.
- Canning for Shelf Stability: If you followed standard canning procedures (sterilizing jars, proper headspace, wiping rims, fingertip tight lids, and processing in a boiling water canner according to tested guidelines for your altitude), the sealed jars can be stored in a cool, dark place (like a pantry) for up to a year. Always check the seal before opening! If the lid is no longer concave, discard the jam.
FAQs
- Is this jam really spicy? The spice level is adjustable! Using 1 jalapeño with seeds removed gives a mild, pleasant warmth rather than intense heat. Using 2 jalapeños makes it noticeably spicier, but the sweetness of the strawberries balances it beautifully.
- Can I use frozen strawberries? Yes, you can! Make sure they are completely thawed and drained well before measuring and adding them to the pot.
- What if my jam doesn’t set? Don’t panic! Jam that doesn’t set properly is sometimes called “syrup.” It’s still delicious! You can use it as a sauce for ice cream, pancakes, or yogurt. If you really want it thicker, you can carefully try reheating it and adding a little more pectin mixed with a tablespoon of sugar, then bringing it back to a hard boil for 1 minute.
- What’s the best way to use this jam? Oh, the possibilities are endless! It’s fantastic on toast, biscuits, or English muffins. Use it as a glaze for pork or chicken, swirl it into yogurt or oatmeal, pair it with cream cheese and crackers, or use it as a filling for pastries or thumbprint cookies. It’s also incredible on a cheese board!

Sweet Heat Perfection: Easy Homemade Jalapeño Strawberry Jam
Equipment
- Pot large, heavy, or Dutch oven
- Dutch oven optional, but recommended
- Canning jars optional, for shelf stability
- lids optional, for shelf stability
- Spoon for stirring and skimming
- ladle for jarring
Ingredients
Main Ingredients
- 2 cups fresh strawberries hulled and chopped
- 1 to 2 fresh jalapeños seeds removed and finely chopped
- 3 cups granulated sugar
- 0.25 cup fresh lemon juice
- 1 package fruit pectin 1.75 oz
- 0.5 cup water
Instructions
- Get Your Jars Ready: If you're planning on canning this jam for shelf stability, now's the time to prepare your canning jars and lids. Wash them, sterilize them according to canning guidelines, and keep them warm. If you're just making a small batch to keep in the fridge, clean jars will do, but make sure they're sparkling clean!
- Combine Fruit & Peppers: Grab your biggest, heaviest pot – a Dutch oven works great! Add those lovely chopped strawberries and the finely chopped jalapeños.
- Add Liquids: Pour in the 1/2 cup of water and the 1/4 cup of fresh lemon juice.
- Stir in Pectin: Sprinkle the entire package of fruit pectin over the fruit mixture. Stir it all together until it's well combined. Pectin needs to dissolve properly to work its magic.
- Bring to a Boil: Place the pot over high heat. Stir constantly as you bring the mixture up to a full, rolling boil. This means bubbles are breaking all over the surface, even when you're stirring!
- Add the Sugar: Once you hit that rolling boil, pour in all 3 cups of granulated sugar. Keep stirring, stirring, stirring until every single sugar crystal is completely dissolved. The mixture will look glossy and thick.
- Boil Hard (The Magic Moment!): This is the critical step for setting! Bring the jam back up to a hard rolling boil – one that you cannot stir down. It will look like a vigorous, bubbly, lava-like surface.
- Boil for One Minute: Start your timer! Boil the jam at that hard rolling boil for exactly 1 minute, stirring constantly the entire time to prevent scorching. This ensures the pectin activates fully.
- Off the Heat & Skim: Carefully remove the pot from the heat. You might see a little bit of foamy stuff on top; this is normal! Gently skim it off with a spoon for a clearer, prettier jam. (Don't worry if you miss a little, it won't hurt anything).
- Jar the Jam: Now, ladle that gorgeous, hot jam into your prepared jars. Leave about 1/4 inch of space at the top (this is called headspace). Carefully wipe the rims of the jars with a clean, damp cloth – any jam residue can prevent a good seal if you're canning. Center the lids on the jars and screw on the bands until they are "fingertip tight" – snug, but not overly tight.
- Process or Chill: If you're canning, process the filled jars in a boiling water canner according to standard, tested canning procedures and adjust for your altitude. This creates a vacuum seal for long-term storage. If you're not canning, simply let the jars cool completely on the counter. Once cool, store them in the refrigerator for immediate use.