Introduction
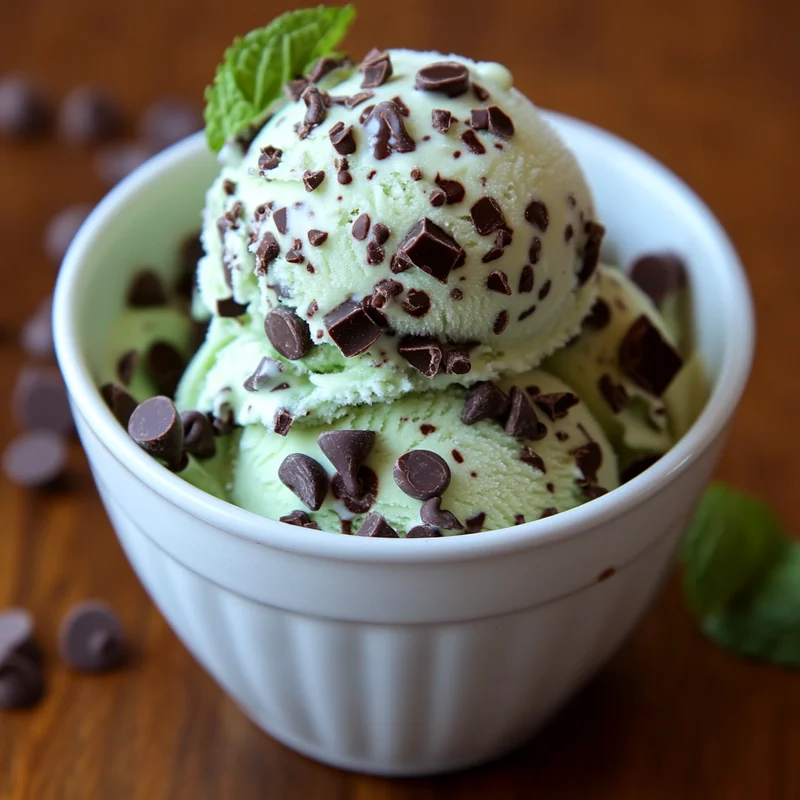
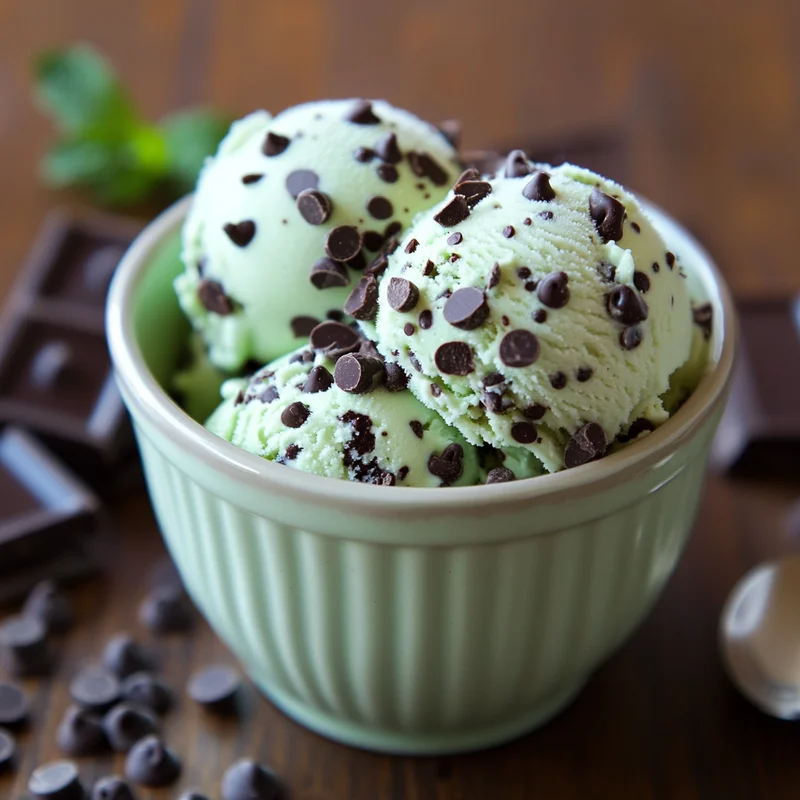
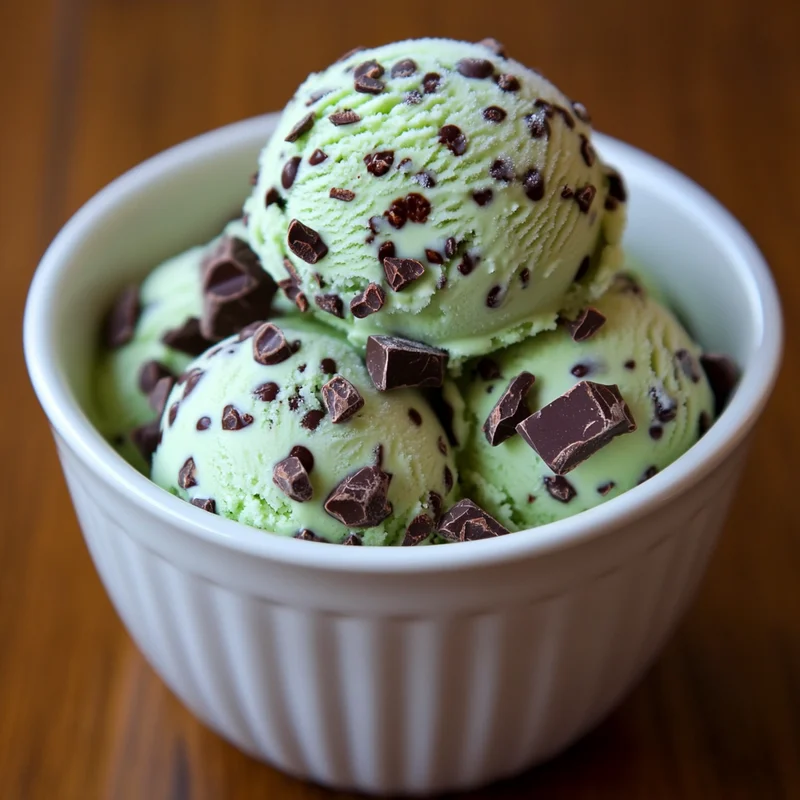
Hey there, fellow dessert lovers! Isn’t there just something magical about homemade ice cream? It transports you right back to childhood summers, sticky fingers, and pure, unadulterated joy. And if you’re anything like me, Mint Chocolate Chip holds a special place in your heart. That refreshing minty coolness mixed with those delightful little bits of chocolate? Pure perfection!
For years, I thought making ice cream from scratch was way too complicated, best left to the pros or fancy machines I didn’t own. But guess what? It’s not! This recipe is so simple, so straightforward, and results in the most wonderfully creamy, flavorful Mint Chocolate Chip ice cream you’ve ever scooped. Forget the store-bought stuff; you’re about to become an ice cream making rockstar right in your own kitchen. Let’s dive in!
Why You’ll Love This Recipe
- Fast (well, fast to mix up the base!)
- Easy (seriously, minimal effort for maximum reward)
- Giftable (homemade treats are the best!)
- Crowd-pleasing (who doesn’t love this classic?)
Ingredients
Gather ’round, friends! Here’s what you’ll need to whip up this minty chocolatey dream. Think of these as your magic potion ingredients:
- 2 cups Heavy cream: This is where that luxurious creaminess comes from. Don’t skimp on this!
- 1 cup Whole milk: Balances the richness of the cream and helps create that smooth texture.
- 3/4 cup Granulated sugar: Sweetness is key! It also helps keep the ice cream from freezing too hard.
- 1 tsp Mint extract: Ah, the star flavor! Make sure it’s a good quality extract for the best taste.
- 1 tsp Vanilla extract: A little vanilla rounds out the flavors beautifully.
- 1/4 tsp Green food coloring: Totally optional, but it gives it that classic mint chip look we all know and love. A few drops go a long way!
- 1 Pinch Salt: Just a tiny pinch helps enhance all the other flavors. It’s a secret weapon!
- 1 cup Semi-sweet chocolate chunks or mini chocolate chips: The “chip” part! I love using mini chips because they distribute nicely, but chunks are fun too if you like bigger bites of chocolate heaven.
How to Make It
Alright, apron on? Let’s make some ice cream! This process is super easy, I promise.
- In a large bowl or a pitcher with a spout (a pitcher makes pouring into the ice cream maker way easier!), whisk together the heavy cream, whole milk, granulated sugar, and salt. Whisk until the sugar seems mostly dissolved.
- Stir in the mint extract, vanilla extract, and the green food coloring (if using). Add the food coloring drop by drop until you get the shade of green you like. I usually start with a couple of drops and add more if needed.
- Give everything another good whisk to make sure the colors and flavors are evenly distributed.
- Now, you need to chill this mixture really well. Cover the bowl or pitcher and pop it in the fridge for at least 2-3 hours, or even better, overnight. This is a super important step for getting creamy results!
- Once your base is thoroughly chilled, it’s time for the ice cream maker! Pour the mixture into your ice cream maker and churn according to the manufacturer’s instructions. This usually takes about 20-30 minutes, depending on your machine. You’ll know it’s ready when it looks like soft-serve ice cream.
- During the last 5 minutes of churning, add in your semi-sweet chocolate chunks or mini chocolate chips. Let the machine mix them in for those final few minutes. Alternatively, you can transfer the churned ice cream to a container and fold in the chips by hand.
- Transfer the soft ice cream to an airtight container. Press a piece of parchment paper or plastic wrap directly onto the surface of the ice cream to help prevent ice crystals from forming.
- Freeze for at least 4-6 hours, or until firm, before scooping and enjoying. This “ripening” time in the freezer helps the flavors meld and the texture firm up perfectly.
Substitutions & Additions
Want to play around a bit? Great! This recipe is pretty forgiving. Here are a few ideas:
- Chocolate Type: Not a semi-sweet fan? Try dark chocolate chunks, white chocolate chips, or even chopped mint chocolate candies!
- Extract Variations: Use peppermint extract for a stronger, cooler mint flavor, or a combination of mint and peppermint.
- Add-ins: Fold in crushed chocolate cookies (like Oreos!), mini marshmallows, or even a swirl of hot fudge sauce (add after churning and before freezing).
- Less Coloring: Feel free to reduce or omit the green food coloring entirely if you prefer a natural look. The flavor will be just as delicious!
- No-Churn Option (Requires Ingredient Swap): While this base is designed for churning, you could adapt it. A typical no-churn involves whipping heavy cream to stiff peaks and folding in sweetened condensed milk + flavors. You’d need to find a specific no-churn Mint Chip recipe, but it’s definitely possible!
Tips for Success
A few little pointers to help you make the absolute best batch:
- Chill, Chill, Chill: I cannot stress this enough! Make sure your ice cream base is really cold before it goes into the ice cream maker. This helps it freeze faster and results in a creamier texture.
- Don’t Overfill: Your ice cream maker needs room for the mixture to expand as it freezes. Follow your machine’s capacity guidelines.
- Quality Extracts: Since mint is the main flavor here, using a good quality mint extract will make a noticeable difference.
- Freeze Until Firm: Don’t skip the final freezing step. Giving the ice cream time to harden completely results in the perfect scoopable consistency.
How to Store It
Once your glorious homemade ice cream is ready, you’ll want to store it properly to keep it tasting fresh and delicious!
- Use an Airtight Container: Transfer the ice cream to a freezer-safe container with a tight-fitting lid.
- Surface Protection: Press a layer of parchment paper or plastic wrap directly onto the surface of the ice cream before putting the lid on. This is a great trick to prevent those pesky ice crystals from forming and keeps the top layer smooth and creamy.
- Freezer Life: For the best quality, aim to enjoy your homemade ice cream within 2-3 weeks. It will likely be safe to eat for longer, but the texture can start to degrade over time, especially if it goes through temperature fluctuations in the freezer.
FAQs
Got questions? Let’s tackle a couple common ones!
- Q: Why is my homemade ice cream hard as a rock?
A: This can happen for a few reasons! Sometimes it’s due to not enough sugar or fat in the recipe, or it might just need to sit out on the counter for 5-10 minutes before scooping to soften slightly. Ensure your base was very cold before churning and that your freezer isn’t set too low. - Q: Do I have to use food coloring?
A: Absolutely not! The food coloring is purely for aesthetics to give it the classic green look. The flavor will be exactly the same without it. - Q: Can I use regular-sized chocolate chips instead of mini ones or chunks?
A: Yep! Feel free to use your favorite size and type of chocolate chip or chunk. Mini chips tend to stay suspended a bit better, but regular ones work just fine.

Easy Homemade Mint Chocolate Chip Ice Cream
Equipment
- large bowl or pitcher a pitcher with a spout makes pouring into the ice cream maker easier
- Ice cream maker
- Airtight container freezer-safe
- Parchment paper or plastic wrap for covering the surface of the ice cream
Ingredients
Hauptzutaten
- 2 cups Heavy cream
- 1 cup Whole milk
- 0.75 cup Granulated sugar
- 1 tsp Mint extract use good quality extract
- 1 tsp Vanilla extract
- 0.25 tsp Green food coloring optional, add drop by drop until desired shade
- 1 Pinch Salt
- 1 cup Semi-sweet chocolate chunks or mini chocolate chips
Instructions
- In a large bowl or a pitcher with a spout, whisk together the heavy cream, whole milk, granulated sugar, and salt. Whisk until the sugar seems mostly dissolved.
- Stir in the mint extract, vanilla extract, and the green food coloring (if using). Add the food coloring drop by drop until you get the shade of green you like.
- Give everything another good whisk to make sure the colors and flavors are evenly distributed.
- Chill this mixture really well. Cover the bowl or pitcher and pop it in the fridge for at least 2-3 hours, or even better, overnight. This is a super important step for getting creamy results!
- Once your base is thoroughly chilled, it's time for the ice cream maker! Pour the mixture into your ice cream maker and churn according to the manufacturer's instructions. This usually takes about 20-30 minutes, depending on your machine. You'll know it's ready when it looks like soft-serve ice cream.
- During the last 5 minutes of churning, add in your semi-sweet chocolate chunks or mini chocolate chips. Let the machine mix them in for those final few minutes. Alternatively, you can transfer the churned ice cream to a container and fold in the chips by hand.
- Transfer the soft ice cream to an airtight container.
- Press a piece of parchment paper or plastic wrap directly onto the surface of the ice cream to help prevent ice crystals from forming.
- Freeze for at least 4-6 hours, or until firm, before scooping and enjoying. This "ripening" time in the freezer helps the flavors meld and the texture firm up perfectly.
Notes
- Chill the base well before churning for a creamier texture.
- Don't overfill your ice cream maker; leave room for expansion.
- Use a good quality mint extract.
- Freeze the ice cream until firm for the best scoopable consistency. How to Store It:
- Use a freezer-safe airtight container.
- Press parchment paper or plastic wrap directly onto the surface to prevent ice crystals.
- For best quality, enjoy within 2-3 weeks.