Hello, Bean Lovers!
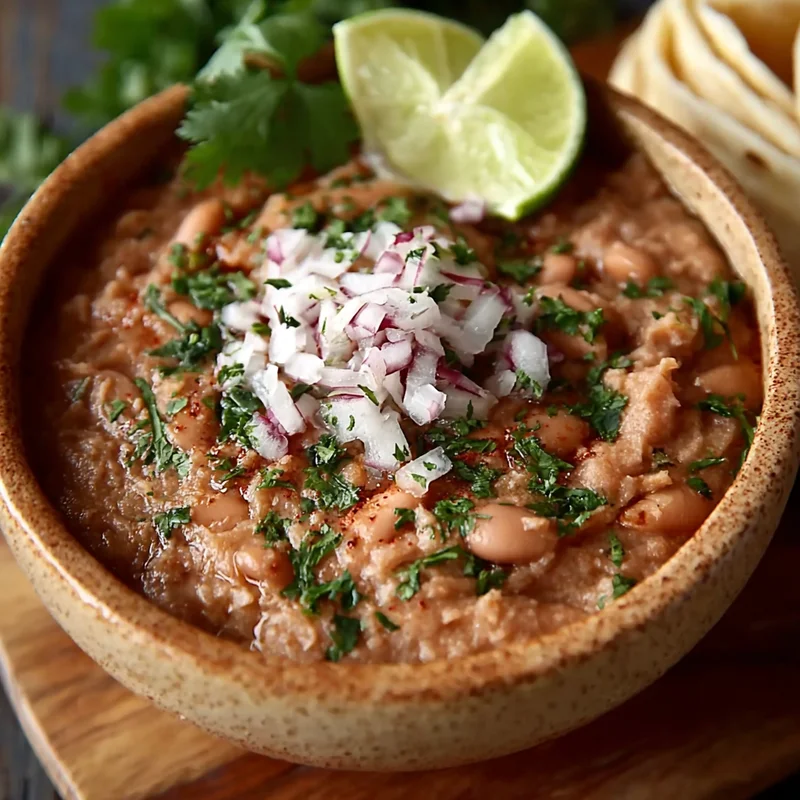
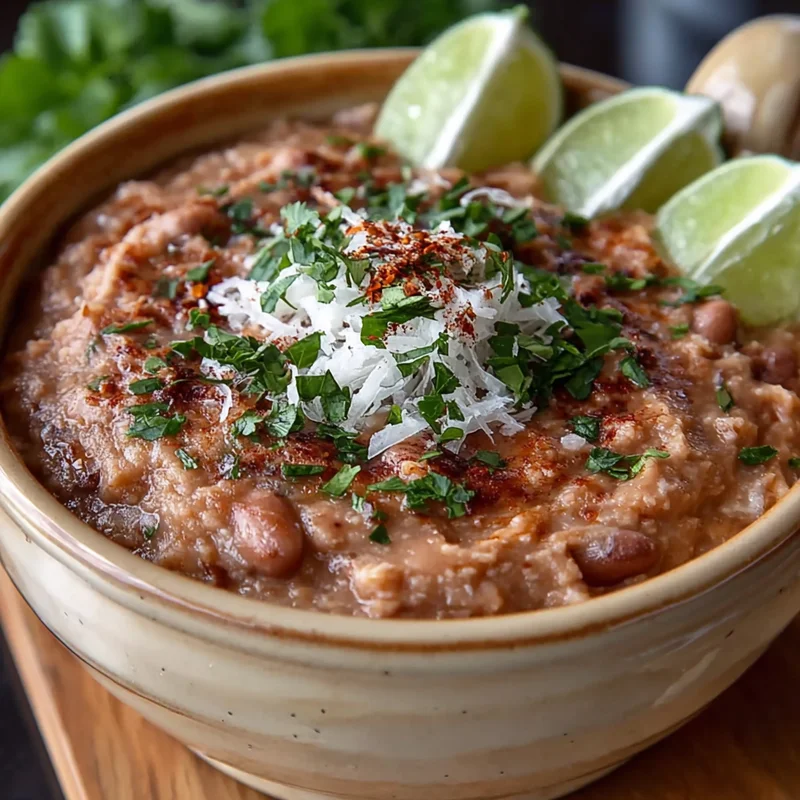
Oh, those cozy kitchen memories! There’s something so incredibly comforting about a warm bowl of creamy refried beans, isn’t there? It takes me right back to family dinners, taco nights, and those satisfying weekend breakfasts. And guess what? You don’t need to be a culinary wizard to whip up a batch that’s ten times better than anything from a can. Seriously, this recipe for Easy Refried Beans is a game-changer, and it’s so simple, you’ll wonder why you ever bought them pre-made!
Why You’ll Absolutely Adore This Recipe
- Fast: We’re talking about a delicious side dish ready in under 30 minutes!
- Easy: Minimal chopping, one pot, and straightforward steps. Perfect for beginners!
- Giftable: Imagine bringing a cute jar of homemade refried beans to a potluck or as a housewarming gift!
- Crowd-Pleasing: Everyone loves classic refried beans. They’re the ultimate sidekick to so many meals.

Gather Your Humble Ingredients
This recipe is all about simple, wholesome goodness. You probably have most of these pantry staples already!
- 1 tablespoon olive oil: Our little bit of healthy fat to get things started.
- ¼ cup finely chopped onion: Just a touch of sweet onion flavor to build our base.
- 2 cloves garlic, finely minced: Because garlic makes everything better, right?
- 2 cans (15-ounces each) pinto beans, rinsed and drained: The stars of our show! Rinsing gets rid of that canny taste.
- ½ to 1 cup water: To help everything simmer and get nice and creamy. We’ll adjust as needed.
- 2 teaspoons white vinegar: This is my secret weapon for a little brightness that cuts through the richness. Don’t skip it!
- ¼ teaspoon salt: To enhance all those wonderful flavors.
Let’s Get Cooking: The Step-by-Step Magic
Ready to transform those humble beans into something spectacular? Grab your favorite skillet and let’s dive in!
- Sauté the Aromatics: First things first, let’s get that olive oil warming in a skillet over medium heat. Once it’s shimmering, toss in your finely chopped onion. You want to cook them until they’re nice and soft, which usually takes about 5 minutes. They’ll start to look a little translucent and smell so good.
- Add the Garlic: Now, add your minced garlic to the skillet with the onions. Cook for just about 1 minute more, stirring constantly. Garlic can burn quickly, so you just want it to become fragrant and soften up a bit.
- Bring It All Together: Time for the main event! Add your rinsed and drained pinto beans right into the skillet. Then, pour in ½ cup of water, the white vinegar, and that ¼ teaspoon of salt.
- Simmer and Soften: Give everything a good stir. Bring the mixture to a gentle simmer, then immediately reduce the heat to low. Pop a lid on your skillet and let it cook for about 10 minutes. I like to stir it occasionally to make sure nothing sticks and everything melds together beautifully.
- Mash to Perfection: Now for the fun part! Uncover the skillet and grab the back of a spoon or, even better, a potato masher. Start mashing those beans! You’re looking for your perfect creamy consistency. Some folks like them super smooth, while others prefer a little texture. Keep mashing and stirring until you reach your ideal texture. If the beans start to look a little too dry as you’re mashing, don’t worry! Just add another tablespoon of water at a time until they reach that lovely creamy consistency.
Get Creative: Substitutions & Delicious Additions
While this recipe is wonderfully simple, you can totally jazz it up if you’re feeling adventurous!
- Bean Varieties: Don’t have pinto beans? Kidney beans or black beans work beautifully too! Just make sure to rinse and drain them well.
- Spicy Kick: Want to add some heat? Toss in a pinch of chili powder or a dash of your favorite hot sauce along with the beans. You could even add a finely chopped jalapeño with the onion.
- Extra Flavor: A teaspoon of cumin is a fantastic addition for that authentic Tex-Mex flavor. A pinch of smoked paprika can also add a lovely depth.
- Richness Boost: For an even richer, more traditional flavor, some people like to add a tablespoon of bacon grease or lard with the olive oil.

My Top Tips for Refried Bean Success
Little things can make a big difference. Here are a few of my go-to tips for perfect refried beans every time!
- Don’t Skip the Rinse: Seriously, rinsing canned beans removes excess sodium and that sometimes metallic “canned” flavor. It’s a small step with a big impact.
- Low and Slow is Key: Simmering on low heat allows the flavors to meld and the beans to soften without drying out too quickly.
- Mash with Love: Don’t be afraid to really go at it with the masher! Getting those beans broken down is what creates that creamy texture we all crave.
- Prep Ahead: You can chop your onion and mince your garlic a day in advance and store them in an airtight container in the fridge.
How to Store Your Delicious Creations
Leftovers are the best! And luckily, these refried beans store like a dream.
- In the Fridge: Once cooled, transfer the refried beans to an airtight container. They’ll stay delicious in the refrigerator for about 3-4 days.
- Freezing: For longer storage, you can freeze them! Portion them into freezer-safe containers or bags. They’ll keep for up to 2-3 months. Thaw overnight in the fridge and reheat gently on the stovetop or in the microwave.
Frequently Asked Questions
Can I use dried beans instead of canned?
Absolutely! If you use dried beans, you’ll need to soak them overnight and cook them until tender first. Then, proceed with the recipe. It’s more time-consuming but can be very rewarding!
Why are my refried beans a bit bland?
This usually happens if you didn’t add enough salt or if you skipped the vinegar. The vinegar really does add a subtle tang that brightens everything up. Taste and adjust seasoning as needed before serving!
How do I reheat refried beans?
The best way is on the stovetop over low heat with a splash of water or broth to prevent them from drying out. You can also reheat them gently in the microwave, stirring halfway through.
What can I serve with these refried beans?
Oh, the possibilities are endless! They’re perfect with tacos, burritos, enchiladas, quesadillas, nachos, or as a side for grilled meats and eggs. They’re also fantastic topped with a dollop of sour cream, salsa, or cheese!

Easy Refried Beans
Equipment
- Skillet A 10-inch skillet is recommended.
- Potato Masher Or the back of a spoon.
- Airtight container For storing leftovers.
Ingredients
Main ingredients
- 1 tablespoon olive oil For sautéing.
- 0.25 cup onion Finely chopped.
- 2 cloves garlic Finely minced.
- 2 cans (15-ounces each) pinto beans Rinsed and drained.
- 0.5 cup water Start with this amount, add more as needed for desired consistency.
- 2 teaspoons white vinegar For brightness.
- 0.25 teaspoon salt To enhance flavors. Adjust to taste.
Instructions
- Warm the olive oil in a skillet over medium heat. Add the finely chopped onion and cook until soft and translucent, about 5 minutes.
- Add the minced garlic to the skillet and cook for about 1 minute more, stirring constantly, until fragrant.
- Add the rinsed and drained pinto beans, ½ cup water, white vinegar, and salt to the skillet.
- Stir everything together and bring to a gentle simmer. Reduce heat to low, cover, and cook for 10 minutes, stirring occasionally.
- Uncover the skillet and mash the beans with a potato masher or the back of a spoon until you reach your desired creamy consistency. Add more water, a tablespoon at a time, if the beans become too dry.

