Introduction
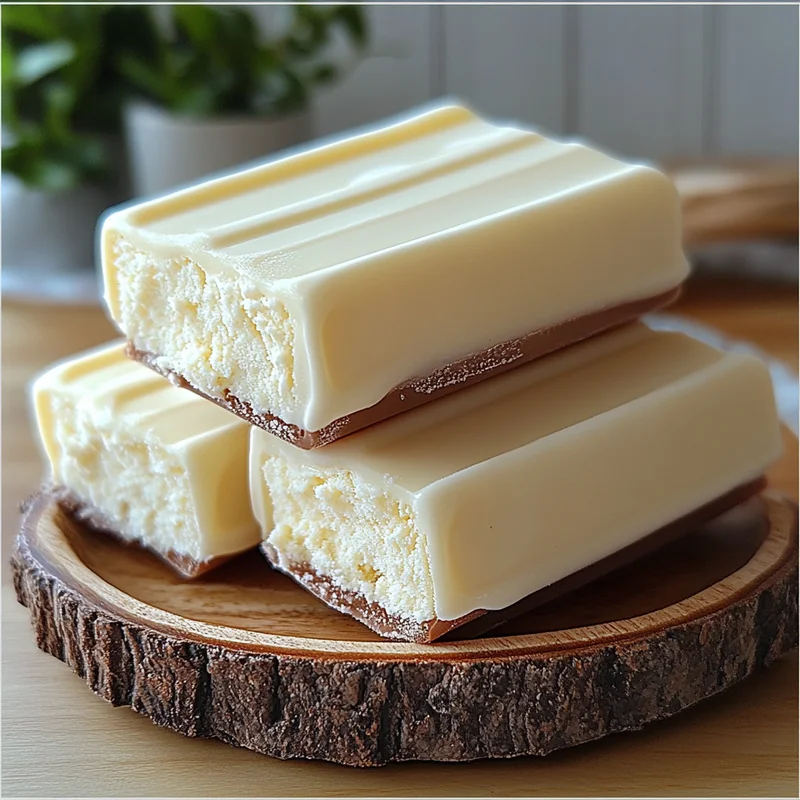
Remember the sound of the ice cream truck jingling down the street on a hot summer afternoon? There was nothing quite like tearing open that wrapper to reveal a frosty, creamy vanilla bar. Pure bliss! Well, what if I told you you could capture that nostalgic magic right in your own kitchen, with just a handful of simple ingredients?
These homemade vanilla ice cream bars are an absolute dream. They’re creamy, bursting with vanilla flavor, and surprisingly easy to whip up. Forget fancy equipment or complicated steps – this recipe is designed for ease and maximum deliciousness. Get ready to become everyone’s favorite person this summer!
Why You’ll Love This Recipe
- Fast (mostly waiting for freezing!)
- Easy (seriously, no complicated steps!)
- Giftable (package them up for friends!)
- Crowd-pleasing (who doesn’t love a classic ice cream bar?)
Ingredients
You probably have most of these pantry staples already! Here’s what you’ll need:
- 160g whipping heavy cream: This is what gives our bars that luxurious, creamy texture. Make sure it’s nice and cold!
- 200g milk: Just regular milk is fine, whole milk will give you a richer result if you have it.
- 35g milk powder: This little secret ingredient adds extra creaminess and body without adding more liquid.
- 15g sugar: Just enough sweetness to complement the vanilla without being overpowering.
- 10g condensed milk: Adds a lovely richness and smoothness to the base.
- 10g corn starch: Our thickening agent! It helps create a stable base that freezes beautifully without getting icy.
- 2g vanilla extract: The star of the show! Use a good quality extract for the best flavor.
How to Make It
Okay, let’s get cooking! Don’t worry, it’s much simpler than you think.
Here’s your step-by-step guide:
- First, grab a medium saucepan. Whisk together the milk powder and sugar with the corn starch until there are no lumps.
- Gradually whisk in the milk until everything is smooth.
- Place the saucepan over medium heat and whisk constantly. You’ll notice it start to thicken as it heats up, almost like a thin pudding. This should take about 5-7 minutes. Make sure it comes to a gentle simmer and thickens enough to coat the back of a spoon.
- Remove the pan from the heat immediately. Whisk in the condensed milk and vanilla extract until everything is well combined and smooth.
- Now, this is important! Pour this hot mixture into a separate bowl and let it cool down a bit at room temperature. Then, cover it with plastic wrap pressed directly onto the surface (this prevents a skin from forming) and pop it in the fridge. You want this base to be really cold, at least 4 hours, or ideally overnight. This step is crucial for preventing icy bars!
- Once your base is thoroughly chilled, it’s time for the magic! In a separate bowl, whip the cold heavy cream using an electric mixer (or by hand if you’re feeling ambitious!) until stiff peaks form. Be careful not to over-whip it into butter!
- Gently fold the cold vanilla base into the whipped cream. Use a spatula and fold with a light hand until just combined, trying not to deflate the whipped cream.
- Now, prepare your ice cream bar molds. If you don’t have specific molds, you can line a small square or rectangular pan with plastic wrap, leaving some overhang.
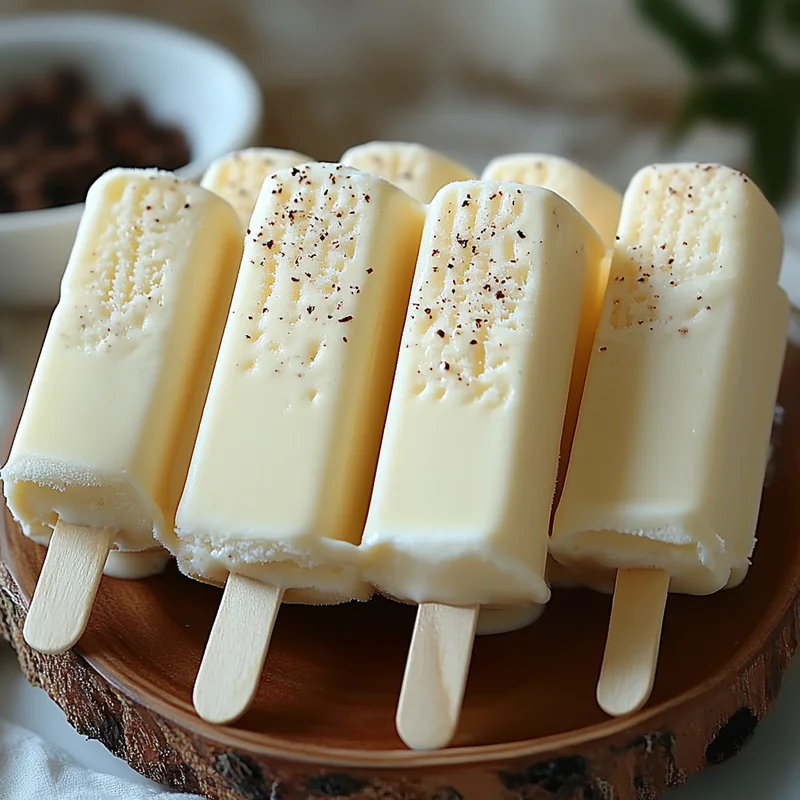
- Pour or spoon the mixture into your molds or prepared pan. Smooth the top. If using molds, you can insert sticks now.
- Place the molds or pan in the freezer. Freeze until completely solid. This will take at least 6-8 hours, or preferably overnight.
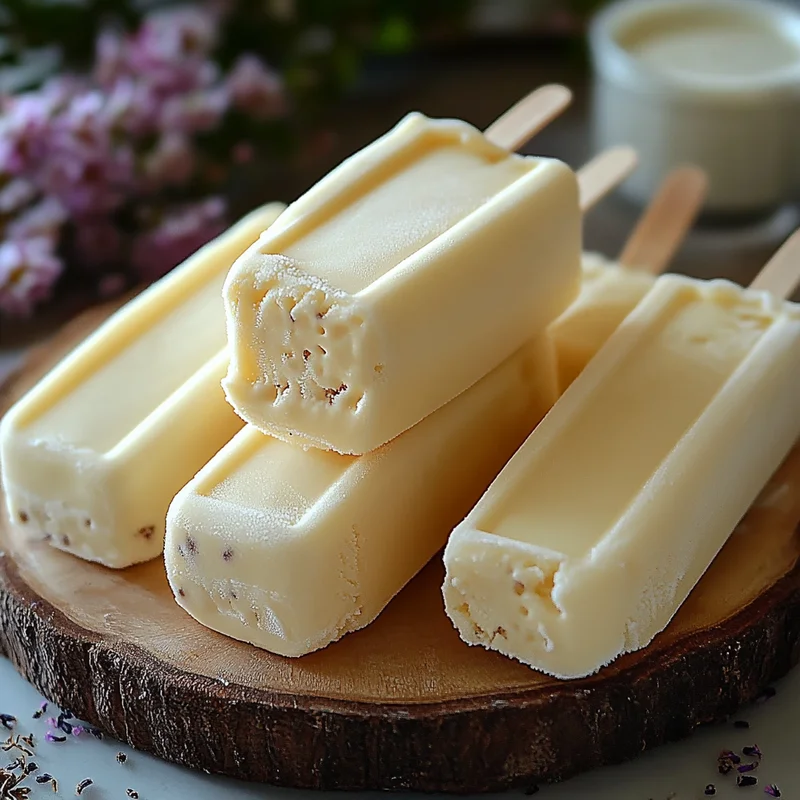
- Once frozen solid, carefully unmold the bars. If using a pan, lift the plastic wrap and cut the block into bar shapes.
- Enjoy your glorious homemade ice cream bars!
Substitutions & Additions
Want to get creative? Here are a few ideas:
- Different Extracts: Swap vanilla for almond extract, peppermint extract (delicious around the holidays!), or even a little coffee extract.
- Citrus Zest: Add the zest of half a lemon or orange to the base while it’s cooling for a bright, zesty flavor.
- Swirls: Before freezing, gently swirl in some caramel sauce, chocolate fudge sauce, or a berry puree.
- Chocolate Coating: Melt some chocolate chips (with a tiny bit of coconut oil for fluidity) and dip the frozen bars for that classic shell! Add sprinkles or chopped nuts before the chocolate sets.
- Nut Butter: Swirl in a little melted peanut butter or almond butter into the base before freezing.
Tips for Success
- Chill the Base Thoroughly: I cannot stress this enough! A cold base + cold whipped cream = the creamiest bars.
- Don’t Overmix: Be gentle when folding the base into the whipped cream to keep that airy texture.
- Freeze Until Solid: Patience is key! They need ample time in the freezer to firm up properly.
- Use Quality Vanilla: Since vanilla is the main flavor, a good quality extract makes a big difference.
How to Store It
Once your bars are frozen solid, you can store them! The best way is to wrap each bar individually in plastic wrap or parchment paper, then place them in a freezer-safe container or a zip-top bag. This prevents freezer burn and makes them easy to grab.
They’ll keep well in the freezer for up to 2-3 weeks, though I doubt they’ll last that long!
FAQs
Q: Can I make this without ice cream molds?
A: Absolutely! Just pour the mixture into a small pan lined with plastic wrap and cut into bars once frozen.
Q: My bars are a little icy. What went wrong?
A: The most common culprits are not chilling the base long enough, or the mixture wasn’t frozen completely solid. Make sure that base is fridge-cold!
Q: Can I double the recipe?
A: Yes, you can easily double all the ingredients. Just make sure you have a large enough saucepan and freezer space!
Q: Do I have to use milk powder?
A: While you technically can omit it, the milk powder really contributes to the smooth, creamy texture and helps prevent iciness. I highly recommend using it if you can!

Easy Homemade Vanilla Ice Cream Bars
Equipment
- Medium saucepan
- Whisk
- Separate bowl
- Plastic wrap
- Fridge
- Electric mixer Or by hand
- Spatula
- Ice cream bar molds Or small square/rectangular pan
- Freezer
Ingredients
Base
- 160 g Whipping heavy cream Nice and cold
- 200 g Milk Whole milk for richer result
- 35 g Milk powder
- 15 g Sugar
- 10 g Condensed milk
- 10 g Corn starch
- 2 g Vanilla extract Use good quality
Instructions
- Grab a medium saucepan. Whisk together the milk powder and sugar with the corn starch until there are no lumps.
- Gradually whisk in the milk until everything is smooth.
- Place the saucepan over medium heat and whisk constantly for about 5-7 minutes until it comes to a gentle simmer and thickens enough to coat the back of a spoon.
- Remove the pan from the heat. Whisk in the condensed milk and vanilla extract until everything is well combined and smooth.
- Pour the hot mixture into a separate bowl, cool at room temperature, then cover with plastic wrap pressed onto the surface and refrigerate until really cold (at least 4 hours, ideally overnight).
- Once the base is chilled, whip the cold heavy cream in a separate bowl until stiff peaks form.
- Gently fold the cold vanilla base into the whipped cream using a spatula until just combined.
- Prepare ice cream bar molds or line a small pan with plastic wrap.
- Pour or spoon the mixture into molds/pan, smooth the top, and insert sticks if using molds.
- Place in the freezer and freeze until completely solid (at least 6-8 hours, preferably overnight).
- Once frozen solid, carefully unmold the bars or lift the plastic wrap from the pan and cut the block into bar shapes.
- Enjoy!