Introduction
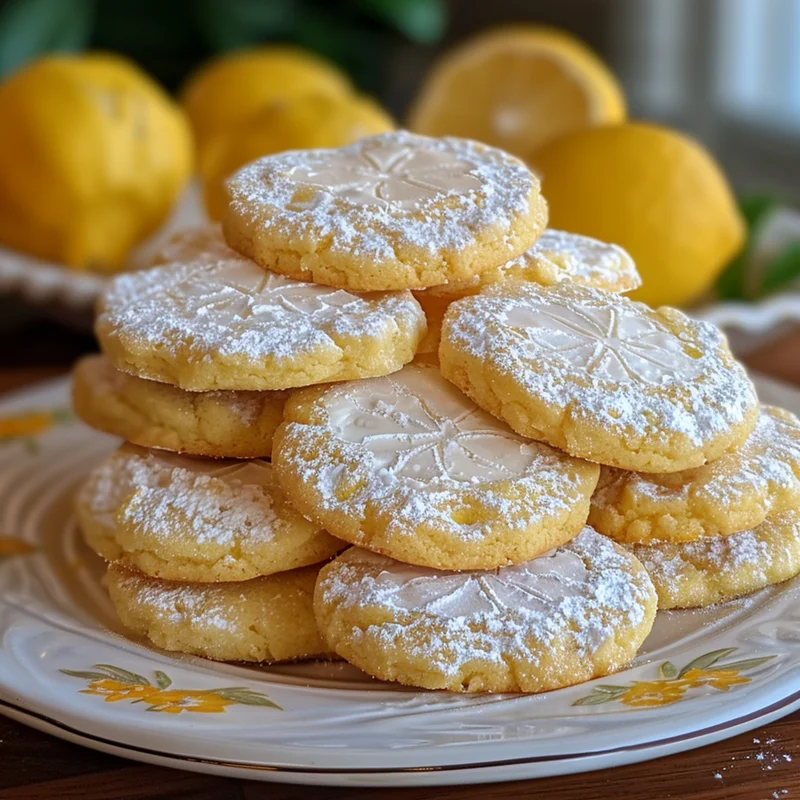
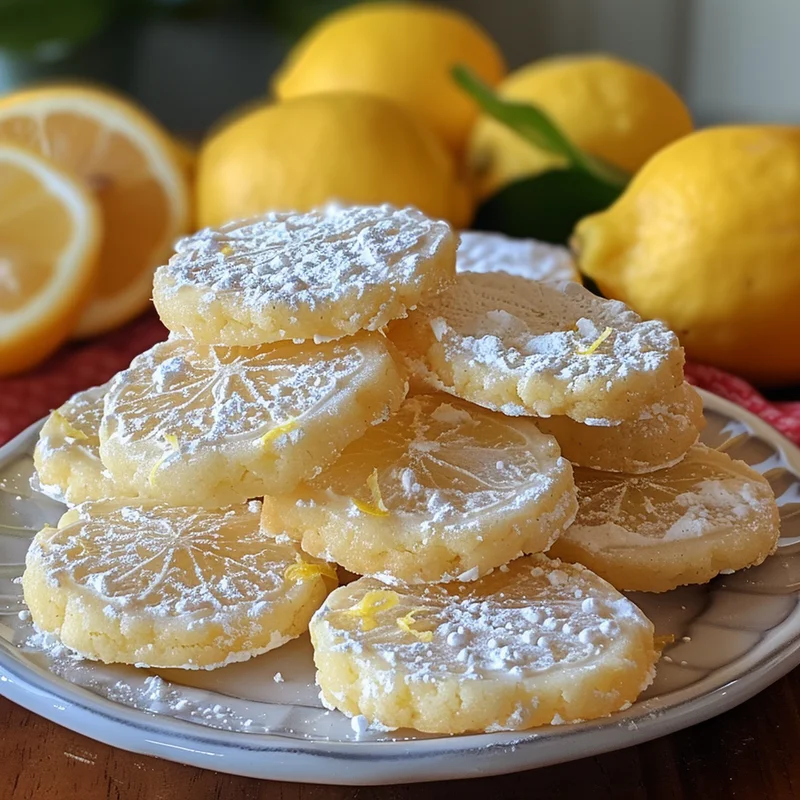
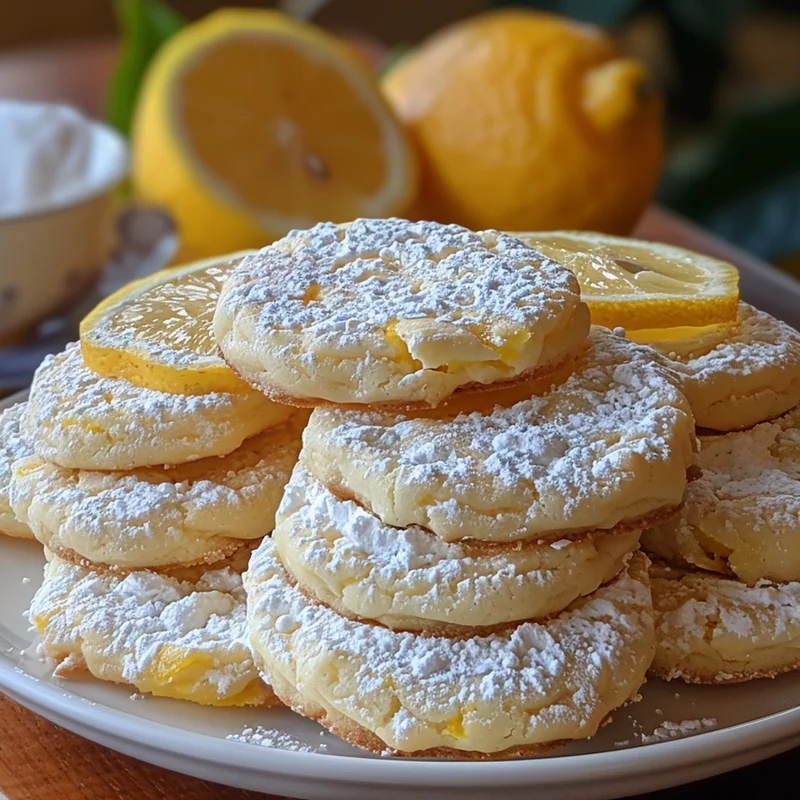
Oh, hello there, friend! Do you ever have those days when you just crave a little burst of sunshine, a taste of pure, unadulterated happiness? That’s exactly what these Lemon Cooler cookies bring to the table. They’re like little rays of sunshine you can pop right into your mouth! I remember the first time I made these; the aroma of fresh lemon filled my kitchen, and I knew I had stumbled upon a gem. They are so incredibly easy to whip up, making them perfect for those spontaneous baking urges or when you need a quick, delightful treat that everyone will adore.
Why You’ll Love This Recipe
- Fast: From start to finish, these cookies are surprisingly quick to make.
- Easy: No fancy techniques needed here – just simple mixing and rolling.
- Giftable: Packaged in a cute tin or bag, they make the most thoughtful homemade gifts.
- Crowd-pleasing: That perfect balance of sweet and tart means everyone will be asking for seconds (and thirds!).
Ingredients
Gathering your ingredients is half the fun, right? It’s like building your baking adventure! Here’s what you’ll need for these delightful Lemon Coolers:
- 1 ½ cups all-purpose flour: Your trusty baking staple.
- 2 tablespoons cornstarch: This is our secret weapon for extra tenderness!
- ¼ teaspoon salt: Just a pinch to balance out all that sweetness.
- ¼ teaspoon baking powder: For a little lift.
- ⅛ teaspoon baking soda: A touch more lift and that classic cookie texture.
- 10 tablespoons unsalted butter, room temperature: Make sure it’s nice and soft so it creams beautifully.
- ½ cup granulated sugar: For that essential sweetness.
- ¼ cup powdered sugar: Adds to the tender crumb and slight sweetness in the dough.
- Zest of 1 lemon: This is where all that bright lemon flavor comes from! Don’t skip zesting – it’s pure magic.
- 2 tablespoons lemon juice: Freshly squeezed is always best, if you can.
- 1 large egg yolk: For richness and binding.
- ½ teaspoon lemon extract: An extra punch of lemony goodness.
- For Coating Warm Cookies:
- 1 ½ cups powdered sugar: This will create that lovely, melt-in-your-mouth coating.
- 5 or 6 (0.8g) packages True Lemon crystals: These little packets are a game-changer for an intense, natural lemon flavor boost in the coating!
How to Make It
Alright, apron on, let’s get baking! This is the easy part.
- Mix the Dry Stuff: In a medium bowl, whisk together your flour, cornstarch, salt, baking powder, and baking soda. This ensures everything is evenly distributed, so no bite is too salty or too bland!
- Cream the Butter and Sugars: In a large bowl, grab your mixer (or a strong whisk and some arm power!) and cream together that softened butter, granulated sugar, and powdered sugar. You want it to get nice and light and fluffy – think creamy clouds.
- Add the Zippy Lemon Goodness: Now, stir in that gorgeous lemon zest, fresh lemon juice, the egg yolk, and the lemon extract. It’s starting to smell amazing already, isn’t it?
- Combine Wet and Dry: Gradually add your dry ingredients to the wet ingredients. Mix them in just until everything comes together into a lovely cookie dough. Don’t overmix, or your cookies might get tough!
- Chill Out Time: Cover your dough tightly and pop it in the refrigerator for at least 1 hour. This is important! It helps the dough firm up, making it super easy to handle and preventing the cookies from spreading too much in the oven.
- Preheat and Prep: When your dough is nicely chilled, preheat your oven to 350°F (175°C). While it’s heating up, line your baking sheets with parchment paper. This is my favorite trick for easy cleanup and perfect cookies that don’t stick.
- Roll into Balls: Take your chilled dough and roll it into little 1-inch balls. They look so cute and uniform when they’re all the same size.
- Bake Until Golden: Place your cookie balls onto the prepared baking sheets. Bake them for about 10-12 minutes, or until you see the edges are just starting to turn a lovely, light golden brown. Keep an eye on them; ovens can be a little finicky!
- The Magical Coating: This is where the real “cooler” magic happens! While your cookies are still warm (but not piping hot), grab a shallow dish. Combine the 1 ½ cups of powdered sugar with those True Lemon crystals. Give it a good whisk to mix them thoroughly.
- Coat ‘Em Up: Carefully, one by one, roll your warm cookies in that zesty sugar mixture until they are beautifully and evenly coated. The warmth of the cookie helps the coating adhere perfectly.
- Cool Down: Transfer the coated cookies to a wire rack to cool completely. This is the hardest part – waiting! But trust me, the texture and flavor are worth it.
Substitutions & Additions
Baking is all about making it your own! Here are a few ideas to jazz up your Lemon Coolers:
- For the Coating: If you don’t have True Lemon crystals, you can simply use all powdered sugar for the coating. Or, for an extra zing, add a little finely grated lemon zest directly into the powdered sugar.
- Add-ins: Feel free to mix in a tablespoon or two of finely chopped candied lemon peel into the dough for little chewy bursts of citrus.
- Different Citrus: While lemon is the star here, you could experiment with lime or even orange zest and juice for a different flavor profile!
- Glaze Alternative: Instead of rolling in powdered sugar, you could make a simple lemon glaze by mixing powdered sugar with a tablespoon or two of lemon juice and a tiny splash of milk or water, then drizzle it over the cooled cookies.
Tips for Success
A few little pointers from my kitchen to yours:
- Room Temperature Butter is Key: Seriously, don’t try to cream cold butter! It won’t get light and fluffy, and your texture will suffer. Let it sit out for about an hour or so.
- Don’t Overmix the Dough: Once you add the dry ingredients, mix only until they’re just incorporated. Overmixing develops the gluten in the flour, leading to tougher cookies.
- Chill Time is Crucial: Resist the urge to skip the chilling step. Cold dough is much easier to handle and results in better-shaped cookies.
- Watch the Baking Time: Ovens vary! Keep an eye on your cookies. You want them lightly golden, not deeply browned, for that delicate texture.
- Prep Ahead: You can make the cookie dough a day or two in advance and keep it chilled in the refrigerator. Just roll and bake when you’re ready! You can also bake the cookies completely, let them cool, and then roll them in the sugar mixture just before serving or gifting for the freshest coating.
How to Store It
Once your Lemon Coolers are completely cool, store them in an airtight container at room temperature. They’ll stay wonderfully fresh and delicious for about 3-4 days. If you happen to have any that long, that is! They tend to disappear pretty quickly around here.
FAQs
Got questions? I’ve got answers!
- Q: Can I make these cookies ahead of time?
A: Yes! You can make the dough up to 2 days in advance and keep it chilled. You can also bake the cookies and store them unfrosted for a day or two before rolling them in the coating. - Q: Why are my cookies spreading too much?
A: This usually happens if the butter was too soft, the dough wasn’t chilled enough, or if you overmixed the dough. Make sure your butter is just softened, chill the dough thoroughly, and mix gently! - Q: How do I get that perfectly craggy coating?
A: Rolling the cookies while they are still warm is key! The warmth helps the coating adhere and gives it that lovely slightly crinkled look as it settles.

Lemon Cooler Cookies
Equipment
- Medium bowl
- Large bowl
- Mixer or a strong whisk and some arm power
- Shallow dish
- Baking sheets
- Parchment paper
- Wire rack
Ingredients
Main ingredients
- 1.5 cups all-purpose flour Your trusty baking staple.
- 2 tablespoons cornstarch This is our secret weapon for extra tenderness!
- 0.25 teaspoon salt Just a pinch to balance out all that sweetness.
- 0.25 teaspoon baking powder For a little lift.
- 0.125 teaspoon baking soda A touch more lift and that classic cookie texture.
- 10 tablespoons unsalted butter room temperature, Make sure it’s nice and soft so it creams beautifully.
- 0.5 cup granulated sugar For that essential sweetness.
- 0.25 cup powdered sugar Adds to the tender crumb and slight sweetness in the dough.
- 1 large lemon zest This is where all that bright lemon flavor comes from! Don’t skip zesting – it’s pure magic.
- 2 tablespoons lemon juice Freshly squeezed is always best, if you can.
- 1 large egg yolk For richness and binding.
- 0.5 teaspoon lemon extract An extra punch of lemony goodness.
For Coating Warm Cookies
- 1.5 cups powdered sugar This will create that lovely, melt-in-your-mouth coating.
- 5.8 packages True Lemon crystals These little packets are a game-changer for an intense, natural lemon flavor boost in the coating!
Instructions
- Mix the Dry Stuff: In a medium bowl, whisk together your flour, cornstarch, salt, baking powder, and baking soda. This ensures everything is evenly distributed, so no bite is too salty or too bland!
- Cream the Butter and Sugars: In a large bowl, grab your mixer (or a strong whisk and some arm power!) and cream together that softened butter, granulated sugar, and powdered sugar. You want it to get nice and light and fluffy – think creamy clouds.
- Add the Zippy Lemon Goodness: Now, stir in that gorgeous lemon zest, fresh lemon juice, the egg yolk, and the lemon extract. It’s starting to smell amazing already, isn’t it?
- Combine Wet and Dry: Gradually add your dry ingredients to the wet ingredients. Mix them in just until everything comes together into a lovely cookie dough. Don’t overmix, or your cookies might get tough!
- Chill Out Time: Cover your dough tightly and pop it in the refrigerator for at least 1 hour. This is important! It helps the dough firm up, making it super easy to handle and preventing the cookies from spreading too much in the oven.
- Preheat and Prep: When your dough is nicely chilled, preheat your oven to 350°F (175°C). While it’s heating up, line your baking sheets with parchment paper. This is my favorite trick for easy cleanup and perfect cookies that don’t stick.
- Roll into Balls: Take your chilled dough and roll it into little 1-inch balls. They look so cute and uniform when they’re all the same size.
- Bake Until Golden: Place your cookie balls onto the prepared baking sheets. Bake them for about 10-12 minutes, or until you see the edges are just starting to turn a lovely, light golden brown. Keep an eye on them; ovens can be a little finicky!
- The Magical Coating: This is where the real "cooler" magic happens! While your cookies are still warm (but not piping hot), grab a shallow dish. Combine the 1 ½ cups of powdered sugar with those True Lemon crystals. Give it a good whisk to mix them thoroughly.
- Coat 'Em Up: Carefully, one by one, roll your warm cookies in that zesty sugar mixture until they are beautifully and evenly coated. The warmth of the cookie helps the coating adhere perfectly.
- Cool Down: Transfer the coated cookies to a wire rack to cool completely. This is the hardest part – waiting! But trust me, the texture and flavor are worth it.