Introduction
Oh, hello there, friend! Can you smell that? That warm, spicy, hug-in-a-bite scent that just screams “fall”? That’s the magic of pumpkin, and today, we’re bottling it up into the most adorable and delicious little packages: Pumpkin Hand Pies! I remember the first time I made these, and it was pure joy. They’re so incredibly easy to whip up, making them perfect for those crisp autumn afternoons when you just want something sweet and comforting without a fuss. Get ready to impress yourself (and anyone lucky enough to share these with you)!
Why You’ll Love This Recipe
- Fast: Seriously, from pantry to oven in no time!
- Easy: We’re using store-bought crusts, so no fancy pastry skills needed.
- Giftable: Pop these into cute little bags for a thoughtful homemade present.
- Crowd-pleasing: Everyone, and I mean everyone, will adore these portable pumpkin delights.
Ingredients
Let’s gather our goodies! I love how simple these ingredients are, and you probably have most of them lurking in your kitchen already:
- 2 refrigerated pie crusts: The store-bought kind is a lifesaver and works beautifully here. Just one standard 2-count package is all you need!
- 1 cup pumpkin puree: Make sure you grab the pure pumpkin puree, not the pre-seasoned pumpkin pie filling. It’s the key to that authentic pumpkin flavor!
- ⅓ cup brown sugar, packed: This gives our filling that lovely sweetness and a hint of caramel. Packing it ensures you get the right amount of sweetness.
- 2 tablespoons heavy cream: A little bit of cream makes the filling wonderfully smooth and rich.
- 1 ½ teaspoons pumpkin pie spice, divided: This magical blend is your shortcut to that quintessential fall flavor. We’ll use some in the filling and some for that delightful topping.
- ¼ teaspoon kosher salt: Salt might seem odd in a sweet recipe, but trust me, it balances everything out and makes the flavors sing.
For that irresistible golden topping:
- 1 egg: Our “egg wash” will give these pies a beautiful, shiny, golden-brown crust.
- 1 teaspoon water: This helps thin out the egg wash so it brushes on smoothly.
- 2 tablespoons coarse sanding sugar (turbinado sugar or baking sugar, optional): This is the secret to that lovely sparkle and crunch. If you don’t have it, don’t worry, they’ll still be delicious!
- ½ teaspoon pumpkin pie spice: To amp up that cozy spice on top!
How to Make It
Alright, let’s get our hands a little floury and make some magic happen!
- Preheat and Prep: First things first, get your oven preheated to a nice toasty 400°F (200°C). Line a couple of baking sheets with parchment paper. This makes cleanup a breeze and prevents any sticking.
- Whip Up the Filling: Grab a medium bowl. Pour in your pumpkin puree, that packed brown sugar, the heavy cream, 1 teaspoon of your pumpkin pie spice, and that pinch of kosher salt. Give it a good stir until everything is wonderfully combined and smells like autumn.
- Roll and Cut: Unroll those convenient pie crusts. Using a 5-inch round cutter (or a bowl that’s about that size), cut out 4 circles from each crust. This will give you a grand total of 8 lovely circles, ready for their delicious filling.
- Fill ‘Em Up: Lightly flour a clean surface. Place 4 of your pie crust circles down. Now, spoon about 2 tablespoons of that luscious pumpkin filling right into the center of each one. Make sure to leave about a half-inch border – that’s our “glue” space!
- Egg Wash Time: In a tiny bowl, whisk together your egg and the teaspoon of water. This is your magic egg wash! Brush this gently around the edges of the pie crusts you just filled.
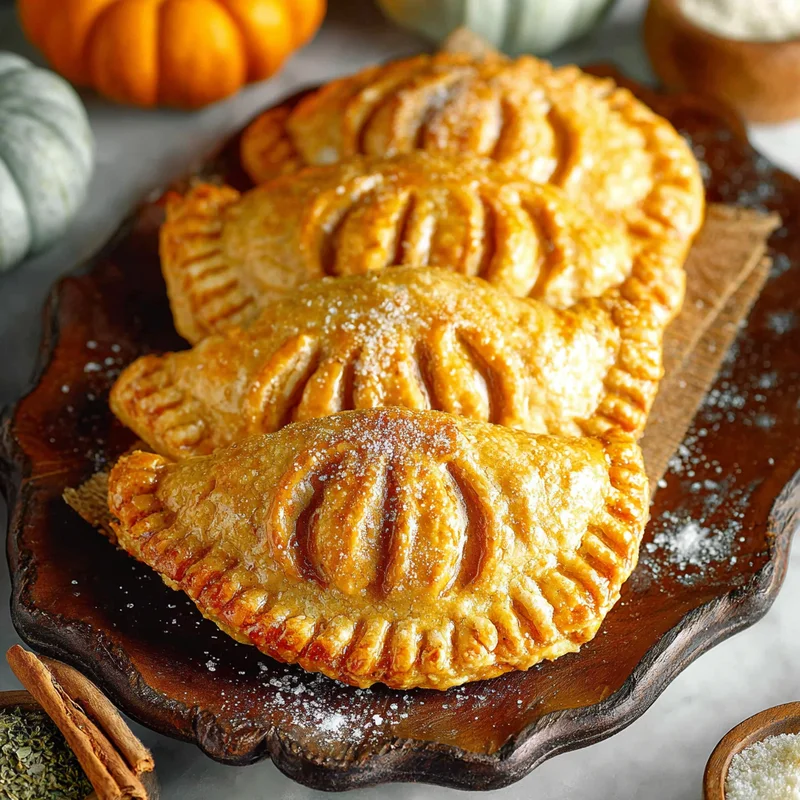
- Seal the Deal: Take those remaining 4 pie crust circles and place them right on top of the filling. Now, press those edges together firmly with your fingers. You can also use a fork to crimp them decoratively – it looks so pretty!
- Vent the Steam: To prevent any explosions in the oven, carefully cut a few small slits on the top of each hand pie. This lets the steam escape.
- On the Tray: Carefully place your little hand pies onto those prepared baking sheets. Now, brush the tops with the remaining egg wash.
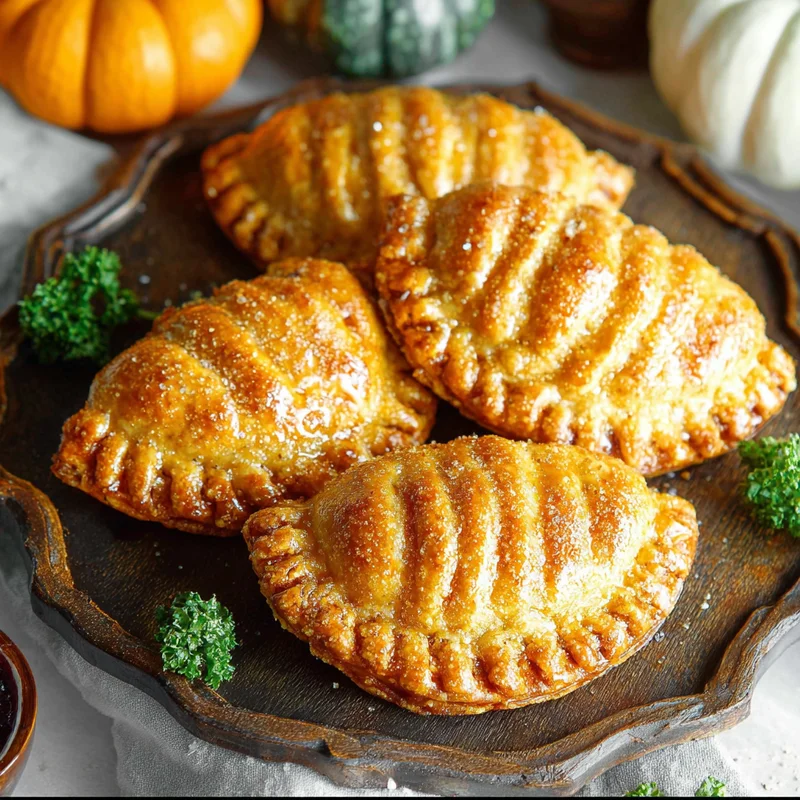
- Sugar & Spice Topping: In another small bowl, mix together your coarse sanding sugar (if you’re using it!) and that last ½ teaspoon of pumpkin pie spice. Sprinkle this glorious mixture evenly over the tops of your hand pies. Get ready for that extra sparkle and flavor!
- Bake to Perfection: Pop those baking sheets into your preheated oven. Bake for about 18-22 minutes, or until the crust is a beautiful golden brown and the filling looks set and not jiggly.
- Cool Down: Let the hand pies cool on the baking sheets for a few minutes. This helps them firm up. Then, carefully transfer them to a wire rack to cool completely. Patience is a virtue, but oh-so-worth-it!
Substitutions & Additions
Feeling a little adventurous? You can totally customize these little beauties! Here are a few ideas:
- Spices: If you don’t have pumpkin pie spice, no worries! Mix together cinnamon, ginger, nutmeg, and a tiny pinch of cloves.
- Sweetener: You could swap out some of the brown sugar for maple syrup for a different kind of sweetness.
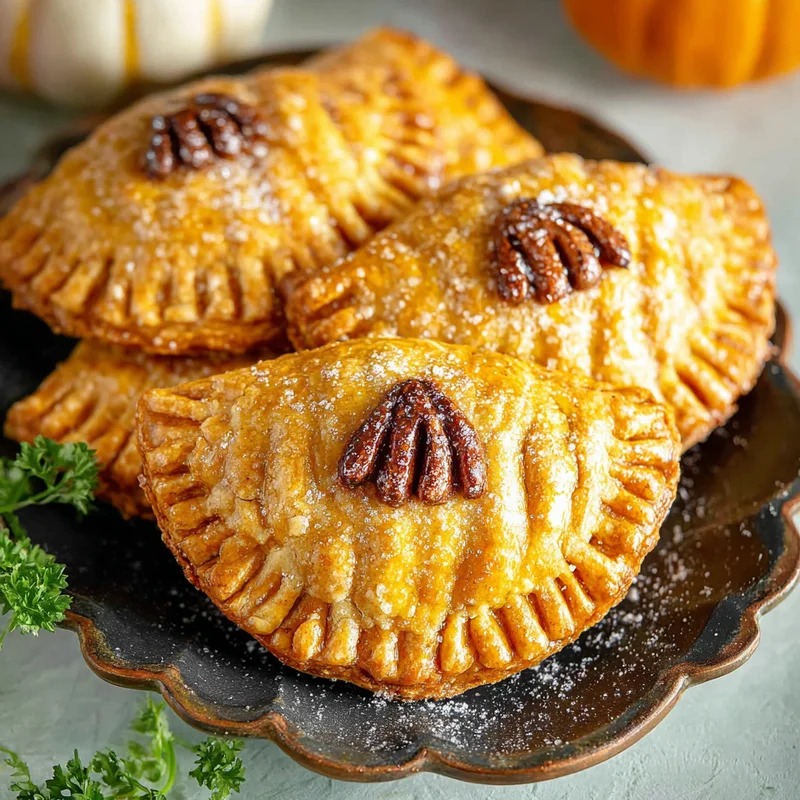
- Add-ins: Want a little texture? Stir in a tablespoon or two of chopped pecans or walnuts into the pumpkin filling.
- Glaze: For an extra touch of sweetness, you could make a simple powdered sugar glaze (powdered sugar + a little milk or water) to drizzle over the cooled pies.
Tips for Success
A few little pointers to make sure your hand pies turn out perfectly every time:
- Don’t Overfill: Be careful not to overstuff the pies. Too much filling can make them harder to seal and might leak out.
- Seal Those Edges: A good seal is key to keeping all that yummy pumpkin goodness inside. Don’t be shy with the egg wash on the edges, and press those seams firmly!
- Prep Ahead: You can make the pumpkin filling a day in advance and store it in the refrigerator. Just assemble and bake when you’re ready!
- Crust Cooling: If your pie crusts feel a little warm and sticky when you’re cutting them, pop them back into the fridge for a few minutes. This makes them easier to handle.
How to Store It
Once your delightful pumpkin hand pies have cooled completely, you can store them in an airtight container. They’ll keep nicely at room temperature for about 2-3 days. If you want them to last a bit longer, pop them in the refrigerator for up to a week. You can also freeze them! Once cooled, wrap them individually in plastic wrap and then place them in a freezer bag. They should be good in the freezer for up to 3 months. Just thaw them at room temperature or gently reheat them in the oven.
FAQs
Got questions? I’ve got answers!
Q: Can I use homemade pie crust?
A: Absolutely! If you have a favorite homemade pie crust recipe, feel free to use it. Just make sure you have enough for two crusts.
Q: My pies leaked a little. What did I do wrong?
A: This usually happens if the edges weren’t sealed well enough, or if the pies were overfilled. Make sure to press those edges firmly and don’t overstuff the filling next time!
Q: Can I make these without the egg wash and sugar topping?
A: Yes, you can! They won’t have that signature golden sheen or crunch, but they will still be delicious. You can skip the egg wash and just bake them as is, or sprinkle them with a little plain sugar before baking.
Q: What can I serve with these pumpkin hand pies?
A: They’re perfect on their own, but a dollop of whipped cream or a scoop of vanilla ice cream makes them even more special, especially if you’re serving them warm!
Golden, Cozy Pumpkin Hand Pies
Equipment
- Baking sheets lined with parchment paper
- Medium bowl
- Tiny bowl for egg wash
- Small bowl for sugar topping
- 5-inch round cutter or a bowl of similar size
- Fork optional, for crimping edges
- Wire rack
Ingredients
For the Filling
- 2 refrigerated pie crusts refrigerated pie crusts store-bought kind, 1 standard 2-count package
- 1 cup pumpkin puree pure pumpkin puree, not pie filling
- 0.333 cup brown sugar packed
- 2 tablespoons heavy cream
- 1.5 teaspoons pumpkin pie spice divided
- 0.25 teaspoon kosher salt
For the Topping
- 1 egg
- 1 teaspoon water for egg wash
- 2 tablespoons coarse sanding sugar turbinado sugar or baking sugar, optional
- 0.5 teaspoon pumpkin pie spice for topping
Instructions
- Preheat oven to 400°F (200°C). Line baking sheets with parchment paper.
- In a medium bowl, combine pumpkin puree, brown sugar, heavy cream, 1 teaspoon pumpkin pie spice, and kosher salt. Stir until well combined.2 refrigerated pie crusts refrigerated pie crusts
- Unroll pie crusts. Cut out 8 circles using a 5-inch round cutter or bowl.2 refrigerated pie crusts refrigerated pie crusts
- Place 4 pie crust circles on a lightly floured surface. Spoon about 2 tablespoons of filling into the center of each, leaving a half-inch border.2 refrigerated pie crusts refrigerated pie crusts
- In a tiny bowl, whisk together egg and water for the egg wash. Brush edges of the filled pie crusts with egg wash.2 refrigerated pie crusts refrigerated pie crusts
- Place the remaining 4 pie crust circles on top. Press edges firmly to seal, and crimp with a fork if desired.2 refrigerated pie crusts refrigerated pie crusts
- Cut small slits on the top of each hand pie to vent steam.
- Place hand pies on prepared baking sheets. Brush the tops with remaining egg wash.2 refrigerated pie crusts refrigerated pie crusts
- In a small bowl, mix coarse sanding sugar (if using) and the remaining ½ teaspoon pumpkin pie spice. Sprinkle over the tops of the pies.2 refrigerated pie crusts refrigerated pie crusts
- Bake for 18-22 minutes, or until the crust is golden brown and the filling is set.
- Let hand pies cool on baking sheets for a few minutes, then transfer to a wire rack to cool completely.