Introduction
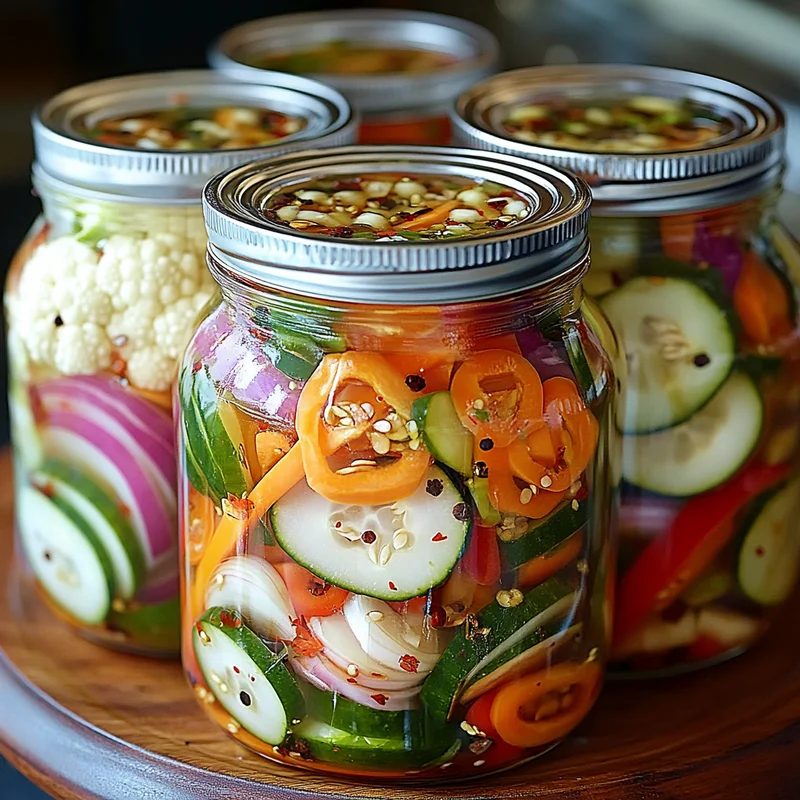
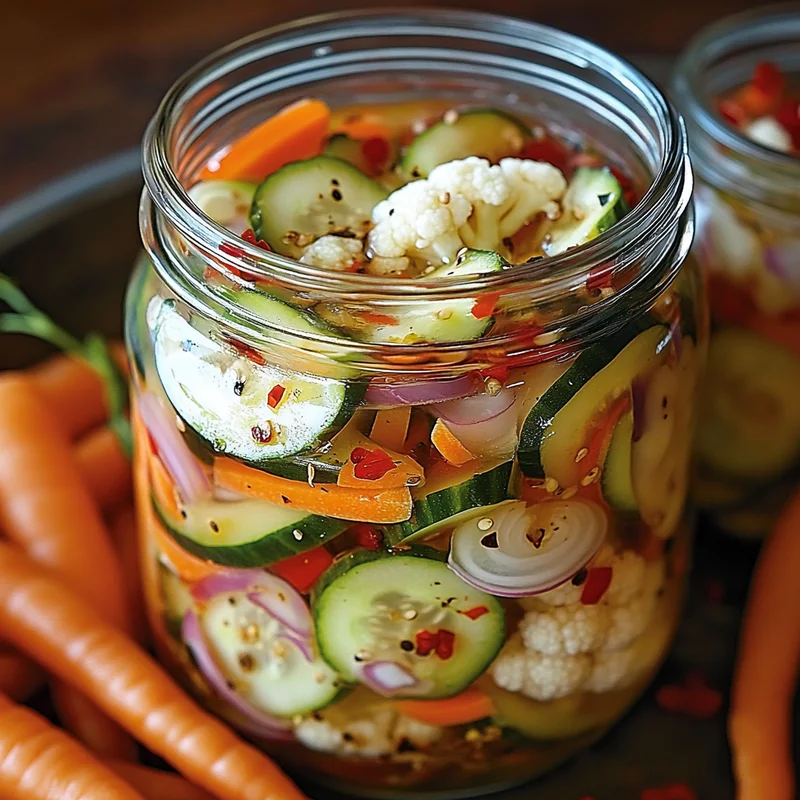
Hey there, friend! Do you ever find yourself with a fridge full of beautiful veggies, maybe just a few lonely carrots, a half-used bell pepper, or some green beans that are looking a little sad? Before you even think about letting them go to waste, let me introduce you to my absolute favorite way to give them a delicious second life: Easy Refrigerator Pickled Vegetables! Trust me, once you make a batch of these, you’ll be finding excuses to pickle everything. It’s like magic in a jar – transforming simple produce into vibrant, tangy, crunchy bites that are perfect for snacking, topping salads, or adding a pop of flavor to just about anything. Forget complicated canning; this is the quick, no-fuss method that anyone can master. Get ready to fall in love with pickling!
Why You’ll Love This Recipe
- Fast: We’re talking minimal prep and just a quick boil for the brine. The hardest part is waiting for them to chill!
- Easy: No fancy equipment or complicated techniques needed. If you can chop a vegetable and boil water, you can make these.
- Giftable: Jarred pickles tied with a ribbon? Adorable AND delicious! Perfect for hostess gifts or just making someone smile.
- Crowd-pleasing: Seriously, who doesn’t love a tangy, crunchy bite? These disappear fast at parties or potlucks.
Ingredients
Gather ’round! Here’s what you’ll need to whip up a batch of these delightful pickled veggies. Don’t worry too much about exact amounts for the veggies; this is super flexible!
- 1 cup Carrots: Cut into sticks, coins, or crinkle-cut slices. They add a lovely sweetness and crunch.
- 2 cups Cauliflower florets: Break them down into bite-sized pieces. They soak up the brine beautifully.
- 1 cup Cucumbers: Sliced or cut into spears. Use firm cucumbers like Kirby or English for the best crunch.
- 3 cloves Garlic: Just lightly smashed or sliced. Garlic adds such a wonderful savory depth.
- 1 cup Green beans: Trimmed. They stay surprisingly crisp!
- 1 Red bell pepper: Sliced or cut into strips. Adds color and a mild, sweet flavor.
- 2 tsp Mustard seeds: A classic pickling spice that adds a subtle tang.
- 1 tsp Black peppercorns: For a little warmth and bite.
- 1/2 tsp Red pepper flakes: Adjust this to your spice preference! Leave them out for no heat, or add more for a fiery kick.
- 2 tbsp Salt: I use kosher salt, but non-iodized table salt works too. This is crucial for flavor and texture.
- 1 tbsp Sugar: Balances out the acidity of the vinegar. Don’t skip it!
- 2 cups White vinegar: Your basic distilled white vinegar is perfect here.
- 2 cups Water: To dilute the vinegar and create the brine.
How to Make It
Okay, let’s get pickling! It’s truly as easy as prepping, brining, and chilling.
- Prep Your Veggies: Start by washing and chopping all your beautiful vegetables. Aim for pieces that are roughly similar in size so they pickle evenly, and small enough to fit nicely into your jars. Think bite-sized florets, strips, or sticks.
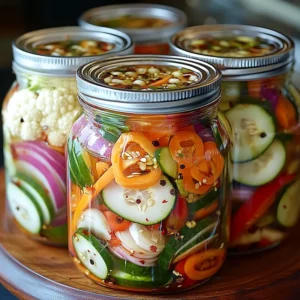
- Pack the Jars: Grab some clean jars (pint or quart jars work great). Tightly pack the chopped vegetables into the jars. Don’t be afraid to really get them in there, but leave about a half-inch of space at the top. Distribute the garlic cloves and spices (mustard seeds, peppercorns, red pepper flakes) among the jars as you pack the veggies.
- Make the Brine: In a medium saucepan, combine the white vinegar, water, salt, and sugar. Stir everything together.
- Boil the Brine: Bring the mixture to a rolling boil over medium-high heat, stirring occasionally to make sure the salt and sugar dissolve completely. Let it boil for just about a minute.
- Pour the Brine: Carefully pour the hot brine over the vegetables in the jars, making sure the veggies are completely submerged. Tap the jars gently on the counter to release any air bubbles. Leave a little headspace at the top.
- Seal and Cool: Wipe the rims of the jars clean with a damp cloth. Place the lids on tightly. Let the jars sit at room temperature until they’ve cooled down significantly, about an hour or so.
- Chill Out: Once cool, pop those jars into the refrigerator. This is where the magic really happens! They need at least 24 hours (but ideally 48 hours or more) in the fridge for the flavors to meld and the veggies to get properly pickled and crunchy.
Substitutions & Additions
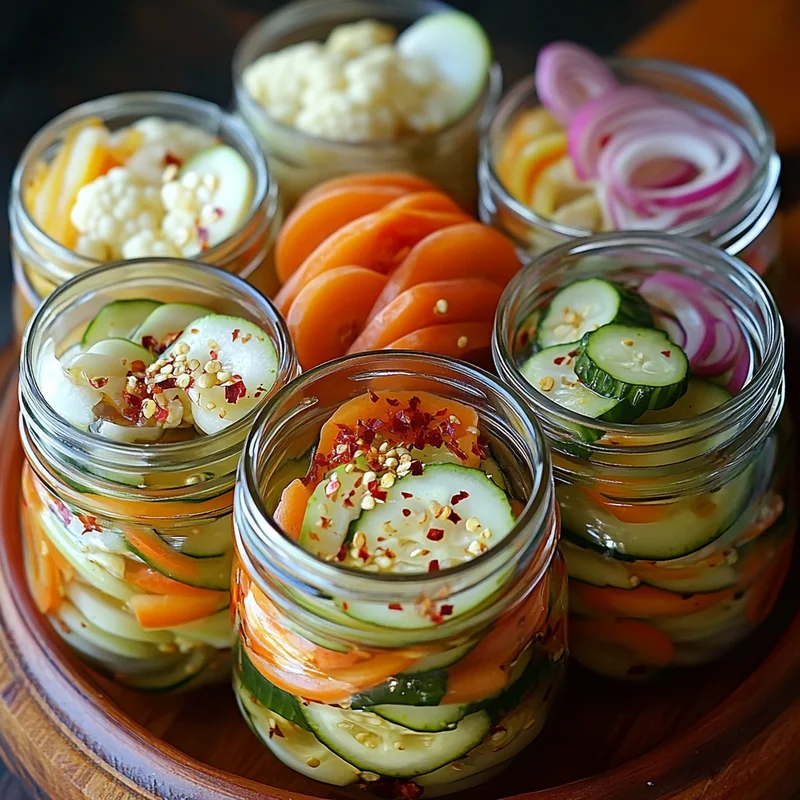
The beauty of refrigerator pickles? You can customize them endlessly! Here are a few ideas:
- Different Veggies: Try pickling sliced onions, jalapeños (hello, spicy!), radishes, asparagus spears, broccoli florets, or even cherry tomatoes. Feel free to mix and match whatever you have on hand!
- Herb Power: Add fresh dill sprigs, bay leaves, sprigs of thyme, or even a little rosemary to the jars for extra flavor.
- Spice It Up (More!): Cumin seeds, coriander seeds, or a pinch of celery seed can add different dimensions to your brine.
- Vinegar Swap: For a slightly different flavor, try swapping some of the white vinegar for apple cider vinegar, rice vinegar, or even white wine vinegar. Keep the total amount of vinegar and water the same.
- Sweetness Level: You can slightly adjust the amount of sugar to make the brine a little sweeter or more tangy, depending on your preference.
Tips for Success
Making refrigerator pickles is pretty foolproof, but here are a couple of pointers to ensure pickling perfection every time:
- Fresh Veggies are Key: Start with firm, fresh vegetables. Limp or old produce won’t crisp up nicely in the brine.
- Pack Tightly, But Don’t Bruise: Get as many veggies as you can into the jar, but don’t mash them so hard that you damage them.
- Brine Coverage is Crucial: Make sure the hot brine completely covers all the vegetables. Any pieces sticking out won’t pickle properly.
- Be Patient: I know it’s hard to wait, but giving the pickles at least 24-48 hours in the fridge really develops their flavor and texture. They just get better with time!
- Clean Jars: While these aren’t shelf-stable, starting with clean jars is always a good practice.
How to Store It
Since these are refrigerator pickles, you guessed it – they live in the fridge! Keep the jars sealed tightly and stored in your refrigerator. They will stay crisp and delicious for several weeks, usually up to 2-3 months, though honestly, they rarely last that long in my house!
FAQs
Got questions? I’ve got answers!
- How long do they need to chill before eating? While you can sneak a bite after 24 hours, I highly recommend waiting at least 48 hours for the best flavor and texture.
- Do I have to use all the vegetables listed? Absolutely not! This is a flexible recipe. Use whatever combination of crunchy veggies you like.
- Can I reuse the brine? No, it’s best to make a fresh batch of brine each time you pickle vegetables. The flavors from the vegetables steep into the brine, and its potency decreases over time.
- Are these safe for long-term storage outside the fridge? Nope! This is a quick pickle method and requires refrigeration. It’s not the same as traditional canning, which creates a shelf-stable product.
Easy Refrigerator Pickled Vegetables
Equipment
- Jar(s) Pint or quart jars work great
- Medium saucepan
Ingredients
Vegetables & Spices
- 1 cup Carrots Cut into sticks, coins, or crinkle-cut slices
- 2 cups Cauliflower florets Break down into bite-sized pieces
- 1 cup Cucumbers Sliced or cut into spears. Use firm cucumbers like Kirby or English
- 3 cloves Garlic Lightly smashed or sliced
- 1 cup Green beans Trimmed
- 1 Red bell pepper Sliced or cut into strips
- 2 tsp Mustard seeds
- 1 tsp Black peppercorns
- 0.5 tsp Red pepper flakes Adjust this to your spice preference!
Brine
- 2 tbsp Salt Kosher or non-iodized table salt
- 1 tbsp Sugar
- 2 cups White vinegar Basic distilled white vinegar
- 2 cups Water
Instructions
- Prep Your Veggies: Start by washing and chopping all your beautiful vegetables. Aim for pieces that are roughly similar in size so they pickle evenly, and small enough to fit nicely into your jars. Think bite-sized florets, strips, or sticks.
- Pack the Jars: Grab some clean jars (pint or quart jars work great). Tightly pack the chopped vegetables into the jars. Don't be afraid to really get them in there, but leave about a half-inch of space at the top. Distribute the garlic cloves and spices (mustard seeds, peppercorns, red pepper flakes) among the jars as you pack the veggies.
- Make the Brine: In a medium saucepan, combine the white vinegar, water, salt, and sugar. Stir everything together.
- Boil the Brine: Bring the mixture to a rolling boil over medium-high heat, stirring occasionally to make sure the salt and sugar dissolve completely. Let it boil for just about a minute.
- Pour the Brine: Carefully pour the hot brine over the vegetables in the jars, making sure the veggies are completely submerged. Tap the jars gently on the counter to release any air bubbles. Leave a little headspace at the top.
- Seal and Cool: Wipe the rims of the jars clean with a damp cloth. Place the lids on tightly. Let the jars sit at room temperature until they've cooled down significantly, about an hour or so.
- Chill Out: Once cool, pop those jars into the refrigerator. This is where the magic really happens! They need at least 24 hours (but ideally 48 hours or more) in the fridge for the flavors to meld and the veggies to get properly pickled and crunchy.