Introduction
Oh, friends, there are some recipes that just feel like a warm hug, aren’t there? This Roasted Garlic Hummus is one of those recipes for me. It takes me back to casual get-togethers, cozy movie nights, and the simple joy of dipping a warm pita into something utterly delicious. And the best part? It’s shockingly easy to make, you can whip it up in no time, and it’s seriously addictive!
Why You’ll Love This Recipe
- Fast: With just a little oven time, this comes together super quickly.
- Easy: Seriously, if you can turn on your oven and use a food processor, you’ve got this!
- Giftable: Package it up in a pretty jar with some veggies and crackers, and you’ve got an instant, thoughtful homemade gift.
- Crowd-pleasing: Who doesn’t love a good dip? This roasted garlic version is a guaranteed hit with everyone.
Ingredients
Gather these simple goodies, and let’s get cooking!
- 2 heads garlic: Don’t be scared of all that garlic! Roasting it mellows it out into something sweet and nutty.
- 1 teaspoon olive oil: Just a little drizzle to get our garlic roasting beautifully.
- 30 ounces canned chickpeas, drained, rinsed, skins removed: Yep, the canned stuff is perfectly fine! Taking a few extra minutes to slip off the skins makes a world of difference in creaminess.
- ¼ cup tahini: This is the magic ingredient that gives hummus its signature rich, smooth texture.
- 3 tablespoons lemon juice: For that bright, zesty punch that cuts through the richness.
- 2 tablespoons olive oil: More good quality olive oil for that extra smooth finish.
- ½ teaspoon salt: To bring all those flavors together.
- ¼ teaspoon cumin: A warm, earthy spice that’s a classic in hummus.
- ¼ teaspoon cayenne pepper: For just a tiny little kick. You can adjust this to your liking!
- ¼ cup water: We’ll use this to get our hummus perfectly creamy.
How to Make It
Alright, let’s get our hands (or rather, our food processor’s hands!) dirty. It’s truly as simple as this:
- Preheat your oven: Crank that oven up to 400°F (200°C). We want it nice and toasty for our garlic.
- Prep the garlic: Take those two heads of garlic and carefully slice off the very top ¼ inch – just enough to expose those tasty cloves. Pop each head onto a little square of aluminum foil. Drizzle them with a total of ½ teaspoon of olive oil.
- Roast ’em up: Wrap those foil packets up nice and snug. Pop them into the preheated oven and let them roast for about 30-40 minutes. You’re looking for them to be super soft and the cloves to be beautifully caramelized.
- Cool and squeeze: Once they’re done, let the garlic cool down just enough so you can handle it. Then, gently squeeze those soft, roasted cloves right out of their skins and into your food processor. It’s kind of fun, like little garlic toothpaste tubes!
- Add the rest: Now, toss in your drained and rinsed chickpeas (remember to slip off those skins if you can!), tahini, fresh lemon juice, that other 2 tablespoons of olive oil, salt, cumin, and that little pinch of cayenne pepper.
- Blend away: Turn on your food processor and let it do its thing! You’ll want to scrape down the sides a few times to make sure everything is getting nicely incorporated.
- Achieve creamy perfection: With the food processor still running, slowly stream in the ¼ cup of water. Add it a little at a time until your hummus is exactly how you like it – super smooth and creamy!
- Serve and enjoy: Scoop that glorious hummus into your favorite serving bowl. A little swirl on top with some extra olive oil and a sprinkle of paprika or sumac is always a lovely touch!
Substitutions & Additions
Feeling adventurous? This recipe is a fantastic canvas for your creativity!
- No Tahini? If you don’t have tahini on hand, you can try using a tablespoon or two of plain yogurt or even a touch of cashew butter for a different kind of creaminess. The flavor will be different, but still tasty!
- Spice it up: Love a little heat? Increase the cayenne pepper or add a pinch of red pepper flakes for more of a kick.
- Herbs and Spices: Throw in some fresh parsley, cilantro, or a pinch of smoked paprika for an extra layer of flavor.
- Make it a meal: Top your hummus with some crumbled feta, chopped Kalamata olives, roasted red peppers, or a drizzle of your favorite hot sauce.
Tips for Success
A few little tricks to make your hummus absolutely perfect every time:
- Slipping the skins: While it can be a bit tedious, removing the skins from the chickpeas really does make a difference in the final texture. It leads to a much smoother, less gritty hummus. A quick tip is to rub them gently between your fingers or between two clean kitchen towels.
- Don’t skip the roasting: Roasting the garlic is key to that deep, sweet, mellow flavor. Don’t try to use raw garlic unless you really love a super pungent bite!
- Adjust consistency: The water is your best friend for achieving the perfect creaminess. Add it slowly until you hit your desired texture. Some people like it thicker, some like it looser.
- Prep ahead: You can roast the garlic a day or two in advance and store it in an airtight container in the fridge. Just bring it to room temperature before you make your hummus.
How to Store It
This deliciousness won’t last long, but when it does:
- Store your homemade hummus in an airtight container in the refrigerator.
- It should stay fresh and delicious for about 3-4 days.
- If it thickens up a bit in the fridge, just give it a good stir or add a tiny splash of water to loosen it up before serving.
FAQs
Got questions? I’ve got answers!
Q: Can I make this hummus without a food processor?
A: While a food processor makes it super easy and smooth, you could technically make it in a high-powered blender or even mash it by hand with a fork or potato masher if you don’t mind a more rustic texture. It will just take more effort!
Q: How long does the roasted garlic last?
A: Roasted garlic cloves can be stored in an airtight container in the refrigerator for up to 3 days. Make sure they’ve cooled completely before storing.
Q: Why is my hummus a little bitter?
A: This is often due to using raw garlic or not roasting it long enough. Roasting sweetens the garlic and mellows out any bitterness. Also, ensure you’re using good quality tahini; sometimes, a bitter tahini can affect the overall flavor.
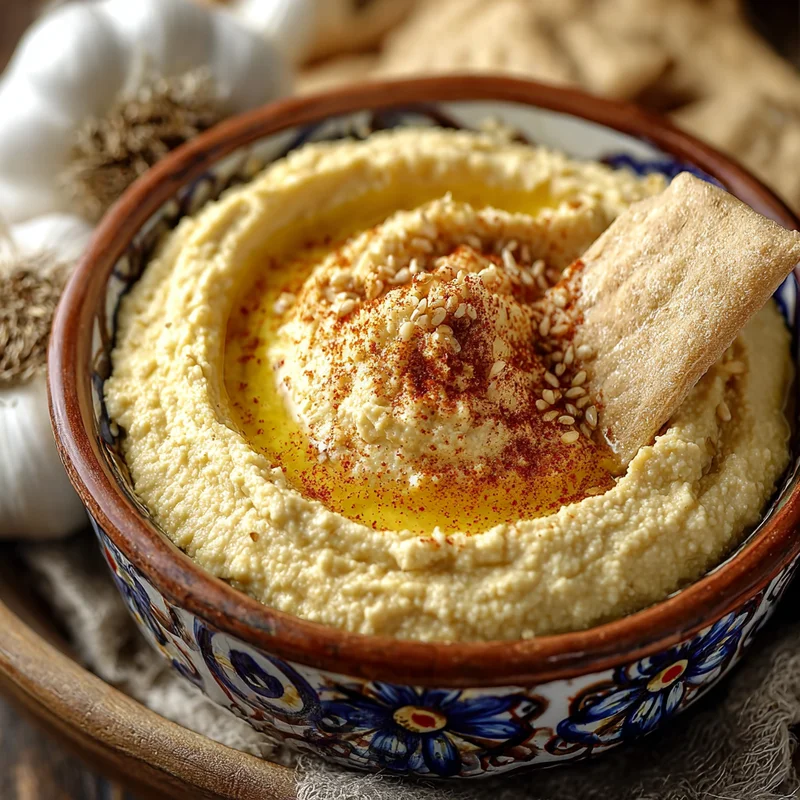
Roasted Garlic Hummus

This recipe for roasted garlic hummus is super easy, creamy, and utterly delicious. Roasting the garlic mellows it out into a sweet and nutty flavor that pairs perfectly with the other ingredients for a crowd-pleasing dip.
- Oven
- aluminum foil
- Food processor
- Serving bowl
For Roasting Garlic
- 2 heads garlic (Slice off the very top ¼ inch)
- 0.5 teaspoon olive oil (For drizzling garlic)
For Hummus
- 30 ounces canned chickpeas (Drained, rinsed, skins removed)
- 0.25 cup tahini
- 3 tablespoons lemon juice (Fresh)
- 2 tablespoons olive oil (For smooth finish)
- 0.5 teaspoon salt
- 0.25 teaspoon cumin
- 0.25 teaspoon cayenne pepper (Adjust to liking)
- 0.25 cup water (To achieve creaminess)
- Preheat your oven to 400°F (200°C).
- Slice off the top ¼ inch of each garlic head, exposing the cloves. Place each head on a square of aluminum foil, drizzle with ½ teaspoon olive oil, and wrap snugly.
- Roast in the preheated oven for 30-40 minutes, until the garlic is soft and caramelized.
- Let the garlic cool slightly, then squeeze the roasted cloves out of their skins into a food processor.
- Add drained and rinsed chickpeas, tahini, lemon juice, 2 tablespoons olive oil, salt, cumin, and cayenne pepper to the food processor.
- Blend until smooth, scraping down the sides as needed.
- With the food processor running, slowly stream in ¼ cup of water until the hummus reaches your desired creamy consistency.
- Serve immediately, optionally garnishing with a swirl of olive oil and paprika or sumac.
Removing skins from chickpeas leads to a smoother hummus. Roasting the garlic is crucial for its sweet and mellow flavor. Adjust water amount to achieve desired consistency. Roasted garlic can be prepped up to 2 days in advance and stored in the refrigerator.