Introduction
Hey there, friend! Let’s talk about summer, shall we? There’s just something magical about those long, sunny days, isn’t there? And when the temperature climbs, nothing hits the spot quite like a frosty, refreshing treat. Remember chasing down the ice cream truck as a kid, or pulling a sweet, frozen delight from the freezer after playing outside all day? Pure joy!
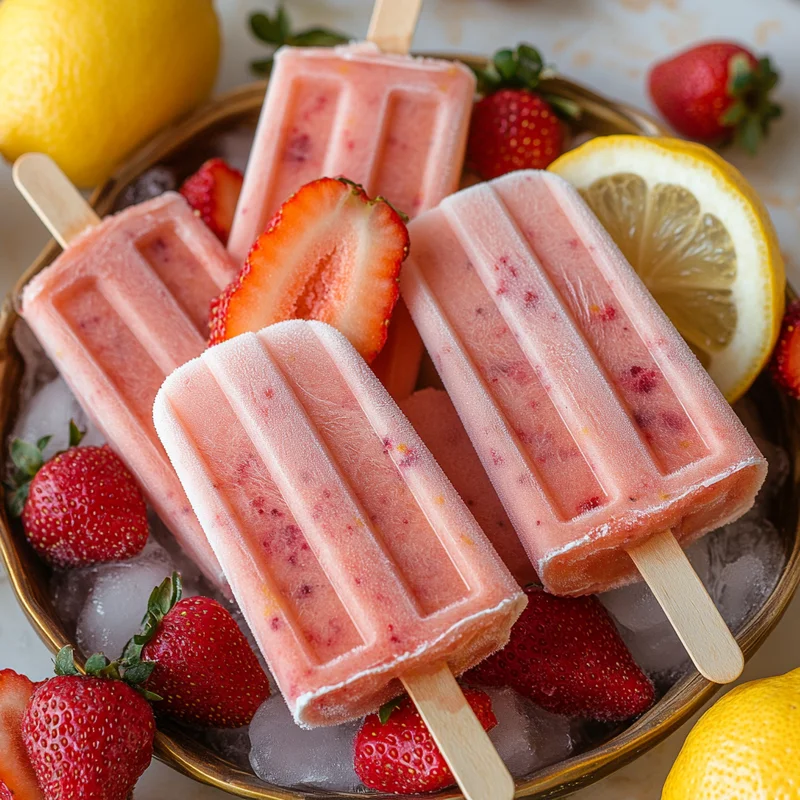
Well, get ready to recapture a little bit of that simple happiness because I’m about to share a recipe so easy, so quick, and so incredibly delicious, it feels almost like cheating. We’re making Homemade Strawberry Lemonade Popsicles! Seriously, if you can use a blender, you can make these. They taste like pure sunshine in a stick, and trust me, your taste buds (and anyone you share them with!) will thank you.
Why You’ll Love This Recipe
Still not convinced? Here are a few reasons these popsicles are about to become a staple in your freezer:
- Fast: From gathering ingredients to pouring into molds, we’re talking minutes, not hours.
- Easy: No complex steps, no fancy equipment required. Blend, pour, freeze. That’s it!
- Giftable (Sort Of!): While maybe not wrapped with a bow, they’re perfect for sharing at BBQs, playdates, or just surprising a neighbor on a hot day.
- Crowd-Pleasing: Who doesn’t love the classic combo of sweet strawberries and tart lemonade? Kids and grown-ups alike devour these.
- Refreshing: The ultimate cool-down on a hot day. Seriously hydrating and satisfying.
Ingredients
This is where the magic starts with just three simple items. You probably have at least two of them right now!
- 1 cup Strawberries: Fresh or frozen works perfectly here! If using frozen, let them thaw just a tiny bit before blending for ease. These little red gems bring natural sweetness and that gorgeous pink hue.
- 1 tbsp Sugar: This is totally optional! It just gives the strawberries a little boost of sweetness, especially if yours aren’t super ripe. You can easily omit it or use a different sweetener like honey or a sugar substitute if you prefer.
- 1 container Simply Lemonade: I love using Simply Lemonade for this because it has such a clean, bright, and consistent flavor. It’s not too sweet and has that perfect pucker of real lemons. Any good quality lemonade you love will work though!
How to Make It
Alright, let’s get frosty! This is where the “easy” part really shines.
- First things first, grab your blender. Give your strawberries a quick rinse if they’re fresh, and hull them (just pop off the green tops). Toss the prepped strawberries right into the blender.
- If you’re using it, add the tablespoon of sugar now too.
- Pour in about half of your container of Simply Lemonade into the blender with the strawberries and sugar. Don’t add it all yet!
- Pop the lid on tight and blend until everything is super smooth. You want a beautiful, bright pink liquid with no chunks of strawberry left.
- Now, pour the rest of the Simply Lemonade into the blender with your strawberry mixture. Give it another quick blend for just a few seconds to combine everything thoroughly. Taste it with a spoon – does it have the right balance of sweet and tart for you? Adjust with a tiny bit more sugar or lemonade if needed, though I find the original combo is usually spot on.
- Carefully pour the mixture into your popsicle molds. Fill them up, but leave a little bit of space at the top (maybe about 1/4 inch) because liquids expand slightly when they freeze.
- Insert your popsicle sticks. Most molds come with tops that help hold the sticks straight. If yours don’t, you might need to let them freeze for about 30-45 minutes until they’re slightly slushy before inserting the sticks so they stand upright.
- Place the filled molds flat in your freezer. Now comes the hardest part: waiting! Let them freeze completely. This usually takes at least 4-6 hours, or ideally, just leave them overnight to be sure they’re solid all the way through.
- Once they’re frozen solid, you’re ready to enjoy! Getting them out of the mold can sometimes be tricky. My favorite trick is to run the bottom and sides of the mold under warm water for about 20-30 seconds. Don’t let the water touch the popsicle itself! This gently loosens the edges and makes them pop right out.
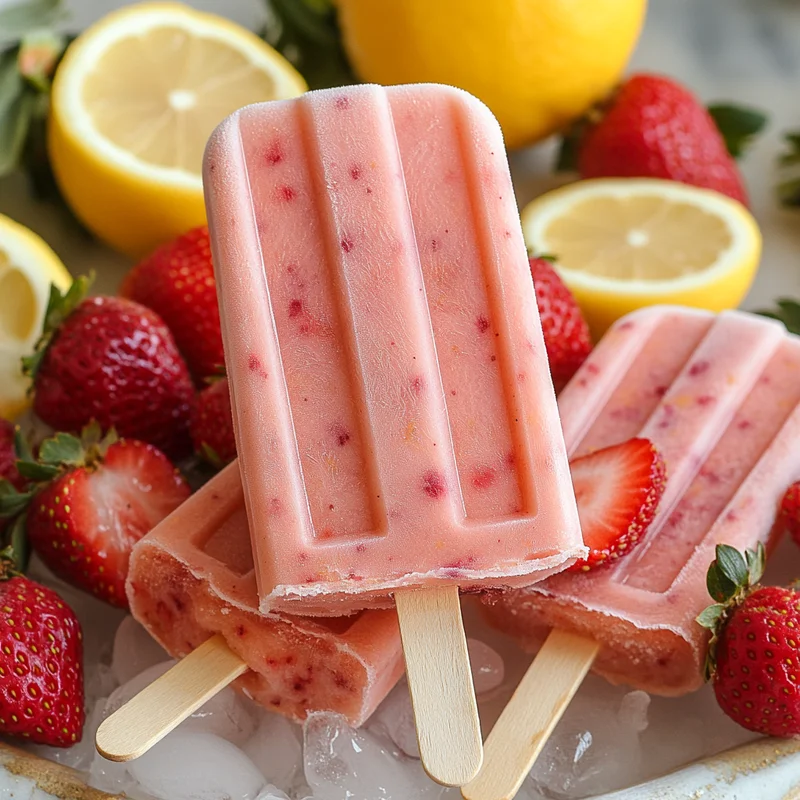
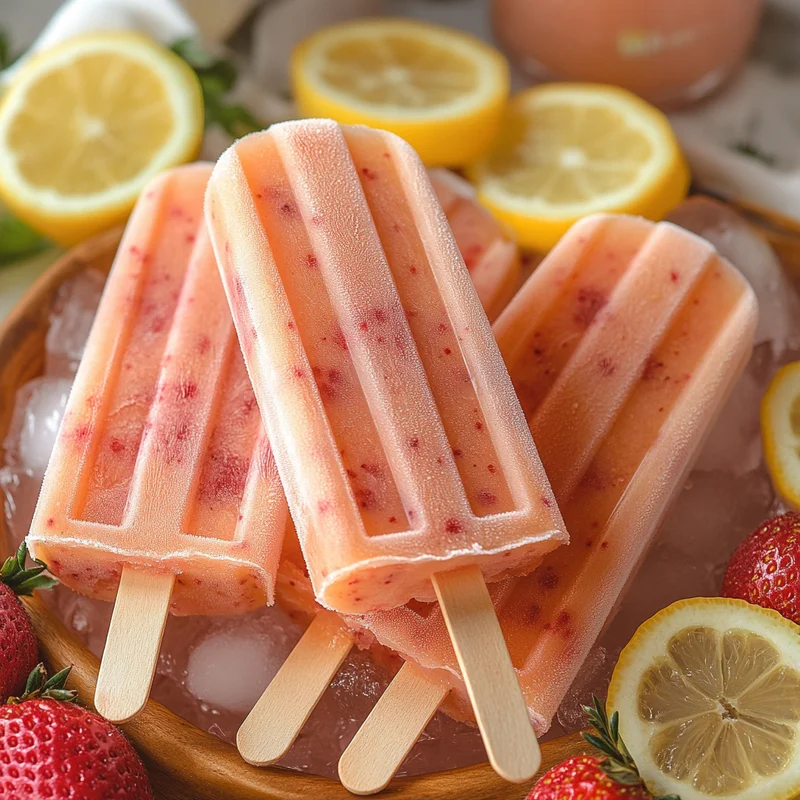
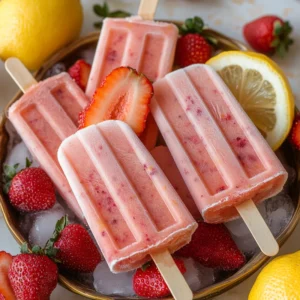
And there you have it! Perfectly refreshing, homemade Strawberry Lemonade Popsicles ready to cool you down.
Substitutions & Additions
Want to get creative? This base recipe is super forgiving!
- Fruit Swaps: Don’t have strawberries? Try raspberries, blueberries, or even peeled peaches or mango! Just be aware that some fruits might have seeds you’ll want to strain out after blending.
- Lemonade Variations: Use pink lemonade for an extra pop of color, or try an organic or specialty lemonade. Just make sure it’s a flavor you love!
- Sweetener Alternatives: Instead of sugar, you can use honey, maple syrup, agave nectar, or your favorite sugar-free alternative. Adjust the amount to your taste.
- Herb Power: Add a few fresh mint leaves or a sprig of basil to the blender with the strawberries and lemonade for a surprisingly delicious twist!
- Citrus Boost: A little zest from half a lemon added to the blend can brighten the flavor even more.
Tips for Success
Even though it’s simple, here are a couple of pointers to make sure your popsicle experience is perfect:
- Blend it Smooth: Make sure you blend the strawberry mixture really well, especially before adding all the lemonade. This prevents grainy popsicles.
- Don’t Overfill: Leaving that little bit of space at the top prevents spills and helps the popsicle freeze evenly.
- Easy Release: The warm water trick is key! Don’t rush it, and they should slide out beautifully. If one is stubborn, give it another few seconds under the warm water.
- Got Extra? If you have a little mixture left after filling your molds, pour it into a small cup and stick it in the freezer for a mini frozen treat or save it in the fridge for later.
How to Store It
Once your popsicles are frozen solid and you’ve popped them out of their molds, you’ll want to keep them happy in the freezer. The best way to store them long-term is to wrap each individual popsicle in plastic wrap or place them in a freezer-safe bag or container. This helps prevent freezer burn and keeps them tasting fresh.
They’ll last well in the freezer for about 1-2 months, though honestly, mine never stick around that long!
FAQs
Can I use frozen strawberries?
Absolutely! Frozen strawberries work wonderfully. Just let them sit out for 5-10 minutes or run them under cool water briefly so they aren’t rock hard before blending. This also helps make the mixture extra cold before freezing.
Do I have to add the sugar?
Nope! The sugar is totally optional. Simply Lemonade is already sweetened, and if your strawberries are ripe and sweet, you might find you don’t need any extra sugar at all. Taste the mixture before freezing and adjust to your preference.
What if I don’t have popsicle molds?
No problem! Small paper cups (like Dixie cups) work great. Fill them most of the way, cover the top tightly with foil, and then poke a popsicle stick through the foil into the center. Freeze and then just peel off the cup and foil when they’re ready!
Enjoy your delicious homemade popsicles!
Easy Homemade Strawberry Lemonade Popsicles - Your New Favorite Summer Treat!
Equipment
- Blender
- Popsicle molds Alternatively, use small paper cups.
- Popsicle sticks
Ingredients
Main Ingredients
- 1 cup Strawberries Fresh or frozen. If frozen, thaw slightly before blending.
- 1 tbsp Sugar Optional; can substitute with honey, sugar substitute, agave, etc.
- 1 container Simply Lemonade Any good quality lemonade can be used.
Instructions
- First things first, grab your blender. Give your strawberries a quick rinse if they're fresh, and hull them (just pop off the green tops). Toss the prepped strawberries right into the blender.
- If you're using it, add the tablespoon of sugar now too.
- Pour in about half of your container of Simply Lemonade into the blender with the strawberries and sugar. Don't add it all yet!
- Pop the lid on tight and blend until everything is super smooth. You want a beautiful, bright pink liquid with no chunks of strawberry left.
- Now, pour the rest of the Simply Lemonade into the blender with your strawberry mixture. Give it another quick blend for just a few seconds to combine everything thoroughly. Taste it with a spoon – does it have the right balance of sweet and tart for you? Adjust with a tiny bit more sugar or lemonade if needed, though the original combo is usually spot on.
- Carefully pour the mixture into your popsicle molds. Fill them up, but leave a little bit of space at the top (maybe about 1/4 inch) because liquids expand slightly when they freeze.
- Insert your popsicle sticks. Most molds come with tops that help hold the sticks straight. If yours don't, you might need to let them freeze for about 30-45 minutes until they're slightly slushy before inserting the sticks so they stand upright.
- Place the filled molds flat in your freezer. Now comes the hardest part: waiting! Let them freeze completely. This usually takes at least 4-6 hours, or ideally, just leave them overnight to be sure they're solid all the way through.
- Once they're frozen solid, you're ready to enjoy! Getting them out of the mold can sometimes be tricky. My favorite trick is to run the bottom and sides of the mold under warm water for about 20-30 seconds. Don't let the water touch the popsicle itself! This gently loosens the edges and makes them pop right out.
Notes
Leave about 1/4 inch of space at the top of molds to account for expansion during freezing.
Use the warm water trick to easily release popsicles from molds.
If there's extra mixture, freeze it in a small cup.
Store frozen popsicles individually wrapped or in a freezer-safe container for up to 1-2 months.
Freezing time is at least 4-6 hours, or ideally overnight.