The Ultimate Comfort in a Bowl: Gravy That Tastes Like Home
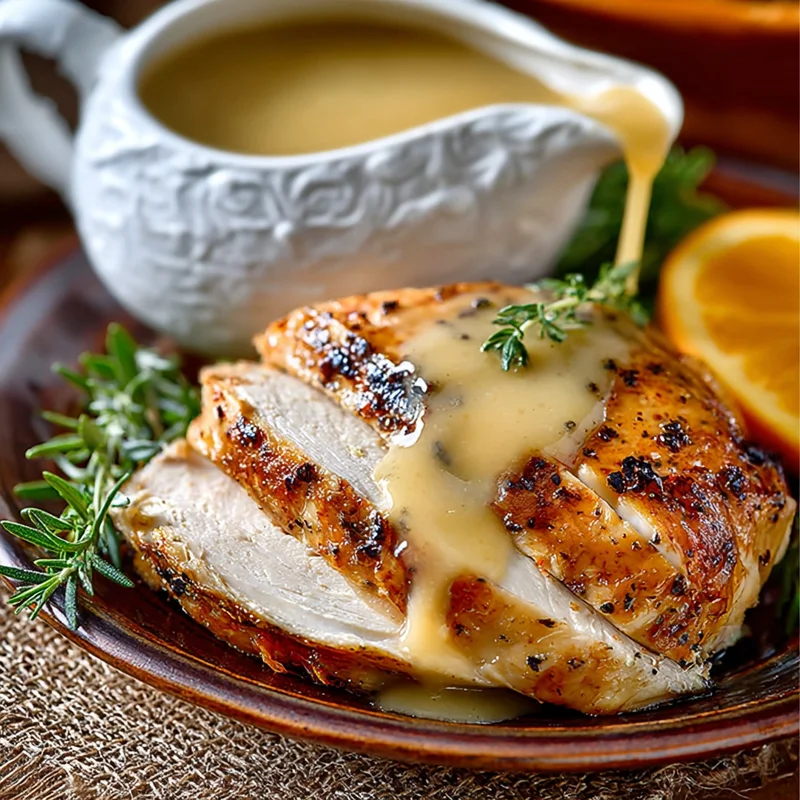
Oh, gravy! Just the word itself conjures up images of cozy holidays, perfectly roasted meats, and that feeling of pure comfort. You know that moment when you ladle that rich, savory sauce over a plate of mashed potatoes, stuffing, or turkey? It’s pure bliss! Today, I’m sharing my absolute go-to turkey gravy recipe. It’s the kind of gravy that makes everyone ask for seconds, and the best part? It’s ridiculously easy to make. Seriously, if you can whisk, you can make this! It’s the perfect way to elevate any meal, from a Sunday dinner to a special occasion feast.
Why You’ll Love This Recipe
- Fast: Ready in under 20 minutes!
- Easy: Simple steps, perfect for beginners.
- Giftable: Imagine a jar of this homemade goodness as a thoughtful hostess gift!
- Crowd-pleasing: Guaranteed to be a hit with everyone at your table.
Ingredients You’ll Need
Gathering your ingredients is half the fun, right? For this simple yet spectacular turkey gravy, you won’t need much:
- 1/4 cup fat skimmed from turkey drippings: This is the secret ingredient for that amazing turkey flavor! If you don’t have quite enough, no worries, we can supplement with butter.
- 1/4 cup all-purpose flour: This is our thickening agent, creating that perfect velvety texture.
- 2 cups turkey drippings: This is where all the delicious turkey essence lives! Make sure they’re flavorful.
- 1 tablespoon butter or heavy cream: A little extra richness makes all the difference.
- Salt and pepper to taste: The finishing touches to make it perfect.
How to Make It: Step-by-Step to Gravy Perfection
Let’s get cooking! This is so straightforward, you’ll be a gravy pro in no time.
- Heat the Fat: Grab a saucepan and set it over medium heat. Add your skimmed turkey fat (or butter if you’re supplementing). Let it get nice and warm, but not smoking.
- Whisk in the Flour: Once the fat is warm, sprinkle in the all-purpose flour. Grab your whisk and get to it! You’re going to whisk this together until it’s smooth and forms a paste. Cook it for about 1-2 minutes, stirring constantly. You want it to get just a little bit browned – this little step adds a wonderful depth of flavor, kind of like toasting spices.
- Whisk in the Drippings: Now, slowly start whisking in those flavorful turkey drippings. Add them a little at a time, whisking continuously. This is key to preventing any pesky lumps from forming. Keep whisking until it’s all smooth and incorporated.
- Bring to a Simmer: Turn up the heat just a touch and bring the mixture to a gentle simmer. Keep stirring frequently. You’ll see it start to thicken up.
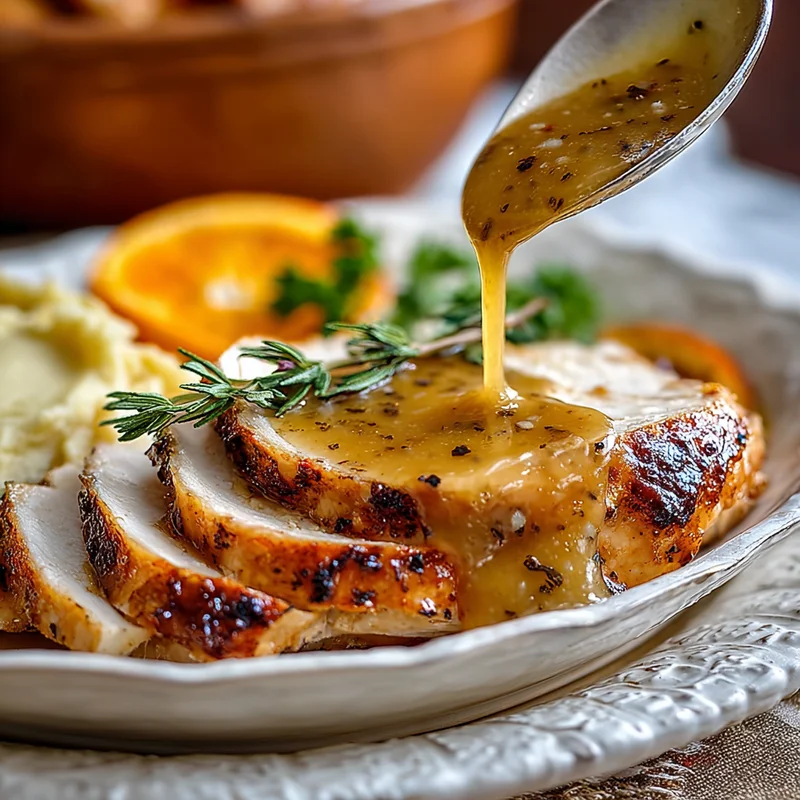
- Thicken to Perfection: Once it’s simmering and thickening, reduce the heat to low. Let it continue to simmer for about 5-10 minutes, stirring now and then. This is where the magic happens, and your gravy reaches that perfect, luscious consistency. You’ll know it’s ready when it coats the back of your spoon nicely.
- Add Richness: Stir in that tablespoon of butter or heavy cream. Oh, this makes it so velvety and decadent!
- Season to Taste: Now for the final, crucial step: taste it! Add salt and freshly ground black pepper until it sings. This is your moment to make it absolutely perfect for your palate.
Substitutions & Creative Additions
While this recipe is pure gold, I love playing around! Here are a few ideas:
- No Turkey Drippings? No problem! You can use chicken broth or even beef broth for a delicious alternative. You might want to add a little extra butter for richness.
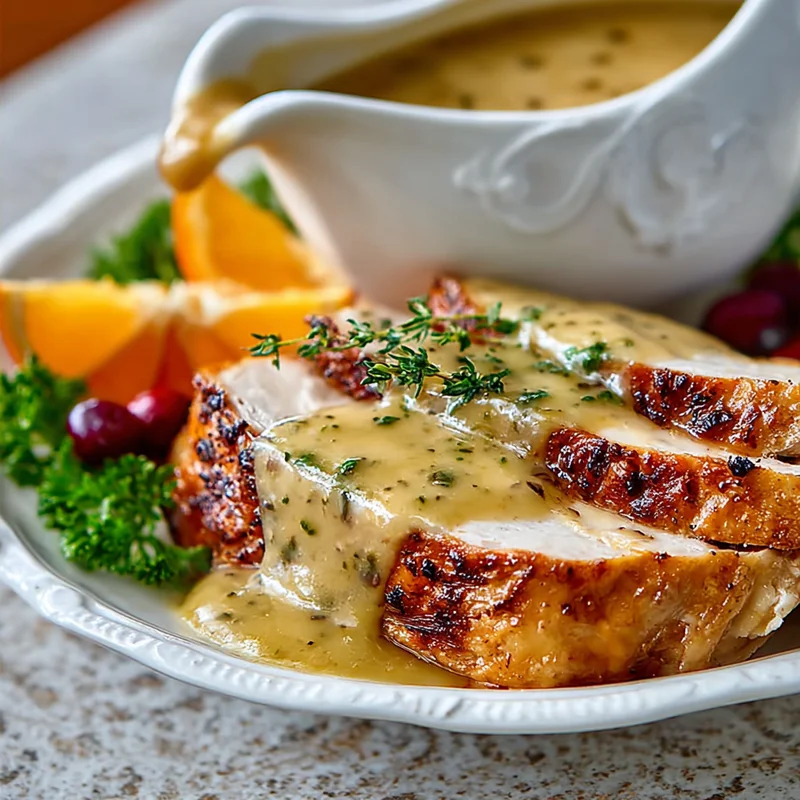
- Herbs! A sprig of fresh thyme or rosemary simmered in the drippings for a few minutes before adding the flour can add an extra layer of aromatic goodness. Just remember to remove them before serving.
- A Splash of Wine: For a more sophisticated flavor, add a tablespoon or two of dry white wine or sherry after toasting the flour, let it cook off for a minute, then add your drippings.
- A Touch of Umami: A teaspoon of soy sauce or Worcestershire sauce can deepen the savory flavor.
Tips for Success
A few little tricks I’ve learned along the way to ensure your gravy is always amazing:
- Don’t Skip the Toasting: Browning the flour and fat mixture (the roux) for a minute or two is essential for flavor and prevents a raw flour taste.
- Whisk, Whisk, Whisk: Patience with your whisk is key to a lump-free gravy. Add liquids slowly!
- Adjust Consistency: If your gravy is too thick, simply whisk in a little more warm turkey drippings or broth. If it’s too thin, you can make a quick slurry with a tablespoon of flour and a splash of cold water or broth, whisk it in, and let it simmer for a few more minutes until thickened.
- Prep Ahead: You can prepare the basic gravy base (steps 1-5) a day in advance and gently reheat it on the stovetop before adding the butter/cream and seasoning.
How to Store It
Leftover gravy is a treasure! Let it cool completely, then store it in an airtight container in the refrigerator for up to 3-4 days. It also freezes beautifully! Just pop it into freezer-safe containers or bags for up to 3 months. Thaw in the refrigerator and reheat gently on the stovetop, whisking occasionally.
FAQs
Got questions? I’ve got answers!
Q: My gravy has lumps! What did I do wrong?
A: Don’t worry, it happens! The key is to add your liquids (drippings) very slowly while whisking constantly, especially at the beginning. If you have lumps, you can try to whisk them out vigorously. For stubborn lumps, a quick blitz with an immersion blender or straining the gravy through a fine-mesh sieve can work wonders.
Q: How do I get really dark, rich gravy?
A: The color comes from browning the flour and fat mixture (the roux) a bit longer (aim for a nice peanut butter color) and from deeply flavorful drippings. You can also add a splash of soy sauce or a tiny bit of kitchen bouquet (browning sauce) for extra color.
Q: Can I make gravy without turkey drippings?
A: Absolutely! You can substitute chicken broth or even vegetable broth. For a richer flavor, consider adding a knob of butter or a splash of cream. You might also want to add a pinch of poultry seasoning to mimic that classic turkey flavor.
The Only Turkey Gravy Recipe You'll Ever Need
Equipment
- Saucepan
- Whisk
- Fine-mesh sieve optional, for lumps
- Immersion blender optional, for lumps
Ingredients
Main ingredients
- 0.25 cup fat skimmed from turkey drippings or butter if supplementing
- 0.25 cup all-purpose flour
- 2 cups turkey drippings ensure they are flavorful
- 1 tablespoon butter or heavy cream for extra richness
- salt to taste
- pepper to taste, freshly ground
Instructions
- Heat the skimmed turkey fat (or butter) in a saucepan over medium heat until warm, but not smoking.0.25 cup fat skimmed from turkey drippings
- Sprinkle in the all-purpose flour and whisk with the fat to form a smooth paste. Cook for 1-2 minutes, stirring constantly, until lightly browned.0.25 cup fat skimmed from turkey drippings
- Slowly whisk in the turkey drippings, a little at a time, to prevent lumps. Continue whisking until smooth and incorporated.0.25 cup fat skimmed from turkey drippings
- Bring the mixture to a gentle simmer over slightly increased heat, stirring frequently as it thickens.
- Reduce heat to low and let simmer for 5-10 minutes, stirring occasionally, until the gravy reaches your desired consistency, coating the back of a spoon.
- Stir in the tablespoon of butter or heavy cream for added richness and a velvety texture.0.25 cup fat skimmed from turkey drippings
- Season with salt and freshly ground black pepper to taste.0.25 cup fat skimmed from turkey drippings