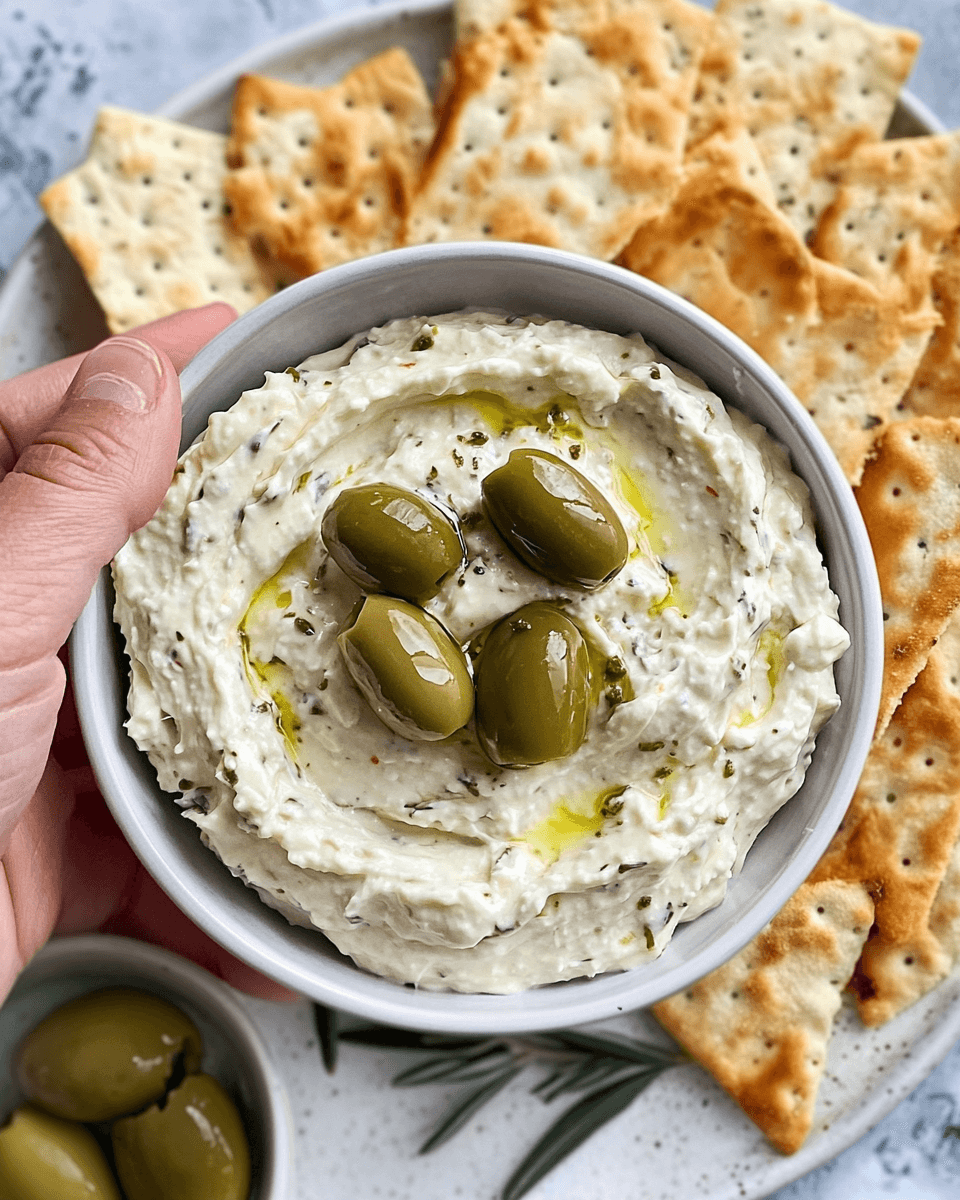
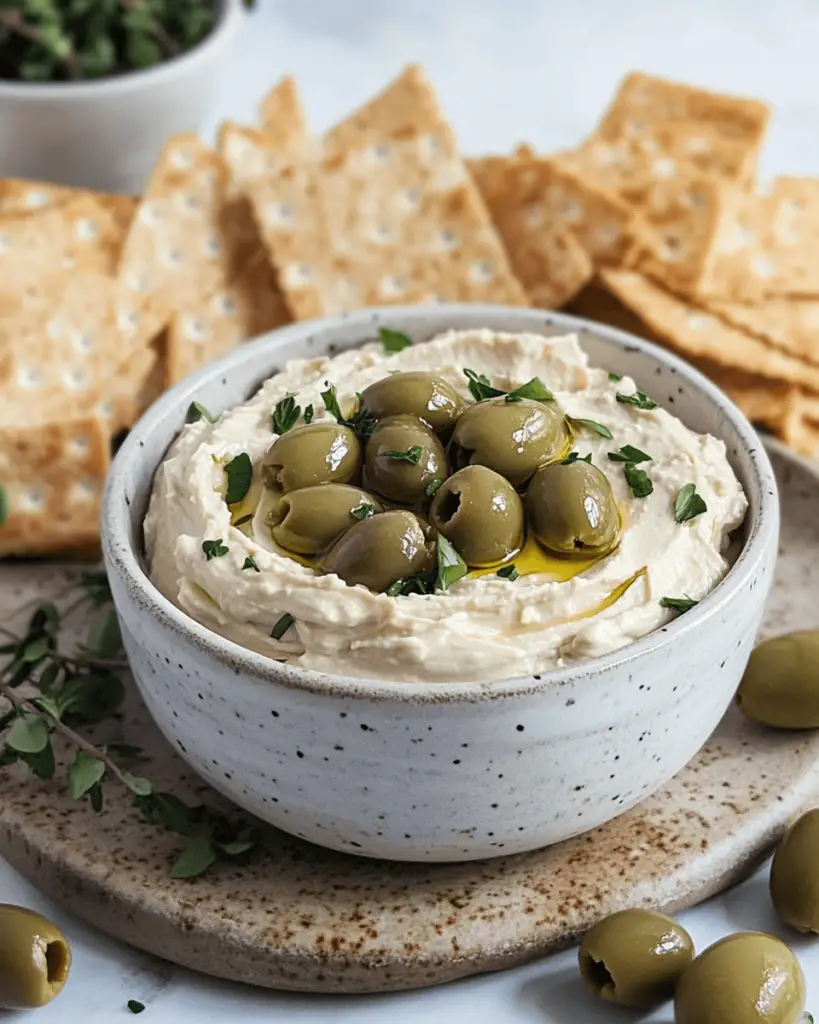
Looking for a dip that will wow your guests and become a new party favorite? Green Olive Dip is here to deliver that irresistible balance of creamy, tangy, and savory goodness in every bite! This flavorful dip is perfect for any occasion — from casual get-togethers to special celebrations. With just a few simple ingredients, you can create a dip that’s sure to be the star of the snack table. Whether you serve it with crackers, veggies, or chips, Green Olive Dip offers a unique and zesty twist on the typical dip lineup.
This dip combines the richness of cream cheese with the salty brine of green olives and the perfect blend of seasonings, making it an unforgettable treat. The green olives with pimentos add a pop of color and a savory, tangy kick, while the creamy base ensures it’s smooth and satisfying. Ready to learn how to make this delightful dip? Let’s dive in!
Why You’ll Love This Green Olive Dip

There are countless reasons why this Green Olive Dip will quickly become a staple in your recipe repertoire. Here are a few reasons why you’ll fall in love with it:
- Simple to Make: With just a handful of ingredients, this dip comes together in minutes. It’s easy enough for anyone to prepare, and the results are always impressive.
- Flavorful and Unique: The combination of creamy cream cheese, savory green olives, and aromatic spices delivers a flavor profile that’s both familiar and exciting. It’s the perfect balance of salty, tangy, and creamy.
- Versatile: Whether you’re hosting a party, looking for a delicious snack, or serving something special with your appetizers, this dip fits the bill. It pairs well with almost anything — from fresh veggies and pita chips to crusty bread and tortilla chips.
- Crowd-Pleaser: If you love olives, this dip is an instant hit. Even if you’re not an olive enthusiast, the creamy base and seasoning will win you over. It’s the kind of dip that disappears quickly at any gathering!
- Customizable: The recipe allows for plenty of variations, so you can adjust the ingredients to your taste. Want it spicier? Add some jalapeños. Looking for a thicker texture? Add more cream cheese. The possibilities are endless!
- Great Make-Ahead Option: This dip can be prepared in advance, making it an excellent choice for parties and events. Just store it in the fridge, and you’ll have an easy-to-serve, flavorful dip ready to go.
Green Olive Dip is simple, versatile, and packed with flavor. Once you make it, you’ll wonder how you ever lived without it!
What You’ll Need
Before you start whipping up this creamy, zesty Green Olive Dip, make sure you have all the necessary ingredients and equipment. Here’s what you’ll need:
Ingredients:
- 2 (8-ounce) packages cream cheese, softened 🧀
- 1/2 cup mayonnaise 🥄
- 1 teaspoon onion powder 🧅
- 1/2 – 1 teaspoon garlic powder 🧄 (adjust based on your preference)
- 6 ounces green olives with pimento, drained (save the brine) 🫒
- 3 tablespoons olive brine (optional but recommended for extra flavor) 🫒
Equipment:
- Mixing bowl
- Electric mixer or hand whisk
- Knife and cutting board
- Spoon for mixing
- Serving dish or bowl
- Storage container (for leftovers)
Once you’ve got everything ready, you’re just a few steps away from making this delicious dip!
Step-by-Step Instructions
Creating this Green Olive Dip is a breeze. With just a few simple steps, you’ll have a creamy, tangy dip that everyone will love.
Step 1: Prepare the Olives
Start by draining the green olives with pimentos, making sure to save about 3 tablespoons of the brine for extra flavor. You can use a slotted spoon to drain the olives, or just pour them through a fine mesh strainer. Once they’re drained, chop the olives into small pieces. You want them to be small enough to mix seamlessly into the dip but still provide a nice burst of flavor when you bite into them. If you prefer a chunkier dip, you can chop the olives more coarsely, but for a smoother dip, aim for smaller, finely chopped pieces.
Step 2: Mix the Base Ingredients
In a large mixing bowl, add the softened cream cheese and mayonnaise. Using an electric mixer or a whisk, beat the mixture together until it’s smooth and creamy. This may take a minute or two, so be patient. You want the cream cheese and mayo to combine fully, creating a soft, spreadable base.
Once the cream cheese and mayonnaise are fully blended, add the onion powder and garlic powder. Mix well, making sure the seasonings are evenly distributed. The onion powder adds a savory depth of flavor, while the garlic powder complements the olives and enhances the overall taste of the dip.
Step 3: Add the Olives and Brine
Now, it’s time to bring the green olives into the mix! Add the chopped olives to the creamy mixture, stirring them in gently. If you saved 3 tablespoons of olive brine, add it in now. The brine adds an extra layer of tanginess and helps to bring all the flavors together.
Give the mixture a final stir, ensuring the olives and brine are evenly incorporated into the dip. If you prefer a smoother dip, you can use a hand blender to blend everything together, but it’s perfectly fine to leave some chunks of olives for texture.
Step 4: Taste and Adjust
At this point, it’s time to taste your dip and make any adjustments. If you’d like it to be a bit saltier, you can add a pinch of salt. If you want more garlic flavor, sprinkle in a little extra garlic powder. Keep tasting until it’s just right for your preferences.
Step 5: Serve and Enjoy
Transfer the dip to a serving bowl and serve it immediately with your favorite crackers, chips, pita bread, or fresh vegetables. You can garnish the dip with a few extra chopped olives or a sprinkle of fresh herbs like parsley for a beautiful presentation.
Tips for Success
Here are some helpful tips to ensure that your Green Olive Dip turns out perfectly every time:
- Use softened cream cheese: Make sure the cream cheese is softened to room temperature before mixing it with the mayonnaise. Cold cream cheese can result in a lumpy dip, so take the time to let it warm up.
- Adjust the seasonings: The beauty of this dip is its versatility. Feel free to adjust the garlic powder, onion powder, or olive brine to match your flavor preferences. Add more garlic for a stronger flavor or more brine for extra tang.
- Let it chill: For the best results, let the dip chill in the refrigerator for at least 30 minutes before serving. This allows the flavors to meld together and makes the dip even more flavorful.
- Use high-quality olives: The flavor of the olives really shines in this dip, so opt for high-quality green olives with pimentos for the best taste. Avoid using olives that are too bitter or overly briny.
- Make ahead: This dip can easily be made in advance, making it perfect for parties or gatherings. Just store it in an airtight container in the fridge for up to 3 days, and serve it when you’re ready.
Variations to Try
While the basic Green Olive Dip is already delicious, there are plenty of variations you can try to customize it to your taste:
- Spicy Green Olive Dip: If you like a little heat, add some finely chopped jalapeños or a dash of hot sauce to the dip. The spice pairs wonderfully with the salty olives and creamy base.
- Cheesy Green Olive Dip: For an extra cheesy twist, add 1/2 cup of shredded cheddar or mozzarella cheese to the dip. You can also sprinkle some cheese on top before serving for a delicious melt.
- Herbed Green Olive Dip: Add some fresh or dried herbs, such as parsley, dill, or thyme, for a fragrant herbal note that complements the tangy olives.
- Greek-inspired Green Olive Dip: Incorporate some chopped sun-dried tomatoes, Kalamata olives, or crumbled feta cheese for a Mediterranean-inspired variation.
- Vegan Green Olive Dip: For a vegan version, substitute the cream cheese with plant-based cream cheese and use vegan mayonnaise. This will give you a dairy-free, plant-based alternative to the original recipe.
Storing and Reheating
Green Olive Dip is best enjoyed fresh, but it can be stored in the refrigerator for later use. Here’s how to store and reheat it:
Storing:
- After preparing the dip, transfer it to an airtight container and store it in the refrigerator. It will stay fresh for up to 3 days.
- Be sure to cover the dip well to prevent it from absorbing any odors from other foods in the fridge.
Reheating:
- This dip is typically served cold or at room temperature, so there’s no need to reheat it. Simply remove it from the fridge and let it sit for a few minutes to soften slightly before serving.
- If you do prefer to heat it, you can warm it gently in the microwave for about 20-30 seconds, but be cautious not to overheat it, as the dip may become too runny.
Frequently Asked Questions
Can I use other types of olives for this dip?
While green olives with pimentos are the traditional choice for this dip, you can experiment with other types of olives, such as Kalamata or black olives. Just keep in mind that the flavor profile may change based on the type of olives you use.
Can I make this dip ahead of time?
Yes! In fact, making the dip ahead of time is a great idea, as it allows the flavors to meld together and intensify. Just be sure to store it in an airtight container in the fridge and give it a good stir before serving.
Can I use a different base instead of cream cheese?
You can substitute the cream cheese with sour cream, Greek yogurt, or even ricotta cheese if you prefer a lighter or tangier base. Keep in mind that this will alter the flavor and texture, but it can still be delicious!
The Final Word
Green Olive Dip is a delicious, easy-to-make snack that will quickly become a favorite in your household. With its rich, creamy base and the bright, savory flavor of green olives, this dip is perfect for any occasion. Whether you’re hosting a party, enjoying a quiet evening with friends, or just need something to munch on, this dip will hit the spot every time. So gather your ingredients, mix it up, and enjoy the ultimate olive-infused dip!