Why You’ll Love This Hershey’s Chocolate Cake
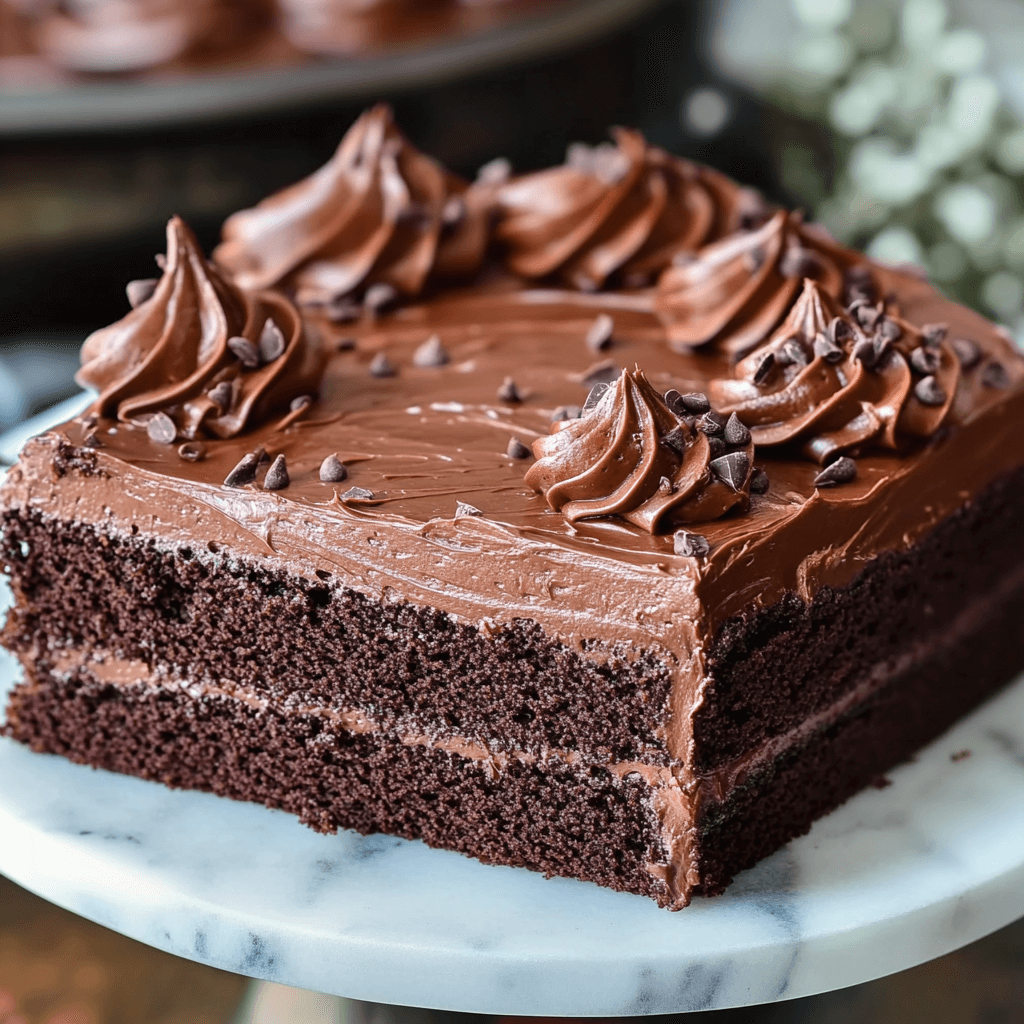
Let’s be honest, sometimes you just crave chocolate. And when that craving hits, you want it *now*. This Hershey’s Chocolate Cake is the answer to your chocolate prayers. It’s not just any chocolate cake; it’s a rich, intensely chocolatey experience that will transport you straight to dessert heaven. Imagine sinking your teeth into a moist, fluffy cake, bursting with that unmistakable Hershey’s cocoa flavor. The texture is unbelievably tender, almost melt-in-your-mouth, and the sweetness is perfectly balanced, not overly sugary. It’s the kind of cake that makes you sigh with contentment after each bite.
But what truly sets this Hershey’s Chocolate Cake apart is its incredible simplicity. Forget complicated techniques and lengthy ingredient lists. This recipe is unbelievably quick and easy, perfect for even the most novice bakers. You’ll be surprised at how straightforward it is to create such a stunningly delicious dessert. It’s the perfect recipe for a weeknight treat, a birthday celebration, or simply because you deserve a little chocolate indulgence.
This cake isn’t just about taste and texture; it’s about the feeling it evokes. It’s the ultimate comfort food, the kind of dessert that brings a smile to your face and a warm feeling to your heart. Whether you’re sharing it with loved ones or savoring it all by yourself, this Hershey’s Chocolate Cake is guaranteed to enhance any occasion and leave you feeling utterly satisfied. So, ditch the store-bought stuff and get ready to bake the best chocolate cake you’ve ever tasted!
What You’ll Need
This recipe uses simple, readily available ingredients, making it perfect for a spontaneous baking session. Let’s get started gathering your supplies:
- Unsweetened Hershey’s Cocoa Powder (2 cups): The star of the show! This provides the rich, deep chocolate flavor we’re after. Choose a high-quality cocoa powder for the best results.
- Granulated Sugar (2 cups): Sweetness is key, but we don’t want it overpowering the chocolate. This amount provides the perfect balance.
- All-Purpose Flour (2 cups): This provides structure to our delicious cake. Make sure to sift it for a lighter texture.
- Baking Powder (2 teaspoons): Our leavening agent, giving the cake its delightful fluffiness. Don’t forget to check the expiration date!
- Baking Soda (1 teaspoon): Works with the baking powder to create a light and airy crumb.
- Salt (1 teaspoon): Enhances the chocolate flavor and balances the sweetness. A pinch goes a long way!
- Milk (1 cup): Provides moisture and helps bind the ingredients together. Any kind of milk will work, but whole milk tends to yield the richest results.
- Vegetable Oil (1/2 cup): Adds moisture and helps create a tender crumb.
- Eggs (2 large): Bind the ingredients and add richness. Make sure they’re at room temperature for optimal results.
- Boiling Water (1 cup): This creates a wonderfully moist and fudgy texture. Pour it slowly!
- Vanilla Extract (1 teaspoon): Adds a touch of warmth and complexity to the chocolate flavor.
Step-by-Step Instructions
Let’s get baking! Follow these simple steps, and you’ll be enjoying a slice of chocolate heaven in no time.
- Preheat and Prep: Preheat your oven to 350°F (175°C). Grease and flour two 9-inch round baking pans. This prevents sticking and ensures even baking.
- Combine Dry Ingredients: In a large bowl, whisk together the cocoa powder, sugar, flour, baking powder, baking soda, and salt. Make sure everything is well combined to prevent clumps.
- Add Wet Ingredients: In a separate bowl, whisk together the milk, oil, eggs, and vanilla extract.
- Combine Wet and Dry: Gradually add the wet ingredients to the dry ingredients, mixing on low speed until just combined. Don’t overmix!
- Add Boiling Water: Slowly pour in the boiling water while mixing on low speed. The batter will become thin—this is normal.
- Divide and Bake: Divide the batter evenly between the prepared baking pans. Bake for 30-35 minutes, or until a toothpick inserted into the center comes out clean.
- Cool and Frost: Let the cakes cool in the pans for 10 minutes before inverting them onto a wire rack to cool completely. Once cooled, frost with your favorite chocolate frosting.
Pro Tip: For extra-moist cake, add a teaspoon of coffee to the wet ingredients. The coffee enhances the chocolate flavor without being overpowering. Also, be careful not to overbake the cake; it’s better to slightly underbake than overbake.
Tips for Success
Here are a few tips to ensure your Hershey’s Chocolate Cake turns out perfectly every time:
Room Temperature Ingredients: Using room temperature eggs and milk helps create a more evenly mixed batter and contributes to a smoother, more consistent texture in the final product. Let your ingredients sit out for about 30 minutes before starting.
Don’t Overmix: Overmixing the batter can develop the gluten in the flour, resulting in a tough cake. Mix until the ingredients are just combined.
Check for Doneness: Use a toothpick or cake tester to check if the cake is fully baked. Insert it into the center; if it comes out clean, the cake is done. If there are still wet batter bits clinging to the toothpick, bake for a few more minutes and check again.
Proper Cooling: Allowing the cakes to cool completely in the pans before inverting them prevents them from crumbling or breaking. Patience is key here!
Variations to Try
Want to put your own spin on this classic recipe? Here are some exciting variations to explore:
Mint Chocolate Chip: Add a cup of chocolate chips and a teaspoon of peppermint extract to the batter for a refreshing twist.
Salted Caramel: Drizzle a generous amount of homemade or store-bought salted caramel sauce over the frosted cake for an irresistible salty-sweet combination.
Peanut Butter Chocolate: Swirl in a cup of peanut butter into the batter for a decadent peanut butter chocolate masterpiece.
Gluten-Free: Substitute the all-purpose flour with a gluten-free blend, following the package instructions for ratios.
Storing and Reheating
Store your leftover Hershey’s Chocolate Cake in an airtight container at room temperature for up to 3 days, or in the refrigerator for up to a week. To freeze, wrap individual slices tightly in plastic wrap and then foil, and store in a freezer bag for up to 3 months. To reheat, microwave individual slices for 15-20 seconds, or let them sit at room temperature for about 30 minutes. For the best results, always let the cake reach room temperature before serving.
Freezing the cake allows you to enjoy this delicious treat well past its initial baking date. Just remember to defrost properly before serving to maintain the perfect texture and flavor.
Frequently Asked Questions
Q: Can I use another type of cocoa powder? A: While Hershey’s Cocoa Powder is recommended for its rich flavor, you can experiment with other brands. However, the results might vary slightly in terms of taste and texture.
Q: How long does the cake keep? A: The cake will stay fresh at room temperature for up to 3 days, and in the refrigerator for up to a week. Freezing extends its lifespan to about 3 months.
Q: Can I make this cake in a bundt pan? A: Absolutely! Just be sure to adjust the baking time accordingly, and you may need to use a toothpick to check for doneness in several spots.
Q: What kind of frosting works best? A: Chocolate frosting is the most traditional pairing, but you can get creative! Cream cheese frosting, peanut butter frosting, or even a simple powdered sugar glaze would all be delicious options.
The Final Word
This Hershey’s Chocolate Cake recipe is a guaranteed crowd-pleaser, perfect for any occasion. Its rich chocolate flavor, moist texture, and simple preparation make it a go-to dessert for both seasoned bakers and beginners. The ease of the recipe doesn’t compromise on taste—in fact, it’s the secret to its incredible deliciousness. Give it a try and experience the ultimate chocolate indulgence! Don’t forget to leave a comment below and let me know how it turned out. And if you love it, please rate the recipe!