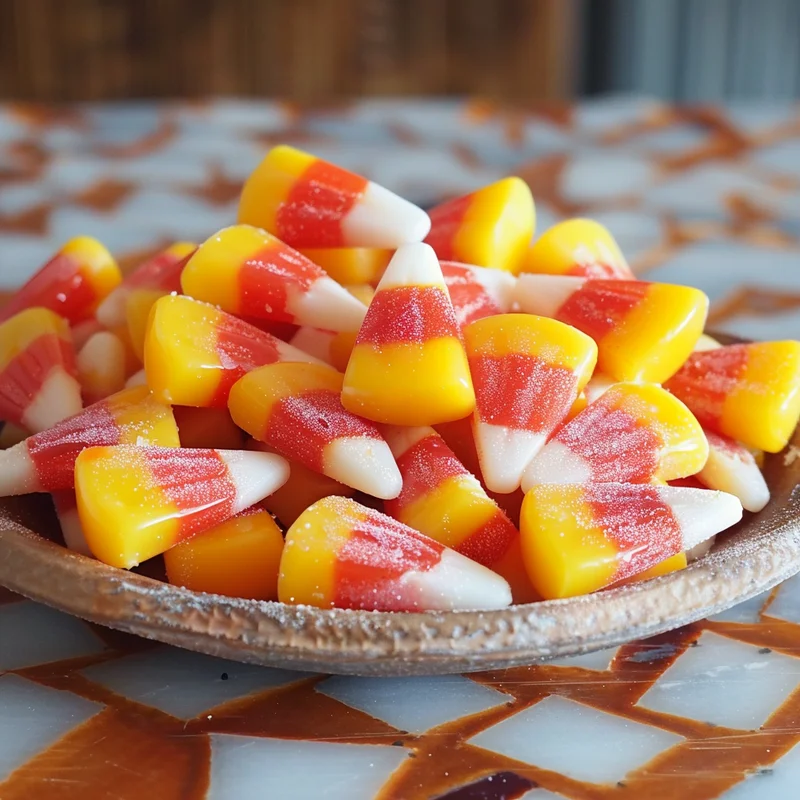
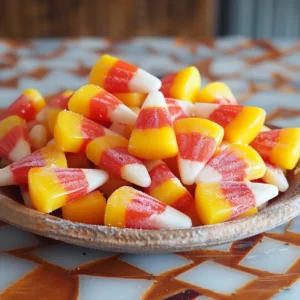
Fall’s Favorite Treat, Made by YOU!
Oh, hello there! It’s that magical time of year again when the leaves are changing, the air is crisp, and our kitchens start to smell like pure autumn bliss. And what’s more iconic to fall than a big ol’ bowl of candy corn? I remember as a kid, diving into those little tri-colored kernels felt like the ultimate holiday treat. But guess what? You don’t need to buy bags of it from the store anymore! Today, we’re making our own homemade candy corn, and trust me, it’s surprisingly simple and oh-so-rewarding.
Why You’ll Love This Homemade Candy Corn Recipe
- Fast & Easy: Seriously, you’ll be amazed at how quickly this comes together. Perfect for a last-minute craving or a fun kitchen project.
- Incredibly Giftable: Imagine packaging these little beauties in cute jars or tins for neighbors, friends, or teachers. They make the sweetest homemade gifts!
- Guaranteed Crowd-Pleaser: Whether it’s for a Halloween party, a fall gathering, or just movie night, everyone loves a classic.
- Customizable Colors: While we’re sticking to the traditional red, yellow, and white, you can totally play around with other color combinations if you’re feeling adventurous!
Gather Your Sweet Supplies
Let’s get everything ready. Here’s what you’ll need to whip up your very own batch of delicious candy corn:
- 1 cup powdered sugar: This gives our candy corn that soft, powdery texture.
- 2 1/2 tablespoons nonfat powdered milk: A little secret ingredient for a smoother texture.
- 1/8 teaspoon kosher salt: Just a pinch to balance out the sweetness.
- 1/2 cup granulated sugar: Our main sweetener!
- 1/3 cup light corn syrup: This is what makes the candy corn chewy and gives it that signature shine.
- 2 tablespoons unsalted butter: For richness and a lovely smooth finish.
- 1 1/2 teaspoons vanilla extract: Because everything is better with vanilla!
- Red and yellow liquid food coloring: The key to those classic candy corn stripes!
Let’s Get Cooking! Step-by-Step
Ready to turn these simple ingredients into candy corn magic? Let’s do this!
Step 1: Dry Ingredients Mix
First things first, grab a medium bowl. Whisk together your powdered sugar, nonfat powdered milk, and that tiny pinch of kosher salt. Give it a good stir so it’s all nicely combined. Set this aside for now.
Step 2: The Sweet Liquid Base
Now, in a small saucepan, combine your granulated sugar, light corn syrup, and the unsalted butter. Place this on the stove over medium heat.
Step 3: Heating It Up
Stir this mixture constantly until the butter has completely melted and everything looks smooth and happy. Once it’s smooth, bring it to a gentle boil. Let it boil for exactly 1 minute, stirring occasionally to make sure nothing sticks. Keep an eye on it!
Step 4: Flavor Boost
Take the saucepan off the heat and carefully stir in your vanilla extract. Ah, that aroma! It smells like fall already.
Step 5: Bringing it All Together
Now for the fun part! Gradually add the powdered sugar mixture (from Step 1) into the hot liquid you just made. Stir, stir, stir! You’ll notice it start to thicken up and form a lovely, thick dough. It might feel a little sticky, but that’s exactly what we want.
Step 6: Divide and Conquer
Once you have that dough, turn it out onto a surface that’s lightly dusted with powdered sugar (or you can use a silicone mat). Divide this dough into three equal portions. Yep, three! This is where the magic happens.
Step 7: Color Time – Yellow!
Take one of your dough portions. Add just a few drops of yellow liquid food coloring. Now, get in there and knead it gently until the color is evenly distributed. It’s like playing with play-doh, but it tastes way better!
Step 8: Color Time – Red!
Do the same with another portion of dough. This time, add a few drops of red food coloring and knead until you have a beautiful red dough. Leave the third portion of dough just as it is – that’s our classic white center!
Step 9: Rolling the Ropes
Now, take each colored portion (white, yellow, and red) and roll them into long ropes. Aim for a diameter of about 1/2 inch. Try to make them as even as possible – this will help them stick together nicely.
Step 10: The Candy Corn Assembly Line
This is the iconic part! Lightly press the three ropes together side-by-side. You want the white rope right in the middle, with the yellow rope on one side and the red rope on the other. Think of it as building a perfect little flavor log.
Step 11: Gentle Roll
Once your ropes are nestled together, gently roll over the combined log. This helps them adhere to each other and creates that classic candy corn shape.
Step 12: Cutting the Kernels
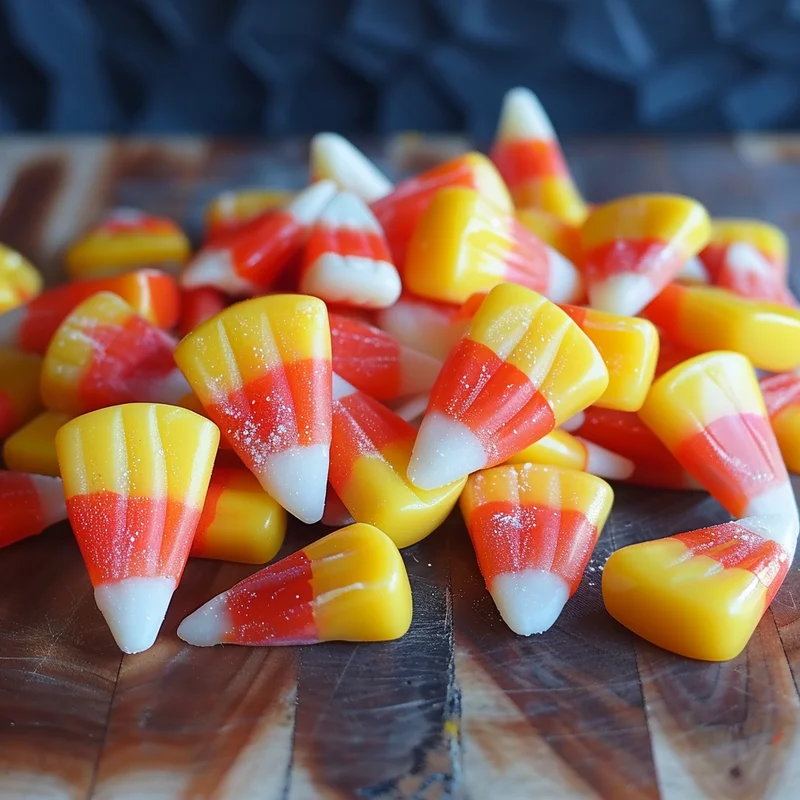
Using a sharp knife or a pizza cutter, carefully cut your combined ropes into 1/2 inch pieces. You’re essentially creating your very own miniature candy corn pieces!
Step 13: Let Them Set
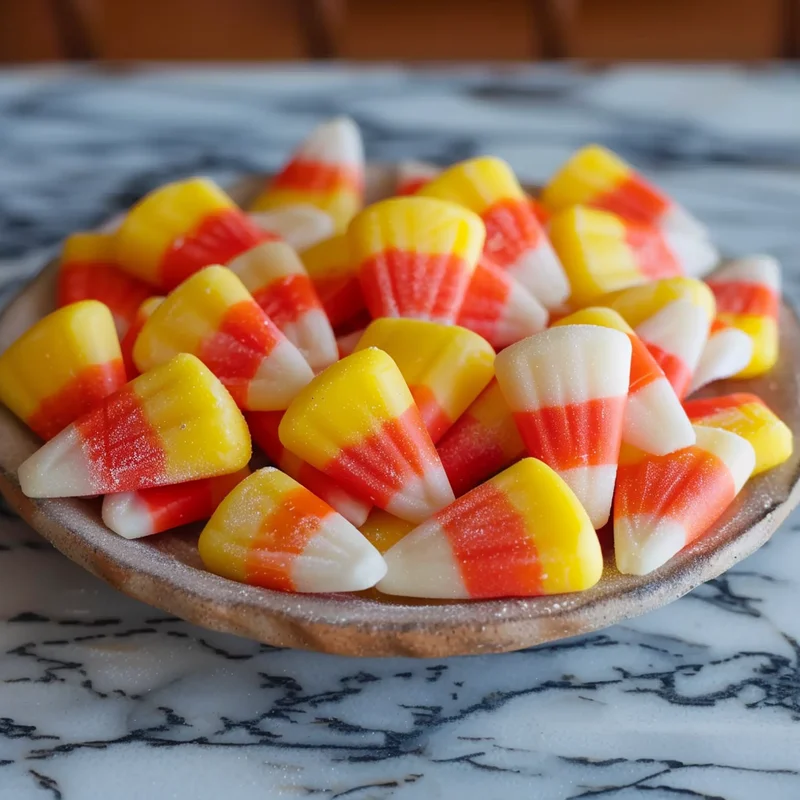
Lay all your beautiful candy corn pieces on a piece of parchment paper. Now, the hardest part: patience! Let them set on the parchment paper for at least 2 hours. This allows them to firm up and get that perfect chewy texture. Once they’re set, they’re ready to enjoy!
Swaps, Sips, and Sweet Surprises
Feeling a little creative? You can totally customize this recipe!
- Different Flavors: Swap out the vanilla for a touch of maple extract or a hint of peppermint for a fun twist.
- More Colors: Want to make Halloween-themed candy corn in purple and orange? Go for it! Just be sure to use liquid food coloring as it incorporates best.
- Sparkle Factor: For a truly festive look, you can dust your finished candy corn with edible glitter before it fully sets.
- Texture Play: If you prefer a slightly firmer candy corn, you can try reducing the corn syrup by a tablespoon, but be aware it might make the dough a bit harder to work with.
Your Cheat Sheet to Candy Corn Perfection
A few insider tips to make sure your candy corn turns out amazing every time:
- Don’t Overcook the Sugar Mixture: Boiling for exactly 1 minute is key. Too long and it could get too hard; too short and it might not set properly.
- Work Quickly with the Dough: Once the powdered sugar mixture is added, the dough will start to firm up. Try to divide and color it while it’s still pliable. If it gets too stiff, you can warm it slightly in your hands.
- Powdered Sugar is Your Friend: Don’t be shy with dusting your work surface and hands with powdered sugar. It helps prevent sticking and makes the dough much easier to handle.
- Prep Ahead: You can mix your dry ingredients ahead of time and store them in an airtight container. Just combine them with the wet ingredients when you’re ready to make the candy.
Storing Your Homemade Goodies
Once your candy corn has fully set, you can store it in an airtight container at room temperature. It should stay fresh and delicious for about 1-2 weeks. Avoid storing it in the refrigerator, as the moisture can make it sticky.
Got Questions? We’ve Got Answers!
Q: Can I use gel food coloring instead of liquid?
A: Yes, you can! Gel coloring is more concentrated, so you’ll need much less of it. Start with a tiny dot and knead until you achieve your desired color.
Q: My dough is too sticky. What can I do?
A: Add a little more powdered sugar, about a tablespoon at a time, until it’s easier to handle. Make sure your hands are also dusted with powdered sugar!
Q: How long does it take for the candy corn to set?
A: We recommend at least 2 hours, but it’s even better if you can let it set for 3-4 hours or even overnight if you’re making it ahead.
There you have it! Your very own homemade candy corn. It’s such a fun and rewarding treat to make, and the taste is so much better than store-bought. Enjoy this taste of fall – you totally earned it!
Homemade Candy Corn
Equipment
- Medium bowl
- Small saucepan
- Whisk
- Stovetop
- silicone mat optional, for rolling dough
- Parchment paper
- Sharp knife or pizza cutter
Ingredients
Dry Ingredients
- 1 cup powdered sugar for texture
- 2.5 tablespoons nonfat powdered milk for smoother texture
- 0.125 teaspoon kosher salt to balance sweetness
Wet Ingredients
- 0.5 cup granulated sugar main sweetener
- 0.333 cup light corn syrup for chewiness and shine
- 2 tablespoons unsalted butter for richness
- 1.5 teaspoons vanilla extract for flavor
Coloring
- red liquid food coloring
- yellow liquid food coloring
Instructions
- In a medium bowl, whisk together powdered sugar, nonfat powdered milk, and kosher salt. Set aside.
- In a small saucepan, combine granulated sugar, light corn syrup, and unsalted butter over medium heat.
- Stir until butter is melted and mixture is smooth. Bring to a gentle boil and boil for exactly 1 minute, stirring occasionally.
- Remove from heat and stir in vanilla extract.
- Gradually add the powdered sugar mixture to the hot liquid, stirring until a thick dough forms.
- Turn the dough out onto a lightly powdered sugar-dusted surface or silicone mat. Divide into three equal portions.
- Knead a few drops of yellow food coloring into one portion until evenly colored. Knead a few drops of red food coloring into another portion until evenly colored. Leave the third portion white.
- Roll each colored portion into a long rope, about 1/2 inch in diameter.
- Lightly press the three ropes together side-by-side (white in the middle, yellow and red on the sides).
- Gently roll over the combined ropes to help them adhere and create a classic candy corn shape.
- Using a sharp knife or pizza cutter, cut the combined ropes into 1/2 inch pieces.
- Lay the candy corn pieces on parchment paper and let them set for at least 2 hours, or until firm.