
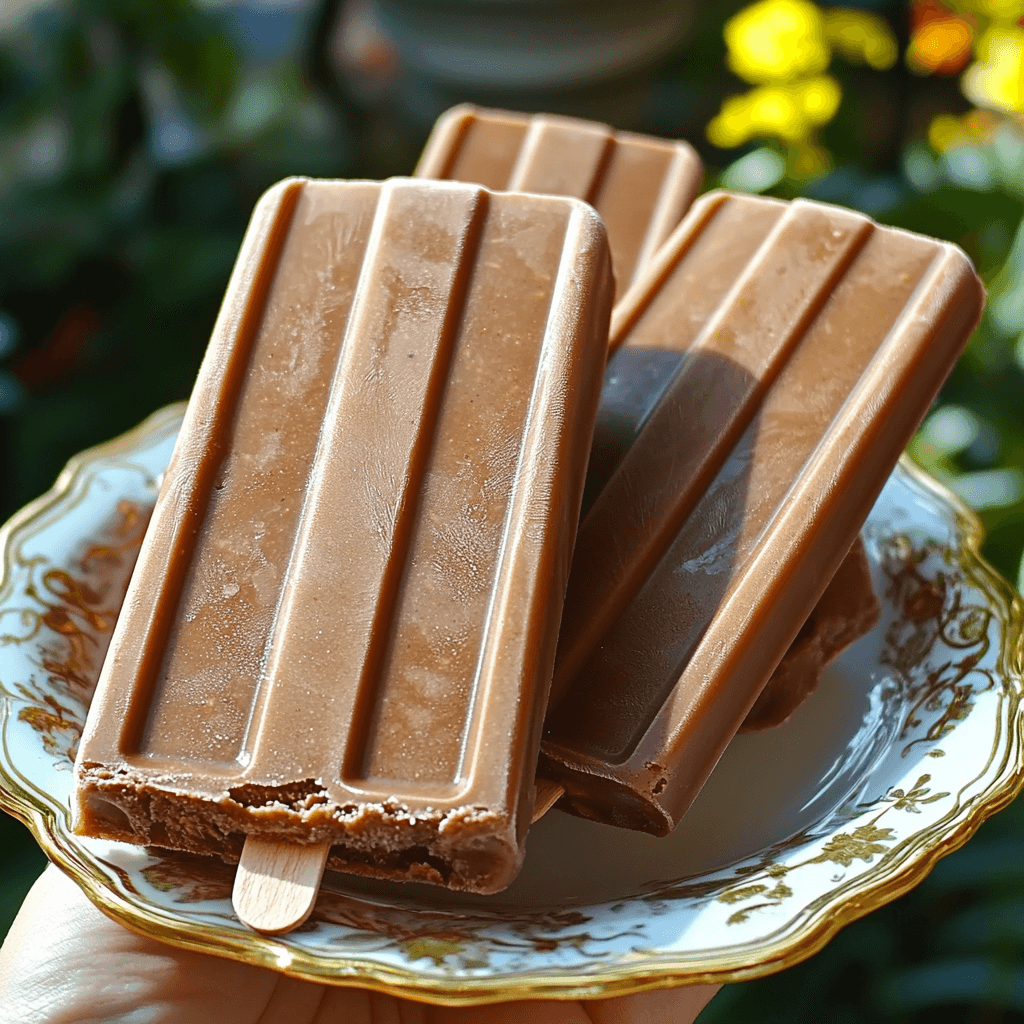
Imagine savoring a creamy, rich dessert on a sweltering summer day that not only satisfies your sweet tooth but also brings back childhood memories. Enter the world of homemade fudgesicles! These indulgent frozen treats are incredibly easy to make and can be customized to suit any palate. Whether you’re a chocolate lover at heart or someone who enjoys a twist of fruitiness, there are countless variations to explore. Try adding a dash of espresso for a deep flavor or throwing in a handful of fresh berries for a refreshing twist.
Achieving the perfect fudgesicle involves understanding a few key techniques—such as the importance of using high-quality cocoa powder or experimenting with sweeteners to find your ideal balance of flavor. With a few expert tips, you can whip up a batch that rivals any store-bought option. So, grab your blender and molds, and let’s dive into the delightful process of creating these decadent wonders in your own kitchen!
Ingredients for Homemade Fudgesicles:
Creating the perfect fudgesicles from scratch is an enjoyable endeavor that results in a creamy, delicious treat. Below is a detailed list of ingredients you will need for a batch serving 8–10 people. Best of all, you can modify this base recipe to suit your taste!
Base Ingredients
- 2 cups of whole milk
- 1 cup of heavy cream
- ¾ cup of granulated sugar
- ⅓ cup of unsweetened cocoa powder
- ½ teaspoon of vanilla extract
- ¼ teaspoon of salt
Optional Add-Ins
- ½ cup of semi-sweet chocolate chips, for extra chocolatey richness
- ¼ cup of peanut butter or almond butter, for a nutty flavor twist
- ¼ cup of shredded coconut, to bring a tropical essence
- 1 ripe banana, blended in for natural sweetness and a banana fudge flavor
- 1 teaspoon of instant coffee granules, for a mocha variation
Flavor Variations
- Mint Fudgesicles: Add ½ teaspoon of peppermint extract for a refreshing minty taste.
- Spicy Fudgesicles: Mix in ½ teaspoon of cinnamon or a pinch of cayenne pepper for a spicy kick.
- Nutty Fudgesicles: Incorporate chopped nuts such as pecans, walnuts, or hazelnuts for added texture.
Equipment Needed
- Fudgesicle molds or popsicle molds
- Blender or whisk for mixing
- Measuring cups and spoons
- Medium saucepan for heating ingredients
These ingredients will provide a rich and creamy texture, making your fudgesicles a delightful summer treat. Feel free to experiment with additional ingredients to customize your popsicles to your liking!
How to prepare Homemade Fudgesicles:
Making your own fudgesicles is a fun and simple process. Follow these clear steps to create creamy, chocolatey treats that are perfect for hot days.
Gather Your Ingredients
Start by collecting all the necessary ingredients. You will need:
- 2 cups whole milk
- 1 cup heavy cream
- 3/4 cup granulated sugar
- 1/2 cup unsweetened cocoa powder
- 1 teaspoon vanilla extract
- A pinch of salt
Mix the Base
In a large mixing bowl, combine the cocoa powder and granulated sugar.
Whisk these two ingredients together until they are well blended.
Then, slowly add the whole milk to the bowl while continuously whisking.
Ensure all the cocoa and sugar dissolve completely in the milk.
Add the Cream
Next, pour in the heavy cream and mix it thoroughly.
The cream will enhance the richness of your fudgesicles.
Flavor the Mixture
Add the vanilla extract and a pinch of salt. These ingredients add depth to the chocolate flavor.
Mix well to ensure the flavors are evenly distributed.
Check the Consistency
After mixing, check the consistency of your fudgesicle base. It should be smooth and slightly thick.
Pour into Molds
Carefully pour the mixture into your fudgesicle molds.
Leave a little space at the top of each mold to allow for expansion.
Add Sticks
Insert sticks into the center of each mold after filling them up.
Make sure they are positioned straight for a better freezing outcome.
Freeze the Mixture
Place the molds in the freezer and allow them to freeze for at least 6 hours, or until completely solid.
A longer freezing time ensures a firmer texture.
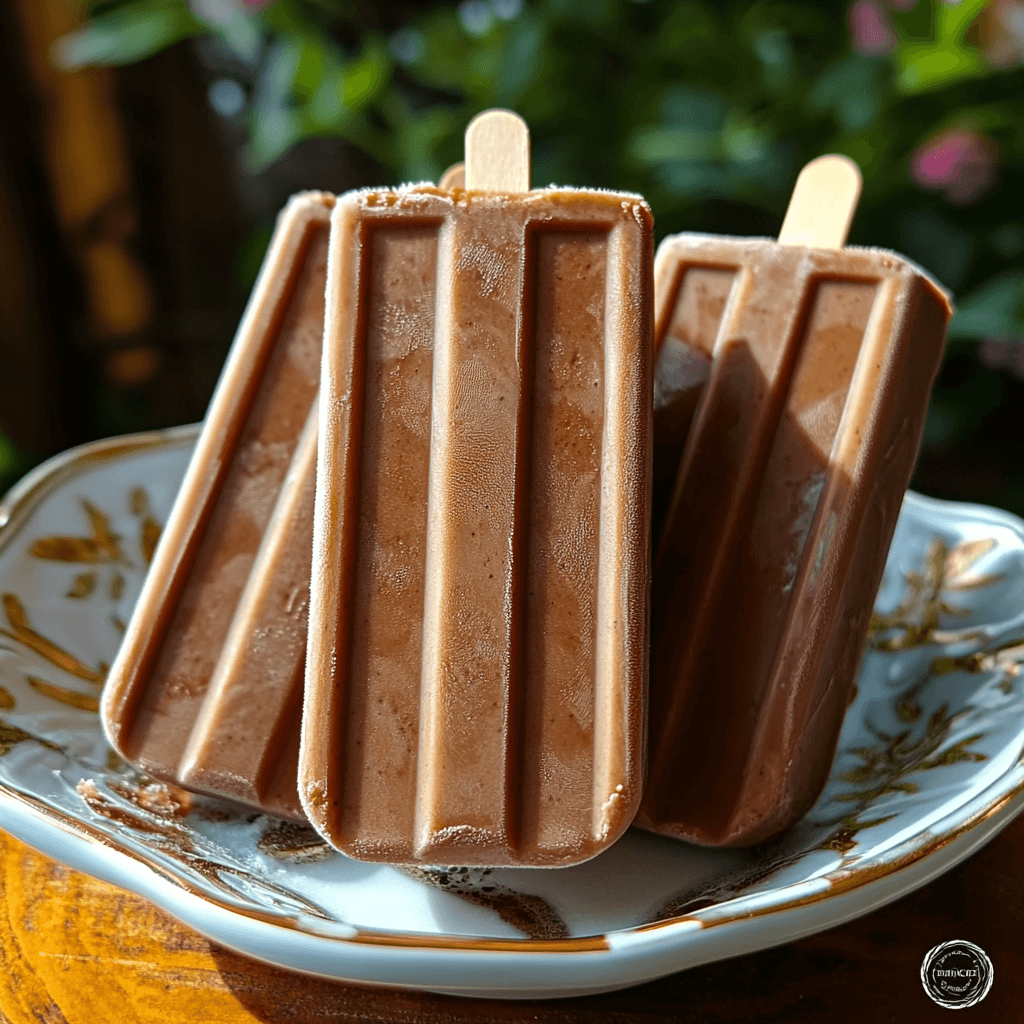
Remove and Enjoy
Once frozen, remove the fudgesicles from the molds.
If they stick, run warm water over the outside of the molds to help release them.
Enjoy your delicious homemade treats!
Tips for the Perfect Homemade Fudgesicles
Quality Ingredients Matter
Using high-quality ingredients can elevate your fudgesicles significantly. Choose fresh dairy products like whole milk or cream for a rich texture. Opt for premium cocoa powder or dark chocolate that doesn’t contain additives. When you use pure vanilla extract instead of imitation flavoring, you enhance the taste. Remember, the quality of ingredients directly affects the final flavor, so don’t skimp here.
Temperature Control is Key
Maintaining the right temperature during preparation is essential. Start by melting your chocolate or cocoa gently over low heat. Avoid high temperatures; burning chocolate can ruin the flavor. Once everything is mixed, pour the mixture into molds while it is still warm but not hot. Placing the molds in the freezer quickly helps achieve that firm fudgesicle texture without large ice crystals forming.
Healthy Substitutions and Dietary Options
If you have dietary restrictions, don’t fret! You can easily tweak the recipe. For a dairy-free version, substitute whole milk with almond milk, coconut milk, or oat milk. For a lower-sugar option, consider using natural sweeteners like maple syrup or honey. Make sure to adjust the quantity based on sweetness preference. If you want a vegan version, replace dairy with plant-based alternatives and use agave syrup instead of honey.
Avoiding Ice Crystals
Nobody likes grainy fudgesicles with large ice crystals. To prevent this, incorporate a bit of cornstarch into your mixture. It helps with the creaminess and creates a smoother texture. Additionally, blending your mixture well ensures air gets trapped, producing a creamy consistency when frozen.
Adding Flavor and Texture
Feel free to experiment! Add a pinch of sea salt to enhance the chocolate flavor. You can also include mix-ins like chopped nuts, mini chocolate chips, or even fruit puree for added fun. Each flavor combination can create a new dessert experience.
By following these tips, you’ll make fudgesicles that are creamy, flavorful, and perfectly textured—ideal for satisfying your chocolate craving on a hot day!
Storage Tips for Homemade Fudgesicles:
Preserving the delightful taste and texture of your homemade fudgesicles requires proper storage techniques. Keeping these frozen treats fresh allows you to enjoy them longer while retaining their quality. Here’s how to do it effectively:
Optimal Storage Conditions
Store your fudgesicles in an airtight container or a resealable freezer bag. This prevents freezer burn, which affects the texture and flavor. Before sealing, make sure to remove as much air as possible, as this helps maintain the taste and moisture level. Keep the container in the back of the freezer, where the temperature remains more consistent, avoiding frequent fluctuations that can lead to ice crystals forming.
Recommended Temperature
Ensure your freezer is set to 0°F (-18°C) or lower. This temperature keeps your fudgesicles firmly frozen, preserving their rich, chocolaty goodness. Regularly check your freezer’s temperature with a thermometer to avoid unexpected changes that could compromise the quality of your treats.
Common Storage Mistakes
Avoid storing fudgesicles in the freezer door, as this area usually experiences temperature fluctuations. Also, refrain from leaving them unwrapped in the freezer. Exposure to air and odors can alter the taste and texture. By wrapping or sealing them properly, you can avoid these pitfalls.
Shelf Life of Fudgesicles
Homemade fudgesicles usually remain at their best for about 1 to 2 months in the freezer. While they may still be safe to consume after this period, the flavor and texture may deteriorate. For the best experience, enjoy them within this time frame. Always check for any signs of freezer burn or off flavors before indulging.
Thawing and Refreezing
When you’re ready to enjoy a fudgesicle, simply remove it from the freezer and allow it to sit at room temperature for a few minutes. This makes it easier to unwrap or bite into. Avoid refreezing fudgesicles after thawing, as this can further damage their texture and taste.
By following these simple yet effective storage tips, you can enjoy your homemade fudgesicles at their best quality every time you indulge in these frozen delights!
Related Recipes to Homemade Fudgesicles
If you love the rich, creamy taste of fudgesicles, you might enjoy other frozen treats that offer similar flavors and textures. Here are a few recipes that complement the indulgence of fudgesicles while providing unique twists.
Chocolate Banana Ice Cream
Chocolate banana ice cream combines ripe bananas with cocoa powder, creating a luscious dessert reminiscent of a fudgesicle. The natural sweetness of bananas adds depth, while the chocolate gives it that familiar rich flavor. This recipe is easy to make and perfect for those nights when you want something quick and satisfying.
Mint Chocolate Chip Popsicles
If you seek a fresh, refreshing treat, consider mint chocolate chip popsicles. By blending fresh mint leaves and chocolate chips with yogurt or coconut cream, you get a cool dessert that offers a burst of flavor. The mint adds a unique twist to the chocolate base, making it a summer favorite.
Coconut Milk Chocolate Pudding
Coconut milk chocolate pudding provides another creamy alternative with a tropical twist. This rich pudding features cocoa powder and coconut milk, creating a silky dessert that melts in your mouth. Serve it chilled for a delightful end to any meal, or enjoy it as a snack during the day.
Peanut Butter Chocolate Banana Bites
These little bites combine the goodness of bananas, peanut butter, and chocolate. Simply slice bananas, spread peanut butter between two slices, and dip them in melted chocolate. Freeze them for a quick snack that mimics the chocolatey decadence of fudgesicles with a delightful crunch.
Incorporating these recipes into your dessert rotation ensures you enjoy various textures and flavors that echo the love of homemade fudgesicles while exploring new culinary delights.
Frequently Asked Questions:
What ingredients do I need to make fudgesicles at home?
To create delicious homemade fudgesicles, you’ll typically need just a handful of ingredients. A rich base usually consists of milk (which can be whole, almond, or coconut), cocoa powder for that chocolaty flavor, sweeteners like sugar or honey, and optional additions such as vanilla extract or a pinch of salt. Some recipes also include cream for a creamier texture or even peanut butter for an added twist.
How can I make fudgesicles dairy-free?
For those seeking a dairy-free version of these frozen treats, it’s simple to substitute traditional ingredients. Use coconut milk or almond milk in place of regular milk, and opt for dairy-free chocolate or cocoa powder. There are numerous alternatives available that can provide the same creamy texture and delightful flavor without any dairy products.
How long do homemade fudgesicles need to freeze?
Typically, homemade fudgesicles require about 4 to 6 hours in the freezer to fully solidify. However, for best results, it’s often recommended to freeze them overnight. This allows the mixtures to blend and freeze uniformly, ensuring a delectable creamy texture when they are finally ready to enjoy.
Can I use sweeteners other than sugar for homemade fudgesicles?
Absolutely! There are plenty of alternatives to sugar that work well in these icy delights. You can try using maple syrup, agave nectar, or natural sweeteners like stevia or monk fruit. Each sweetener will impart a slightly different flavor, so feel free to experiment to find what you love most.
What is the best way to remove fudgesicles from molds?
To easily release your homemade fudgesicles from their molds, run warm water over the outside of the mold for just a few seconds. Alternatively, you can gently twist the mold to help loosen the fudgesicles. Be careful not to pull too hard, as this might cause the treat to break.
How can I customize my fudgesicle recipes?
There are countless ways to personalize your fudgesicles! You can infuse flavors by adding ingredients like coffee, spices such as cinnamon or nutmeg, or even swirl in fruit purees like raspberry or banana. For crunch, try incorporating mini chocolate chips, nuts, or cookie crumbs. The possibilities are nearly endless, making it easy to create a frozen treat that perfectly suits your taste!
Conclusion:
Creating delicious homemade fudgesicles is a rewarding experience that doesn’t require culinary expertise. This simple recipe allows you to whip up a frozen treat that can easily adapt to your tastes. Whether you prefer a dairy-free option or want to incorporate additional flavors like mint or coffee, the flexibility of this treat means you can personalize it to suit your cravings. Using just a few pantry staples, you can craft these delightful coolers any time. Don’t hesitate to experiment with mix-ins such as nuts, or even a hint of spice for an extra kick. With the ability to tailor the ingredients and sweetness level, homemade fudgesicles stand out as a fun and customizable dessert for any occasion. Enjoy the process, and make these refreshing bars a regular summer favorite in your home!