
Introduction
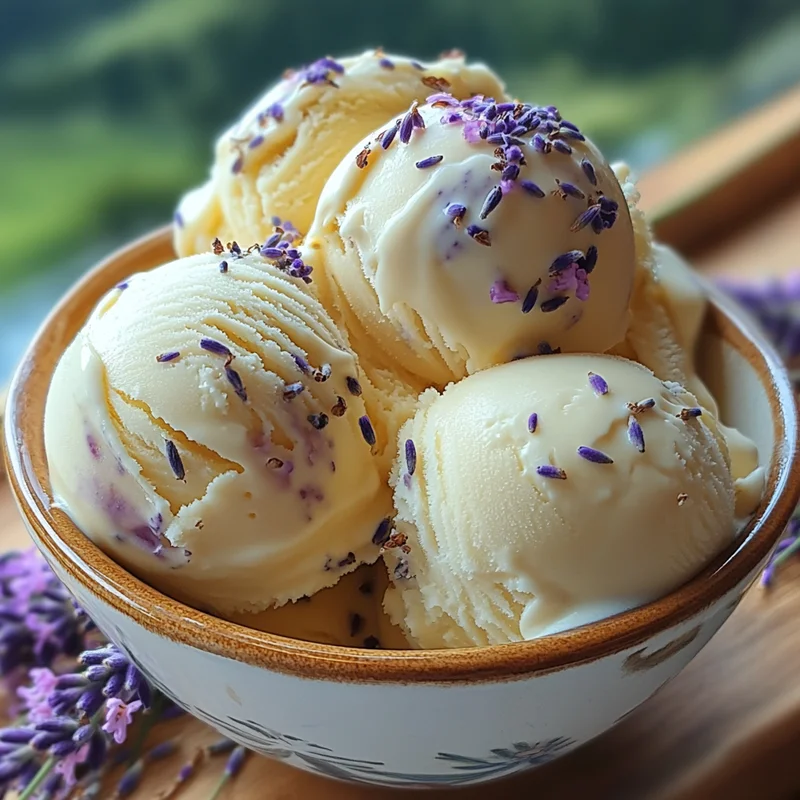
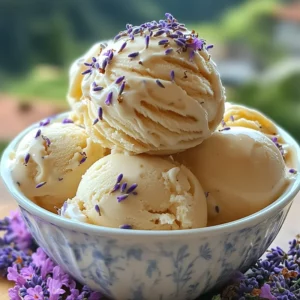
Hey there, ice cream lovers! Ever close your eyes and dream of a flavor that’s a little bit magical, a little bit fancy, but still totally comforting? For me, that’s this Honey Lavender Ice Cream. It’s like a scoop of a peaceful summer evening, wrapped up in a cloud of creamy goodness. I remember the first time I tasted a tiny spoonful of lavender ice cream – I was skeptical! Lavender in ice cream? But one bite, and I was completely hooked. The delicate floral notes paired with the sweet, rich honey? Absolutely divine.
You might think making ice cream from scratch is complicated, but let me tell you, this recipe is surprisingly approachable. It uses simple, real ingredients, and the steps are straightforward. You’ll be so proud when you serve this unique, incredibly delicious treat. It’s perfect for a special occasion, a quiet moment to yourself, or just because you feel like whipping up something truly special.
Why You’ll Love This Recipe
- Fast-ish: Okay, maybe not instant, but the active time is minimal! Most of the waiting is just chilling.
- Easy: No complex techniques here, just simple cooking and chilling.
- Giftable: Pack a pint in a cute container and you’ve got the most thoughtful homemade gift!
- Crowd-Pleasing: While unique, the delicate flavor combo is surprisingly popular and always gets rave reviews.
Ingredients
Gather ’round, friends! Here’s what you’ll need to whip up this little bit of heaven:
- 2 cups heavy cream: This is key for that rich, luxurious texture. Don’t skimp here!
- 1 cup whole milk: Adds liquid and helps balance the richness of the cream. Whole milk gives the best flavor.
- ½ cup honey: Use a good quality honey! Lighter honey will let the lavender shine, but a slightly bolder one can be lovely too.
- 2 tablespoons dried culinary lavender: Make sure it’s culinary grade. You don’t want lavender that’s been sprayed or isn’t meant for eating – it can taste soapy! Look for it in spice shops, health food stores, or online.
- 5 large egg yolks: These create a custard base, which is essential for that smooth, scoopable texture in homemade ice cream.
- ¼ teaspoon vanilla extract: A little touch of vanilla just rounds everything out beautifully.
How to Make It
Alright, let’s get this creamy goodness happening! Follow these steps, and you’ll have delicious homemade ice cream ready to freeze.
- First things first, grab a medium saucepan. Pour in your heavy cream, whole milk, and honey. Add those pretty dried culinary lavender buds right in.
- Pop the pan over medium heat. Stir gently every so often, just until the mixture is nice and hot. You’ll see little wisps of steam, but whatever you do, don’t let it boil. Boiling can mess with the dairy and the custard later.
- Once it’s hot, take it off the heat. Cover the pan and let it just sit there and steep. This is where all that lovely lavender flavor gets infused! Give it 15 to 30 minutes. I usually go for closer to 30 for a stronger lavender note, but you can do less if you prefer it subtler.
- While that’s steeping, get a separate bowl and whisk those 5 egg yolks until they’re nice and smooth.
- After the steep time is up, put your cream mixture back on very low heat, just to warm it up again slightly.
- Now comes the “tempering” part – it sounds fancy, but it just means gently bringing the egg yolks up to temperature so they don’t scramble. While you’re constantly whisking your egg yolks, slowly, very slowly, ladle about half a cup of the warm cream mixture into the yolks. Keep whisking!
- Once you’ve whisked that half-cup into the yolks, pour the tempered yolk mixture back into the saucepan with the rest of the warm cream.
- Turn the heat back to low. Now, stir the custard constantly. Use a wooden spoon or a heatproof spatula and scrape the bottom and sides of the pan. Keep stirring gently but surely. This will take a few minutes. You’re looking for the custard to thicken just enough to coat the back of your spoon – if you draw a line through it with your finger, the line should hold for a second. Again, do not let it boil. If you see any signs of simmering, take it off the heat immediately and stir vigorously off the heat for a moment before returning it to low heat if needed.
- As soon as it reaches that “coating the spoon” stage, take the saucepan off the heat right away.
- Now, grab a clean bowl and a fine-mesh sieve. Carefully pour the custard mixture through the sieve into the clean bowl. This catches all those lovely lavender buds and makes sure your ice cream is super smooth. Give the buds a little press in the sieve to get all that flavor out!
- Stir in your ¼ teaspoon of vanilla extract. Give it a good whisk to combine.
- This next step is important! To prevent a “skin” from forming on top of the custard as it cools, press plastic wrap directly onto the surface of the custard. Make sure it’s touching the whole surface.
- Now, pop that bowl into the refrigerator. It must be thoroughly chilled before churning. At least 4 hours is good, but I find chilling it overnight gives the best results. It needs to be really, really cold.
- Once it’s perfectly chilled, get out your ice cream maker! Pour the cold custard into the machine and churn it according to the manufacturer’s instructions. This usually takes about 20-30 minutes, depending on your machine. It will be the consistency of soft-serve.
- Transfer the churned ice cream (which will be soft) into an airtight container. Smooth the top.
- Finally, place the container in the freezer for at least 4 hours (or until firm) so it can harden up to that perfect scoopable consistency. Then, scoop, serve, and enjoy the magic!
Substitutions & Additions
Feeling creative? Here are a few ideas to play with this recipe:
- Different Honey: Try a local wildflower honey or even a buckwheat honey for a bolder flavor twist.
- Herbal Pairings: A tiny sprig of fresh rosemary or a few basil leaves steeped alongside the lavender can add another layer of complexity. Remove with the lavender before straining.
- Lemon Zest: Add a strip of lemon peel to steep with the lavender for a bright, citrusy lift.
- Lavender Strength: Want more or less lavender flavor? Adjust the steeping time accordingly. Start with 15 minutes for a subtle hint, go up to 30 or even 40 for a stronger presence.
- Dairy-Free? This exact recipe uses a custard base with egg yolks, which makes direct dairy substitutes tricky. You’d need a completely different type of recipe for a dairy-free version (often involving coconut milk and cornstarch or a no-churn method).

Tips for Success
Making ice cream is fun, and these little tips will help ensure yours turns out perfect every time:
- Use Culinary Lavender: I know I said it before, but it’s worth repeating! Garden or craft lavender can have a soapy or bitter flavor.
- Don’t Boil the Custard: This is the most crucial step! Boiling the custard can curdle the egg yolks and ruin the smooth texture. Keep the heat low and stir constantly.
- Chill Thoroughly: Resist the urge to churn the custard before it’s fully chilled. Warm custard won’t freeze properly in the machine and will result in icy ice cream. Overnight chilling is your friend!
- Strain Well: Make sure your sieve is fine enough to catch all the lavender buds. You want smooth ice cream, not chewy bits of flower!
- Invest in an Ice Cream Maker: While there are no-churn methods, a machine gives you the best, smoothest, creamiest result for custard-based ice creams like this one.
How to Store It
Once your ice cream is firm, transfer it to a good quality airtight container. This helps prevent freezer burn and keeps those delicious flavors locked in. Homemade ice cream is best enjoyed within 1-2 weeks for optimal texture and flavor, though it will usually keep for up to a month. If you plan to keep it longer, placing a piece of parchment paper directly on the surface before putting the lid on can help further prevent ice crystals.
FAQs
Where can I find culinary lavender?
Look for it in the spice aisle of larger grocery stores, health food stores, specialty spice shops, or online retailers that sell herbs for cooking.
Can I skip the steeping step?
No, the steeping step is essential! This is how the lavender infuses its flavor into the cream mixture. Without it, you’d just have honey vanilla ice cream.
What if my custard curdles?
If your custard accidentally boils or gets too hot and looks a little lumpy or curdled, don’t panic completely! You can try blending it carefully with an immersion blender or in a regular blender until smooth before chilling and straining. It might not be quite as perfect, but it can often be salvaged.
Do I need an ice cream maker for this recipe?
Yes, this recipe is designed for use with an ice cream maker. The custard base requires churning to incorporate air and freeze correctly for that smooth, creamy texture. While no-churn recipes exist, they use different methods (like whipped cream and condensed milk) and won’t work with this specific ingredient list and process.
Dreamy Homemade Honey Lavender Ice Cream
Equipment
- Medium saucepan
- Separate bowl
- Whisk
- Wooden spoon or heatproof spatula
- Heatproof spatula or wooden spoon
- Clean bowl
- Fine-mesh sieve
- Plastic wrap
- Refrigerator
- Ice cream maker
- Airtight container
- Freezer
Ingredients
Main Ingredients
- 2 cups heavy cream key for rich, luxurious texture
- 1 cup whole milk adds liquid and helps balance richness
- 0.5 cup honey use good quality, lighter honey lets lavender shine
- 2 tablespoons dried culinary lavender make sure it's culinary grade
- 5 large egg yolks create a custard base for smooth texture
- 0.25 teaspoon vanilla extract rounds everything out
Instructions
- First things first, grab a medium saucepan. Pour in your heavy cream, whole milk, and honey. Add those pretty dried culinary lavender buds right in.
- Pop the pan over medium heat. Stir gently every so often, just until the mixture is nice and hot. You'll see little wisps of steam, but whatever you do, don't let it boil.
- Once it's hot, take it off the heat. Cover the pan and let it just sit there and steep. This is where all that lovely lavender flavor gets infused! Give it 15 to 30 minutes. I usually go for closer to 30 for a stronger lavender note, but you can do less if you prefer it subtler.
- While that's steeping, get a separate bowl and whisk those 5 egg yolks until they're nice and smooth.
- After the steep time is up, put your cream mixture back on very low heat, just to warm it up again slightly.
- Now comes the "tempering" part – it sounds fancy, but it just means gently bringing the egg yolks up to temperature so they don't scramble. While you're constantly whisking your egg yolks, slowly, very slowly, ladle about half a cup of the warm cream mixture into the yolks. Keep whisking!
- Once you've whisked that half-cup into the yolks, pour the tempered yolk mixture back into the saucepan with the rest of the warm cream.
- Turn the heat back to low. Now, stir the custard constantly. Use a wooden spoon or a heatproof spatula and scrape the bottom and sides of the pan. Keep stirring gently but surely. This will take a few minutes. You're looking for the custard to thicken just enough to coat the back of your spoon – if you draw a line through it with your finger, the line should hold for a second. Again, do not let it boil. If you see any signs of simmering, take it off the heat immediately and stir vigorously off the heat for a moment before returning it to low heat if needed.
- As soon as it reaches that "coating the spoon" stage, take the saucepan off the heat right away.
- Now, grab a clean bowl and a fine-mesh sieve. Carefully pour the custard mixture through the sieve into the clean bowl. This catches all those lovely lavender buds and makes sure your ice cream is super smooth. Give the buds a little press in the sieve to get all that flavor out!
- Stir in your ¼ teaspoon of vanilla extract. Give it a good whisk to combine.
- This next step is important! To prevent a "skin" from forming on top of the custard as it cools, press plastic wrap directly onto the surface of the custard. Make sure it's touching the whole surface.
- Now, pop that bowl into the refrigerator. It must be thoroughly chilled before churning. At least 4 hours is good, but I find chilling it overnight gives the best results. It needs to be really, really cold.
- Once it's perfectly chilled, get out your ice cream maker! Pour the cold custard into the machine and churn it according to the manufacturer's instructions. This usually takes about 20-30 minutes, depending on your machine. It will be the consistency of soft-serve.
- Transfer the churned ice cream (which will be soft) into an airtight container. Smooth the top.
- Finally, place the container in the freezer for at least 4 hours (or until firm) so it can harden up to that perfect scoopable consistency. Then, scoop, serve, and enjoy the magic!