
Introduction
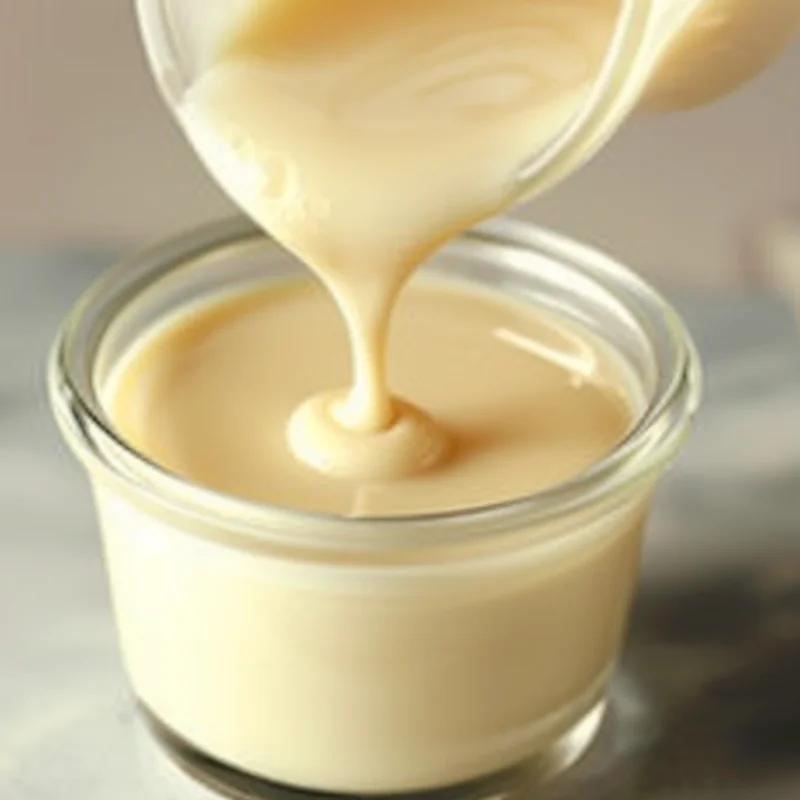
Remember those classic desserts your grandma used to make? The ones that were impossibly creamy and wonderfully sweet? Chances are, sweetened condensed milk was a secret ingredient, and today, I’m going to show you how to make that magic happen right in your own kitchen! Forget those store-bought cans – this homemade version is surprisingly simple and tastes so much better. It’s the kind of recipe that feels like a warm hug and will have you wondering why you didn’t make it sooner.
Why You’ll Love This Recipe
- Fast: While it takes a little hands-on time, the active prep is minimal.
- Easy: Seriously, it’s just a few ingredients and some patience.
- Giftable: Imagine gifting a jar of this to a fellow baker! It’s the sweetest present.
- Crowd-pleasing: Perfect for pies, cookies, and all your favorite sweet treats.
Ingredients
- 2 cups (500 ml) full-fat milk or 2% milk: Full-fat milk will give you a richer, creamier result, but 2% works wonderfully too!
- 3/4 cup (150 g) sugar: This is what gives our condensed milk its signature sweetness and helps it thicken.
- Pinch of baking soda (optional): This little secret helps prevent any scorching and makes the milk a bit smoother. Don’t skip it if you can help it!
How to Make It
Get ready to feel like a kitchen wizard! This process is all about gentle simmering and a little bit of stirring, and the reward is pure deliciousness.
- Get Started: Grab a medium-sized saucepan. Pour in your milk and add the sugar. Give it a good whisk to start dissolving that sugar.
- Gentle Heat: Place the saucepan over medium-high heat. You want to bring this mixture up to a simmer, but not a rolling boil just yet. Stir it often so the sugar doesn’t stick to the bottom.
- The Simmering Stage: Once you see it starting to bubble a little, reduce the heat to medium. This is where the magic happens! You’ll need to stir frequently – I like to set a timer for every 5 minutes or so. Keep stirring until the mixture has thickened enough to coat the back of a spoon, which usually takes about 20-25 minutes. It will continue to thicken as it cools.
- The Secret Ingredient (Optional): Once it’s thickened, carefully remove the saucepan from the heat. If you’re using baking soda, now’s the time to stir in that tiny pinch. It might fizz a little – that’s totally normal!
- Cooling Down: Now, you’ll want to stir it occasionally as it cools down. This is important because it helps prevent a skin from forming on top. Trust me, nobody wants a skin on their condensed milk!
- Storage Time: Once your beautiful condensed milk has cooled completely, pour it into an airtight container. It’s ready to be used in your favorite recipes or stored for later!
Substitutions & Additions
While this recipe is fantastic as is, there’s always room for a little creativity!
- Dairy-Free Dream: Looking for a vegan option? You can try this with full-fat coconut milk (from a can, not the carton) for a slightly different, but still delicious, flavor. You might need to adjust the sugar slightly depending on the sweetness of your coconut milk.
- Vanilla Kiss: For an extra layer of flavor, stir in a teaspoon of pure vanilla extract when the milk has cooled down. It adds a lovely warmth!
- A Touch of Spice: Feeling adventurous? A tiny pinch of ground cinnamon or nutmeg stirred in at the end can add a cozy twist.
Tips for Success
A few little tricks can make this even smoother sailing!
- Don’t Walk Away: The biggest mistake is letting the milk scorch. Keep an eye on it, especially during the simmering stage, and stir frequently. A good quality non-stick saucepan can be your best friend here.
- Patience is Key: The thickening process takes time. Don’t be tempted to crank up the heat to speed things along – you’ll just risk burning it.
- Prep Ahead: This condensed milk keeps so well, you can easily make a big batch and store it in the fridge for all your baking needs throughout the week or month.
- Cooling is Crucial: Remember to stir it as it cools to prevent that skin. If a little bit of skin does form, you can usually strain it out before storing.
How to Store It
Once your homemade sweetened condensed milk has cooled completely, transfer it to an airtight container or a glass jar. It will keep beautifully in the refrigerator for about 2 to 3 weeks. Just give it a good stir before you use it, as it might separate slightly.
FAQs
Q: Can I use skim milk?
A: You can, but it will result in a thinner consistency and a less rich flavor. Full-fat or 2% milk is definitely recommended for the best results.
Q: How do I know when it’s thick enough?
A: The best way to tell is by coating the back of a spoon. If you draw a line through the condensed milk on the spoon with your finger, and the line stays clear for a few seconds, it’s ready. It will thicken more as it cools!
Q: Can I use this in place of store-bought condensed milk?
A: Absolutely! This homemade version works perfectly as a 1:1 substitute in most recipes.
Homemade Sweetened Condensed Milk
Equipment
- medium-sized saucepan
- Whisk
- Airtight container for storage
- glass jar for storage
Ingredients
Main ingredients
- 2 cups full-fat milk or 2% milk Full-fat milk will give you a richer, creamier result, but 2% works wonderfully too!
- 0.75 cup sugar This is what gives our condensed milk its signature sweetness and helps it thicken.
- 0.125 teaspoon baking soda Optional: This little secret helps prevent any scorching and makes the milk a bit smoother. Don't skip it if you can help it!
Instructions
- Grab a medium-sized saucepan. Pour in your milk and add the sugar. Give it a good whisk to start dissolving that sugar.
- Place the saucepan over medium-high heat. You want to bring this mixture up to a simmer, but not a rolling boil just yet. Stir it often so the sugar doesn't stick to the bottom.
- Once you see it starting to bubble a little, reduce the heat to medium. This is where the magic happens! You'll need to stir frequently – I like to set a timer for every 5 minutes or so. Keep stirring until the mixture has thickened enough to coat the back of a spoon, which usually takes about 20-25 minutes. It will continue to thicken as it cools.
- Once it's thickened, carefully remove the saucepan from the heat. If you're using baking soda, now's the time to stir in that tiny pinch. It might fizz a little – that's totally normal!
- Now, you'll want to stir it occasionally as it cools down. This is important because it helps prevent a skin from forming on top. Trust me, nobody wants a skin on their condensed milk!
- Once your beautiful condensed milk has cooled completely, pour it into an airtight container. It’s ready to be used in your favorite recipes or stored for later!