
Introduction
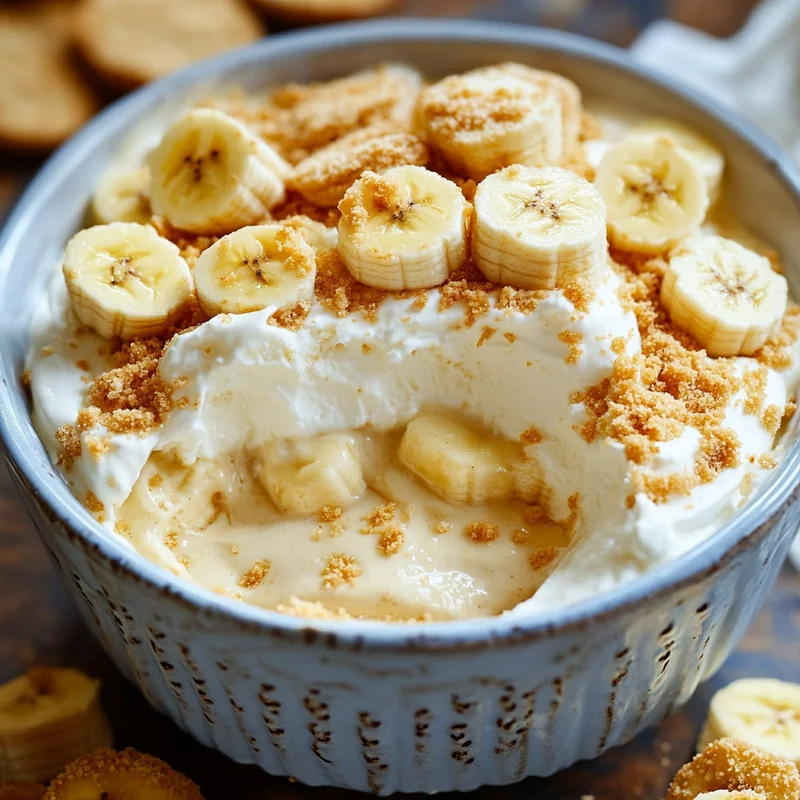
Oh, banana pudding. Doesn’t it just bring back memories? Summers on the porch, potlucks with friends, that first spoonful of creamy, dreamy goodness layered with tender cookies and sweet, ripe bananas. It’s pure comfort in a bowl!
But if you’re living a low-carb or keto lifestyle, the traditional version is usually a no-go with all that sugar and those sugary vanilla wafers. Don’t you worry one bit! I’ve cracked the code to a keto banana pudding that’s just as rich, just as satisfying, and completely sugar-free. It’s so good, you might just forget it’s low-carb!
This recipe is incredibly easy to whip up, seriously quick for a layered dessert, and delivers that nostalgic flavor you’ve been craving. Get ready to fall in love with banana pudding all over again.
Why You’ll Love This Recipe
- Fast: Once your cookie and whipped cream components are ready, assembling this pudding is a breeze! The pudding itself cooks up quickly.
- Easy: No fancy techniques here! If you can stir a pot and layer ingredients, you can make this pudding.
- Giftable: Layered in individual jars or a pretty dish, this makes a beautiful and thoughtful sugar-free treat for friends and family.
- Crowd-Pleasing: Even non-keto eaters will devour this! The texture and flavor are spot on.
Ingredients
Gathering your ingredients is the first step to deliciousness! Here’s what you’ll need for this sugar-free magic:
- Keto Whipped Cream: You’ll need one recipe of your favorite keto whipped cream. This light, airy layer is essential for that classic banana pudding texture. I like to make mine right before assembling.
- Heavy Cream (2 cups): The base of our rich, creamy pudding layer. Full-fat is key here for that luxurious mouthfeel.
- Besti Powdered Monk Fruit Allulose Blend (1/2 cup): My absolute favorite sugar substitute for custards and puddings. It dissolves beautifully, has no weird aftertaste, and mimics sugar perfectly. You can usually find this or a similar blend online.
- Sea Salt (1/4 tsp): Just a tiny pinch to balance the sweetness and enhance all those wonderful flavors.
- Large Egg Yolks (5): These are going to thicken our pudding and give it that classic, smooth custard texture. Make sure they are large and at room temperature if possible!
- Xanthan Gum (1/2 tsp): Our keto secret weapon for thickening! A little goes a long way. Be sure to whisk it in really well to avoid clumps.
- Banana Extract (2 tsp): This is how we get that lovely banana flavor without using actual bananas (which are too high in sugar/carbs for keto). Good quality extract makes a big difference!
- Vanilla Extract (1 tsp): Because vanilla makes everything better, especially creamy desserts!
- Unsalted Butter (1/4 cup, at room temperature): Adds richness and a silky finish to the pudding. Having it at room temperature helps it incorporate smoothly.
- Coconut Flour Shortbread Cookies: You’ll need one recipe of Coconut Flour Shortbread Cookies. These stand in for the traditional vanilla wafers and provide that lovely, crumbly texture. I highly recommend making 1.5x the cookie recipe so you have extra for snacking or decorating the top! Crush them into pieces – some crumbs, some bigger chunks are perfect.
How to Make It
Let’s get cooking! Follow these simple steps to create your amazing sugar-free banana pudding:
- Prep Your Layers: First, make your Keto Whipped Cream according to your favorite recipe and set aside (keep it chilled!). Next, make your Coconut Flour Shortbread Cookies, let them cool completely, and then break or crush them into pieces. Don’t worry about making them uniform – variety in size adds great texture!
- Whisk the Dry Ingredients: In a medium saucepan (off the heat), whisk together the heavy cream, Besti powdered sweetener, sea salt, and xanthan gum. Whisk vigorously for about 30 seconds to a minute to ensure the xanthan gum is fully dispersed and there are no lumps. This is important!
- Add the Egg Yolks: Add the egg yolks to the saucepan with the cream mixture. Whisk everything together until well combined and smooth.
- Thicken the Pudding: Place the saucepan over medium heat. Cook, stirring constantly with a whisk or heatproof spatula, until the pudding thickens enough to coat the back of a spoon (around 5-10 minutes). Do NOT let it boil rapidly; a gentle simmer is okay. Stir, stir, stir to prevent scorching and ensure even cooking.
- Remove from Heat and Add Flavor: Once thickened, remove the saucepan from the heat. Stir in the banana extract, vanilla extract, and the room temperature unsalted butter until the butter is completely melted and incorporated.
- Chill the Pudding: Pour the pudding mixture into a bowl or container. Press a layer of plastic wrap directly onto the surface of the pudding to prevent a skin from forming. Chill in the refrigerator for at least 2-3 hours, or until it is completely cold and set. This step is crucial for the layers to hold properly!
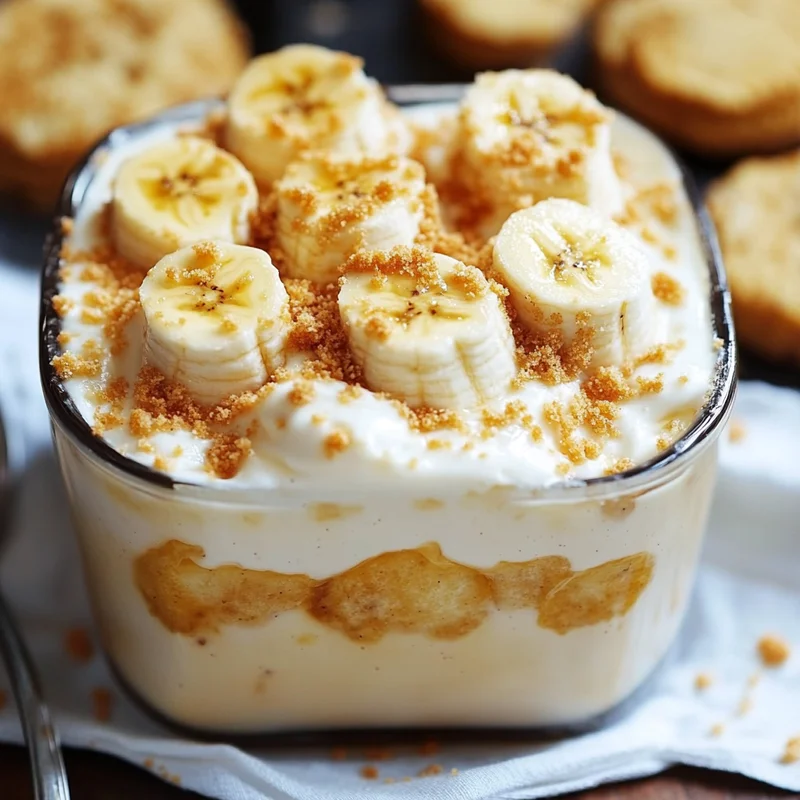
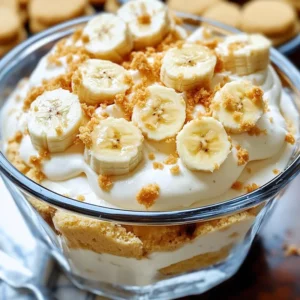
- Assemble Your Pudding: Now for the fun part! Get your crushed cookies, chilled pudding, and whipped cream ready. You can assemble this in a large trifle dish or in individual cups or jars. Start with a layer of crushed cookies at the bottom. Spoon or pipe a layer of the chilled banana pudding over the cookies. Then add a layer of keto whipped cream. Repeat the layers until you run out of pudding and cookies, finishing with a generous layer of whipped cream on top.
- Chill Again: For the best texture, cover the assembled pudding lightly and chill it in the refrigerator for at least another hour before serving. This allows the flavors to meld and the cookies to soften slightly.
Substitutions & Additions
One of the joys of cooking at home is making it your own! Here are a few ideas to switch things up or add extra deliciousness:
- Sweetener: While I highly recommend the monk fruit/allulose blend for texture, you could potentially use another powdered keto sweetener like erythritol or xylitol (keep away from pets!). You might need to adjust the amount based on sweetness preference and how well it dissolves. Test a small amount!
- Extracts: Not a fan of banana extract? Omit it for a simple vanilla or butterscotch pudding. Or try adding a little rum extract for a boozy twist!
- Spices: A pinch of nutmeg or cinnamon in the pudding layer could add a lovely warmth.
- Nuts: Sprinkle some chopped pecans or walnuts between the layers for added crunch and flavor.
- Chocolate: A few sugar-free chocolate chips or shavings could be a fun addition, although not traditional for banana pudding!
Tips for Success
A few pointers to help you nail this recipe on your first try:
- Whisk Xanthan Gum Vigorously: Seriously, spend that minute whisking the dry ingredients into the cold cream before heating. This prevents little jelly-like clumps of xanthan gum.
- Stir Constantly While Heating: Don’t walk away from the stove when cooking the pudding! Gentle, constant stirring ensures it thickens evenly and doesn’t scorch the bottom.
- Chill, Chill, Chill!: Both the pudding layer before assembly and the final assembled pudding need adequate chilling time. This is key for setting and for the cookies to soften just right.
- Make Ahead: You can make the cookies and the pudding layer a day or two in advance. Store them separately in the fridge. Make the whipped cream just before assembling for the best texture.
- Cookie Texture: Break the cookies into a mix of fine crumbs and larger chunks for interesting texture throughout the pudding.
How to Store It
This banana pudding is best enjoyed within 2-3 days of assembling. Store it covered tightly with plastic wrap or a lid in the refrigerator. The cookies will continue to soften over time. I don’t recommend freezing this pudding, as dairy-based custards and whipped cream tend to separate when thawed.
FAQs
Got questions? I’ve got answers!
- Can I use real bananas? Unfortunately, real bananas are too high in sugar and carbs to be considered keto-friendly. We use banana extract to get the flavor without the carbs.
- My pudding didn’t thicken! What went wrong? Make sure you measured your ingredients carefully, especially the egg yolks and xanthan gum. Did you bring it to a gentle simmer and stir until it coated the back of a spoon? Sometimes it just needs a little more time over the heat (while stirring!). Ensure your egg yolks were large.
- Can I use almond flour cookies instead? Absolutely! You can use any sturdy keto cookie recipe you like as the base. Coconut flour shortbread just happens to work beautifully here.
- How many carbs are in a serving? The carb count will depend on the specific keto whipped cream and cookie recipes you use. However, the pudding layer itself is very low carb thanks to the sugar substitute and extracts! Always calculate based on your specific ingredients.
Creamy Keto Sugar-Free Banana Pudding
Equipment
- Medium saucepan
- Whisk or heatproof spatula
- bowl or container for chilling pudding
- Plastic wrap
- Trifle dish or individual cups/jars for assembly
Ingredients
Pudding Base
Assembly Components
- 2 cups Heavy Cream full-fat
- 0.5 cup Besti Powdered Monk Fruit Allulose Blend or similar powdered keto sweetener; adjust to taste
- 0.25 tsp Sea Salt
- 5 Large Egg Yolks at room temperature if possible
- 0.5 tsp Xanthan Gum
- 2 tsp Banana Extract use good quality
- 1 tsp Vanilla Extract
- 0.25 cup Unsalted Butter at room temperature
- 1 recipe Keto Whipped Cream prepare according to your favorite recipe
- 1 recipe Coconut Flour Shortbread Cookies crushed into pieces; 1.5x recipe recommended for extra
Instructions
- Prep Your Layers: First, make your Keto Whipped Cream according to your favorite recipe and set aside (keep it chilled!). Next, make your Coconut Flour Shortbread Cookies, let them cool completely, and then break or crush them into pieces. Don't worry about making them uniform – variety in size adds great texture!
- Whisk the Dry Ingredients: In a medium saucepan (off the heat), whisk together the heavy cream, Besti powdered sweetener, sea salt, and xanthan gum. Whisk vigorously for about 30 seconds to a minute to ensure the xanthan gum is fully dispersed and there are no lumps. This is important!
- Add the Egg Yolks: Add the egg yolks to the saucepan with the cream mixture. Whisk everything together until well combined and smooth.
- Thicken the Pudding: Place the saucepan over medium heat. Cook, stirring constantly with a whisk or heatproof spatula, until the pudding thickens enough to coat the back of a spoon (around 5-10 minutes). Do NOT let it boil rapidly; a gentle simmer is okay. Stir, stir, stir to prevent scorching and ensure even cooking.
- Remove from Heat and Add Flavor: Once thickened, remove the saucepan from the heat. Stir in the banana extract, vanilla extract, and the room temperature unsalted butter until the butter is completely melted and incorporated.
- Chill the Pudding: Pour the pudding mixture into a bowl or container. Press a layer of plastic wrap directly onto the surface of the pudding to prevent a skin from forming. Chill in the refrigerator for at least 2-3 hours, or until it is completely cold and set. This step is crucial for the layers to hold properly!
- Assemble Your Pudding: Now for the fun part! Get your crushed cookies, chilled pudding (the mixture you just made), and whipped cream ready. You can assemble this in a large trifle dish or in individual cups or jars. Start with a layer of crushed cookies at the bottom. Spoon or pipe a layer of the chilled banana pudding over the cookies. Then add a layer of keto whipped cream. Repeat the layers until you run out of pudding and cookies, finishing with a generous layer of whipped cream on top.
- Chill Again: For the best texture, cover the assembled pudding lightly and chill it in the refrigerator for at least another hour before serving. This allows the flavors to meld and the cookies to soften slightly.
Notes
- Sweetener: Can use other powdered keto sweeteners like erythritol or xylitol, adjusting amount as needed. Avoid xylitol if you have pets.
- Extracts: Omit banana extract for vanilla/butterscotch, or add rum extract.
- Spices: Add a pinch of nutmeg or cinnamon.
- Nuts: Sprinkle chopped pecans or walnuts between layers.
- Chocolate: Add sugar-free chocolate chips or shavings. Tips for Success:
- Whisk Xanthan Gum Vigorously: Ensure it's fully dispersed in cold cream before heating to prevent clumps.
- Stir Constantly While Heating: Prevents scorching and ensures even thickening.
- Chill Thoroughly: Both the pudding layer and assembled dessert need adequate chilling time.
- Make Ahead: Cookies and pudding layer can be made 1-2 days in advance; store separately. Make whipped cream just before assembly.
- Cookie Texture: Break cookies into a mix of crumbs and chunks. Storage:
- Store covered tightly in the refrigerator for 2-3 days. The cookies will soften over time.
- Freezing is not recommended.