
Introduction
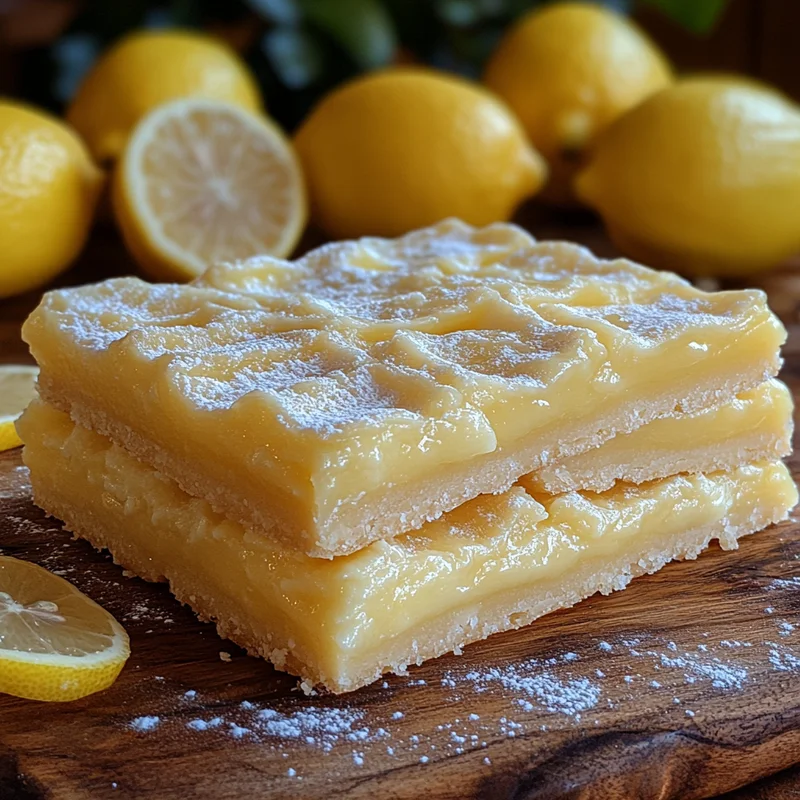
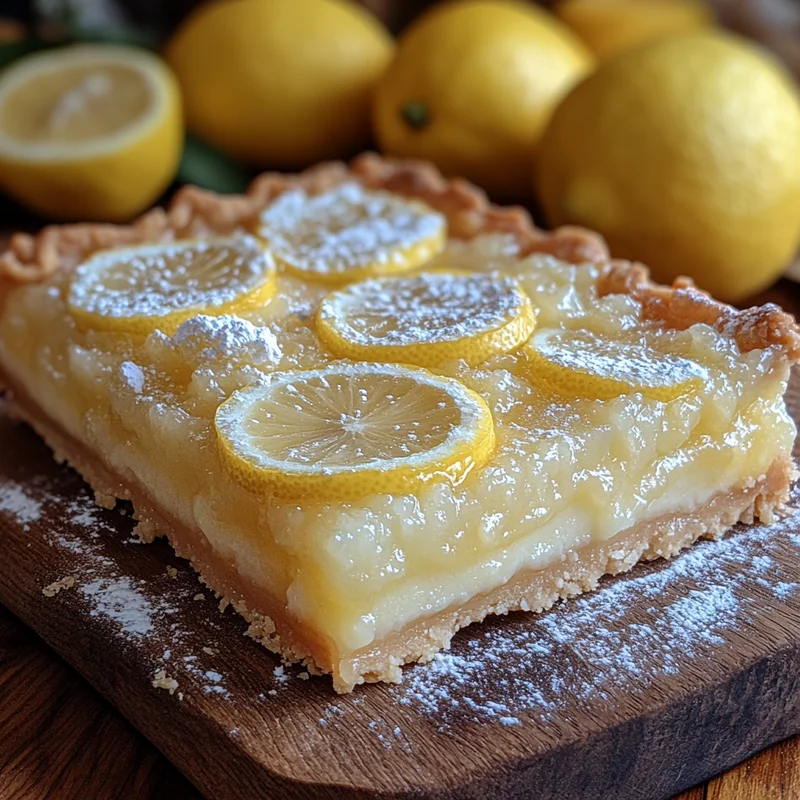
Hey there, friend! Let’s talk about pie. Not just any pie, but one that feels like a warm hug on a chilly day or a burst of sunshine when you need it most. If you’re anything like me, sometimes you crave something sweet, something tart, and something utterly comforting without spending all day in the kitchen. That’s where Limonnik, this delightful Russian Lemon Pie, swoops in to save the day! I stumbled upon this recipe years ago, and it quickly became a family favorite because it’s just so simple, so quick, and the result is a crumbly, buttery crust wrapped around a sweet, tangy lemon filling that dreams are made of. Trust me, once you try this, you’ll keep coming back to it!
Why You’ll Love This Recipe
Seriously, what’s not to love? This Limonnik hits all the right notes:
- Fast: Minimal prep time means you get to deliciousness sooner.
- Easy: No fancy techniques here, just straightforward steps anyone can follow.
- Giftable: Bake one for a friend, and you’ll instantly become their favorite person.
- Crowd-pleasing: The bright lemon flavor balanced with that sweet, crumbly crust is universally loved.
Ingredients
Gather ’round, let’s round up our simple ingredients. You probably have most of these in your kitchen right now!
- 150 g sour cream: Full fat is best for that tender dough.
- 150 g cold butter: Key to that perfect crumb! Make sure it’s nice and cold.
- 320 g flour: All-purpose flour works wonderfully here.
- 2 g baking soda: Just a little helper for a tender crust.
- 1 pinch of salt: Enhances all those lovely flavors.
- Flour for the work surface: Just a bit to keep things from sticking.
- 1 organic lemon: We’ll use the zest AND the juice, so organic is great if you can get it.
- 200 g sugar: Sweetens the tart lemon filling beautifully.
- 15 g cornstarch: Our little secret weapon to thicken that gorgeous lemon filling.
How to Make It
Alright, apron on? Let’s bake this beauty together!
First, preheat your oven to 350°F (175°C). Get your pie dish ready too – a standard 9-inch pie plate is perfect.
In a large bowl, whisk together the 320g of flour, baking soda, and salt. Now, grab that cold butter. You can cut it into small cubes or, my favorite trick for extra crumbliness, grate it using a box grater right into the flour mixture. Use your fingers or a pastry blender to quickly work the butter into the flour until it looks like coarse crumbs. We’re talking pea-sized bits here and there.
Next, add the sour cream to the bowl. Mix it in with a spoon or spatula until a shaggy dough starts to form. Be careful not to overmix! Just bring it together until it’s mostly combined.
Turn the dough out onto a lightly floured surface and gently bring it together into a ball. It should be soft but not too sticky. Divide the dough into two pieces – one slightly larger (about 2/3) for the bottom crust, and one smaller (about 1/3) for the top.
Wrap each piece separately in plastic wrap and pop them into the fridge for about 15-20 minutes. This chilling step is important for the dough’s texture and makes it easier to work with.
While the dough is chilling, let’s make the filling! Wash your organic lemon really well. Zest the entire lemon directly into a medium bowl. Try to get just the yellow part, avoiding the bitter white pith. Now, cut the lemon in half and squeeze out all the juice into the same bowl (watch out for seeds!). Add the sugar and cornstarch to the lemon zest and juice. Give it a good whisk until everything is well combined and the cornstarch is dissolved. It will look a little thin, but the cornstarch will work its magic in the oven.
Time to assemble! Take the larger piece of chilled dough. On a lightly floured surface, roll it out into a circle large enough to fit into your pie dish, with some overhang. Carefully transfer the dough to your pie dish and gently press it into the bottom and up the sides. Trim any excess dough, leaving about an inch of overhang. You can crimp the edges if you like, or just tuck them under.
Pour the lemon filling evenly into the pie crust.
Now, for the top crust. You have a couple of options! You can roll out the smaller piece of dough and cut it into strips for a lattice top, or you can simply crumble the dough evenly over the top of the filling. I usually just crumble it because it’s quicker and gives it a lovely rustic look!
Place the pie on a baking sheet (this catches any potential drips) and bake for 35-45 minutes, or until the crust is golden brown and you see the filling bubbling slightly around the edges. If the edges start browning too fast, you can cover them loosely with foil.
Once it’s done, carefully remove the pie from the oven. This is the hardest part – you HAVE to let it cool completely on a wire rack before slicing. The filling needs time to set properly. Seriously, resist the urge to cut into it hot!
Once cooled, slice and enjoy a little piece of lemon heaven!
Substitutions & Additions
Want to play around a bit? Here are some ideas:
- Lime it Up: Swap the lemon for limes for a Key Lime Pie vibe.
- Add Some Vanilla: A teaspoon of vanilla extract in the dough or filling adds another layer of warmth.
- Berry Good: Toss a handful of fresh blueberries or raspberries into the lemon filling before baking for extra color and flavor.
- Gluten-Free? I haven’t tested this recipe with gluten-free flour, but a 1:1 blend might work, though the texture could vary.
- Different Sugar: You could try using brown sugar for a slightly different flavor profile, though it will change the color of the filling slightly.
Tips for Success
- Keep it Cold: Make sure your butter is genuinely cold for the best crumbly texture in the dough.
- Don’t Overwork the Dough: Mix just until it comes together. Overmixing develops gluten, which can make the crust tough.
- Chill Time is Your Friend: Don’t skip chilling the dough. It makes it SO much easier to roll out or press into the dish.
- Zest Wisely: Use a microplane zester to get fine zest and avoid the bitter white pith.
- Let it Cool! I know I said it before, but seriously, wait for the pie to cool completely so the filling sets properly.
How to Store It
This pie keeps pretty well! Once completely cooled, you can cover it loosely with plastic wrap or aluminum foil. It can sit at room temperature for a day or two, but for longer storage or in warm weather, it’s best to keep it in the refrigerator. It will last for 3-4 days in the fridge. The crust might soften a bit over time, but the flavor will still be great.
FAQs
Got questions? I’ve got some answers!
Can I use bottled lemon juice instead of fresh?
You can in a pinch, but fresh lemon juice makes a huge difference in terms of brightness and flavor. I really recommend using fresh!
Why is my lemon filling runny?
Did you let the pie cool completely? This is the most common reason! The cornstarch needs time as it cools to thicken the filling. If it’s still runny after cooling, it might be a measurement issue or perhaps it didn’t bake quite long enough to activate the cornstarch fully.
Can I make the dough ahead of time?
Absolutely! You can make the dough, wrap the two portions well, and keep them in the fridge for up to 2 days, or freeze them for longer. Thaw in the fridge before using.
How do I know when the pie is done baking?
Look for a beautiful golden brown crust, especially around the edges and on top. You should also see the filling visibly bubbling slightly in the center or around the edges. If you’re unsure, you can give it a gentle jiggle – the center shouldn’t look like liquid waves (though it will still be soft when hot).
Cozy Russian Lemon Pie (Limonnik)
Equipment
- Oven
- Pie Dish standard 9-inch
- Large bowl
- Whisk
- Box grater optional, for butter
- pastry blender optional
- Spoon
- Spatula
- Plastic wrap
- floured surface
- Medium bowl
- microplane zester optional, for lemon
- Baking Sheet optional, for catching drips
- foil optional, for covering edges
- Wire rack
Ingredients
Dough and Filling
- 150 g sour cream Full fat is best
- 150 g cold butter
- 320 g flour All-purpose
- 2 g baking soda
- 1 pinch salt
- Flour for the work surface
- 1 organic lemon We'll use the zest and the juice
- 200 g sugar
- 15 g cornstarch
Instructions
- Preheat oven to 350°F (175°C). Get your standard 9-inch pie dish ready.
- In a large bowl, whisk together the flour, baking soda, and salt.
- Cut or grate the cold butter into the flour mixture. Use your fingers or a pastry blender to quickly work the butter into the flour until it looks like coarse crumbs (pea-sized bits).
- Add the sour cream to the bowl. Mix it in with a spoon or spatula until a shaggy dough starts to form. Do not overmix; just bring it together until mostly combined.
- Turn the dough out onto a lightly floured surface and gently bring it together into a ball. Divide the dough into two pieces – one slightly larger (about 2/3) for the bottom crust, and one smaller (about 1/3) for the top.
- Wrap each piece separately in plastic wrap and refrigerate for about 15-20 minutes.
- While the dough is chilling, wash the organic lemon. Zest the entire lemon directly into a medium bowl, avoiding the white pith. Cut the lemon in half and squeeze out the juice into the same bowl.
- Add the sugar and cornstarch to the lemon zest and juice. Whisk until well combined and the cornstarch is dissolved.
- Take the larger piece of chilled dough. On a lightly floured surface, roll it out into a circle large enough to fit into your pie dish, with some overhang. Carefully transfer the dough to your pie dish and gently press it into the bottom and up the sides. Trim any excess dough, leaving about an inch of overhang. Crimp the edges if desired, or tuck them under.
- Pour the lemon filling evenly into the pie crust.
- For the top crust, roll out the smaller piece of dough and cut it into strips for a lattice top, or simply crumble the dough evenly over the top of the filling.
- Place the pie on a baking sheet (to catch drips) and bake for 35-45 minutes, or until the crust is golden brown and the filling is bubbling slightly around the edges. If edges brown too fast, cover loosely with foil.
- Carefully remove the pie from the oven and let it cool completely on a wire rack before slicing. The filling needs time to set properly.
- Once cooled, slice and enjoy.
Notes
- Keep butter genuinely cold for best crumbly texture.
- Don't overwork the dough; mix just until it comes together.
- Don't skip chilling the dough; it makes it much easier to work with.
- Use a microplane zester to get fine zest and avoid bitter white pith.
- Allow the pie to cool completely so the filling sets properly. How to Store:
Once completely cooled, cover loosely with plastic wrap or aluminum foil. Can sit at room temperature for 1-2 days. For longer storage or in warm weather, refrigerate for 3-4 days. The crust might soften slightly over time. FAQs:
- Fresh lemon juice is recommended over bottled for brighter flavor.
- Runny filling is most often due to not cooling completely; cornstarch needs time to thicken as it cools.
- Dough can be made ahead: refrigerate for up to 2 days or freeze (thaw in fridge before use).