Why You’ll Love This Loaded Brownie Cheesecake Cup – A Chocolate Lover’s Dream
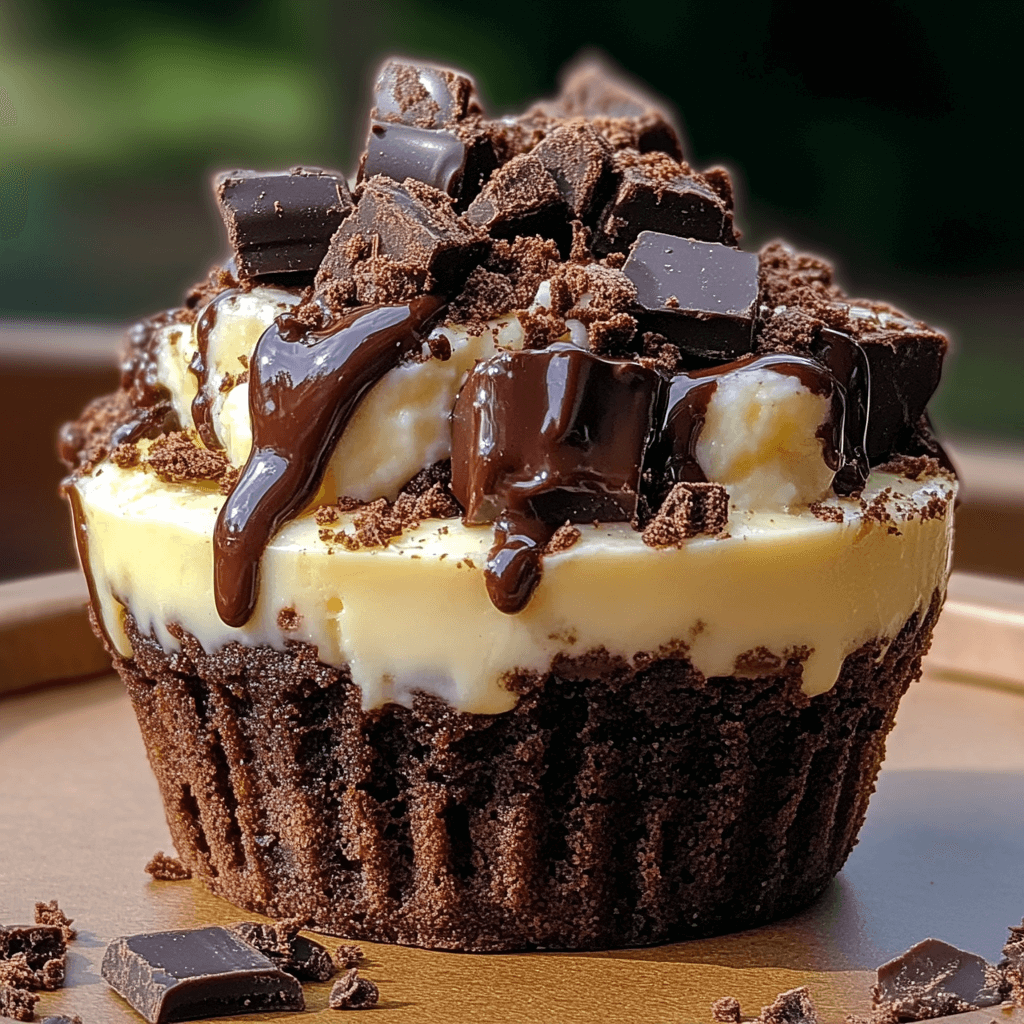
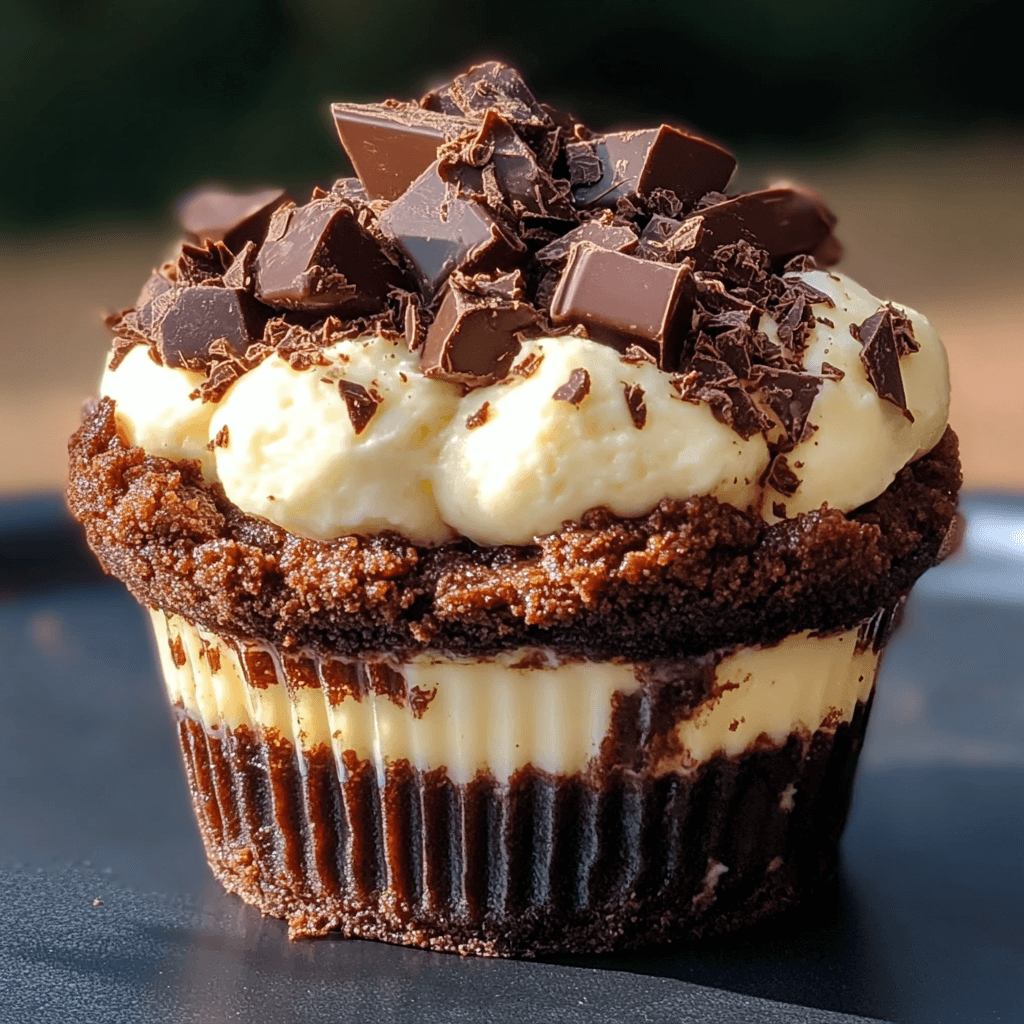
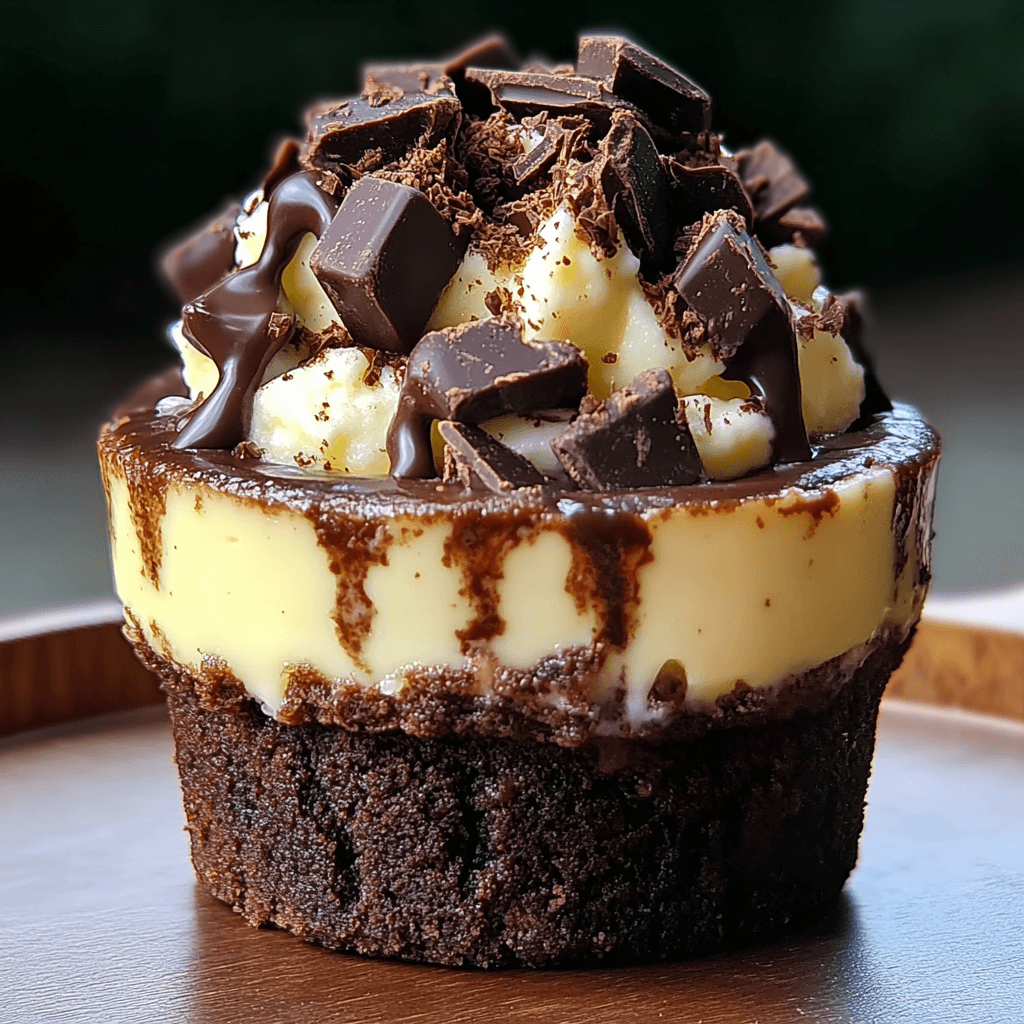
Hey there, fellow chocolate fanatics! Are you ready to embark on a decadent journey that will leave you utterly satisfied? Then get ready for the most intensely chocolatey, unbelievably creamy, and surprisingly easy Loaded Brownie Cheesecake Cup you’ll ever taste. This recipe isn’t just a dessert; it’s an experience. Imagine sinking your spoon into a rich, fudgy brownie base, followed by a layer of luxuriously smooth cheesecake, all topped with a swirl of decadent chocolate ganache. Sounds heavenly, right?
What sets this recipe apart is the perfect balance of textures and flavors. The fudgy brownie provides a delightful chewiness, contrasting beautifully with the incredibly smooth and creamy cheesecake. The chocolate ganache adds a final touch of intense chocolate indulgence, tying everything together in a symphony of chocolatey goodness. This isn’t your grandma’s cheesecake; it’s a modern, sophisticated take on a classic, perfect for impressing friends or simply treating yourself after a long day. Best of all? It’s surprisingly quick to prepare, making it ideal for even the busiest weeknights.
This recipe is designed to evoke pure joy and contentment. It’s the kind of dessert that melts away stress and transports you to a place of pure chocolate bliss. Each bite is a little escape, a moment of pure indulgence that will leave you feeling happy and satisfied. So, grab your aprons, chocolate lovers, and let’s get baking!
What You’ll Need
This recipe calls for simple ingredients, readily available at your local grocery store. Here’s what you’ll need to create your chocolate dream:
- For the Brownie Base: Unsweetened cocoa powder – provides that deep, rich chocolate flavor; Granulated sugar – for sweetness and texture; All-purpose flour – for structure; Eggs – bind the ingredients and add richness; Vegetable oil – for moisture and a tender crumb; Vanilla extract – enhances the chocolate flavor; Pinch of salt – balances the sweetness.
- For the Cheesecake Filling: Cream cheese – the star of the show, providing creaminess and tang; Granulated sugar – for sweetness; Eggs – adds richness and structure; Heavy cream – for extra creaminess and a luxurious texture; Unsweetened cocoa powder – for that deep chocolate flavor; Vanilla extract – enhances the overall flavor profile.
- For the Chocolate Ganache: Semi-sweet chocolate chips – your choice of dark, milk, or bittersweet; Heavy cream – creates the glossy, luscious ganache; Optional: pinch of sea salt – enhances the chocolate flavor.
Step-by-Step Instructions
Let’s dive into creating these incredible Loaded Brownie Cheesecake Cups. Don’t worry, it’s easier than you think!
Step 1: Prepare the Brownie Base: Preheat your oven to 350°F (175°C). Grease a muffin tin or use paper liners. In a medium bowl, whisk together cocoa powder, sugar, flour, and salt. In a separate bowl, whisk together eggs, oil, and vanilla extract. Gradually add the wet ingredients to the dry ingredients, mixing until just combined. Tip: Don’t overmix! Overmixing can lead to tough brownies.
Step 2: Bake the Brownie Base: Divide the brownie batter evenly among the muffin cups, filling each about halfway. Bake for 12-15 minutes, or until a toothpick inserted into the center comes out with moist crumbs. Let the brownies cool completely.
Step 3: Prepare the Cheesecake Filling: In a large bowl, beat cream cheese and sugar until smooth and creamy. Beat in eggs one at a time, followed by heavy cream, cocoa powder, and vanilla extract. Tip: Make sure your cream cheese is softened to room temperature for a smoother batter.
Step 4: Assemble the Cheesecake Cups: Once the brownie bases are completely cool, carefully spoon the cheesecake filling over each brownie base, filling each cup almost to the top.
Step 5: Bake the Cheesecake Cups: Place the muffin tin in a larger baking pan. Pour hot water into the larger pan to come about halfway up the sides of the muffin tin (this creates a water bath, preventing cracks). Bake for 20-25 minutes, or until the cheesecake is set around the edges but still slightly jiggly in the center. Tip: Don’t open the oven door during baking to prevent cracking.
Step 6: Cool and Chill: Let the cheesecake cups cool completely in the water bath, then remove them and refrigerate for at least 4 hours, or preferably overnight, to allow them to set completely.
Step 7: Make the Chocolate Ganache: While the cheesecake cups are chilling, prepare the ganache. Place chocolate chips in a heatproof bowl. Heat heavy cream in a saucepan until it just begins to simmer. Pour the hot cream over the chocolate chips and let it sit for a few minutes. Then, gently whisk until smooth and glossy. Tip: Add a pinch of sea salt for an extra dimension of flavor.
Step 8: Finish and Serve: Once the cheesecake cups are chilled, drizzle the chocolate ganache over the top. Serve immediately and enjoy!
Tips for Success
To ensure your Loaded Brownie Cheesecake Cups turn out perfectly, here are some essential tips:
- Use room temperature cream cheese for a smooth and creamy cheesecake filling.
- Don’t overmix the brownie batter or the cheesecake batter. Overmixing leads to tough brownies and a dense cheesecake.
- Make sure the brownie bases are completely cool before adding the cheesecake filling. This prevents the brownies from getting soggy.
- The water bath is crucial for preventing cracks in the cheesecake. Don’t skip it!
- Chill the cheesecake cups completely for optimal setting and flavor development.
Variations to Try
Feel free to experiment and customize these Loaded Brownie Cheesecake Cups to your liking! Here are some delicious variations:
- Nutty Delight: Add chopped walnuts or pecans to the brownie base for added crunch and flavor.
- Salted Caramel Swirl: Add a swirl of salted caramel sauce to the cheesecake filling before baking.
- Raspberrylicious: Fold fresh raspberries into the cheesecake filling for a burst of fruity flavor.
- White Chocolate Heaven: Use white chocolate chips for the ganache for a sweeter and lighter taste.
- Gluten-Free Option: Substitute all-purpose flour with a gluten-free blend.
Storing and Reheating
Store leftover Loaded Brownie Cheesecake Cups in an airtight container in the refrigerator for up to 3 days. To maintain the best texture, it is recommended to store them separately and not stacked on top of each other. For longer storage, freeze the cups individually in an airtight container for up to 2 months. To reheat, let them thaw overnight in the refrigerator, then microwave for short intervals until warmed through. Avoid over-microwaving, as this may cause the cheesecake to become runny.
Frequently Asked Questions
Q: Can I use a different type of chocolate for the ganache?
A: Absolutely! Feel free to experiment with dark chocolate, milk chocolate, or even white chocolate for the ganache. The flavor will change depending on your choice.
Q: How long do the Loaded Brownie Cheesecake Cups last?
A: Stored properly in the refrigerator, these delightful treats will last for up to 3 days. Frozen, they can be stored for up to 2 months.
Q: Can I make these ahead of time?
A: Yes! In fact, making these ahead of time is highly recommended. The flavors will meld beautifully, and the cheesecake will set perfectly in the refrigerator.
Q: What if my cheesecake cracks during baking?
A: Cracks can sometimes happen. Ensuring your oven temperature is accurate, using room temperature ingredients, and not opening the oven during baking will help prevent this. The ganache will cover any minor cracks wonderfully.
Q: Are these cups suitable for freezing?
A: Yes! Freeze them individually for optimal preservation. Thaw overnight in the refrigerator before serving.
The Final Word
These Loaded Brownie Cheesecake Cups are truly a chocolate lover’s dream come true. The perfect combination of fudgy brownie, creamy cheesecake, and decadent chocolate ganache is simply irresistible. The ease of preparation makes this recipe perfect for any occasion, from a casual weeknight treat to a sophisticated dessert for a gathering. So, what are you waiting for? Give this recipe a try and let me know in the comments how much you loved it! Don’t forget to rate the recipe and share your photos on social media! Happy baking!