Introduction
Oh, the holidays! That magical time of year when the air fills with the scent of pine needles, twinkling lights, and, of course, warm, spicy cookies. Does anything bring back those cozy childhood memories quite like the smell of molasses and cinnamon wafting from the oven? This Spiced Molasses Cookies recipe is your ticket to reliving those moments, or creating brand new ones, with a batch of cookies that are as delightful to make as they are to eat. They’re wonderfully simple, surprisingly quick, and will have your kitchen smelling like a hug.
Why You’ll Love This Recipe
- Fast: From mixing bowl to cooled cookie in under an hour!
- Easy: Perfect for beginner bakers or when you need a sweet treat in a pinch.
- Giftable: Package them up in a pretty tin for an irresistible homemade present.
- Crowd-pleasing: Their warm, spiced flavor is a hit with everyone, from little ones to grown-ups.
Ingredients
Gathering your ingredients is the first step to cookie magic! Don’t worry, it’s a pretty straightforward list.
- 3/4 cup unsalted butter, softened: Make sure your butter is at room temperature. It’s key for that light and fluffy creaming step!
- 1 cup brown sugar: Light or dark, both work beautifully here to give our cookies a lovely caramel note and chewy texture.
- 1/4 cup molasses: This is where the signature flavor comes from! It adds that deep, rich, slightly bitter-sweet taste that molasses cookies are known for.
- 1 large egg: Just one, to bind everything together and add a little richness.
- 2 1/4 cups all-purpose flour: The sturdy foundation of our cookie.
- 2 tsp ground cinnamon: A generous amount for that classic warm spice.
- 1 tsp ground ginger: Adds a delightful zing and depth of flavor.
- 1/2 tsp ground cloves: A little goes a long way, providing a wonderfully aromatic punch.
- 1/2 tsp baking soda: This helps our cookies spread just a bit and get that perfect chewy texture.
- 1/2 tsp salt: Don’t skip this! It balances out the sweetness and really makes all those spice flavors pop.
- 1/4 cup granulated sugar (for rolling): This step is pure joy! It gives our cookies a beautiful sparkly crust.
How to Make It
Alright, let’s get our hands a little (or a lot!) floury and bake up some happiness!
- Creamy Dreamy Base: In a large bowl, grab your mixer (or a good sturdy whisk and some elbow grease!) and cream together the softened butter and brown sugar. You’re looking for a light and fluffy mixture. This is like the foundation of a great house – super important!
- Wet Ingredients Unite: Now, beat in the molasses and the egg until everything is nicely combined. It might look a little dark and sticky, and that’s exactly what we want!
- Dry Ingredients Party: In a separate bowl, whisk together your flour, cinnamon, ginger, cloves, baking soda, and salt. Giving them a good whisk ensures all those lovely spices are evenly distributed. No one wants a cookie with a pocket of pure clove!
- Marry the Mixtures: Gradually add those dry ingredients to your wet ingredients. Mix until they’re just combined. Overmixing can make cookies tough, and we’re aiming for tender and chewy here!
- Ball Pit Time: Now for the fun part! Roll your dough into 1-inch balls. I like to use a small cookie scoop for this, as it makes them all nice and uniform.
- Sugar Shower: Place the granulated sugar in a shallow bowl and roll each dough ball in it until it’s nicely coated. This isn’t just for looks; it creates a lovely crunchy exterior.
- Cookie Line-up: Arrange your sugar-coated balls on a baking sheet that you’ve lined with parchment paper. Parchment paper is your best friend for easy cleanup and preventing sticking. Give them about 2 inches of space so they have room to spread their cookie wings.
- Bake to Perfection: Pop them into a preheated oven at 350°F (175°C). You’ll want to bake them for about 10-12 minutes. Keep an eye on them – you’re looking for the edges to be set and just lightly browned. They might look a little soft in the center, but they’ll firm up as they cool.
- Cool Down Crew: Let the cookies hang out on the baking sheet for a few minutes. This is important because they’re still a bit delicate right out of the oven. Then, gently transfer them to a wire rack to cool completely. This is the hardest part – waiting!
Substitutions & Additions
Want to give these cookies your own special twist? You absolutely can!
- Gluten-Free: Swap the all-purpose flour for a good quality gluten-free all-purpose blend that contains xanthan gum.
- Extra Spice: If you’re a true spice lover, feel free to add an extra 1/4 teaspoon of cinnamon or ginger.
- Citrus Zest: A teaspoon of orange zest in the dough adds a lovely brightness that pairs wonderfully with molasses.
- Chocolate Drizzle: Once cooled, a drizzle of melted dark or white chocolate would be absolutely decadent!
- Crystal Sugar: For an extra fancy sparkle, try rolling the dough balls in turbinado sugar or coarse sanding sugar instead of granulated sugar.
Tips for Success
A few little secrets to guarantee cookie perfection every time.
- Don’t Overmix: Seriously, I can’t stress this enough! Mix the dry ingredients into the wet until just combined. A few streaks of flour are okay.
- Softened Butter is Key: If your butter is too cold, it won’t cream properly. If it’s too melty, your cookies might spread too much. Let it sit on the counter for about an hour until it’s soft but not greasy.
- Chill Out (Optional): If your dough feels a little too sticky to handle, you can pop it in the fridge for about 15-20 minutes before rolling it into balls.
- Prep Ahead: You can make the cookie dough a day in advance, cover it tightly, and store it in the refrigerator. Just let it sit at room temperature for about 10 minutes before rolling.
- Uniform Size: Using a cookie scoop or measuring spoon ensures all your cookies bake evenly.
How to Store It
Keep those delicious cookies fresh and ready to enjoy!
Once completely cooled, store your Spiced Molasses Cookies in an airtight container at room temperature for up to 4-5 days. They actually tend to get even chewier and more flavorful after a day or two!
FAQs
Got questions? We’ve got answers!
- Q: Why are my cookies spreading too much?
- A: This is often due to over-creaming the butter and sugar, using melted butter instead of softened, or too much baking soda. Ensure your oven temperature is accurate, too!
- Q: Can I make the dough ahead of time?
- A: Absolutely! The dough can be made up to 2 days in advance and stored in an airtight container in the refrigerator. Let it soften slightly at room temperature before scooping and baking.
- Q: How do I get that crinkly top?
- A: The crackly top comes from the sugar rolling and the baking soda reacting in the oven. Ensure you’re not overbaking, as a cookie that’s too dark will lose its crinkles.

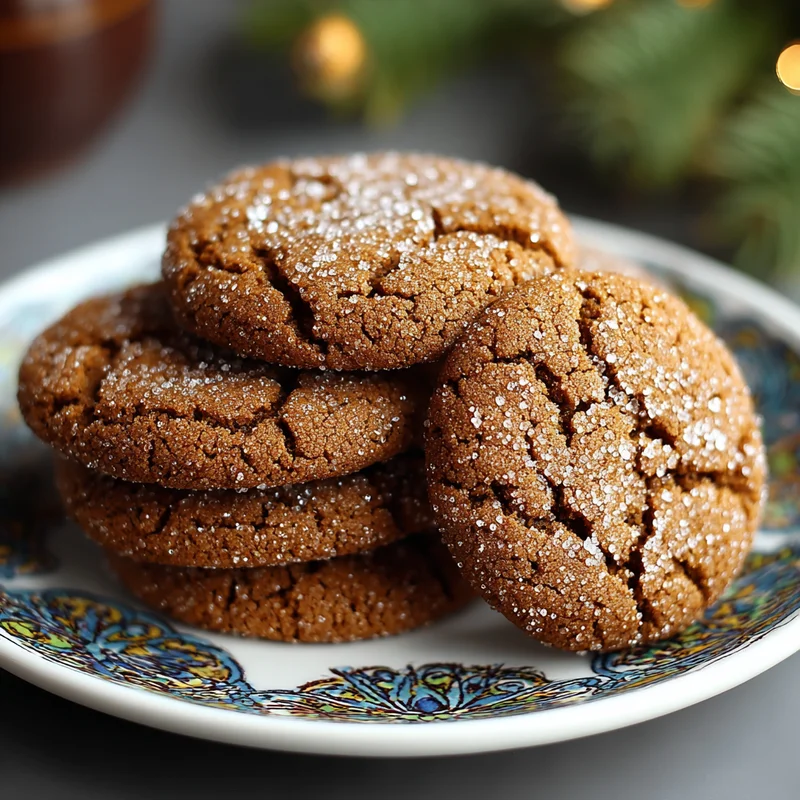
Spiced Molasses Cookies
Equipment
- Mixer or a good sturdy whisk
- Measuring Cups
- Measuring spoons
- Large bowl
- Separate bowl
- Cookie scoop optional, for uniform size
- shallow bowl
- Baking Sheet
- Parchment paper
- Wire rack
- Airtight container
Ingredients
Main ingredients
- 0.75 cup unsalted butter softened
- 1 cup brown sugar light or dark
- 0.25 cup molasses
- 1 large egg
- 2.25 cups all-purpose flour
- 2 tsp ground cinnamon
- 1 tsp ground ginger
- 0.5 tsp ground cloves
- 0.5 tsp baking soda
- 0.5 tsp salt
- 0.25 cup granulated sugar for rolling
Instructions
- In a large bowl, grab your mixer (or a good sturdy whisk and some elbow grease!) and cream together the softened butter and brown sugar. You're looking for a light and fluffy mixture. This is like the foundation of a great house – super important!
- Now, beat in the molasses and the egg until everything is nicely combined. It might look a little dark and sticky, and that's exactly what we want!
- In a separate bowl, whisk together your flour, cinnamon, ginger, cloves, baking soda, and salt. Giving them a good whisk ensures all those lovely spices are evenly distributed. No one wants a cookie with a pocket of pure clove!
- Gradually add those dry ingredients to your wet ingredients. Mix until they're just combined. Overmixing can make cookies tough, and we're aiming for tender and chewy here!
- Now for the fun part! Roll your dough into 1-inch balls. I like to use a small cookie scoop for this, as it makes them all nice and uniform.
- Place the granulated sugar in a shallow bowl and roll each dough ball in it until it's nicely coated. This isn't just for looks; it creates a lovely crunchy exterior.
- Arrange your sugar-coated balls on a baking sheet that you've lined with parchment paper. Parchment paper is your best friend for easy cleanup and preventing sticking. Give them about 2 inches of space so they have room to spread their cookie wings.
- Pop them into a preheated oven at 350°F (175°C). You'll want to bake them for about 10-12 minutes. Keep an eye on them – you're looking for the edges to be set and just lightly browned. They might look a little soft in the center, but they'll firm up as they cool.
- Let the cookies hang out on the baking sheet for a few minutes. This is important because they're still a bit delicate right out of the oven. Then, gently transfer them to a wire rack to cool completely. This is the hardest part – waiting!