
Introduction
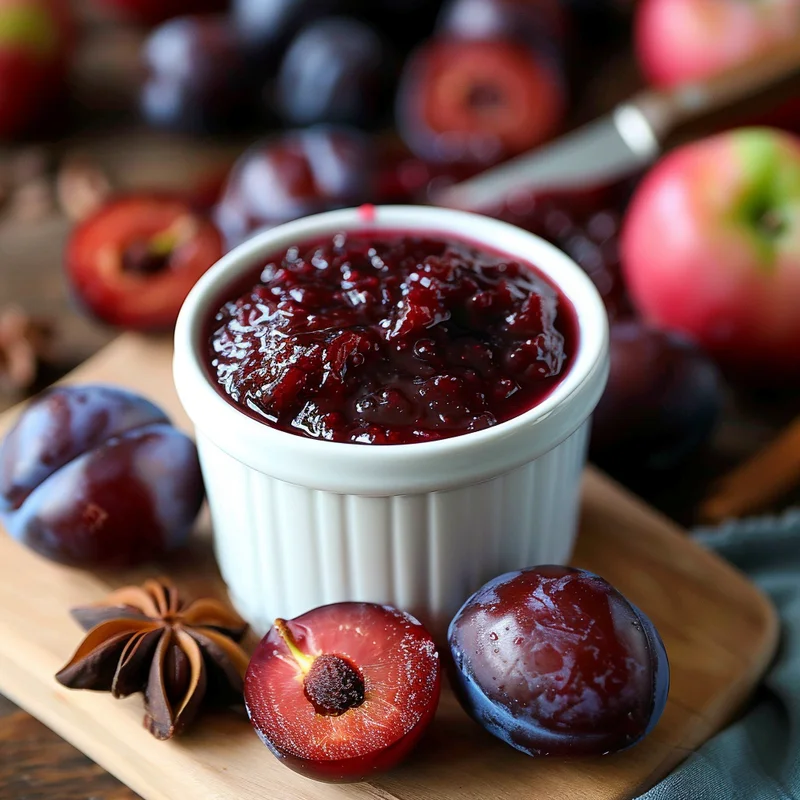
Oh, the smell of simmering fruit! There’s something so comforting and nostalgic about a pot of jam bubbling away on the stove, isn’t there? It reminds me of grandma’s kitchen, of cozy afternoons, and the sweet promise of sunshine captured in a jar. Today, we’re diving into a recipe that’s all that and more: Spiced Plum Jam. And the best part? It’s ridiculously easy, uses no pectin, and you don’t even need to peel those gorgeous plums!
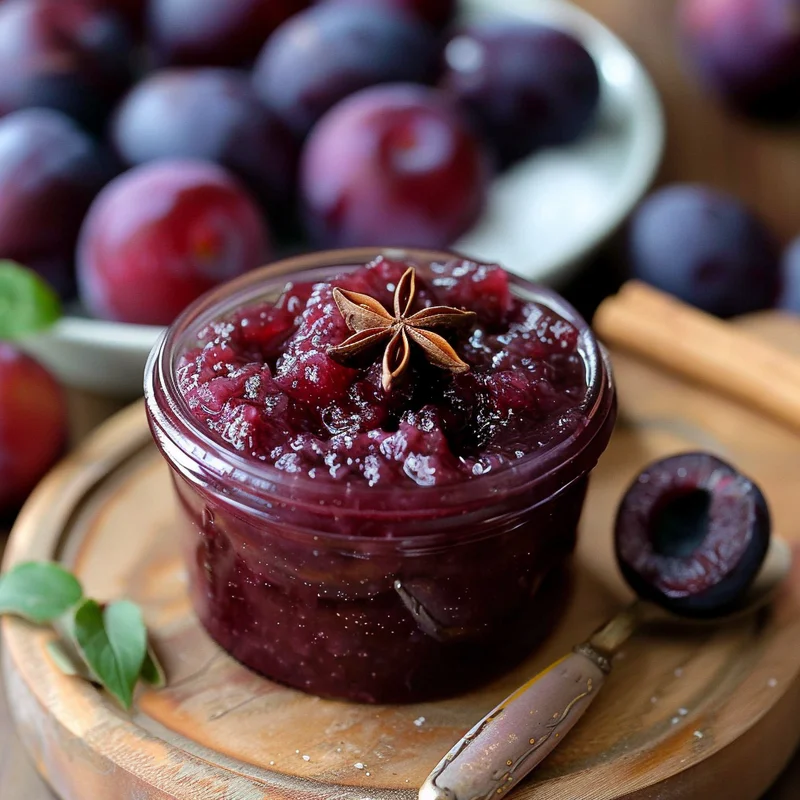
This recipe is my go-to when plums are at their peak. It’s a simple process that yields a jam so rich in flavor and beautiful in color, you’ll want to make a double batch. Trust me, once you try this homemade Spiced Plum Jam, you’ll never go back to store-bought!
Why You’ll Love This Recipe
- Fast: While it simmers for a bit, the active prep time is minimal.
- Easy: Seriously, it’s just a matter of chopping, stirring, and waiting for the magic to happen.
- Giftable: Jarred homemade jam is the sweetest, most thoughtful gift for birthdays, holidays, or just because.
- Crowd-pleasing: The subtle warmth from the spices makes this plum jam extra special and a hit with everyone.
Ingredients
Gather ’round, friends! Here’s what you’ll need to create this delightful Spiced Plum Jam:
- 1.5 kg black plums OR Italian plums, seeds removed (approx. 4 – 4.5 lbs whole plums): These are the stars of the show! Look for ripe but firm plums. Italian plums (also called prune plums) are fantastic for jam because they have less juice and more flesh. We’ll just halve them and remove those pesky pits.
- 700 g white sugar (3½ cups): Sugar is essential for preservation and that classic sweet jammy flavor.
- Pinch sea salt: A little salt balances the sweetness and enhances all the fruity flavors.
- 30 – 45 mL lemon juice (2 – 3 tbsp): Lemon juice adds a touch of brightness and acidity, which is crucial for jam setting and flavor.
- 2 star anise: These fragrant little stars add a subtle, warm licorice-like note that pairs beautifully with plums.
- ¼ tsp ground cardamom: Cardamom brings a lovely aromatic warmth and a hint of citrusy spice.
- ¼ tsp ground cloves: Just a whisper of clove adds depth and a cozy, autumnal feel to the jam.
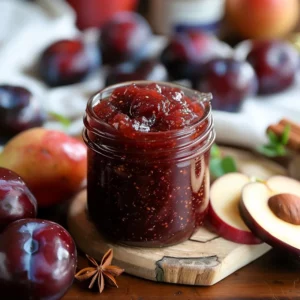
- 200 g Granny Smith green apples, grated (approx. 1 – 2 green apples): This is our secret weapon for pectin-free jam! Apples are naturally high in pectin, which helps the jam thicken beautifully without needing any added store-bought stuff. Granny Smiths are perfect for their tartness and pectin content.
How to Make It
Alright, apron on! Let’s get this delicious jam started. It’s going to be so rewarding.
- Prepare the plums: First things first, give your plums a good wash. Then, cut them in half and carefully remove those pits. You can quarter them if they’re particularly large.
- Combine ingredients: Grab your biggest, heaviest-bottomed pot. This is important to prevent scorching! Add your prepared plums, sugar, that pinch of salt, lemon juice, star anise pods, ground cardamom, ground cloves, and the grated Granny Smith apples. Give it all a good stir to make sure everything is nicely combined.
- Cook the jam: Place your pot over medium-high heat. Bring the entire mixture to a lively, rolling boil, stirring occasionally to make sure nothing sticks to the bottom.
- Thicken the jam: Once it’s reached that rolling boil, reduce the heat to medium-low. Now, you’ll want to keep a close eye on it and stir frequently. You’re looking for the jam to thicken to your desired consistency. This can take anywhere from 45 minutes to about 1.5 hours. Be patient – the wait is worth it!
- Test for set: Here’s how you know it’s ready! Pop a small plate into your freezer before you start cooking (or at least 15 minutes before you think the jam might be done). Spoon a tiny bit of the hot jam onto the cold plate. Wait about 30 seconds, then gently push the jam with your finger. If it wrinkles, congratulations, your jam is perfectly set! If it’s still runny, cook for a few more minutes and test again.
- Remove spices: Once your jam has reached that perfect, thickened stage and has passed the set test, carefully fish out and discard those star anise pods. They’ve done their job!
- Jar the jam: Ladle the piping hot jam into your sterilized jars. Leave about ¼ inch of headspace at the top. Wipe the rims clean, and then seal the jars tightly with their lids.
Substitutions & Additions
Feeling creative? Here are a few ways you can tweak this recipe to make it your own!
- Plums: While black or Italian plums are wonderful, feel free to experiment with other varieties as long as they are ripe.
- Sweetener: You can try using organic cane sugar or even a mix of white and brown sugar for a slightly deeper molasses note.
- Spices: Love ginger? Add a pinch of ground ginger or even a sliver of fresh ginger during cooking. A touch of cinnamon or a tiny bit of nutmeg would also be lovely.
- Other Fruits: For a different twist, you could add a handful of berries like raspberries or blackberries along with the plums.
Tips for Success
A few little secrets to make your jam-making journey even smoother:
- Use a heavy-bottomed pot: I can’t stress this enough! It prevents your precious jam from sticking and burning.
- Don’t overcook: While you want it thick, overcooking can lead to a tough, overly sugary jam. Use the cold plate test to get it just right.
- Sterilize your jars: This is crucial for safe canning and ensuring your jam lasts. You can do this by washing them thoroughly and then placing them in a 225°F (107°C) oven for at least 15 minutes, or by boiling them in water for 10 minutes.
- Prep Ahead: You can pit and quarter your plums the day before and store them in an airtight container in the refrigerator.
How to Store It
Once your jars are filled and sealed, let them cool completely on the counter. You’ll know they’ve sealed properly if the lids have popped down. Store sealed jars in a cool, dark place, like your pantry. They’ll keep beautifully for at least a year!
Once a jar is opened, be sure to store it in the refrigerator and enjoy it within about 3-4 weeks. It never lasts that long in my house, though!
FAQs
Q: Do I really need the apples if I want my jam to thicken?
A: Yes, the apples are your natural pectin source! They contain pectin that helps the jam set without needing to add any commercial pectin. If you omit them, your jam will likely be more of a syrup.
Q: Can I use dried spices instead of fresh star anise?
A: While star anise pods offer a lovely subtle flavor, you could technically use a tiny pinch of ground star anise. However, it’s much harder to control the flavor and remove it, so the pods are definitely preferred for this recipe.
Q: My jam looks a bit cloudy, is that okay?
A: A little cloudiness can happen, especially when using grated apples. It doesn’t affect the taste or safety of your jam at all, so don’t worry!
Spiced Plum Jam
Equipment
- large, heavy-bottomed pot Important to prevent scorching.
- small plate For testing jam set. Keep in freezer.
- Sterilized jars For storing the jam.
Ingredients
Main ingredients
- 1.5 kg black plums OR Italian plums seeds removed, ripe but firm.
- 700 g white sugar or 3½ cups.
- 1 pinch sea salt
- 30 mL lemon juice or 2-3 tbsp.
- 2 star anise pods
- 0.25 tsp ground cardamom
- 0.25 tsp ground cloves
- 200 g Granny Smith green apples grated, or approx. 1-2 green apples.
Instructions
- Prepare the plums: Wash, halve, and pit the plums. Quarter if large.1.5 kg black plums OR Italian plums
- Combine ingredients: In a large, heavy-bottomed pot, combine prepared plums, sugar, salt, lemon juice, star anise, cardamom, cloves, and grated apples. Stir well.1.5 kg black plums OR Italian plums
- Cook the jam: Place the pot over medium-high heat. Bring to a rolling boil, stirring occasionally.
- Thicken the jam: Reduce heat to medium-low. Stir frequently and cook until thickened, approximately 45 minutes to 1.5 hours.
- Test for set: Spoon a small amount of jam onto a cold plate. If it wrinkles when pushed, it's ready. Cook a few more minutes if needed.
- Remove spices: Fish out and discard the star anise pods.1.5 kg black plums OR Italian plums
- Jar the jam: Ladle hot jam into sterilized jars, leaving ¼ inch headspace. Wipe rims, seal tightly, and let cool.