Why You’ll Love This Oreo Delight
Hey there, fellow dessert lovers! Are you ready for a ridiculously easy, unbelievably delicious treat that will have you saying “wow” with every bite? Then get ready to dive headfirst into the ultimate Oreo Delight! This isn’t your grandma’s boring Oreo cookie recipe; this is a creamy, dreamy, chocolatey explosion that’s perfect for any occasion – or no occasion at all! The beauty of this Oreo Delight lies in its simplicity. You won’t find any complicated techniques or obscure ingredients here; just a handful of everyday pantry staples transformed into something truly magical.
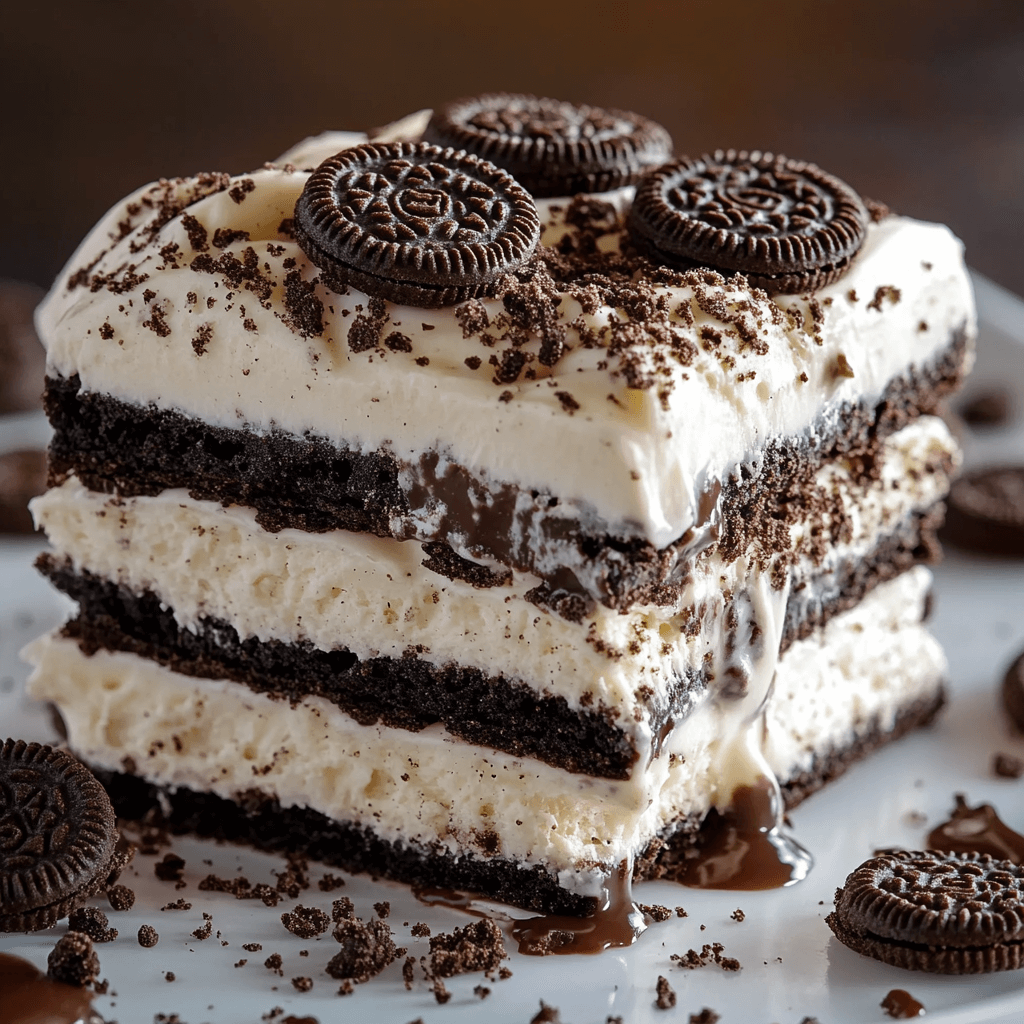
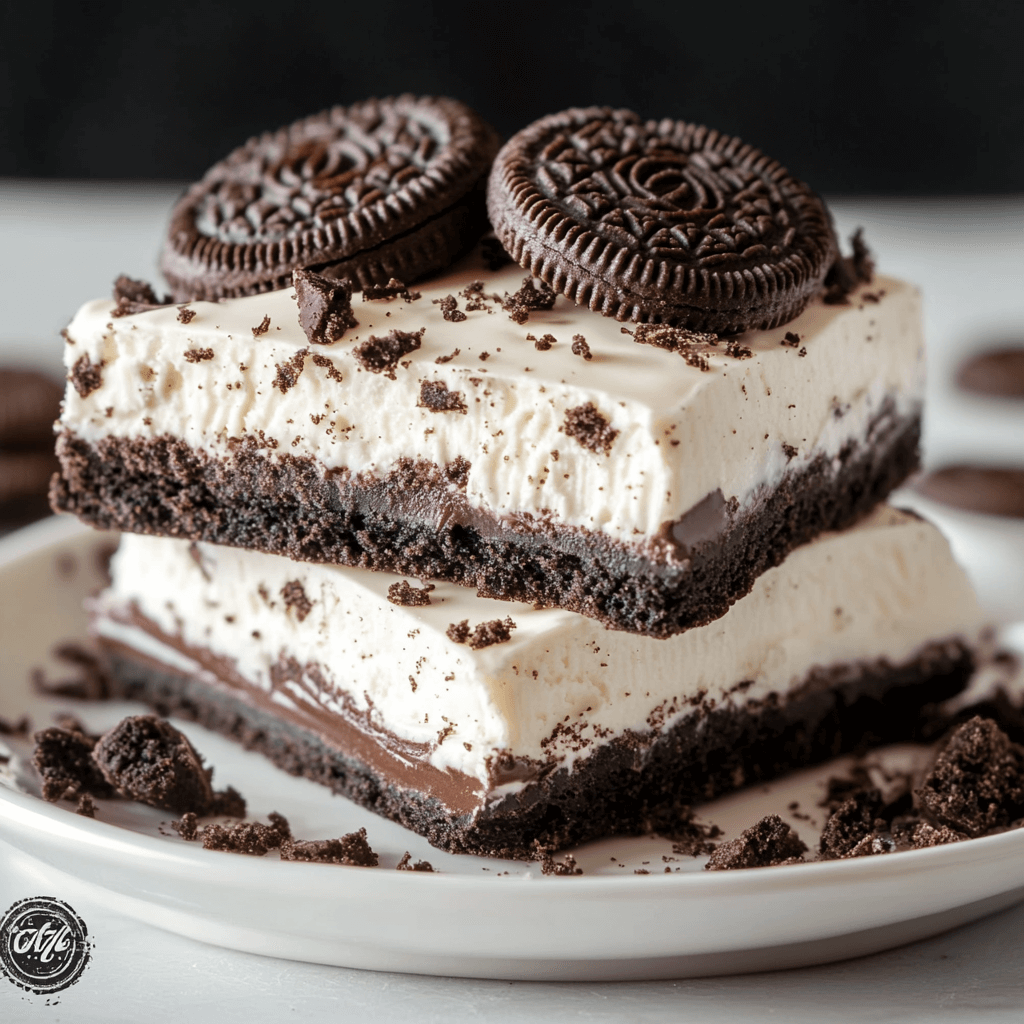
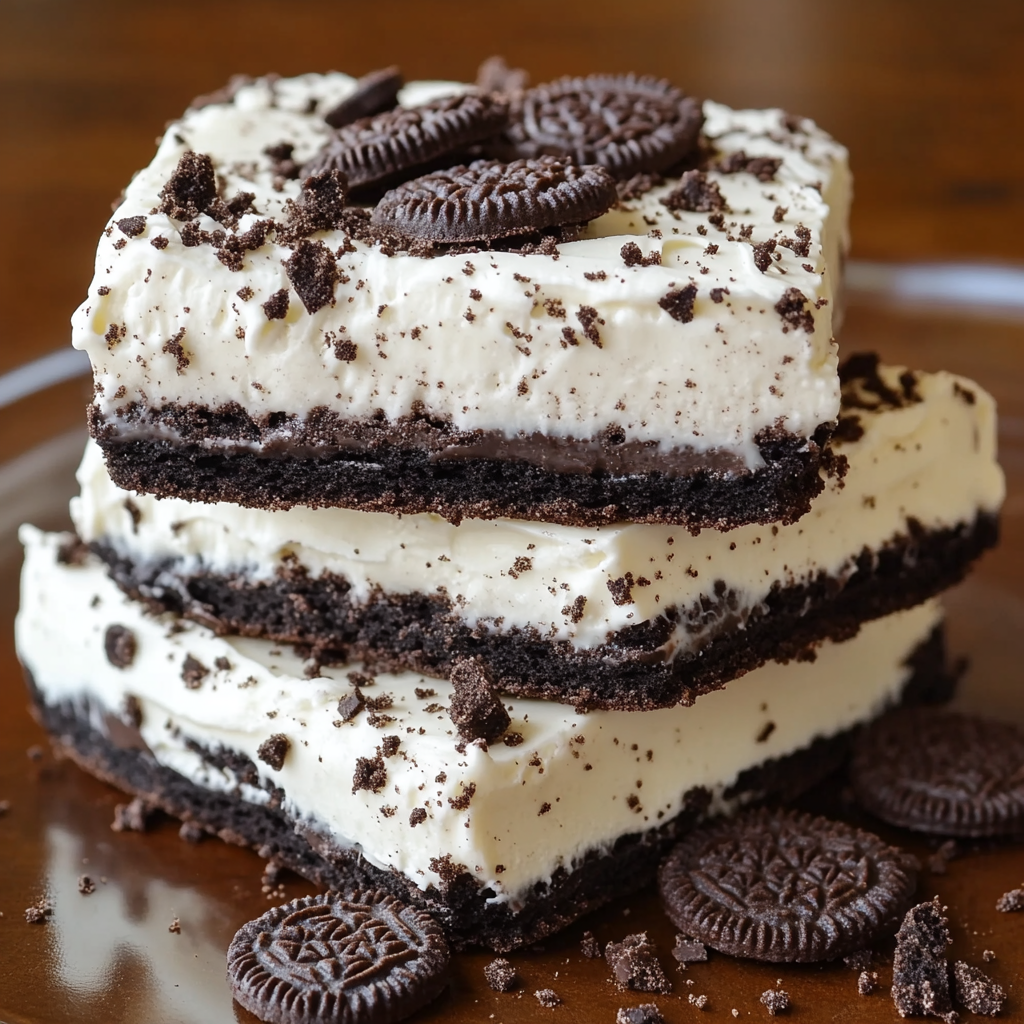
Imagine this: a rich and decadent Oreo crust, layered with a creamy, dreamy filling that’s both sweet and slightly tangy, then topped with a final layer of crushed Oreos for that irresistible crunch. The texture is a delightful dance between the crispiness of the cookies, the smooth creaminess of the filling, and the soft, yielding base. Trust me, it’s a symphony of textures that will tantalize your taste buds!
The best part? This recipe takes mere minutes to prepare. No oven required! This makes it the ideal dessert for busy weeknights or spontaneous gatherings. Whether you’re craving a sweet treat after a long day or need a show-stopping dessert for a party, this Oreo Delight will be a crowd-pleaser. Plus, it’s effortlessly customizable, allowing you to unleash your inner dessert artist and experiment with different toppings and flavor combinations. Get ready to impress yourself and everyone you share it with!
What You’ll Need
This recipe relies on the power of simplicity, using ingredients you likely already have! Let’s get started with the goods:
- Oreo Cookies (approximately 36): The star of the show! Choose your favorite kind – regular, double-stuffed, or even mint Oreos for a unique twist. The more Oreos, the merrier!
- Cream Cheese (8 ounces): Softened cream cheese is key for a smooth and creamy filling. Let it sit at room temperature for about 30 minutes before starting.
- Powdered Sugar (4 cups): This provides sweetness and helps to create that light and fluffy filling. Use a sifter for best results, and add more or less to taste!
- Milk (1/2 cup): A splash of milk helps create the perfect consistency for the filling. Whole milk works best for that rich and luscious feel.
- Vanilla Extract (1 teaspoon): A touch of vanilla enhances the overall flavor profile. Don’t skip this little magic ingredient!
- Butter (1/2 cup, melted): This binds the Oreo crust beautifully. Use unsalted butter for better control of the sweetness level.
Step-by-Step Instructions
Ready to create some Oreo magic? Let’s get baking (well, not baking, since it’s no-bake!)
- Prepare the Crust: Begin by crushing approximately 24 Oreo cookies into fine crumbs using a food processor or a sturdy zip-top bag and rolling pin. Don’t go too crazy with the crushing; some small chunks add texture. Melt the half-cup of butter completely and gently mix it with the crushed Oreos until well combined. Tip: Don’t over-mix; just ensure all the crumbs are nicely coated with butter.
- Press into the Pan: Firmly press the Oreo crumb mixture into the bottom of a 9×13 inch baking dish. This makes a solid base for your delicious treat. Use the bottom of a measuring cup or your hands to ensure it’s evenly distributed and packed down tight. Tip: For an even crispier crust, chill the crust in the freezer for about 15 minutes before adding the filling.
- Make the Filling: In a large bowl, beat the softened cream cheese until smooth and creamy. Gradually add the powdered sugar, one cup at a time, beating well after each addition. Tip: Use a hand mixer or stand mixer for best results. It makes it so much smoother and easier!
- Add the Milk and Vanilla: Stir in the milk and vanilla extract until the mixture is smooth and creamy. If it’s too thick, add a tablespoon or two more milk, one at a time, until you achieve the desired consistency.
- Layer and Chill: Spread the cream cheese filling evenly over the Oreo crust. Then, crush the remaining 12 Oreos and sprinkle them evenly over the top as a decorative final layer. Tip: Don’t be shy with the top layer of crushed Oreos!
- Chill and Serve: Cover the dish and refrigerate for at least 2 hours, or preferably overnight, to allow the filling to set completely. This allows the flavors to meld and the filling to become wonderfully firm. Once chilled, cut into squares and serve. Enjoy your Oreo Delight!
Tips for Success
Here are a few extra tips to help you achieve Oreo perfection:
- Room Temperature Cream Cheese: Softened cream cheese is crucial for a smooth and creamy filling. Let it sit at room temperature for at least 30 minutes before starting.
- Don’t Overmix: Overmixing the filling can incorporate too much air, leading to a less dense and creamy texture. Mix only until combined.
- Chill Thoroughly: Refrigerating for at least 2 hours ensures that the filling sets properly and prevents the dessert from being too soft. Overnight chilling is even better!
- Get Creative with Toppings: Add a sprinkle of chocolate shavings, chopped nuts, or even a drizzle of melted chocolate for an extra touch of indulgence!
- Crust Consistency: If your crust seems too dry, add a teaspoon or two of melted butter at a time until you get the desired consistency.
Variations to Try
Want to put your own spin on this classic? Here are some delicious variations:
- Mint Chocolate Oreo Delight: Use mint Oreos for a refreshing twist.
- Peanut Butter Oreo Delight: Stir in 1/2 cup of peanut butter into the cream cheese filling for a nutty and decadent treat.
- Chocolate Oreo Delight: Add a layer of melted chocolate between the Oreo crust and cream cheese filling.
- Gluten-Free Oreo Delight: Use gluten-free Oreo cookies (many brands are now available) for a gluten-free option.
- Add-ins!: Experiment with different add-ins like chocolate chips, sprinkles, or even chopped fresh fruit (strawberries would be amazing!) to the filling for a more personalized touch.
Storing and Reheating
This Oreo delight is best served chilled. Store leftovers in an airtight container in the refrigerator for up to 3 days. The texture and taste are best enjoyed fresh. While you can freeze this, it’s not ideal, as the texture might change slightly. If you do decide to freeze, wrap the container tightly with plastic wrap and then foil. Allow to thaw in the refrigerator overnight before serving.
Reheating is not recommended, as it will likely make the filling overly soft and potentially watery. Enjoy it cold for the best experience.

Frequently Asked Questions
Here are some answers to common questions about this recipe:
- Q: Can I use different types of cookies? A: While Oreos are the star here, you can experiment! Other chocolate sandwich cookies would work, but the flavor profile will change.
- Q: How long does the Oreo Delight last? A: Stored properly in the refrigerator, it will last for up to 3 days. After that, the cream cheese filling may start to separate.
- Q: Can I make this ahead of time? A: Absolutely! This recipe is perfect for making ahead. In fact, chilling it overnight enhances the flavors and firms up the filling nicely.
- Q: Is it possible to make a smaller batch? A: Yes! You can easily halve the recipe to make a smaller version. Just remember to adjust the baking dish size accordingly.
- Q: Can I use a different type of milk? A: Whole milk is ideal for a richer and creamier filling. However, you could try 2% milk, but the filling might be slightly thinner.
The Final Word
This Ultimate No-Bake Oreo Delight is a testament to the fact that simple ingredients can create extraordinary results. The combination of crunchy, creamy, and chocolatey goodness is truly irresistible. It’s the perfect dessert for satisfying any sweet tooth craving, and its ease of preparation makes it a go-to recipe for any occasion. So, what are you waiting for? Give this recipe a try and let me know in the comments how much you love it! Don’t forget to rate the recipe and share your delicious creations on social media using #OreoDelight. Happy baking (or rather, happy no-baking!)
Oreo Delight

A simple no-bake dessert made with Oreos, cream cheese, and chocolate.
- Mixing bowls
- 8×8 inch baking dish
Oreo Crust
- 20 pieces Oreo cookies (Regular or double stuffed)
- 6 tablespoons Melted butter
Cream Cheese Filling
- 8 ounces Cream cheese (Softened)
- 1 cup Powdered sugar
- 1 teaspoon Vanilla extract
- 1 cup Heavy cream (Whipped)
- 12 pieces Oreo cookies (For garnish)
- Crush Oreos into fine crumbs. You can use a food processor or a ziploc bag and rolling pin.
- Mix the crushed Oreos with melted butter until evenly moistened.
- Press the Oreo mixture into the bottom of the prepared baking dish.
- In a separate bowl, beat the softened cream cheese until smooth.
- Add powdered sugar and vanilla extract; beat until combined. Gently fold in the whipped cream.
- Spread the cream cheese mixture evenly over the Oreo crust.
- Garnish with remaining whole Oreo cookies.
- Refrigerate for at least 2 hours before serving.
For a richer flavor, use double stuffed Oreos.


