
Why You’ll Love This Homemade Cheez-Its
Hey there, fellow snack enthusiasts! Are you ready to embark on a culinary adventure that will redefine your cheesy cracker experience? Forget those store-bought, sometimes oddly-flavored, suspiciously-thin crackers. Today, we’re making homemade Cheez-Its! Yes, you read that right. And let me tell you, the taste, texture, and overall satisfaction are on a whole other level.
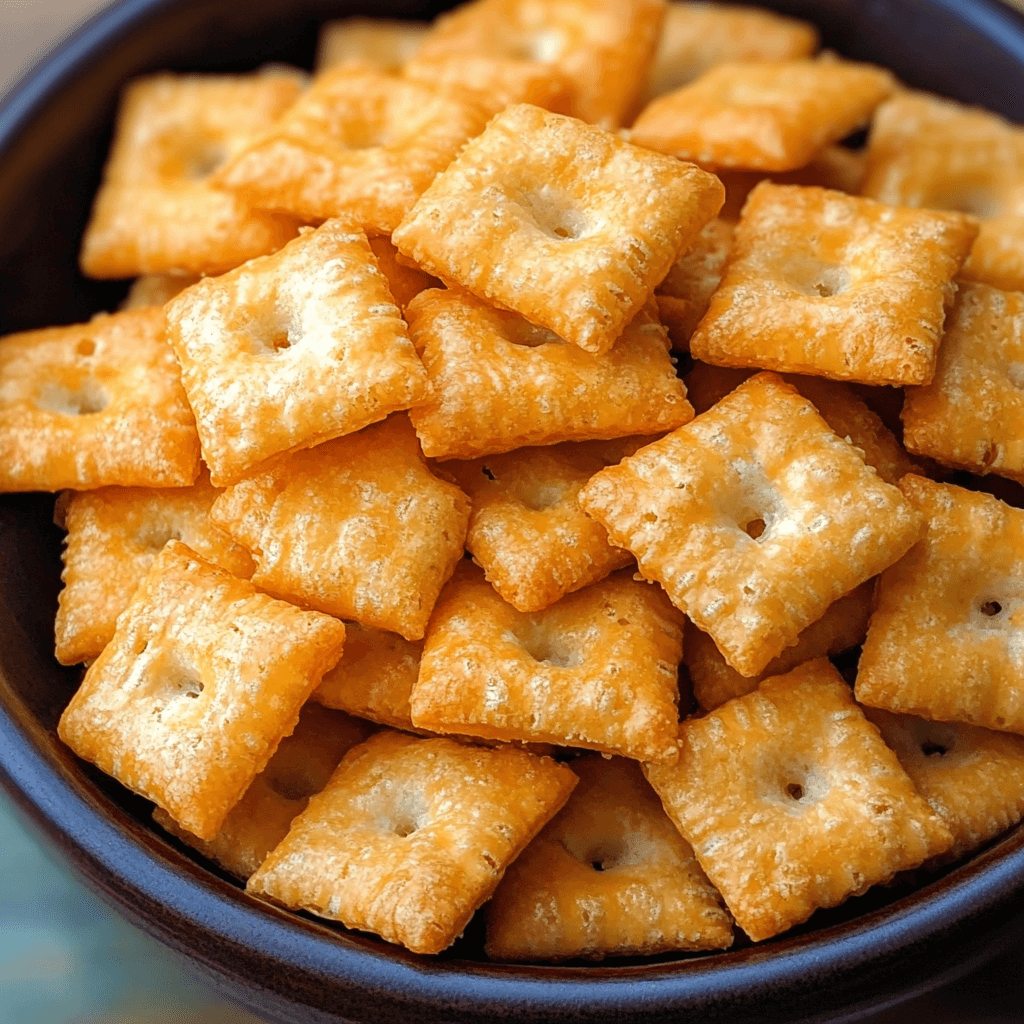
What makes these homemade Cheez-Its so special? First, the flavor is intensely cheesy, with a rich, savory depth that store-bought versions just can’t replicate. The texture is perfectly crispy – that satisfying snap when you bite into them is pure bliss. But the real magic lies in the simplicity. This recipe is surprisingly quick and easy, requiring minimal ingredients and even less effort. Imagine the joy of creating a batch of these delightful little crackers in a fraction of the time it takes to drive to the store!
More than just a snack, this recipe offers a sense of accomplishment and a touch of nostalgia. It’s the perfect project for a cozy evening in, bringing a warm and comforting feeling to your kitchen. Whether you’re enjoying them with a glass of wine, serving them as an appetizer at your next gathering, or simply indulging in a quiet moment with a cup of tea, these homemade Cheez-Its are sure to elevate your snacking game. So, grab your apron, gather your ingredients, and let’s get baking!
What You’ll Need
This recipe uses simple, readily available ingredients, ensuring a stress-free baking experience. Here’s what you’ll need to create your own batch of cheesy perfection:
- All-purpose flour (2 cups): Provides the structure for our crispy crackers.
- Sharp cheddar cheese (1 cup, shredded): The star of the show! Make sure it’s freshly shredded for optimal flavor and melting.
- Unsalted butter (½ cup, melted): Adds richness and contributes to that signature Cheez-It crispiness. Let it cool slightly before mixing.
- Baking powder (1 teaspoon): A crucial leavening agent for a light and airy texture. Don’t skip this!
- Salt (½ teaspoon): Enhances the cheesy flavor. Use a good quality sea salt for the best results.
- Garlic powder (¼ teaspoon): Adds a subtle savory depth that complements the cheese perfectly.
- Paprika (¼ teaspoon): Provides a touch of warmth and color, giving your crackers a beautiful golden hue.
- Milk (2-3 tablespoons): Helps to bind the ingredients and create a smooth dough.
Step-by-Step Instructions
Let’s dive into the fun part – making these amazing homemade Cheez-Its! Follow these steps for perfectly crispy, cheesy crackers:
- Preheat your oven to 400°F (200°C). Line a baking sheet with parchment paper. This step is essential for easy cleanup and to prevent sticking.
- In a large bowl, whisk together the flour, baking powder, salt, garlic powder, and paprika. Make sure all the dry ingredients are evenly combined.
- Add the shredded cheddar cheese to the dry ingredients. Gently toss to coat the cheese evenly with the flour mixture. This ensures that the cheese is distributed throughout the crackers for maximum cheesy goodness.
- Pour the melted butter (slightly cooled) into the bowl. Stir until the mixture resembles coarse crumbs. Don’t overmix at this stage; just combine the ingredients.
- Gradually add the milk, one tablespoon at a time, mixing gently until the dough just comes together. You might not need all 3 tablespoons; aim for a slightly sticky but manageable dough.
- Lightly flour a clean surface and turn the dough out onto it. Gently knead the dough for about 30 seconds, just to bring it together. Avoid over-kneading, as this can result in tough crackers.
- Roll out the dough to about 1/8 inch thickness. You can use a rolling pin or even a smooth glass bottle. Aim for even thickness for consistent baking.
- Use a biscuit cutter, knife, or even a pizza cutter to cut out the crackers. You can make them any shape you like. Get creative!
- Place the cut crackers onto the prepared baking sheet, leaving a little space between each one. This allows for even baking and prevents sticking.
- Bake for 10-12 minutes, or until the edges are golden brown and the crackers are crispy. Keep an eye on them to prevent burning.
- Remove the baking sheet from the oven and let the crackers cool completely on the baking sheet before transferring them to a wire rack. This allows them to crisp up further.
Tips for Success
To ensure perfectly crispy and flavorful homemade Cheez-Its, here are a few helpful tips:
Don’t overmix the dough: Overmixing can lead to tough crackers. Just combine the ingredients until they’re moistened.
Roll the dough evenly: Consistent thickness ensures even baking and prevents some crackers from burning before others are done.
Don’t overcrowd the baking sheet: Give the crackers enough space to bake evenly and prevent steaming.
Let them cool completely: Allowing the crackers to cool completely on the baking sheet helps them crisp up properly.
Experiment with cheese: Feel free to experiment with different types of cheese, like sharp cheddar, Colby Jack, or even a blend.
Variations to Try
Looking for some exciting twists on your classic Cheez-Its? Here are a few ideas:
Spicy Cheez-Its: Add a pinch of cayenne pepper or a dash of your favorite hot sauce to the dough for a fiery kick.
Herb-infused Cheez-Its: Incorporate dried herbs like oregano, rosemary, or thyme for a more complex flavor profile.
Vegetarian/Vegan Cheez-Its: Replace the butter with vegan butter and use nutritional yeast for a cheesy flavor.
Everything Bagel Cheez-Its: Sprinkle everything bagel seasoning on top of the crackers before baking.
Storing and Reheating
Store your homemade Cheez-Its in an airtight container at room temperature for up to a week. They’ll stay wonderfully crisp! For longer storage, you can freeze them in a freezer-safe bag for up to 3 months. To reheat, simply place them on a baking sheet and bake at 350°F (175°C) for a few minutes until warmed through and crispy again. Avoid microwaving, as this can make them soggy.
Frequently Asked Questions
Q: Can I use a different type of cheese? A: Absolutely! Experiment with different cheeses like Colby Jack, Monterey Jack, or even a blend. The flavor will vary slightly, but the results will still be delicious.
Q: How long do homemade Cheez-Its last? A: Stored properly in an airtight container at room temperature, they’ll stay crisp for up to a week. Frozen, they’ll last for up to 3 months.
Q: Can I make these gluten-free? A: Yes, you can substitute all-purpose flour with a gluten-free blend. Make sure to use a blend that is specifically designed for baking.
Q: What if my dough is too dry? A: Add a teaspoon of milk at a time until the dough comes together. Don’t add too much, or the crackers will be too soft.
Q: Why are my Cheez-Its not crispy? A: Ensure your oven is at the correct temperature and that you’ve baked them for the recommended time. Overcrowding the baking sheet can also prevent crisping. Let them cool completely on the baking sheet before moving.
The Final Word
These homemade Cheez-Its are a game-changer. The intensely cheesy flavor, perfectly crispy texture, and unbelievably easy preparation make them a must-try. They’re the perfect snack for any occasion, from a cozy night in to a fun gathering with friends. So, what are you waiting for? Give this recipe a try and let me know what you think in the comments below! Don’t forget to rate the recipe and share your pictures – I can’t wait to see your cheesy creations!

HOMEMADE CHEEZ-ITS
Equipment
- Baking Sheet Line with parchment paper for easy cleanup
- Mixing bowls
- Rolling Pin
Ingredients
Dry Ingredients
- 2 cups All-purpose flour
- 1 tsp Salt
- 1 tsp Baking powder
Wet Ingredients
- 1 cup Shredded cheddar cheese
- 1 cup Butter, melted
- 1 cup Milk
- 1 tsp Garlic powder
Instructions
- Preheat oven to 350°F (175°C).
- In a large bowl, whisk together the flour, salt, and baking powder.
- In a separate bowl, combine the melted butter, milk, and cheese.
- Gradually add the wet ingredients to the dry ingredients, mixing until just combined. Do not overmix.
- Roll out the dough on a lightly floured surface to about 1/8 inch thickness.
- Use a biscuit cutter or knife to cut out desired shapes.
- Place crackers onto a baking sheet lined with parchment paper.
- Bake for 10-12 minutes, or until golden brown.