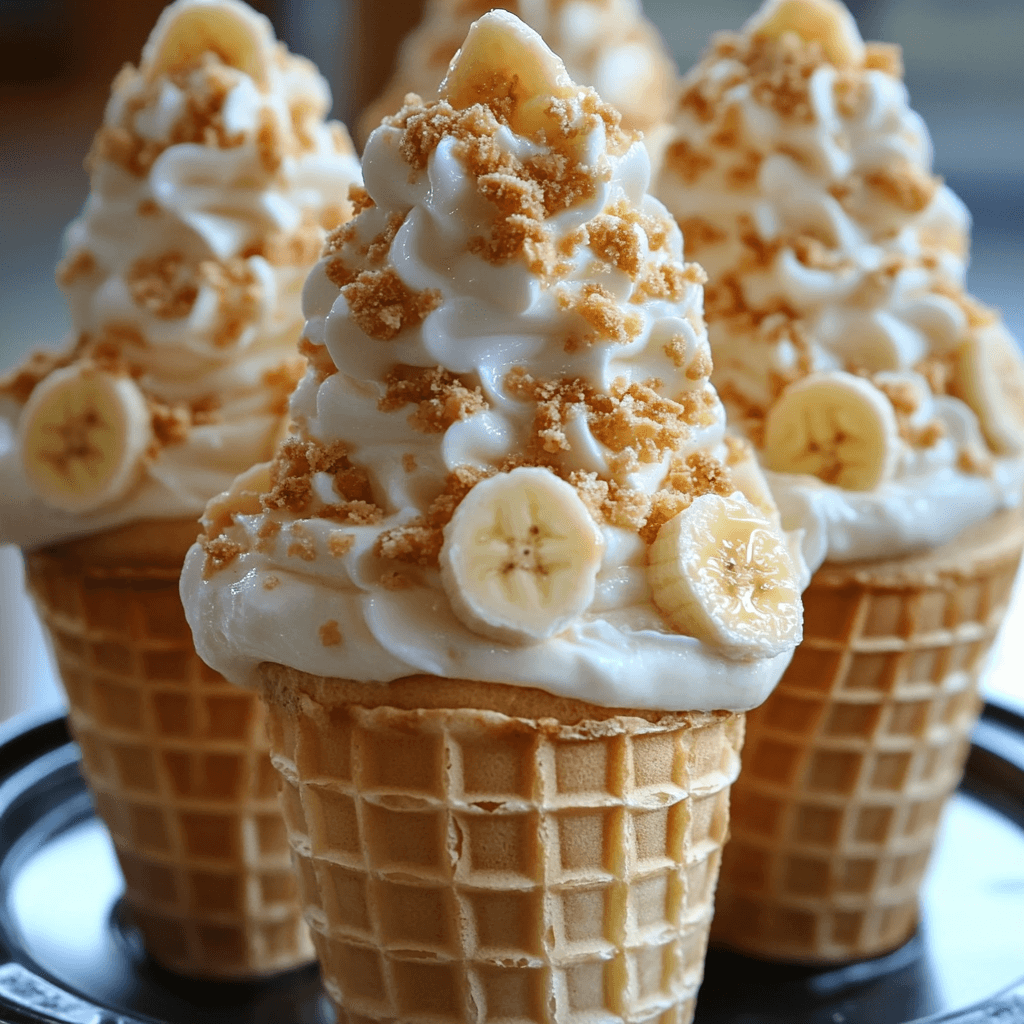
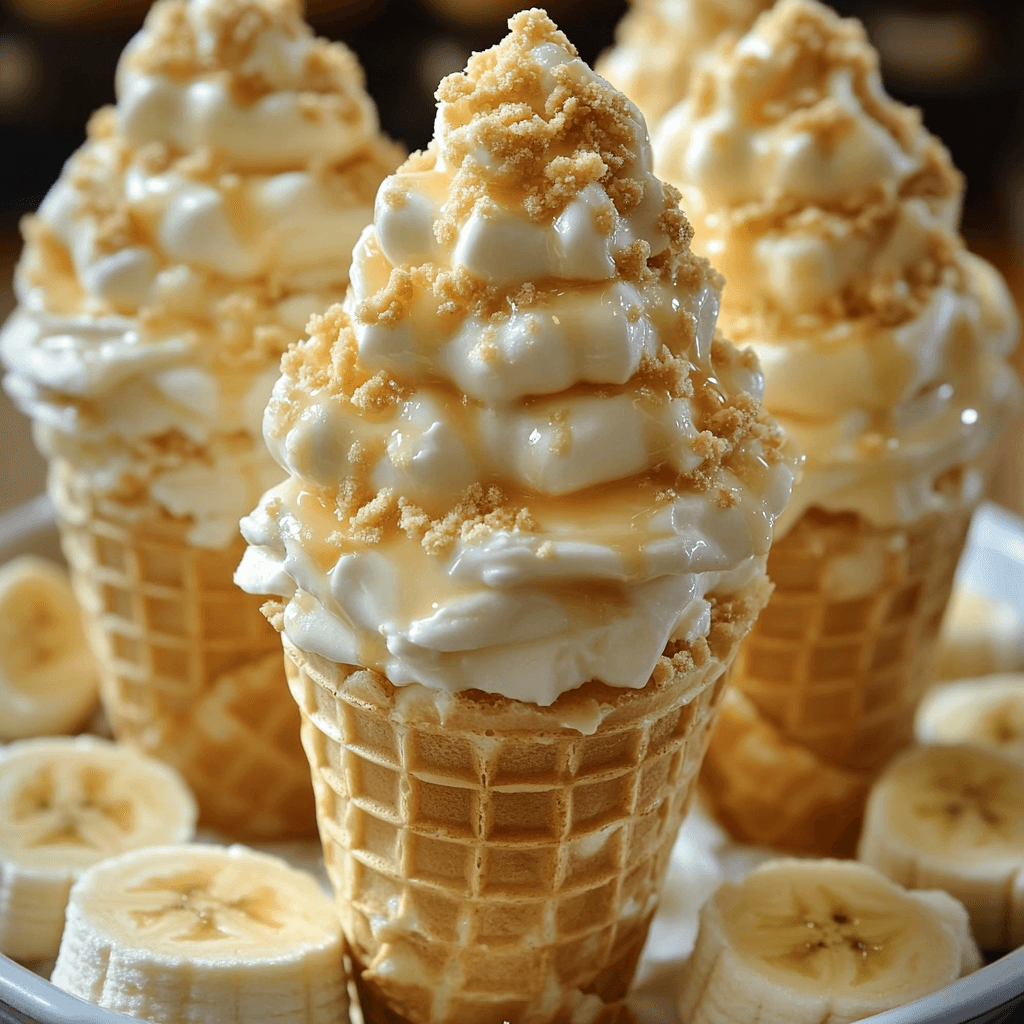
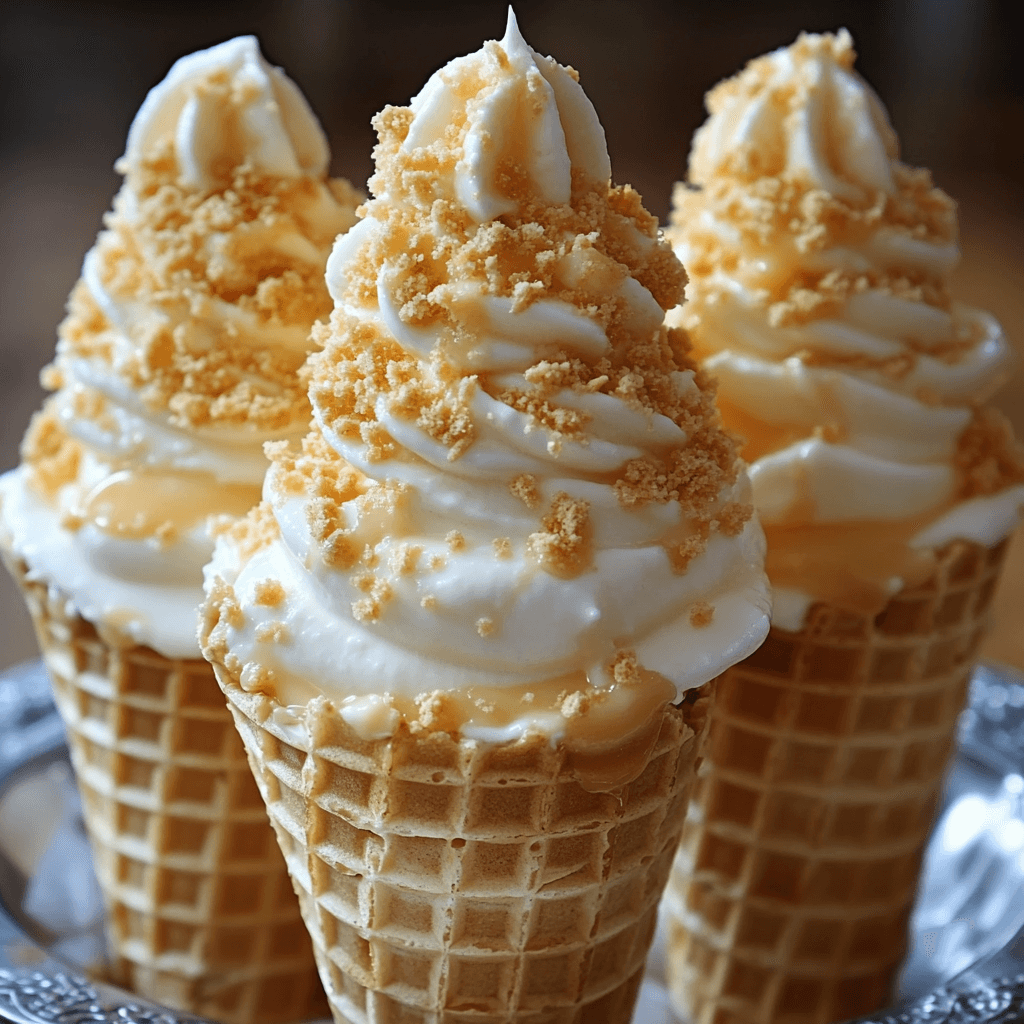
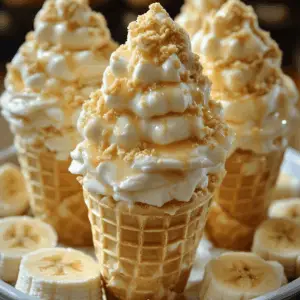
Hey there, dessert lovers! Are you ready for a taste explosion that’s both ridiculously easy and incredibly impressive? Then get ready to meet your new favorite dessert: Banana Pudding Cheesecake Cones! Imagine the creamy, dreamy texture of cheesecake infused with the sweet, comforting goodness of banana pudding, all nestled inside a crunchy waffle cone. This isn’t just dessert; it’s an experience.
What makes these cones so special? It’s the perfect harmony of textures and flavors. The creamy cheesecake filling, bursting with the classic banana pudding taste, contrasts beautifully with the crisp waffle cone. Each bite is a journey – the crunchy exterior gives way to a cool, smooth center, followed by the sweet burst of banana and a hint of vanilla. Plus, let’s be honest – the presentation alone is a showstopper. These little cones are perfect for parties, potlucks, or even a cozy night in. They’re surprisingly quick to make, which means you can enjoy this delicious treat without spending hours in the kitchen. Trust me, your taste buds (and your Instagram feed) will thank you.
These cones evoke a feeling of pure indulgence and nostalgic comfort. They’re the perfect blend of sophistication and simple joy, a delicious treat that’s sure to satisfy any sweet tooth. Get ready to experience the magic of banana pudding cheesecake cones – you won’t be disappointed!
What You’ll Need
To create these delightful banana pudding cheesecake cones, you’ll need the following ingredients:
- Cream Cheese (16 oz): Make sure it’s softened to room temperature for easy mixing. This is the base of our creamy cheesecake filling.
- Powdered Sugar (1 cup): Provides sweetness and helps create a smooth, creamy texture without any gritty bits.
- Heavy Whipping Cream (1/2 cup): Adds richness and helps achieve that light and airy cheesecake consistency. Use cold cream for best results.
- Vanilla Extract (1 tsp): Enhances the overall flavor with a warm and comforting vanilla note.
- Instant Banana Pudding Mix (3.4 oz): The secret ingredient that transforms this into a banana pudding-flavored cheesecake! Check the expiration date before starting.
- Cold Milk (1 1/2 cups): Essential for activating the banana pudding mix and creating the perfect creamy consistency. Use whole milk for extra richness.
- Waffle Cones or Sugar Cones (10-12): The delightful vessels for your creamy filling. Choose your preferred type, ensuring they are sturdy enough to hold the filling.
- Crushed Vanilla Wafer Cookies (1 cup): Adds a delightful crunchy element to the base of the cones, complementing the creamy filling.
- Melted Butter (2 tbsp): Binds the crushed cookies to the cones for a sturdy, delicious base.
- Sliced Bananas: Fresh bananas add a pop of color and that classic banana flavor to your garnish. Use ripe bananas for maximum sweetness.
- Whipped Cream: Adds another layer of creamy deliciousness to your finished cones. Homemade or store-bought works perfectly!
- Caramel Drizzle (optional): For an extra touch of sweetness and sophistication. A drizzle of caramel sauce adds a delightful contrast in flavor and texture.
Step-by-Step Instructions
Let’s get started on creating these delicious banana pudding cheesecake cones! Follow these steps carefully, and you’ll be enjoying this decadent treat in no time.
- Prepare the Cone Bases: In a medium bowl, combine the crushed vanilla wafer cookies and melted butter. Mix thoroughly until the crumbs are evenly moistened. Tip: Use a food processor for perfectly even crumbs!
- Fill the Cones: Divide the cookie mixture evenly among the waffle or sugar cones, pressing firmly into the bottom of each cone to create a solid base. Tip: You can gently tap the cones on a flat surface to compact the cookie mixture.
- Make the Cheesecake Filling: In a large bowl, beat the softened cream cheese until it’s smooth and creamy. Gradually add the powdered sugar, beating until fully incorporated. Tip: If you have lumps in your cream cheese, let it sit out at room temperature a little longer.
- Incorporate the Banana Pudding Mix: In a separate bowl, whisk together the instant banana pudding mix and cold milk until smooth. Let it sit for a minute or two to thicken slightly. Tip: Make sure there are no lumps in the pudding mix before adding it to the cream cheese mixture.
- Combine and Whip: Gently fold the banana pudding mixture into the cream cheese mixture. Then, carefully fold in the heavy whipping cream until just combined. Be careful not to overmix, as this can make the filling too airy. Tip: Use a spatula to gently fold the ingredients together, ensuring everything is well incorporated without deflating the cream.
- Fill the Cones: Spoon the cheesecake filling into the prepared cones, filling them almost to the top. Tip: Use a piping bag or a ziplock bag with a corner snipped off for a neater filling.
- Chill and Garnish: Refrigerate the filled cones for at least 2-3 hours, or preferably overnight, to allow the cheesecake filling to set completely. Once chilled, garnish with sliced bananas, whipped cream, crushed vanilla wafers, and a caramel drizzle (optional).
Tips for Success
To ensure your banana pudding cheesecake cones turn out perfectly, here are a few helpful tips:
Soften that Cream Cheese: Make sure your cream cheese is at room temperature. This will prevent lumps and make it easier to mix. If you’re short on time, microwave it for 10-15 seconds in short bursts.
Don’t Overmix: Overmixing the cheesecake filling can incorporate too much air, resulting in a less dense and creamy texture. Gentle folding is key!
Chill Thoroughly: Allowing the cones to chill completely is essential for the filling to set properly. The longer they chill, the firmer and more delicious they will be.
Get Creative with Garnishes: Feel free to experiment with different garnishes! Chocolate shavings, sprinkles, or even a dusting of cinnamon would be delicious additions.
Variations to Try
Want to put your own spin on these delectable cones? Here are a few variations to try:
Chocolate Banana Pudding Cheesecake Cones: Add 1/4 cup of melted semi-sweet chocolate chips to the cheesecake filling for a rich chocolate flavor.
Peanut Butter Banana Pudding Cheesecake Cones: Stir in 1/4 cup of creamy peanut butter to the cheesecake filling for a delightful peanut butter and banana combination.
Gluten-Free Option: Substitute gluten-free waffle cones and crushed gluten-free vanilla wafer cookies.
Spiced-up Version: Add a pinch of cinnamon or nutmeg to the cheesecake filling for a warm, spiced flavor.
Storing and Reheating
These banana pudding cheesecake cones are best enjoyed fresh, but they can be stored properly to maintain their deliciousness. Store leftover cones in an airtight container in the refrigerator for up to 3 days. For optimal freshness, it’s best to store them without the whipped cream garnish, adding it right before serving. Freezing is not recommended, as it can affect the texture of both the cheesecake filling and the waffle cones.
To enjoy them after they’ve been chilled, simply take them out of the refrigerator about 15-20 minutes before serving to allow them to soften slightly. There is no need to reheat these cones; the chilled cheesecake filling is the perfect temperature for enjoyment.
Frequently Asked Questions
Q: Can I use a different type of cookie for the base? A: Absolutely! You could experiment with other crushed cookies like graham crackers or digestive biscuits for a different flavor profile. Just remember to adjust the amount of butter if necessary, depending on the type of cookie you choose.
Q: How long will the cheesecake filling keep in the refrigerator before being added to the cones? A: You can prepare the cheesecake filling up to 24 hours in advance and store it in an airtight container in the refrigerator. Just give it a good stir before filling the cones.
Q: Can I make these ahead of time for a party? A: Yes! These cones are perfect for making ahead. Prepare them completely and store them in the refrigerator for up to 3 days. Add the whipped cream and other garnishes just before serving for optimal freshness.
Q: What if my cones are too soft? A: If your cones are too soft, they may have absorbed some moisture from the cheesecake filling. Try using sturdier cones next time or reducing the amount of milk in the filling slightly.
The Final Word
These decadent banana pudding cheesecake cones are the perfect blend of creamy, crunchy, and sweet. They’re surprisingly easy to make, yet they look and taste like they came from a fancy bakery. With their irresistible combination of flavors and textures, they’re guaranteed to be a hit at any gathering or a delightful treat for a quiet night in. So, gather your ingredients, put on your apron, and get ready to create a dessert that’s as delicious as it is beautiful. Don’t forget to share your creations with us – leave a comment below and let us know how yours turned out! And please, rate the recipe if you enjoyed it!
Banana Pudding Cheesecake Cones
Equipment
- Mixing bowls Several sizes for different components
- Hand mixer or stand mixer For smooth cheesecake filling
Ingredients
Cheesecake Filling
- 16 oz Cream cheese Softened
- 1 cup Powdered sugar
- 0.5 cup Heavy whipping cream
- 1 tsp Vanilla extract
- 1 package Instant banana pudding mix (3.4 oz)
- 1.5 cups Cold milk
Cones & Garnish
- 10 Waffle cones or sugar cones
- 1 cup Crushed vanilla wafer cookies
- 2 tbsp Melted butter
- Sliced bananas For garnish
- Whipped cream For garnish
- Caramel drizzle Optional, for garnish
Instructions
- Beat cream cheese and powdered sugar until smooth.
- In a separate bowl, whip heavy cream until soft peaks form.
- Gently fold whipped cream into the cream cheese mixture.
- Stir in vanilla extract and banana pudding mix until well combined.
- Gradually add cold milk, mixing until smooth and creamy.
- Combine crushed vanilla wafers and melted butter; use to coat the inside of the waffle cones.
- Fill each cone with the cheesecake mixture.
- Garnish with sliced bananas, whipped cream, crushed vanilla wafers, and caramel drizzle (optional).